How to Draw Human Anatomy: Easy Science Lesson for Kids
Turn science class into an art project! This tutorial is designed for ages 7+, helping young learners visualize the human body through a simple, labeled diagram. You will need a pencil, eraser, and markers to bring this anatomical cross-section to life.
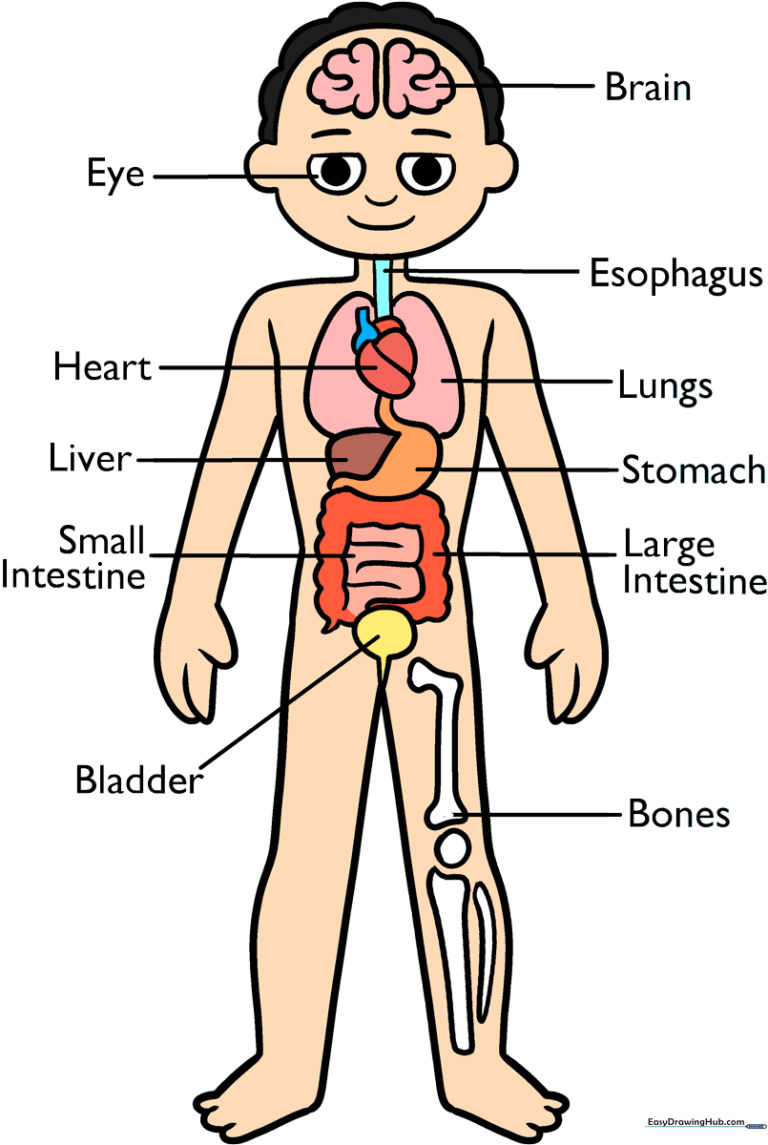
🎯 Final Result
Step-by-Step Instructions
Step 1: Sketching the Head and Facial Features

Start by drawing a rounded shape for the head. Add the hair, ears, and neck using soft, curved lines. Tip: Keep your pencil pressure light so you can easily refine the eyes and nose later.
Step 2: Defining the Torso
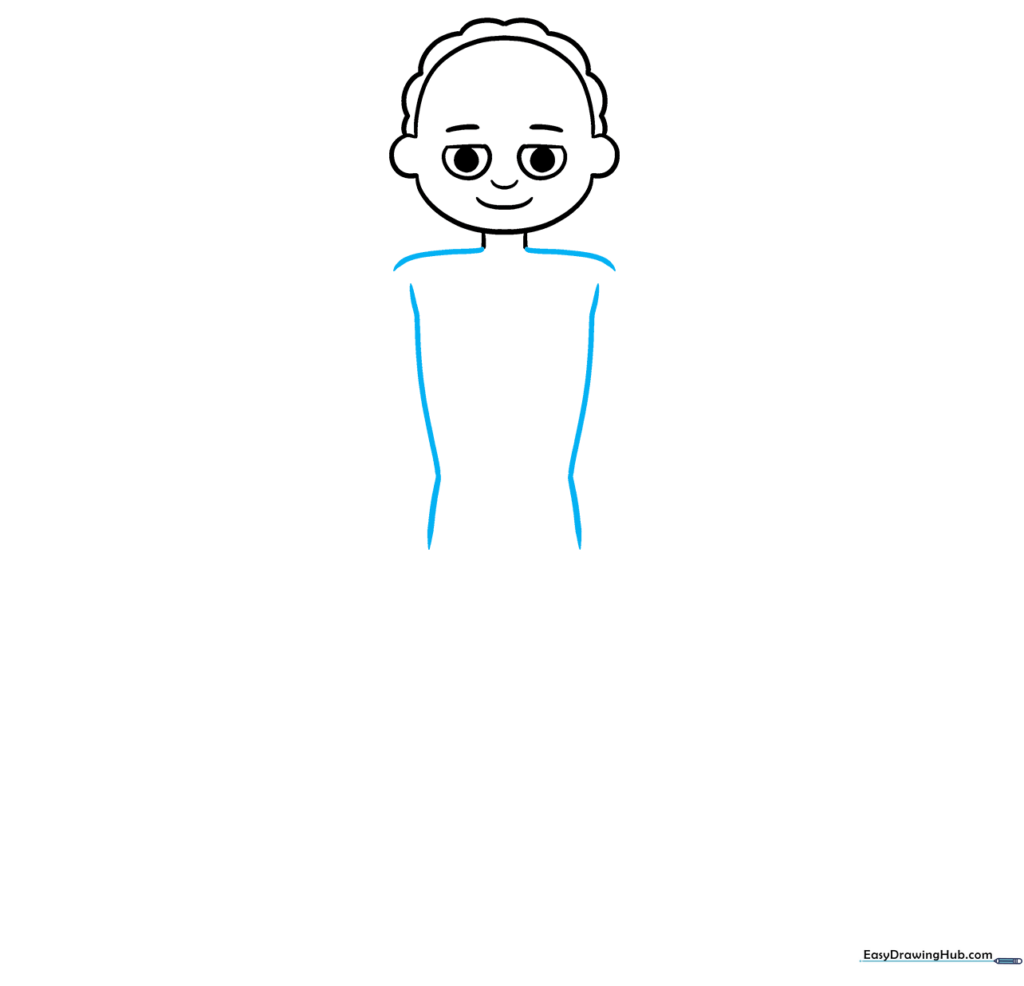
Draw the shoulders and the sides of the torso using smooth, flowing curves. Tip: Think of the torso as a gentle 'U' shape to give your character a natural posture.
Step 3: Drawing the First Arm
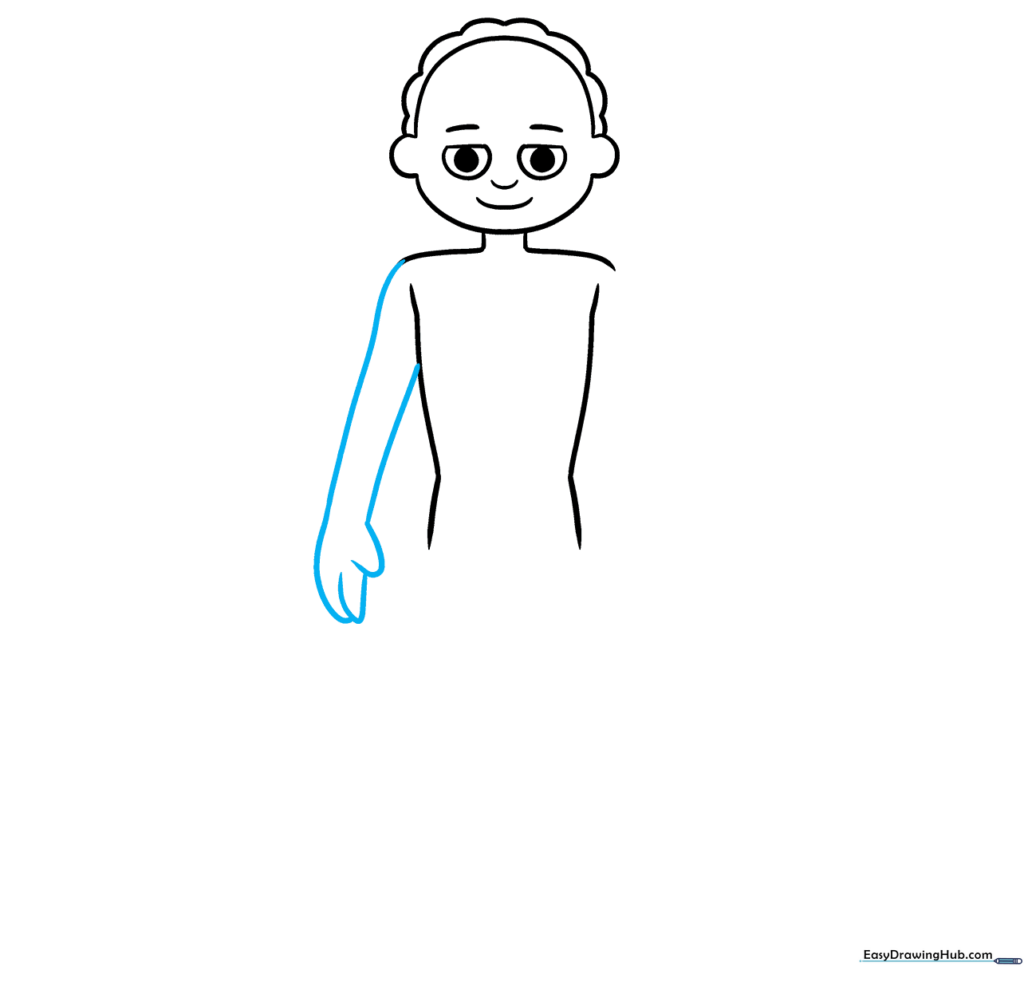
Use long, sweeping lines to create the arm, finishing with small, overlapping curves for the fingers. Tip: Keep the fingers slightly rounded to make them look friendly and cartoon-like.
Step 4: Adding the Second Arm
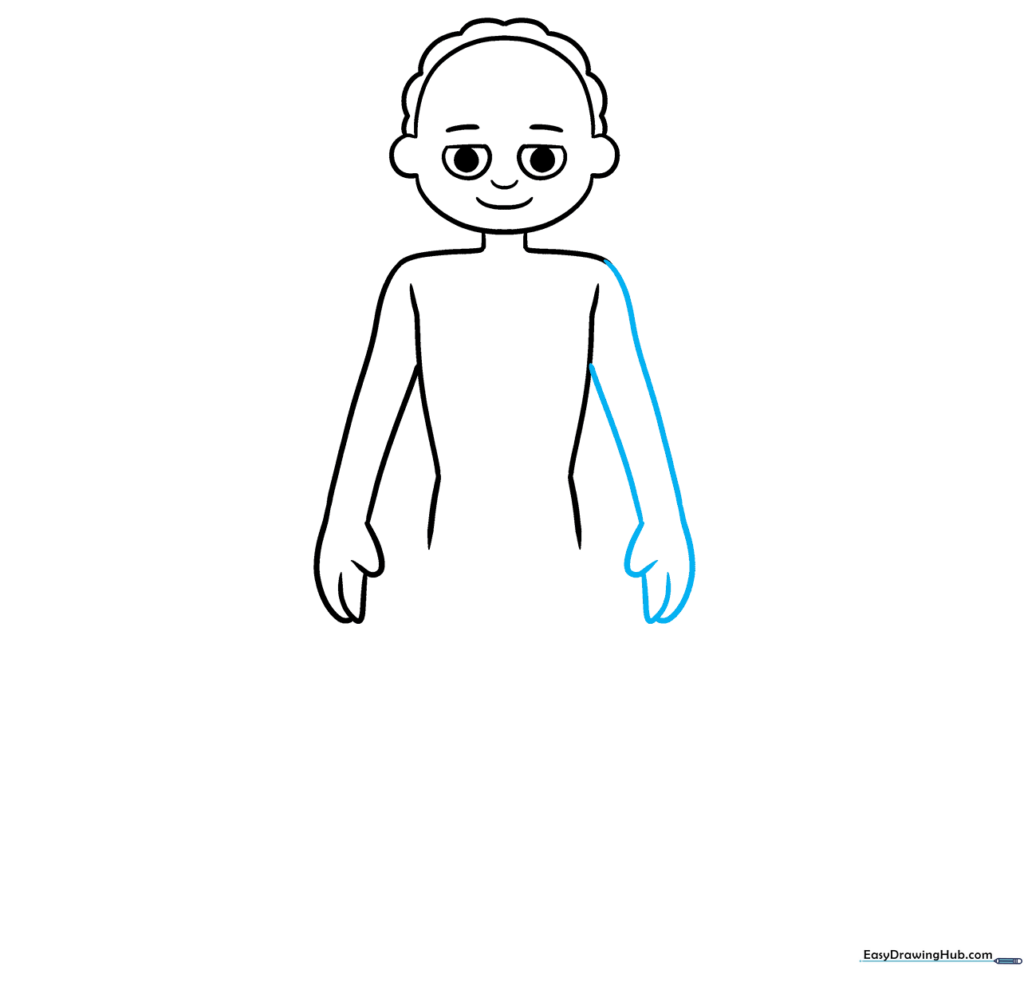
Mirror the first arm on the opposite side of the torso. Tip: Try to keep the length of both arms consistent so your character looks balanced.
Step 5: Sketching the Legs
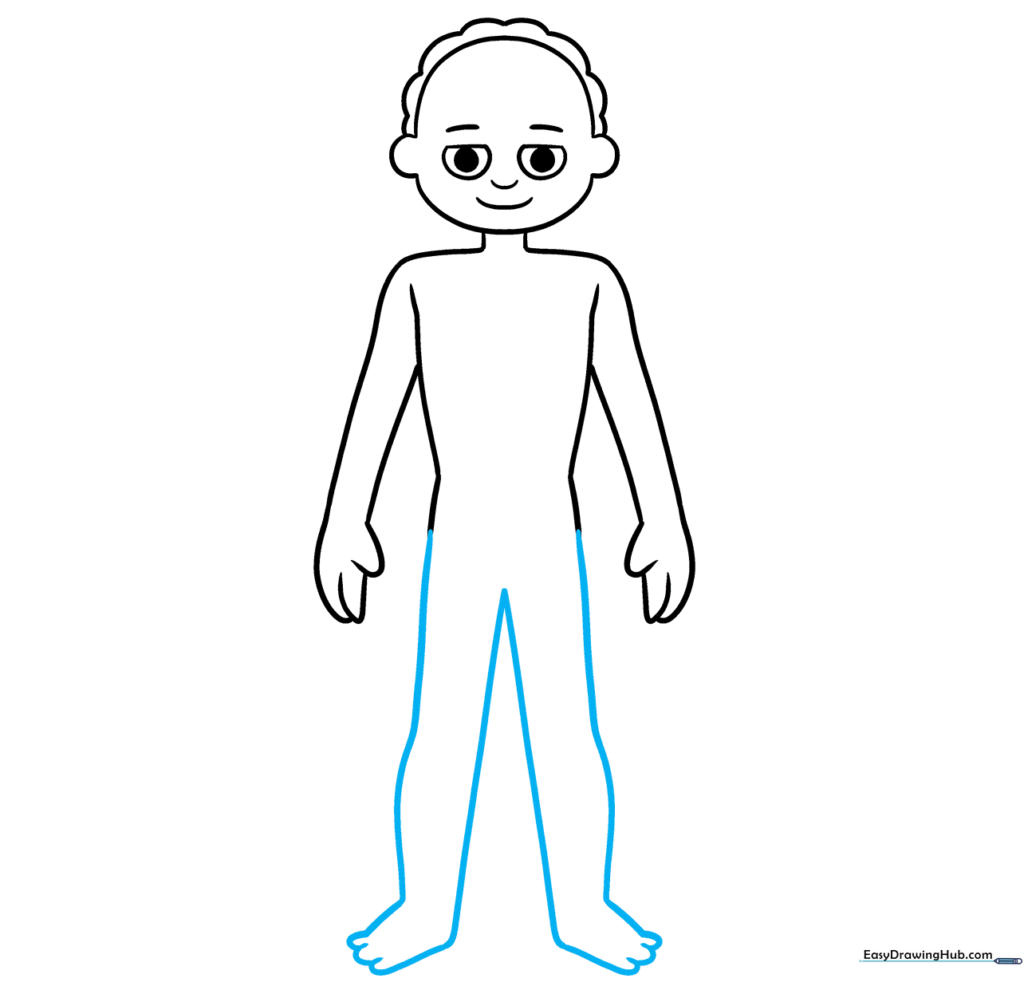
Draw the legs using long, sturdy lines and add small curves for the toes. Tip: Ensure the legs are long enough to support the body's proportions.
Step 6: Drawing the Brain
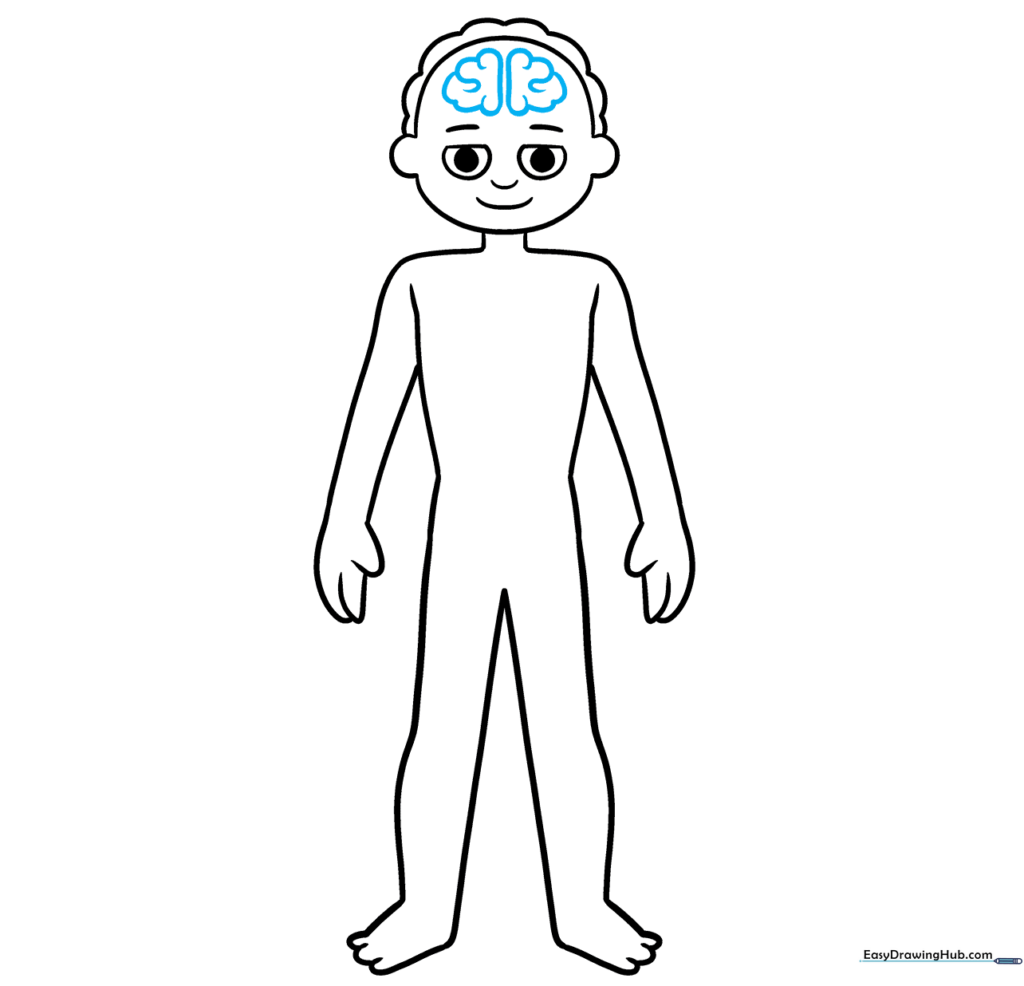
Inside the head, draw two rounded, overlapping shapes to represent the brain. Tip: Use a slightly wavy line to give the brain its characteristic texture.
Step 7: Adding Internal Organs
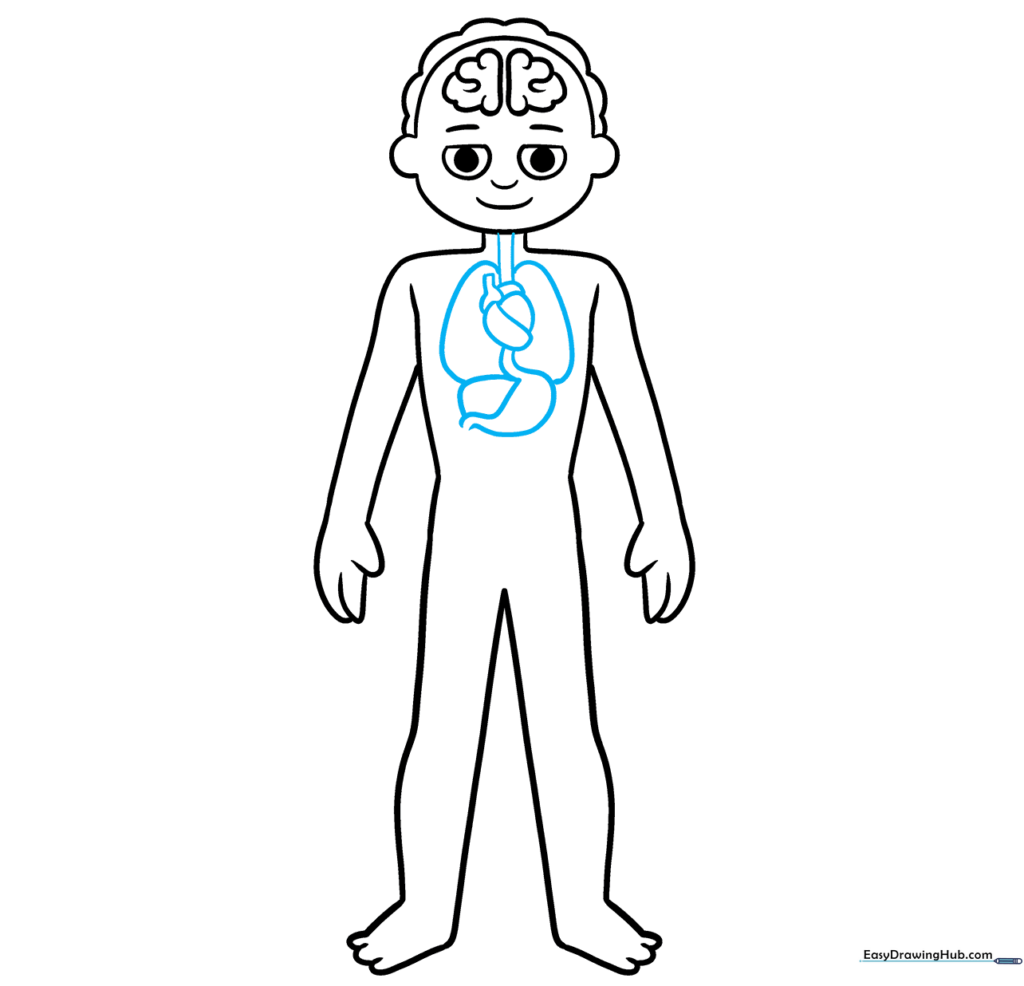
Draw the heart, lungs, liver, and stomach using simple, rounded shapes. Connect them to the head area with a line representing the esophagus. Tip: Don't worry about perfect realism; focus on clear, distinct shapes.
Step 8: Intestines and Leg Bones
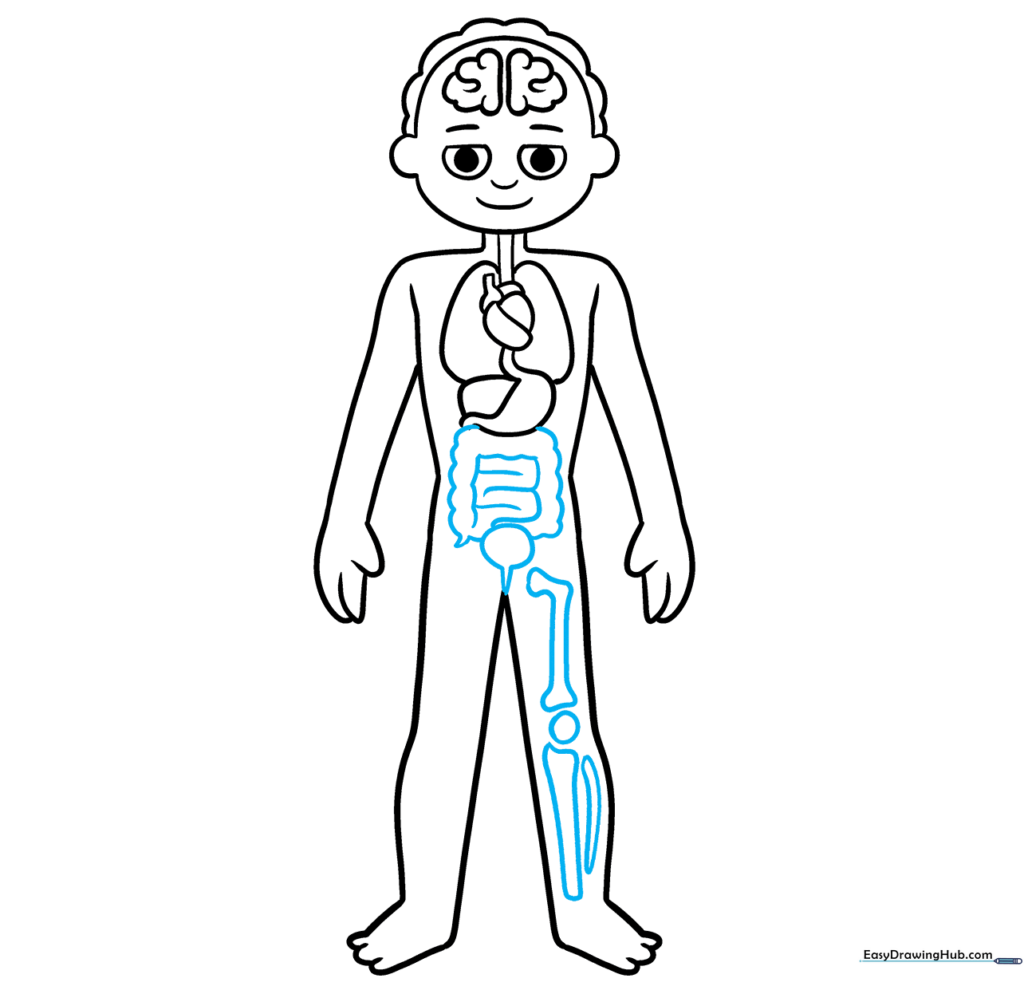
Add the squiggly shapes of the intestines and a bubble for the bladder. Then, draw a circle for the knee and lines for the leg bones. Tip: Use a darker pencil for these details to make them stand out.
Step 9: Labeling Your Diagram
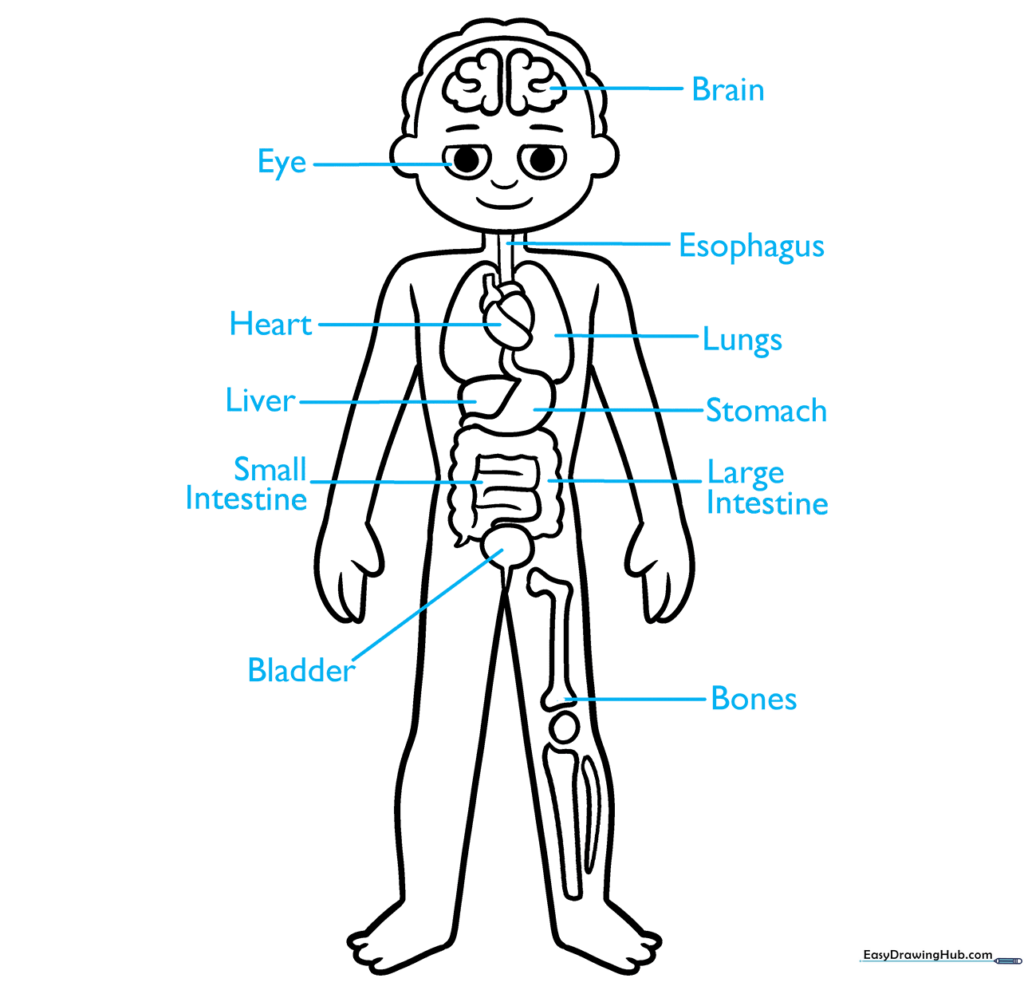
Draw straight lines from each organ to the side of your paper and write the correct scientific name. Tip: Use a ruler for the lines to keep your diagram looking neat and professional.
Step 10: Adding Color
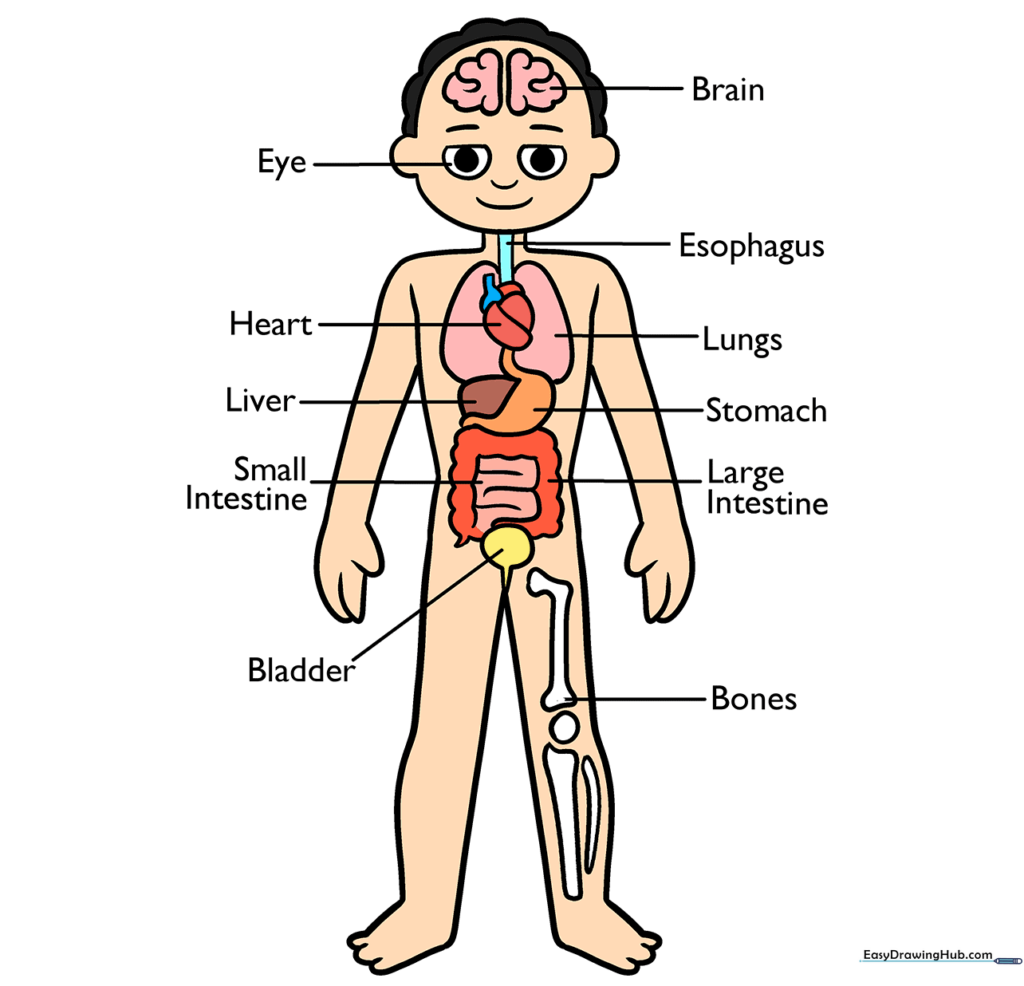
Bring your diagram to life with color! Use different shades to distinguish between the organs. Tip: Use a light blue for the lungs and a soft red for the heart to help with memory retention.
More Tutorials


