How to Draw Hulk’s Face: Easy 9-Step Superhero Guide
Ready to unleash your inner artist? This tutorial is perfect for young Marvel fans ages 6+ looking to master the Hulk’s iconic, angry expression. Grab a pencil, an eraser, and a piece of paper to follow along as we break down his powerful features into simple, manageable shapes.
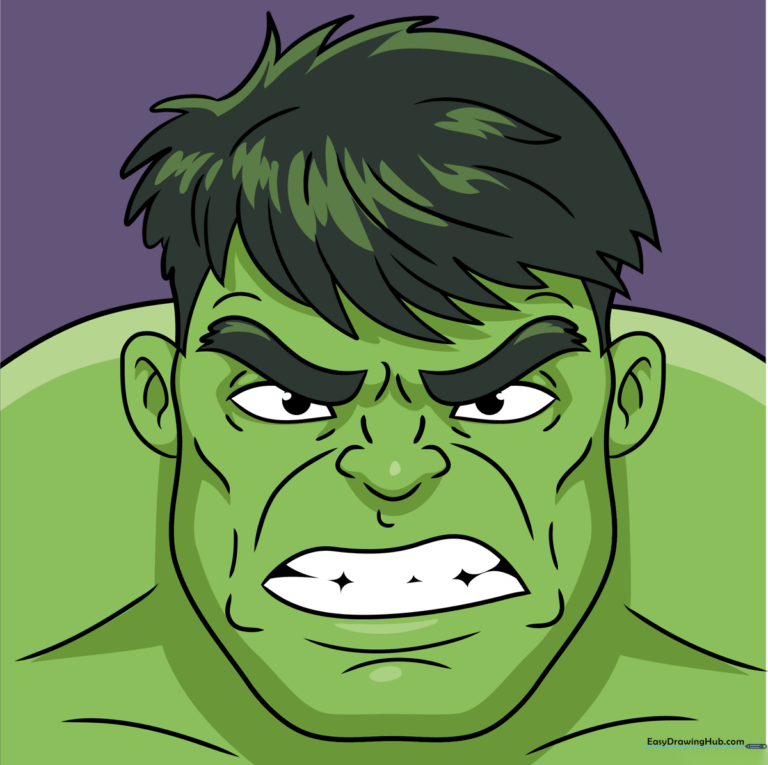
🎯 Final Result
Step-by-Step Instructions
Step 1: Sketching the Furrowed Brow
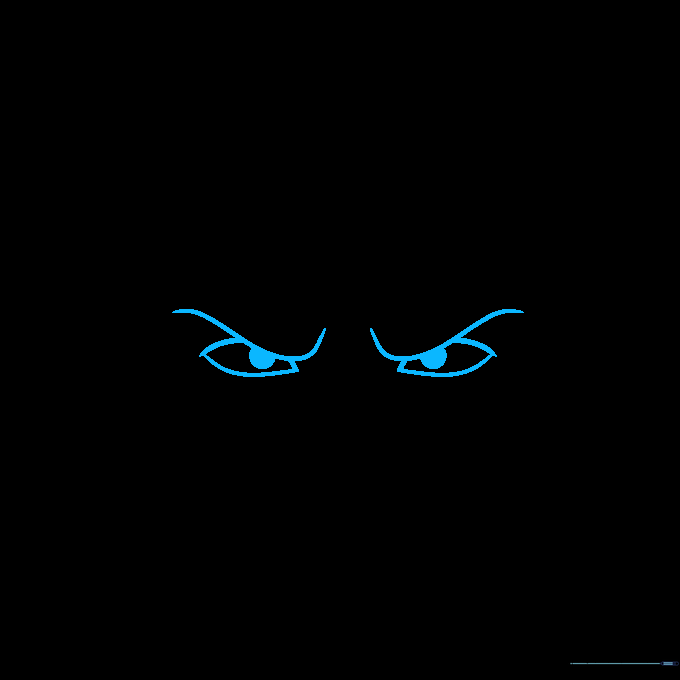
Start by drawing two swooping, curved lines to create his angry, furrowed brow. Beneath these, add two almond-shaped eyes that point downward at the corners. Tip: Keep the eyes symmetrical to give him that focused, intense look.
Step 2: Defining the Bushy Eyebrows

Draw a curved line parallel to each brow, then connect them with short, 'U' shaped strokes to create his thick, bushy eyebrows. Add small contour lines around the eyes to show his tense facial muscles. Tip: Use short, quick strokes to make the eyebrows look textured and wild.
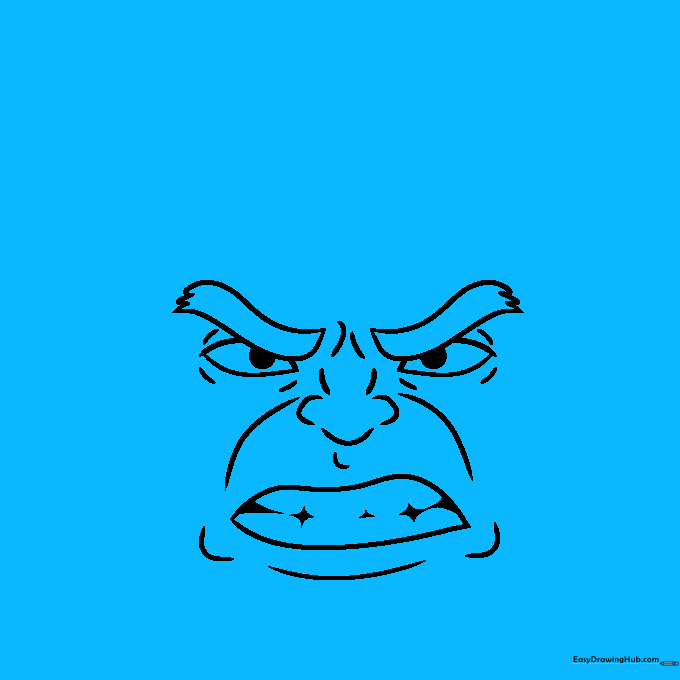
Step 3: Sketching the Nose and Mouth
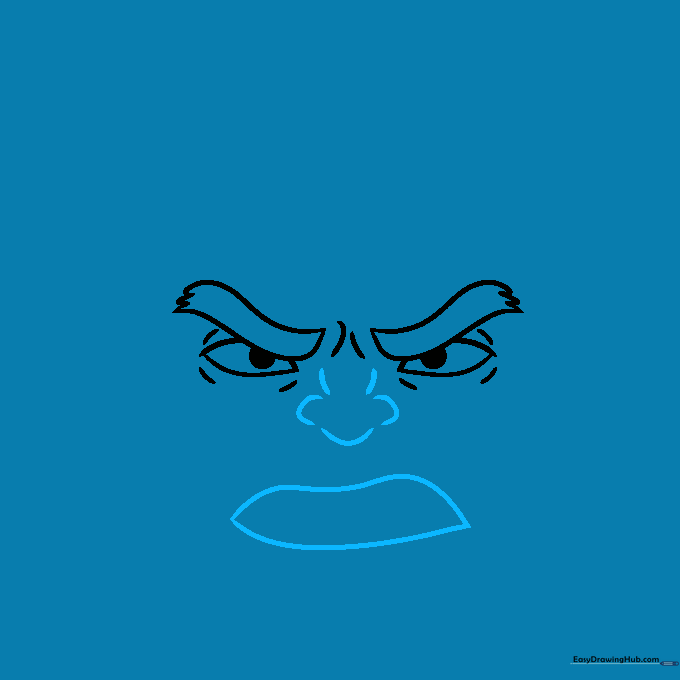
Use small, disconnected curved lines to define the flared nostrils and the bridge of the nose. Below that, draw an irregular, wide shape for his open mouth. Tip: Don't worry about making the nose perfectly smooth; the Hulk's features are rugged and blocky.
Step 4: Adding Teeth and Jaw Detail
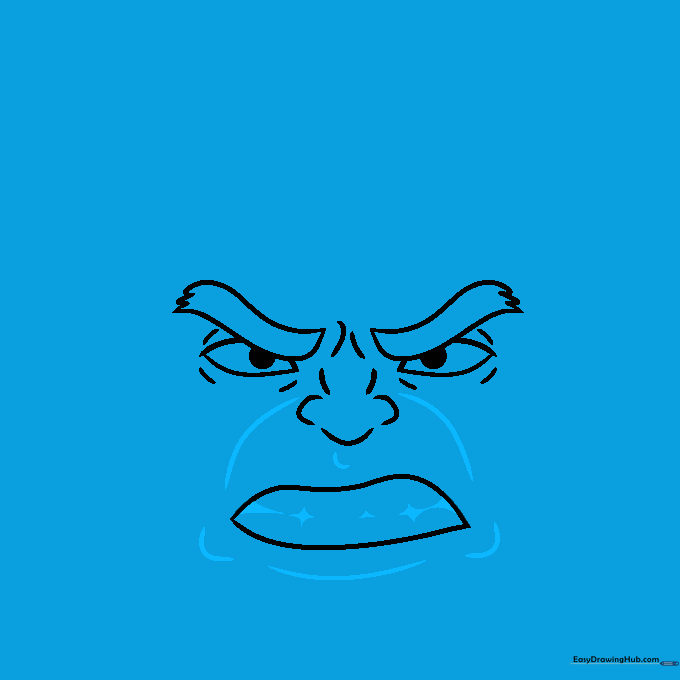
Draw lines from the nose to the mouth corners to show his cheeks. Inside the mouth, shade small triangles and starburst shapes to represent his teeth and the dark gaps between them. Tip: The starburst shapes help create the illusion of individual teeth without needing to draw every single one.
Step 5: Outlining the Face and Hair
Use a long, sweeping curved line to define the jawline and chin. Then, begin sketching the hair using overlapping, jagged lines that meet at sharp points. Tip: Make the hair look messy—the Hulk isn't known for a neat haircut!
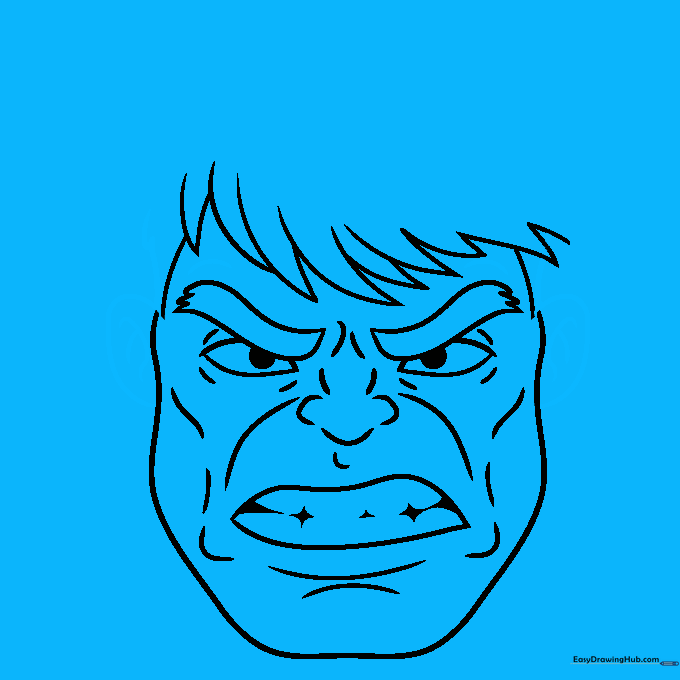
Step 6: Filling in the Hairline
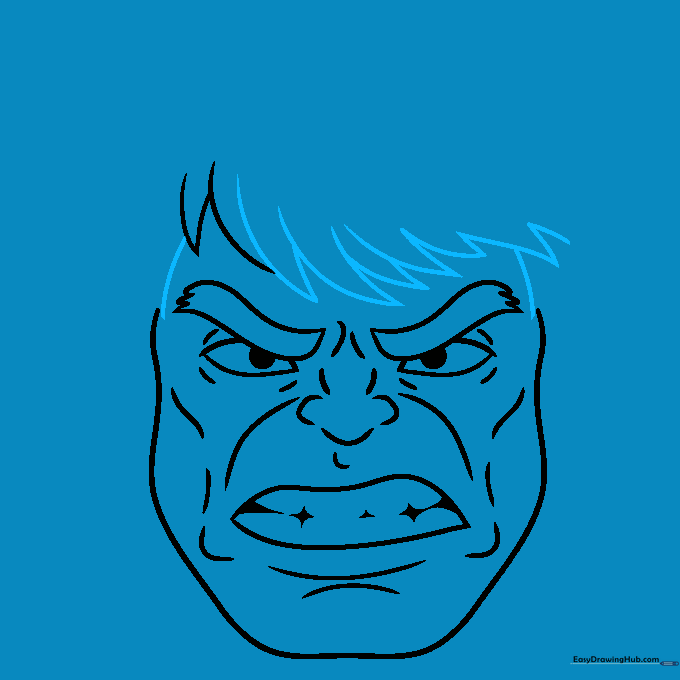
Continue adding more jagged, overlapping lines across the forehead to complete the hairline. This frames the face and makes his forehead look strong and heavy. Tip: Vary the length of your lines to make the hair look more natural.
Step 7: Adding Ears and Facial Contours
Draw small 'C' shaped ears on the sides of the head. Add a few curved lines inside the ears for detail, and draw a curved line above each eyebrow to emphasize his heavy brow bone. Tip: Keep the ears small so they don't distract from his powerful jaw.
Step 8: Finalizing the Hair
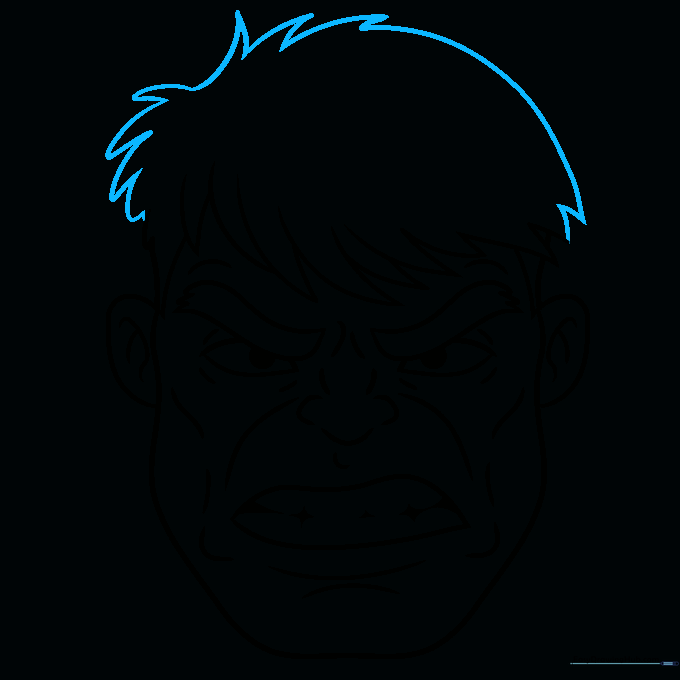
Finish the hair by adding a few more jagged lines to connect the sides of the head. Ensure the hair looks thick and full. Tip: Press a little harder with your pencil now to define the final outline of the hair.
Step 9: Adding Shoulders and Final Touches

Draw the Hulk's massive shoulders using curved lines that extend from the jaw. Add a few extra lines on the neck and shoulders to suggest powerful muscles. Tip: Use bold, confident lines to show his strength.
Step 10: Bring Him to Life with Color
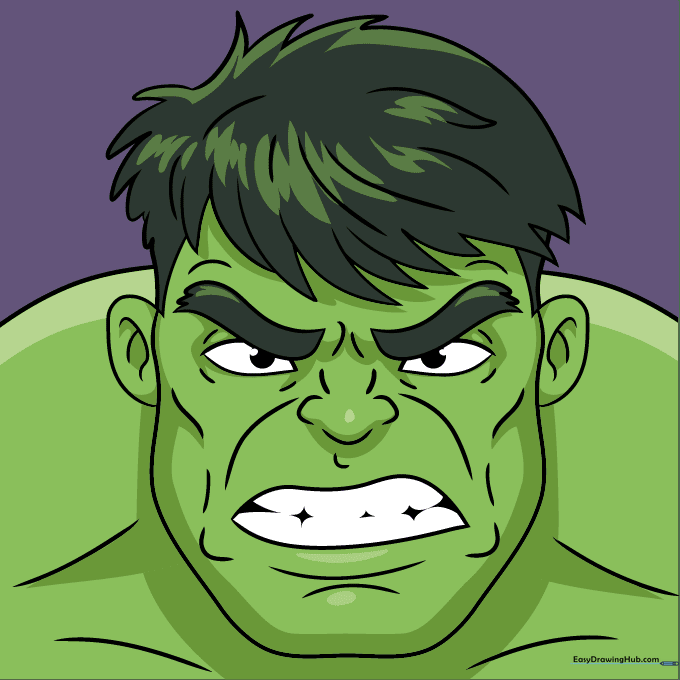
Time to color! Use a vibrant green for his skin and a deep black for his hair. Tip: Try using a slightly darker shade of green in the shadows under his brow and chin to make his face look more three-dimensional.
More Tutorials


