How to Draw Huggy Wuggy: Easy 9-Step Tutorial for Kids
Ready to bring this iconic character to life? This tutorial is perfect for young artists ages 7+ who want to practice character design. You will only need a pencil, an eraser, and a black marker to complete this project.
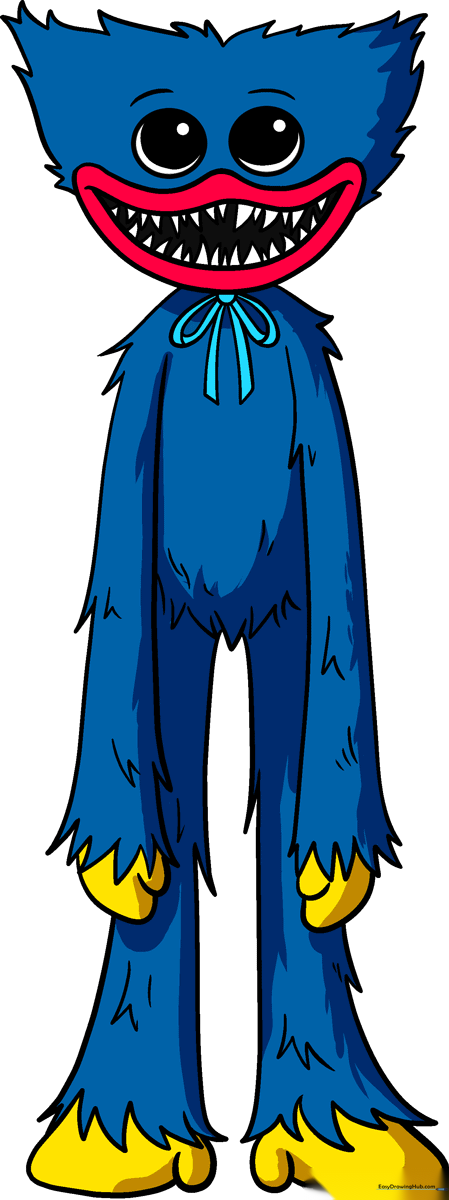
🎯 Final Result
Step-by-Step Instructions
Step 1: Sketching the Eyes

Draw two circles near the top of your page. Add a smaller circle inside each for the pupils, and tiny dots for highlights. Teacher's Tip: Keep your pencil pressure light so you can easily adjust the spacing if the eyes look too far apart.
Step 2: Creating the Grin

Sketch a wide 'W' shape under the eyes to form the mouth, then add a deep curve below it. Fill the space with jagged, uneven triangles for teeth. Teacher's Tip: Don't worry about making the teeth perfect; the more irregular they are, the more character they have!
Step 3: Defining the Head
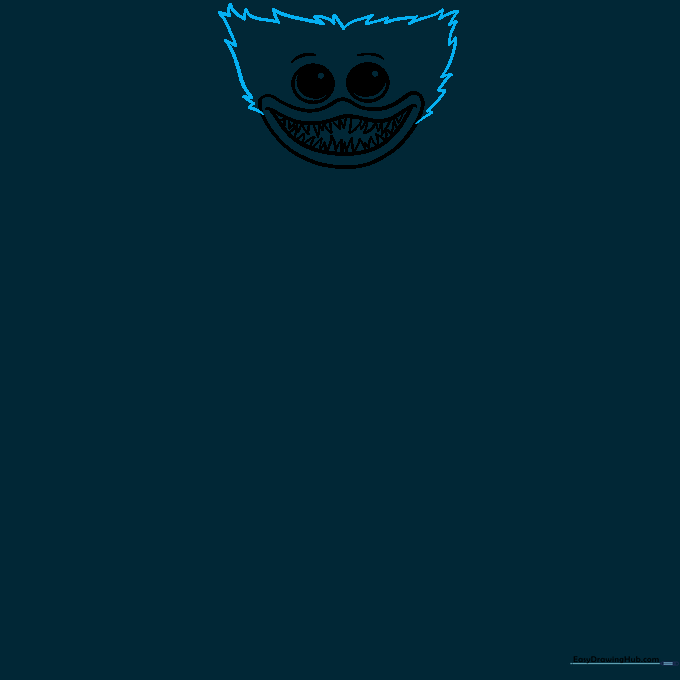
Use loose, flame-like triangles to outline the head shape around the eyes and mouth. Teacher's Tip: Use quick, flicking motions with your wrist to give the head a 'furry' texture.
Step 4: Adding the Bow
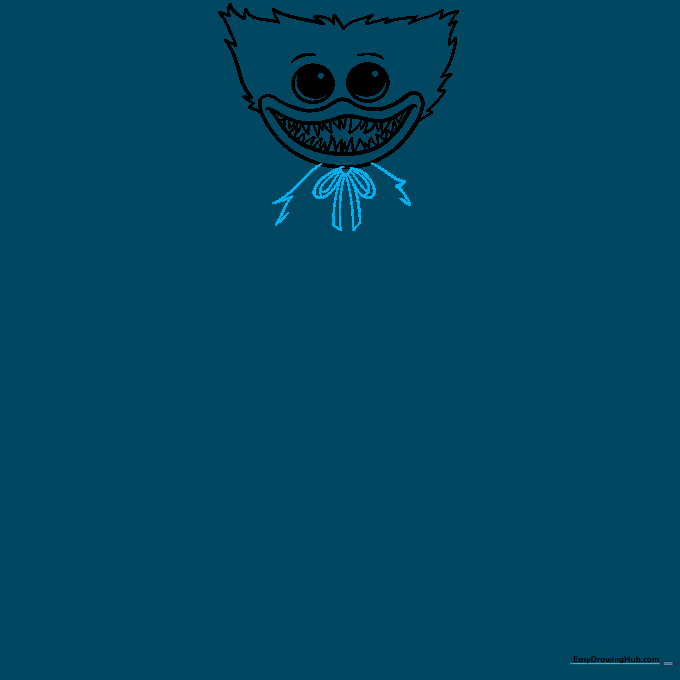
Draw two loops for the bow, adding smaller loops inside for depth, and two rectangles below. Teacher's Tip: Center the bow right under the chin to keep the character balanced.
Step 5: Sketching the First Arm
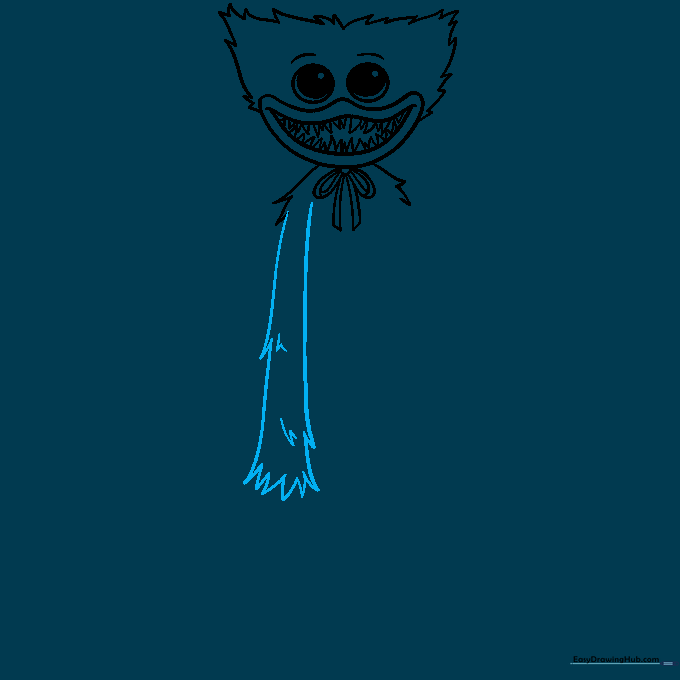
Draw two long vertical lines for the arm, adding a triangle at the end for the hand. Connect them with small, sketchy triangles. Teacher's Tip: Make the arm long and noodle-like to match the character's lanky style.
Step 6: Mirroring the Second Arm
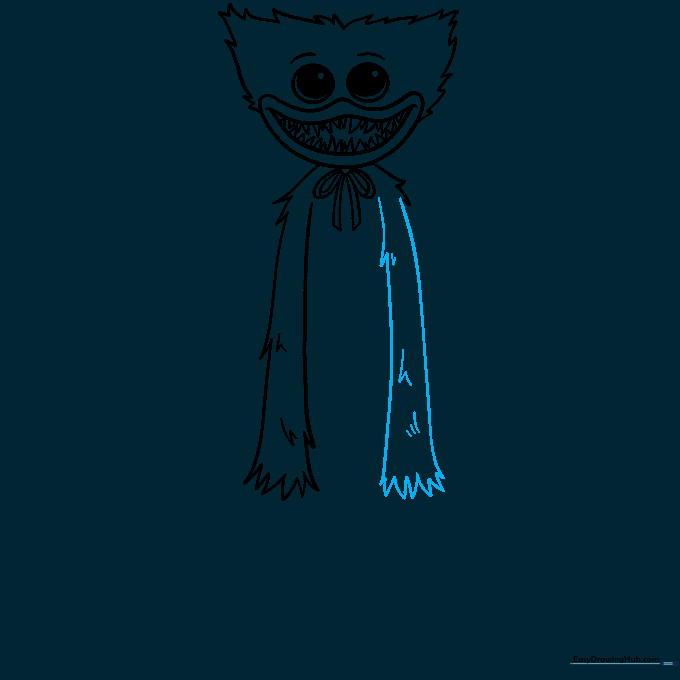
Repeat the process from the previous step on the right side to create the second arm. Teacher's Tip: Try to keep the arms roughly the same length so the character looks symmetrical.
Step 7: Defining the Torso
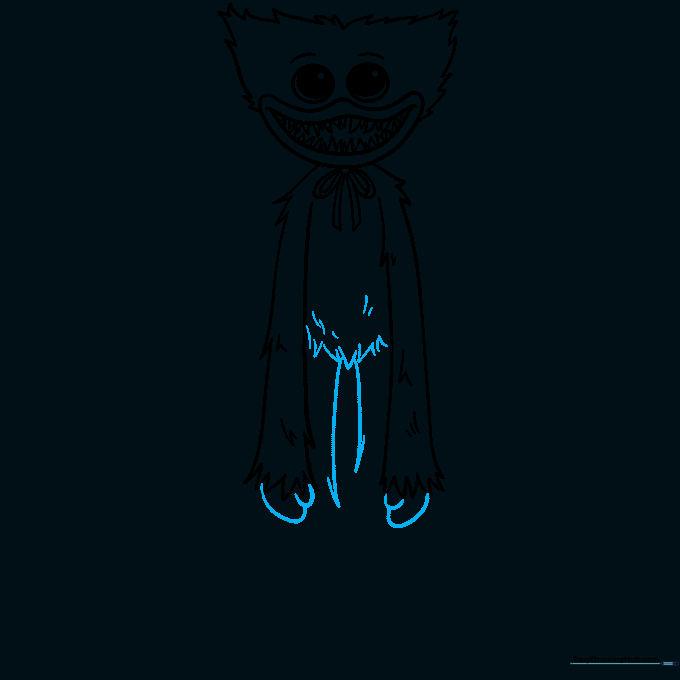
Connect the arms with a torso outline using more 'furry' triangles. Add two vertical lines pointing downward for the legs. Teacher's Tip: Keep the torso narrow to emphasize the long limbs.
Step 8: Drawing the Legs
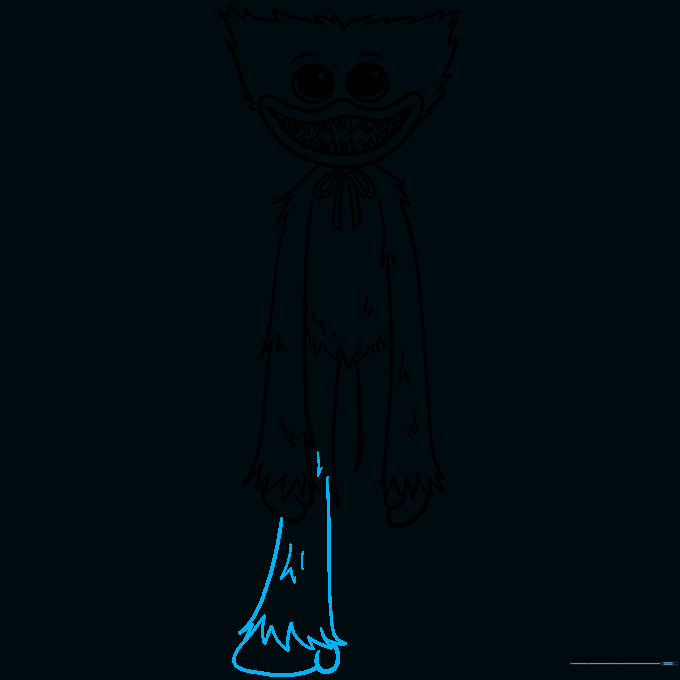
Extend the leg lines and add an oblong shape with a small loop for the foot. Teacher's Tip: Ensure the feet are large enough to ground the character on the page.
Step 9: Final Outline
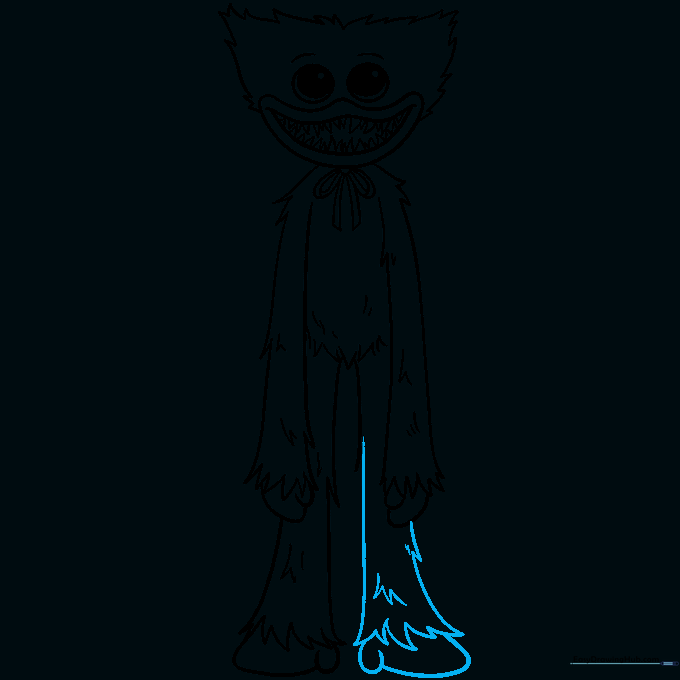
Repeat the leg process for the right side. Use a black marker to trace your final lines, filling in the eyes and mouth for a bold finish. Teacher's Tip: Use a steady hand when outlining to make your drawing pop!
Step 10: Adding Color
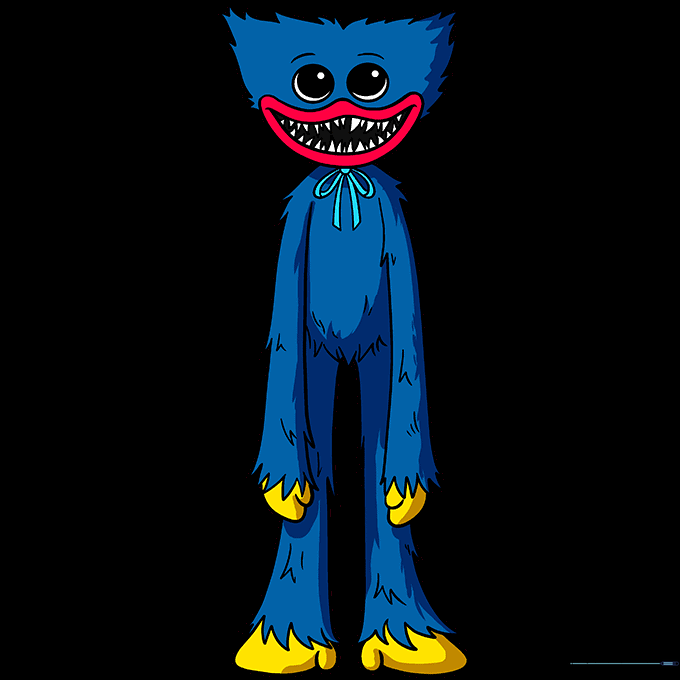
Use navy for the fur, yellow for the hands and feet, pink for the mouth, and light blue for the bow. Keep the teeth white. Teacher's Tip: Use light, circular coloring motions to avoid streaks.
More Tutorials


