How to Draw Hot Cross Buns: Easy 10-Step Tutorial
Bring the warmth of the bakery to your sketchbook with this fun, beginner-friendly tutorial. Perfect for ages 5 and up, this activity uses simple shapes to build confidence in drawing food items. Grab your pencil and eraser—we are going to create a batch of festive treats!
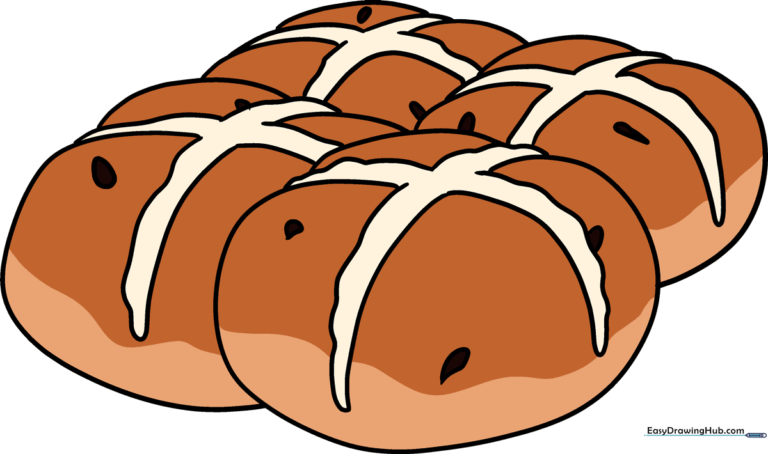
🎯 Final Result
Step-by-Step Instructions
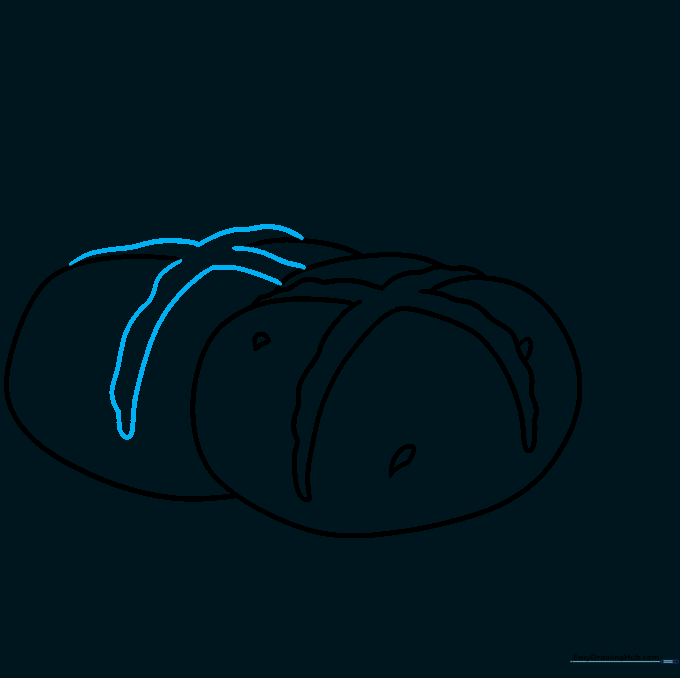
Step 1: Sketching the First Bun

Draw a long, soft curved line to create an irregular circle. Teacher's Tip: Don't worry about making it a perfect circle; real baked goods are slightly lumpy and organic, so embrace those natural curves!
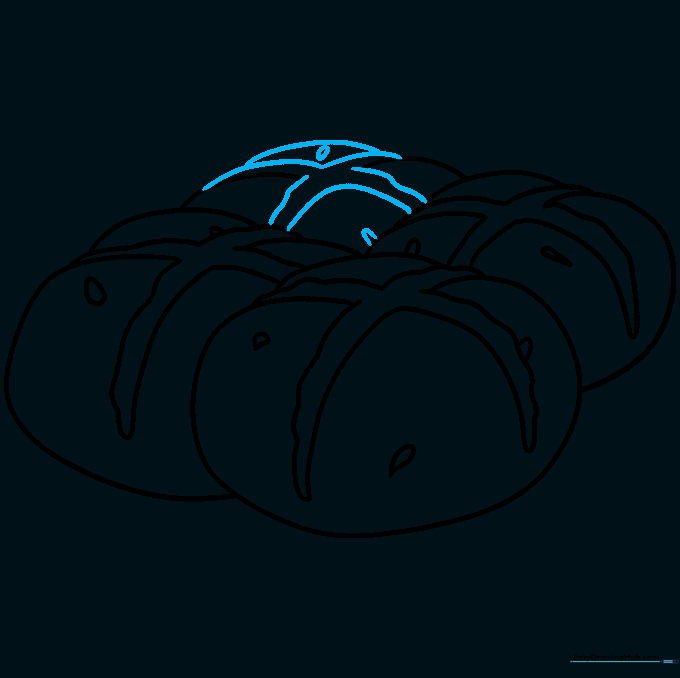
Step 2: Adding the Icing Cross
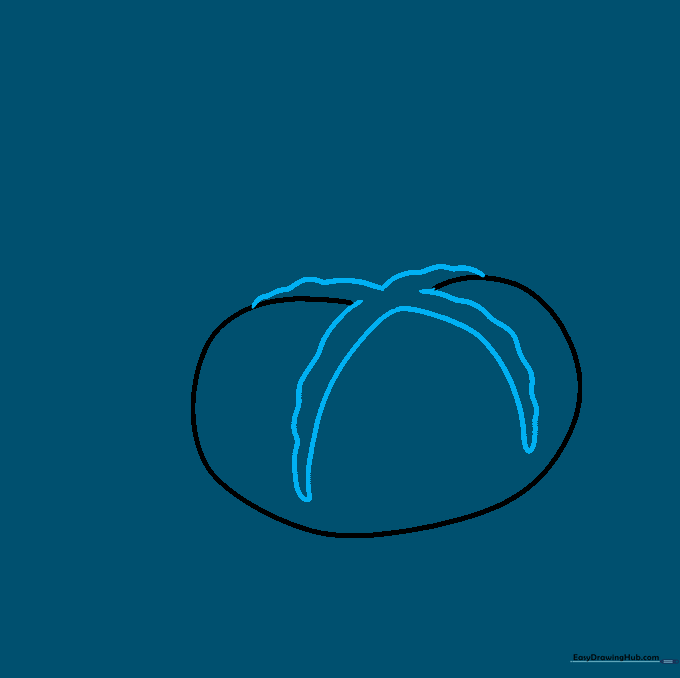
Draw an inverted 'U' shape across the top, then add wavy lines to form the four arms of the cross. Tip: Keep the lines slightly rounded to make the icing look thick and piped onto the bun.
Step 3: Adding Texture
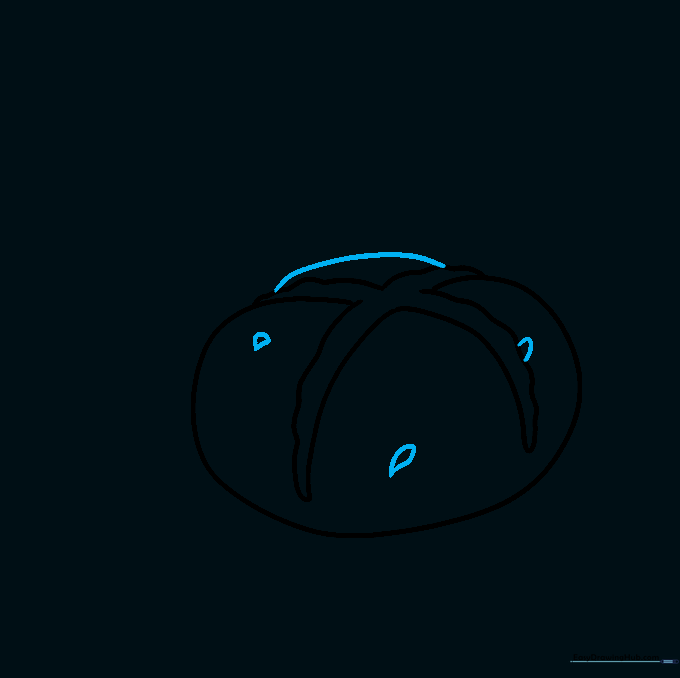
Close the fourth quadrant of the bun with a curved line. Add a few small, irregular shapes on the surface. Tip: These little shapes represent the texture of the bread—think of them as raisins or currants!
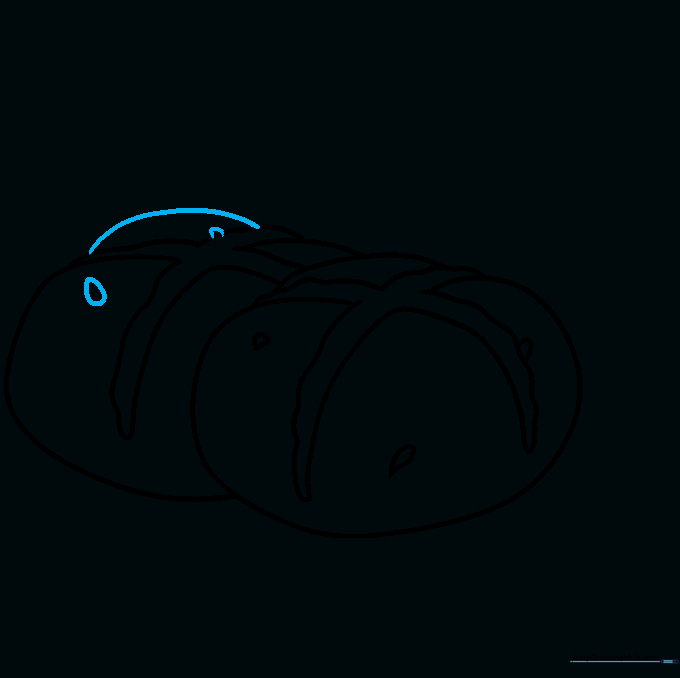
Step 4: Drawing the Second Bun
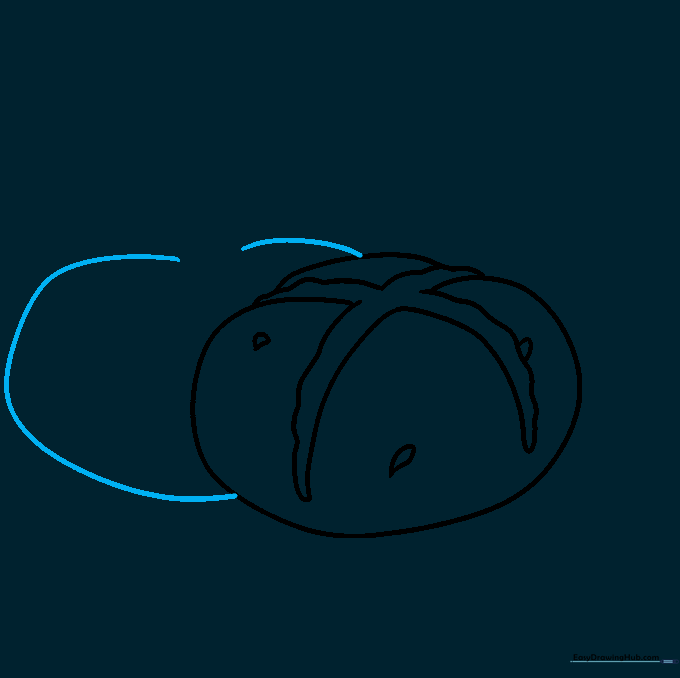
Sketch another incomplete round shape overlapping the first. Tip: Overlapping creates depth, making your drawing look more professional and less like a flat list of items.
Step 5: Detailing the Second Bun
Use wavy lines to complete the cross shape on the second bun. Tip: Ensure the cross lines follow the curve of the bun to make it look three-dimensional.
Step 6: Finishing the Second Bun
Close the final section of the second bun and add more irregular texture shapes. Tip: Vary the size of your texture shapes to make the bread look more realistic.
Step 7: The Third Bun
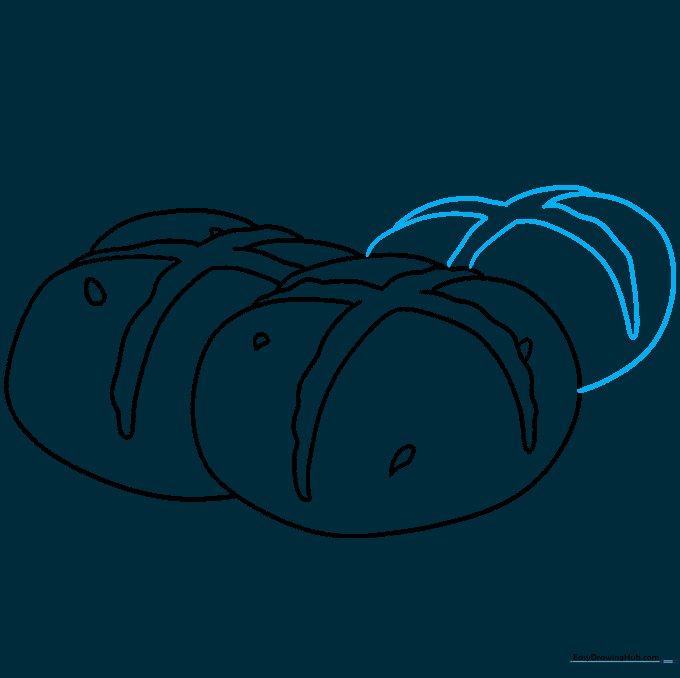
Outline the third bun and add the cross on top. Tip: Try placing this bun slightly behind the others to create a sense of a full tray.
Step 8: Adding the Fourth Bun
Complete the third bun with texture, then sketch the sides of the fourth bun. Tip: Since this one is in the back, you only need to draw the visible parts to save space.
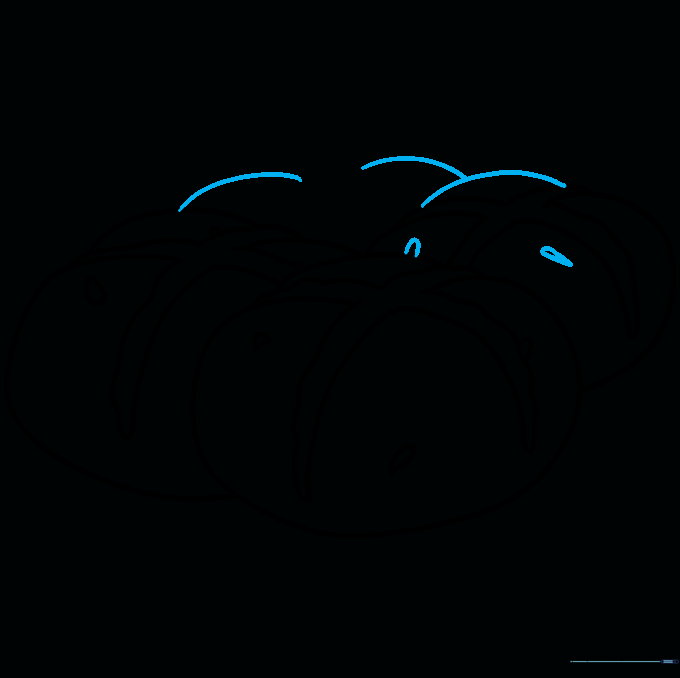
Step 9: Finalizing the Fourth Bun
Add the cross and texture to the final bun. Tip: Check your drawing for any stray lines and erase them now to prepare for coloring.
Step 10: Coloring Your Masterpiece
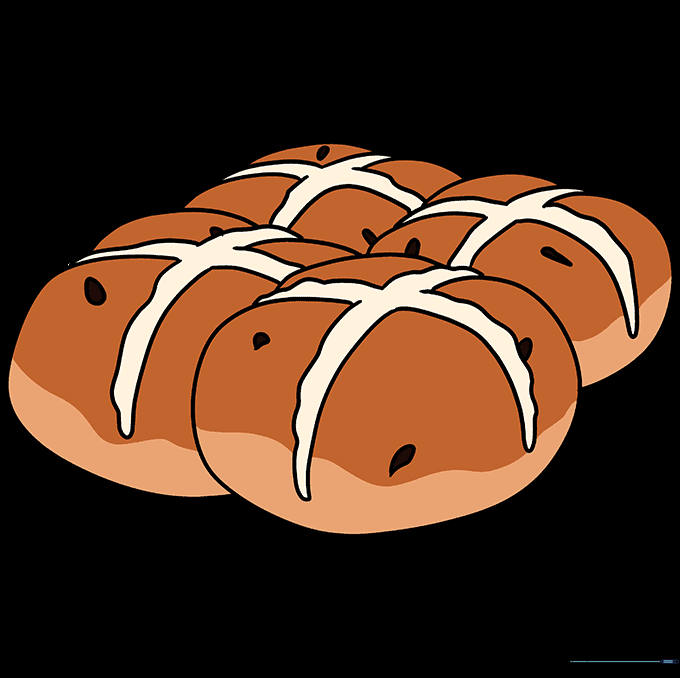
Bring your buns to life! Use warm browns for the crust and a light cream or white for the icing. Tip: Use a darker brown for the shaded areas under the buns to make them look like they are sitting on a table.
More Tutorials


