How to Draw Hot Chocolate: Easy 10-Step Guide for Kids
Warm up your creativity with this cozy hot chocolate drawing tutorial, perfect for artists ages 5 and up. You only need a pencil, an eraser, and your favorite markers or crayons to bring this winter treat to life. Follow these steps to master simple shapes and add fun details like floating marshmallows and rising steam.
🎯 Final Result

Step-by-Step Instructions
Step 1: Sketch the Mug Rim
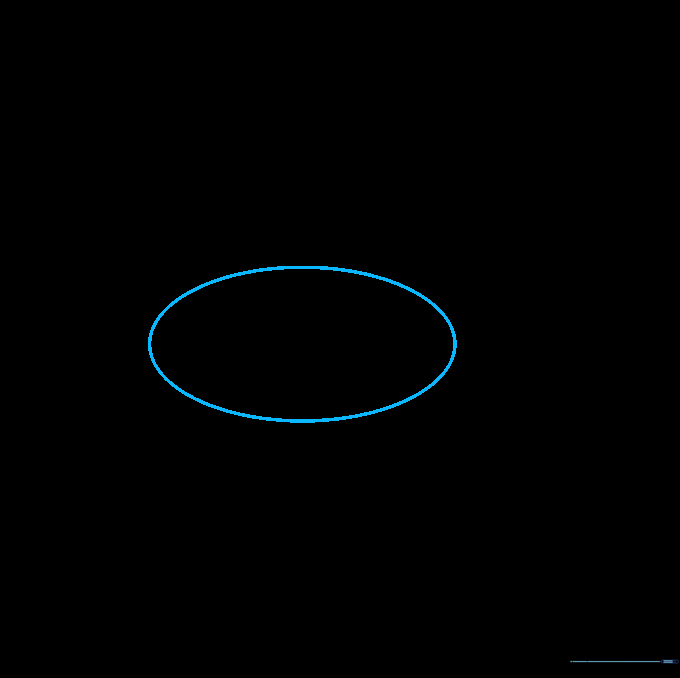
Draw a wide, horizontal oval to create the opening of your mug. Teacher's Tip: Keep your pencil lines very light so they are easy to erase later if you need to adjust the shape.
Step 2: Define the Mug Body
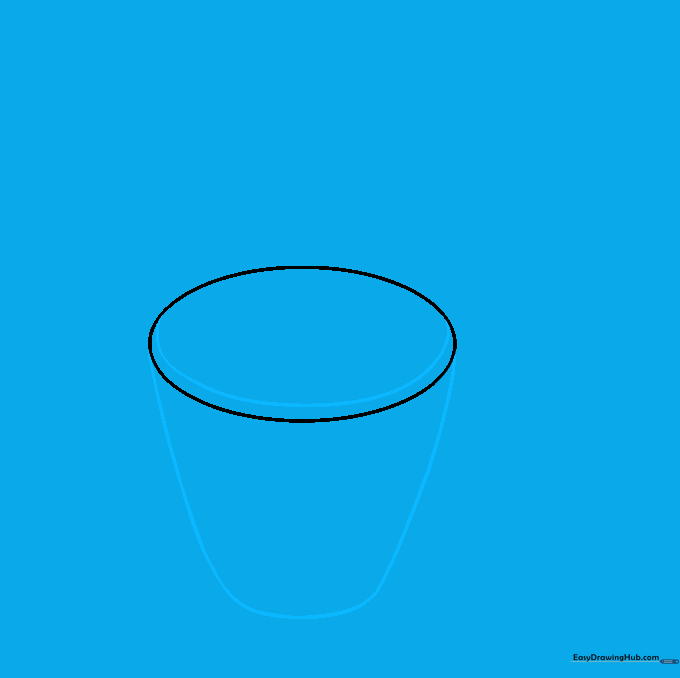
Draw a curved line inside the oval to show the inner rim, then extend two lines downward from the sides of the oval to form the mug's body. Tip: Curve the bottom line slightly to give the mug a rounded, 3D look.
Step 3: Create the Base

Add a curved line at the bottom to enclose the base of the mug. Tip: Imagine the mug is sitting on a table; this curve helps it look grounded rather than floating in space.
Step 4: Add the Handle
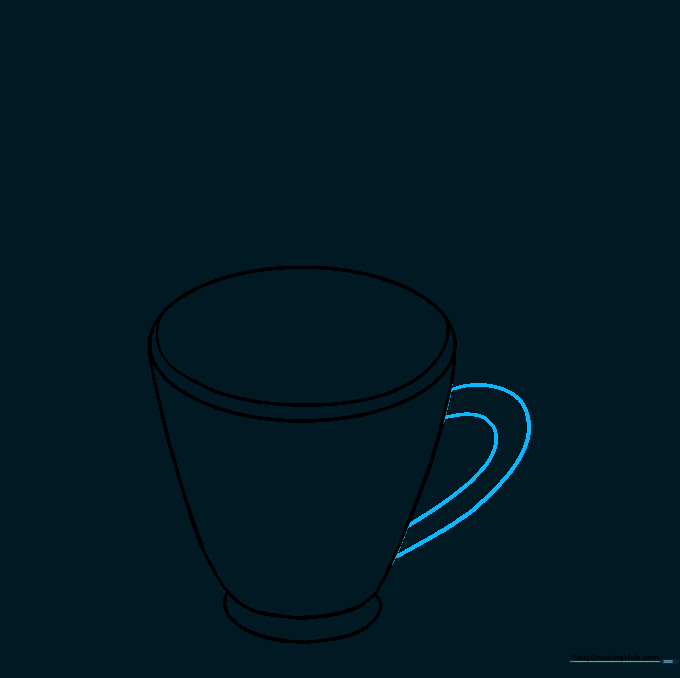
Draw two parallel 'C' shaped lines on the side of the mug to create the handle. Tip: Make the handle large enough to fit a 'finger'—it makes the drawing look more realistic!
Step 5: Draw the Liquid Line
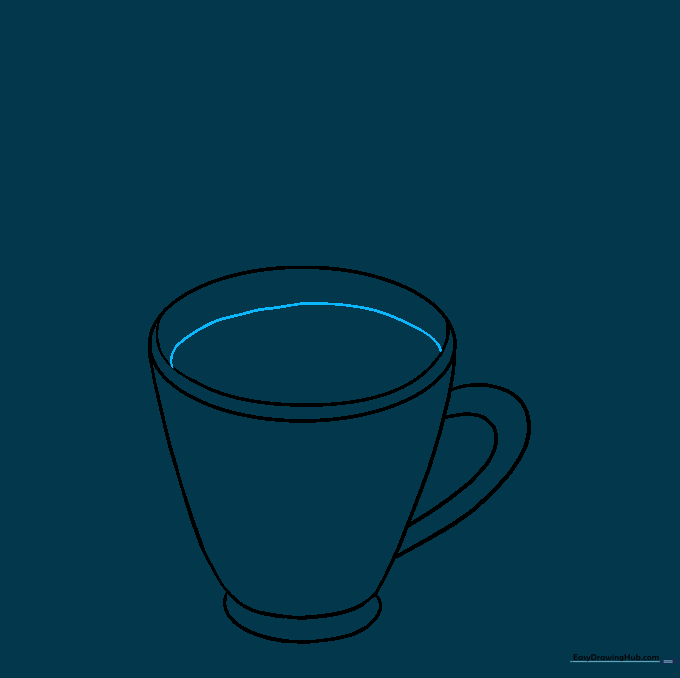
Draw a gentle curved line inside the mug to represent the surface of the hot chocolate. Tip: Keep this line parallel to the top rim to show that the mug is full.
Step 6: Add Marshmallows
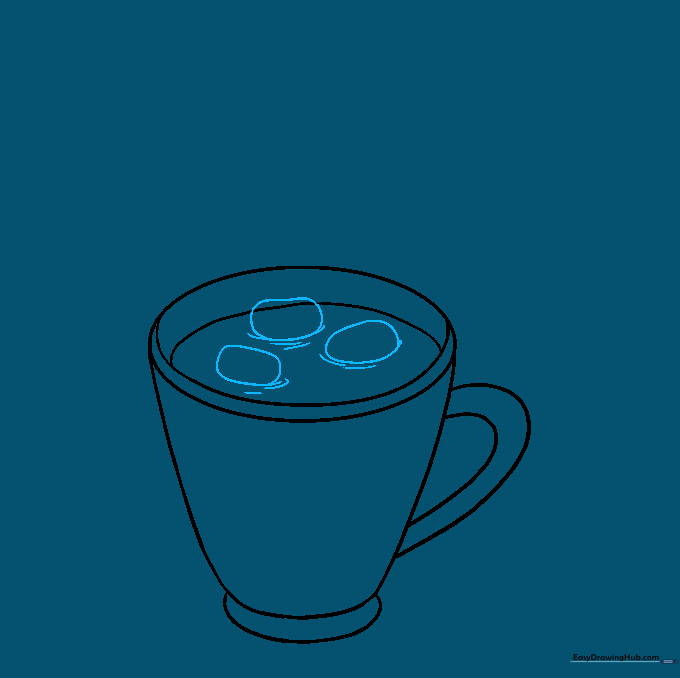
Draw a few small, irregular rounded shapes on top of the liquid line to represent marshmallows. Add tiny curved lines underneath them to show ripples in the cocoa. Tip: Don't make the marshmallows perfect circles; slightly lumpy shapes look more natural!
Step 7: Clean Up Your Lines

Carefully erase any overlapping guidelines inside the marshmallows. Tip: Use a kneaded eraser if you have one—it’s great for lifting graphite without smudging your paper.
Step 8: Add Decorative Details
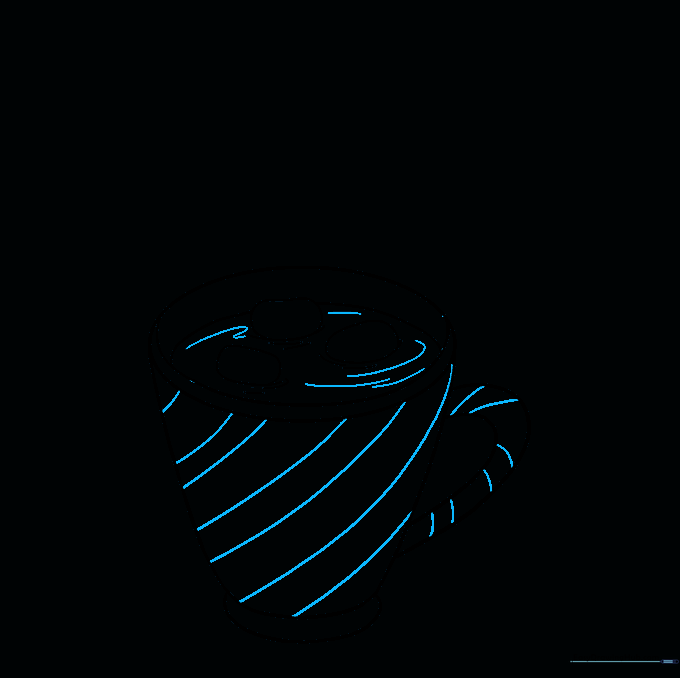
Add diagonal stripes to the mug for a festive look. Tip: Use a ruler if you want perfectly straight lines, or go freehand for a cozy, handmade aesthetic.
Step 9: Draw the Steam
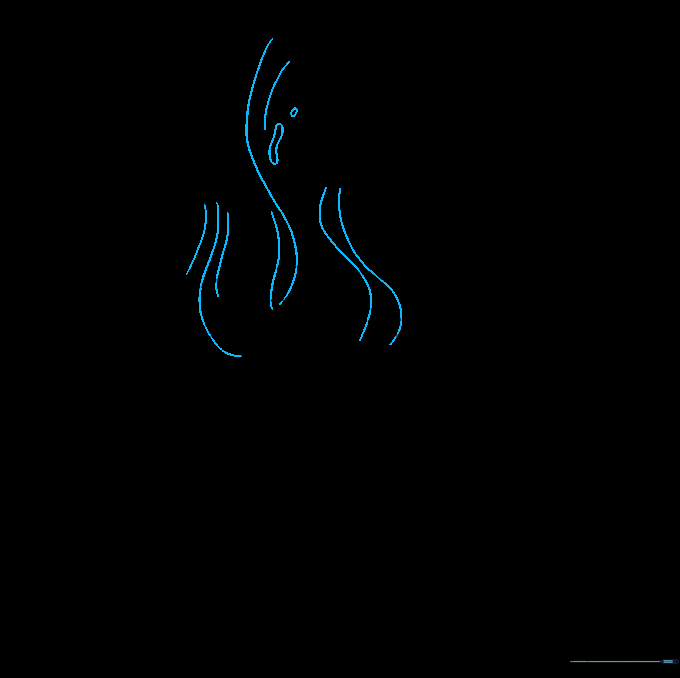
Draw loose, wavy 'S' shaped lines rising from the mug to represent steam. Tip: Vary the length of the lines to make the steam look like it's drifting in the air.
Step 10: Color Your Masterpiece

Bring your drawing to life with color! Use warm browns for the cocoa and your favorite colors for the mug. Tip: Add a little white highlight to the marshmallows to make them look soft and fluffy.
More Tutorials


