How to Draw Homer Simpson: Easy 10-Step Guide
Ready to bring Springfield's favorite dad to life? This tutorial is perfect for artists ages 6 and up, requiring only a pencil, eraser, and paper. Follow these simple steps to master Homer's iconic silhouette and expressive face.
🎯 Final Result

Step-by-Step Instructions
Step 1: Sketching the Eyes and Nose

Start by drawing a curved line for the nose. Above it, draw two large circles for the eyes. Teacher's Tip: Keep the circles slightly overlapping to give him that classic cartoon look; shade small dots inside for pupils.
Step 2: Defining the Mouth

Draw a curved line from below the eye, looping it under the nose to form the upper lip. Double the line back to create the open mouth and lower lip. Add short vertical lines for teeth. Tip: Use a light touch for the teeth so they don't look too heavy.
Step 3: Shaping the Head and Hair

Extend a curved line from the top eye to form the skull. Add a 'C' shape for the ear and a straight line for the neck. Draw small zigzags on top for his hair. Tip: Don't worry if the hair isn't perfect; Homer's hair is famously sparse and messy!
Step 4: Drawing the Collar and Arm
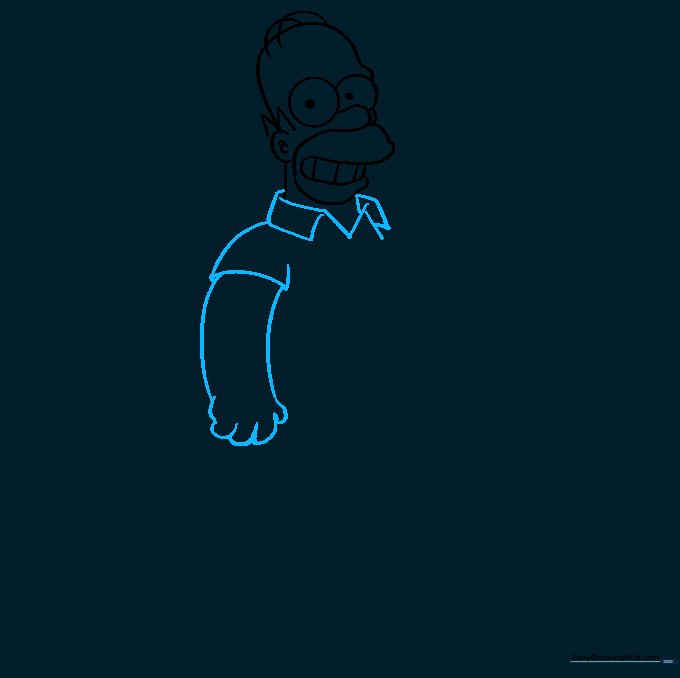
Create an 'M' shape at the neck for the collar. Enclose the rectangular collar sides, then draw the bell-shaped sleeve. Extend curved lines for the arm and hand. Tip: Keep the arm lines smooth and rounded to match the cartoon style.
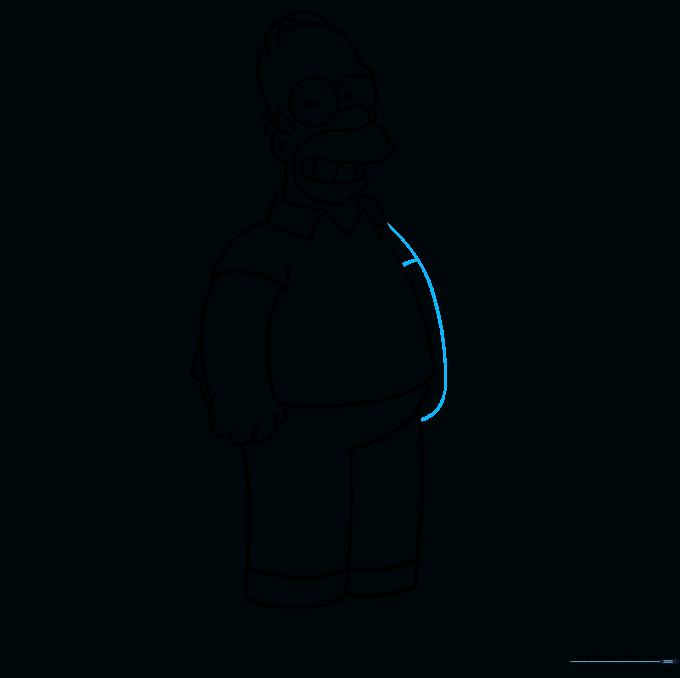
Step 5: Sketching the Torso

Use smooth, curved lines to draw the side and bottom of the shirt. Tip: Imagine you are drawing a soft, rounded rectangle to get the proportions right for his belly.
Step 6: Adding the Pants
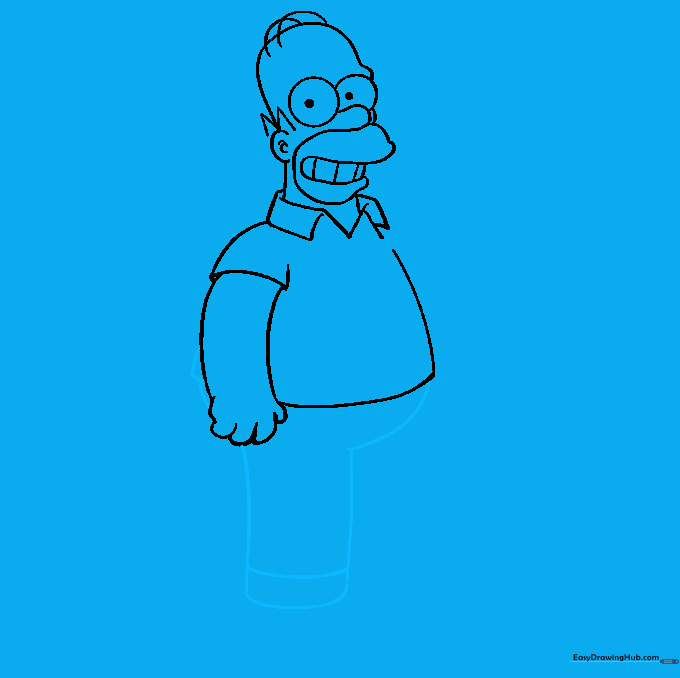
Draw a curved line at the base of the shirt for the waist. Extend two lines down for the pant leg, closing it with a cuff. Tip: Parallel lines help keep the pant leg looking uniform.
Step 7: Completing the Legs

Extend a line downward from the front of the pants and connect it to the other leg using short, curved lines. Tip: This creates the illusion of depth in his stance.
Step 8: Refining the Arms
Enclose the remaining sleeve with curved lines that meet at a point. Add the rest of the arm. Tip: Ensure the arm connects naturally to the torso to maintain the character's posture.
Step 9: Drawing the Shoes

Use a curved line to enclose the irregular, rounded shape of each shoe. Tip: Keep the shoes slightly bulky to match Homer's classic design.
Step 10: Adding Color

Bring your drawing to life! Use a bright yellow for his skin, white for his shirt, and blue for his pants. Tip: Use long, even strokes when coloring to keep the texture smooth.
More Tutorials


