How to Draw Holly: Easy 10-Step Holiday Art Guide
Bring the holiday spirit to your sketchbook with this simple holly drawing tutorial, perfect for artists ages 5 and up. You will only need a pencil, an eraser, and your favorite markers or crayons to complete this festive design. Follow along to master the classic, prickly leaf shape and bright berries that define this iconic winter plant.
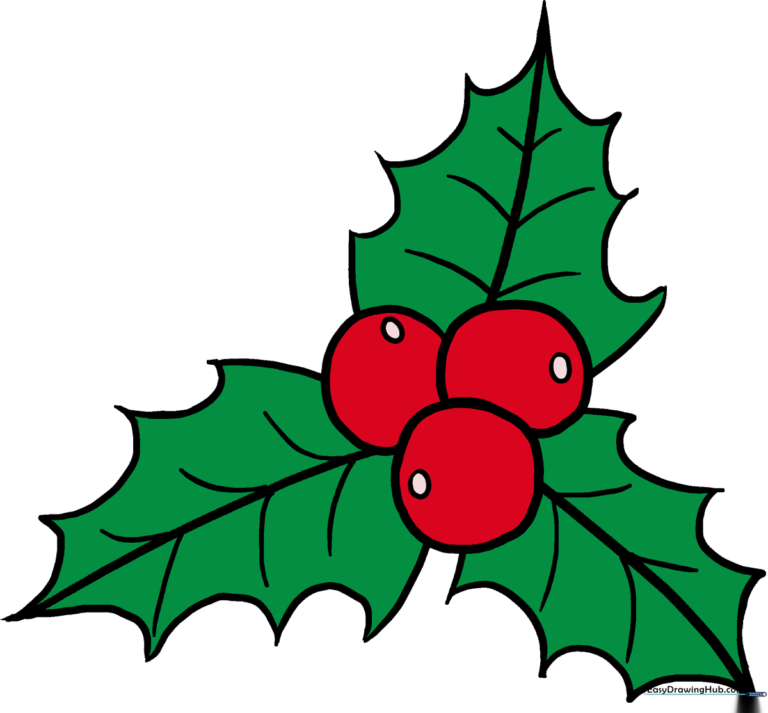
🎯 Final Result
Step-by-Step Instructions
Step 1: Sketching the Leaf Veins

Draw three long, curved lines radiating from a central point. Teacher's Tip: Use a light touch here, as these are just the 'skeleton' of your leaves and will be hidden later.
Step 2: Outlining the First Leaf

Outline your first leaf around one of the veins using short, jagged, 'zig-zag' strokes. Teacher's Tip: Holly leaves are prickly, so make your points sharp rather than rounded.
Step 3: Adding the Second Leaf

Repeat the jagged outline process for the second leaf vein. Teacher's Tip: Try to vary the size of the 'teeth' on the leaf edge to make it look more natural.
Step 4: Completing the Leaf Trio

Draw the third leaf using the same jagged technique. Teacher's Tip: If your lines overlap, don't worry! It adds depth to your drawing.
Step 5: Placing the First Berry

Draw a small circle right in the center where the leaves meet. Teacher's Tip: A perfect circle isn't required—a slightly organic shape looks more like a real berry.
Step 6: Adding More Berries

Add two or three more circles around the first one. Teacher's Tip: Draw them slightly overlapping to show that they are bunched together in a cluster.
Step 7: Cleaning Up

Carefully erase any pencil lines that cross through the berries. Teacher's Tip: Use a clean eraser and gentle pressure to keep your paper smooth.
Step 8: Adding Berry Highlights

Draw a tiny circle inside each berry. Teacher's Tip: This represents the 'shine' on the fruit, making them look plump and realistic.
Step 9: Adding Leaf Veins
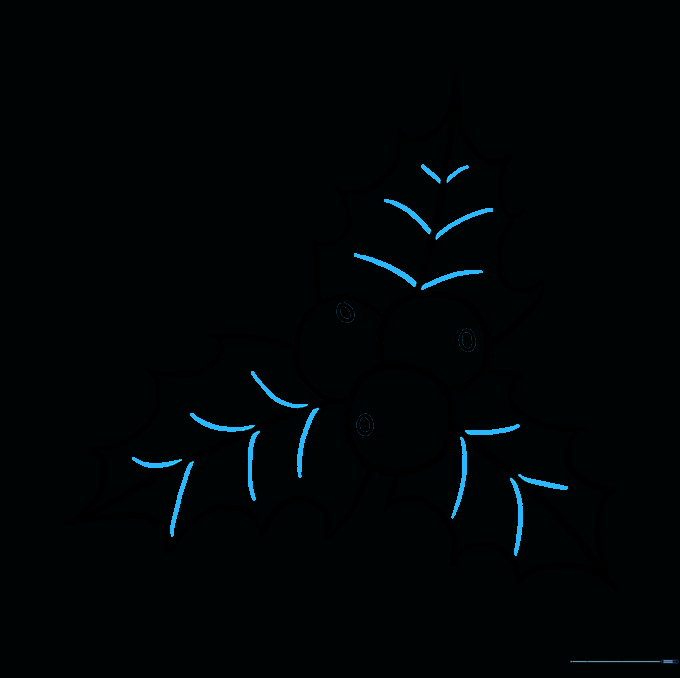
Draw small, curved lines branching out from the center vein of each leaf. Teacher's Tip: Keep these lines delicate so they don't overpower the leaf shape.
Step 10: Adding Color
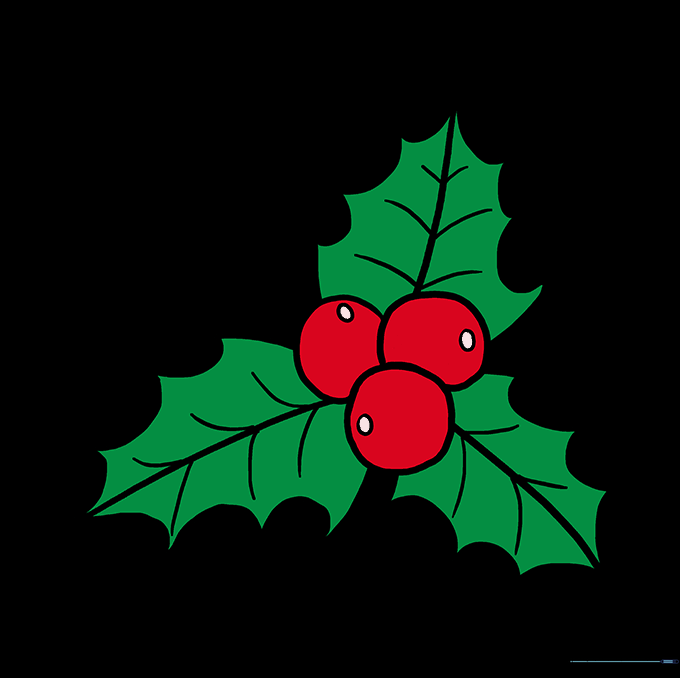
Color your holly with deep green for the leaves and bright red for the berries. Teacher's Tip: Leave the small circles you drew in Step 8 white to make the berries look glossy!
More Tutorials


