How to Draw Hisoka from Hunter x Hunter: Easy Step-by-Step
Ready to capture Hisoka’s mysterious charm? This tutorial is designed for fans and aspiring artists looking to practice anime-style facial proportions and expressive features. Grab your favorite graphite pencil and an eraser, and let’s bring this iconic character to life on your sketchbook page.
🎯 Final Result

Step-by-Step Instructions
Step 1: Establishing the Eyes
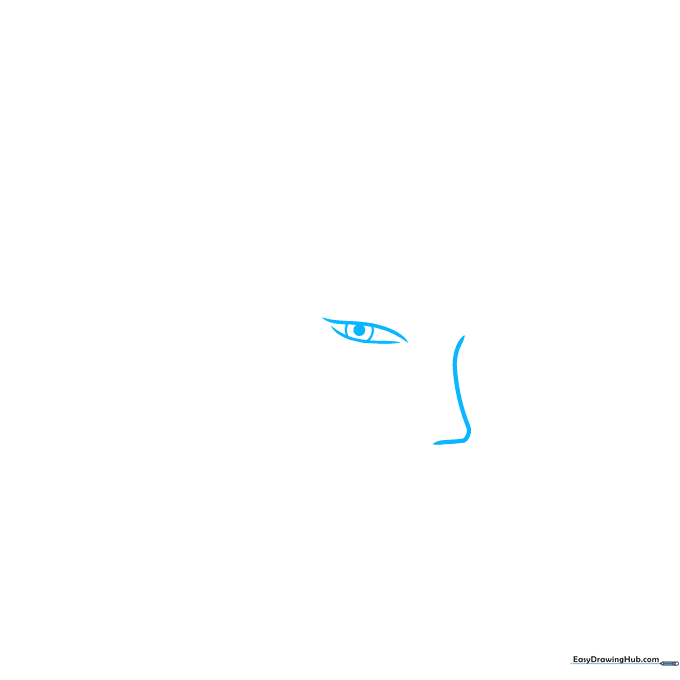
Start by sketching the upper eyelids using two elegant, curved lines. Place two small circles between them for the irises, and shade the centers for the pupils. Teacher's Tip: Keep the eyes narrow to capture Hisoka's signature 'sly' gaze.
Step 2: Refining Facial Features
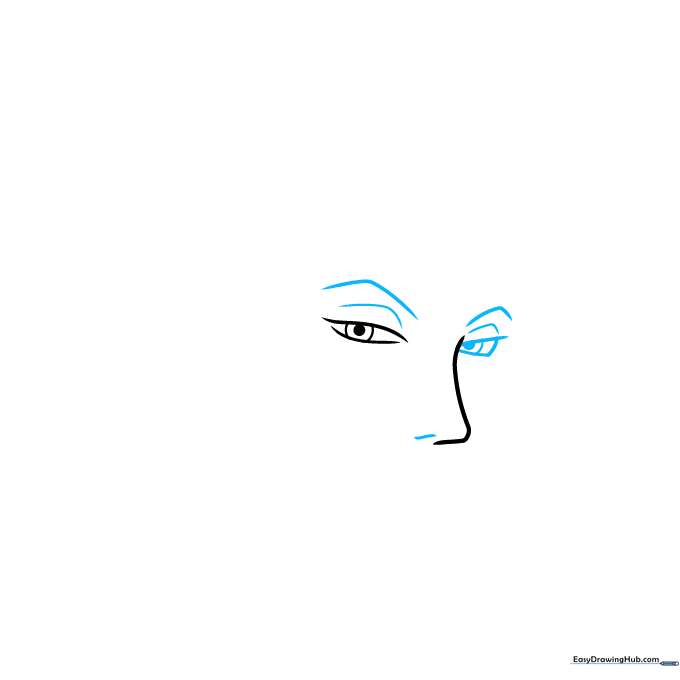
Add the lower lids and eyebrows using sharp, angular strokes. These lines define his personality. Tip: Use a light touch for the eyebrows so you can adjust the angle later if you want to change his expression.
Step 3: Shaping the Jawline
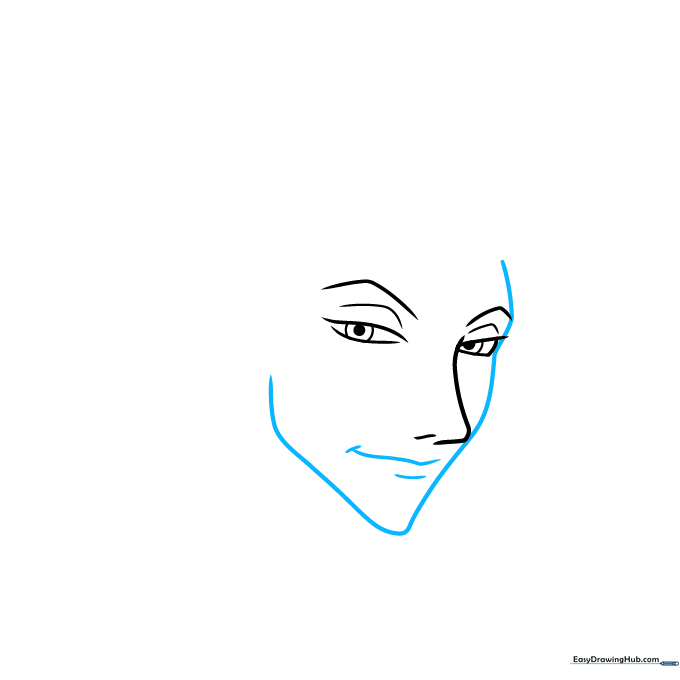
Draw a long, smooth curve for the chin, ensuring it comes to a slight point. Add the mouth with a subtle smirk. Tip: A slightly asymmetrical mouth adds character and depth to his mysterious personality.
Step 4: Hairline and Ear
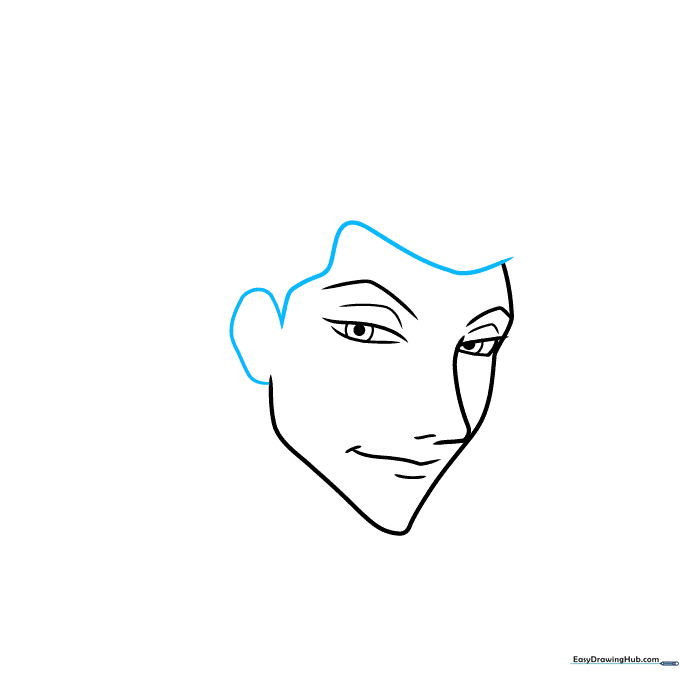
Frame the face by drawing the hairline and a single visible ear. Tip: Keep the ear simple; it acts as a guide for where the hair will eventually fall.
Step 5: Adding Iconic Markings
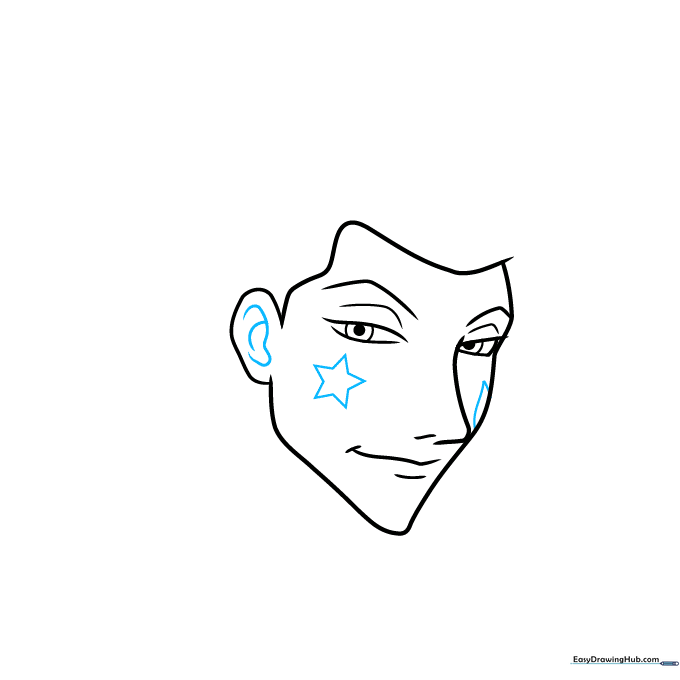
Draw the star on one cheek and the teardrop on the other. These are his most recognizable features! Tip: Use a light pencil guide to ensure the star is centered on the cheekbone.
Step 6: Starting the Hair
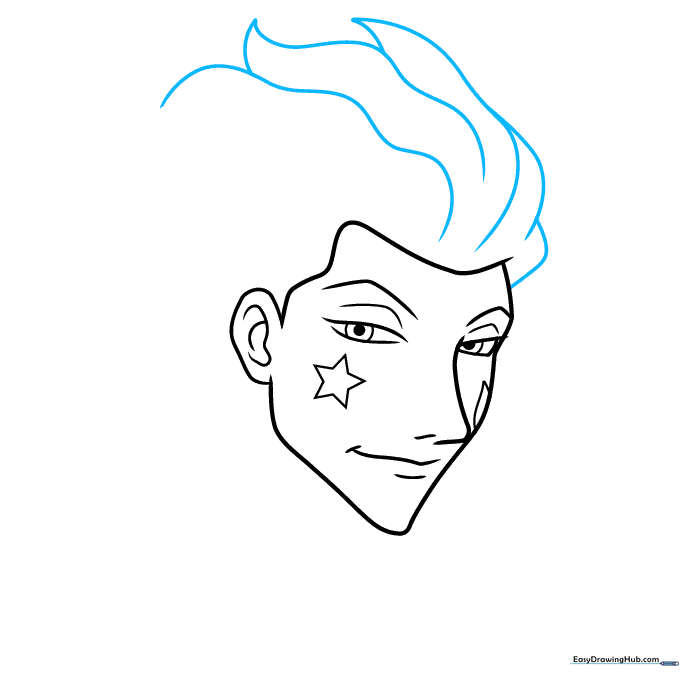
Begin sketching the hair using overlapping, jagged lines. Tip: Think of the hair as large, spiky clumps rather than individual strands to keep the anime aesthetic clean.
Step 7: Defining the Spiky Hair
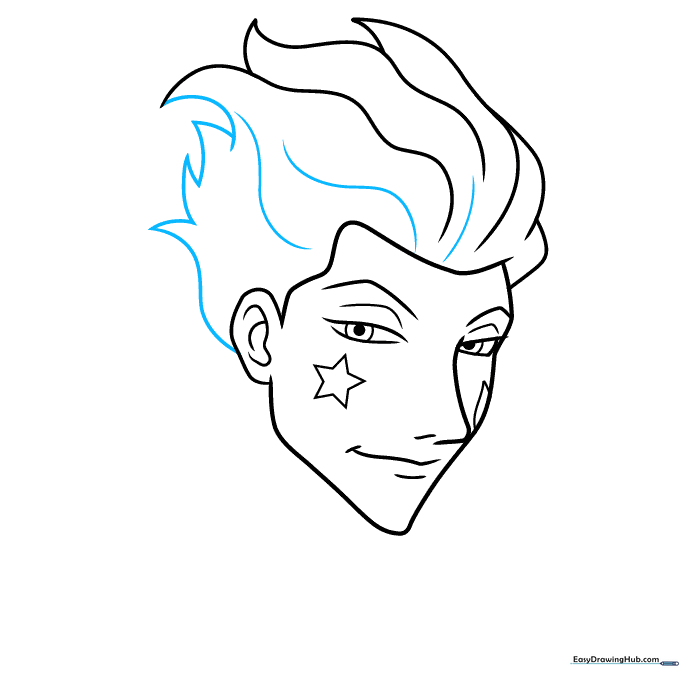
Continue adding volume to the hair with more jagged, upward-pointing lines. Tip: Vary the length of the spikes to make the hair look more natural and dynamic.
Step 8: Adding the Collar
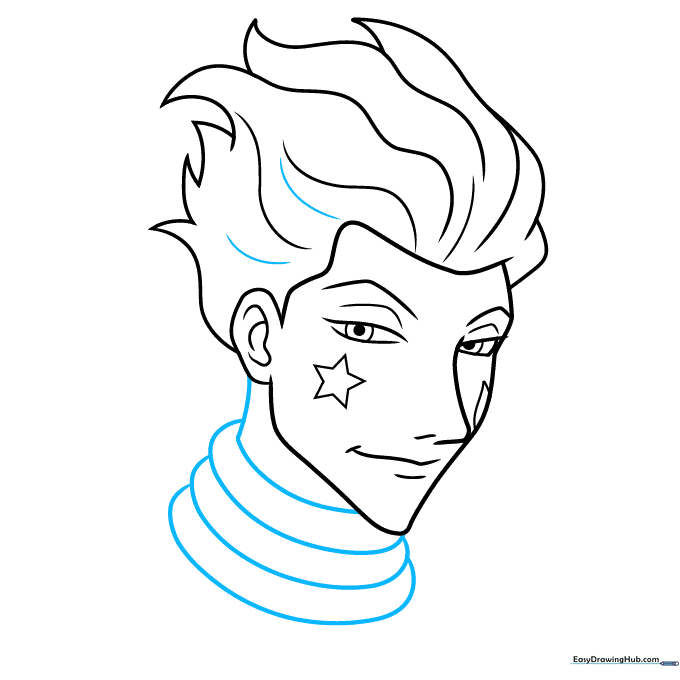
Draw the multilayered collar using 'C' shaped curves. This adds a sense of depth to the neck area. Tip: Ensure the collar looks stiff to match his formal, eccentric outfit.
Step 9: Finalizing the Outline

Complete the drawing by sketching the shoulders and the top of his garment. Tip: Use bold, confident lines for the final outline to make the character pop.
Step 10: Bringing Him to Life with Color
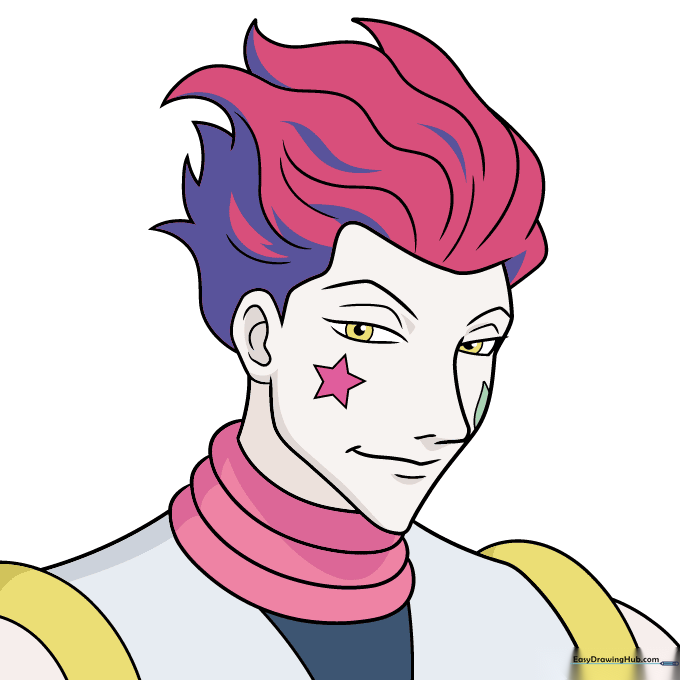
Time to color! Hisoka is known for his vibrant hair—usually pink or red—and his contrasting face markings. Tip: Use a light blue or yellow for the teardrop and star to create a striking visual balance.
More Tutorials


