How to Draw Helen Keller: Easy 9-Step Portrait Guide
Bring history to life with this step-by-step portrait guide, perfect for students ages 8 and up. You will need a pencil, an eraser, and a piece of paper to capture Helen Keller’s likeness. This lesson focuses on facial proportions and expressive features, helping you build confidence in drawing historical figures.
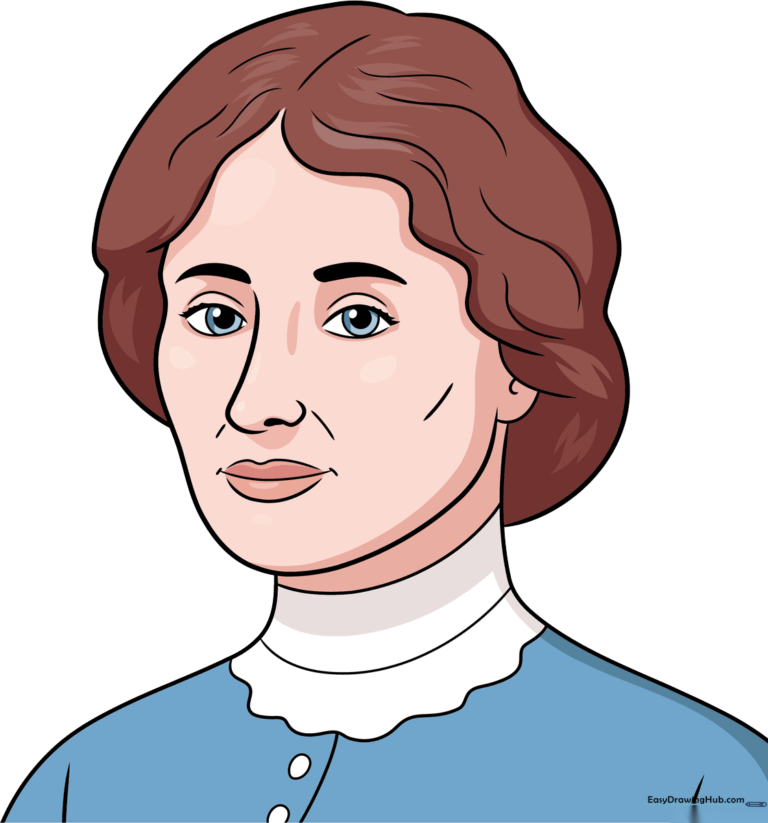
🎯 Final Result
Step-by-Step Instructions
Step 1: Sketching the Eyes

Draw two curved lines that don't quite meet at the corners to form the eye shape. Teacher's Tip: Keep your pencil pressure light here; if you make a mistake, it will be much easier to erase without leaving marks on your paper.
Step 2: Adding Brows and Lashes
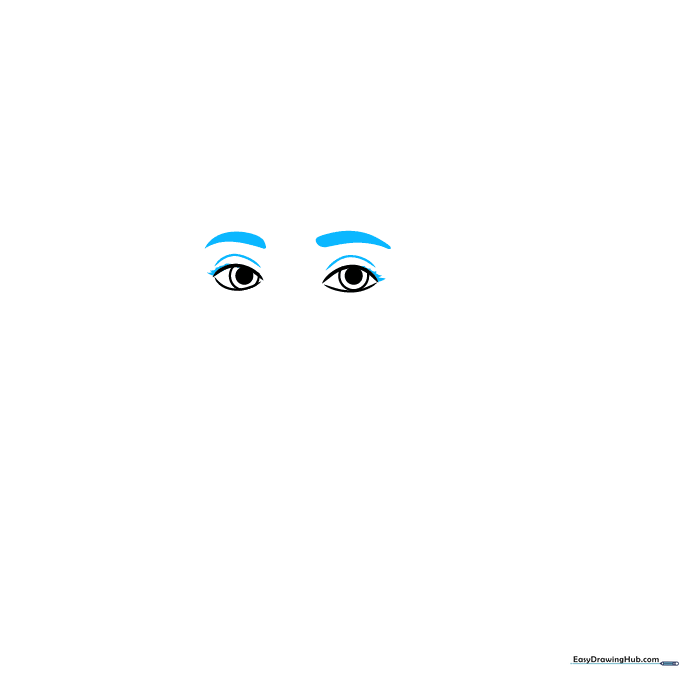
Sketch thick, slightly arched eyebrows above the eyes, then add delicate curved lines for the eyelids and short strokes for eyelashes. Teacher's Tip: Use short, flicking motions with your pencil to make the eyelashes look natural rather than stiff.
Step 3: Defining the Nose and Mouth
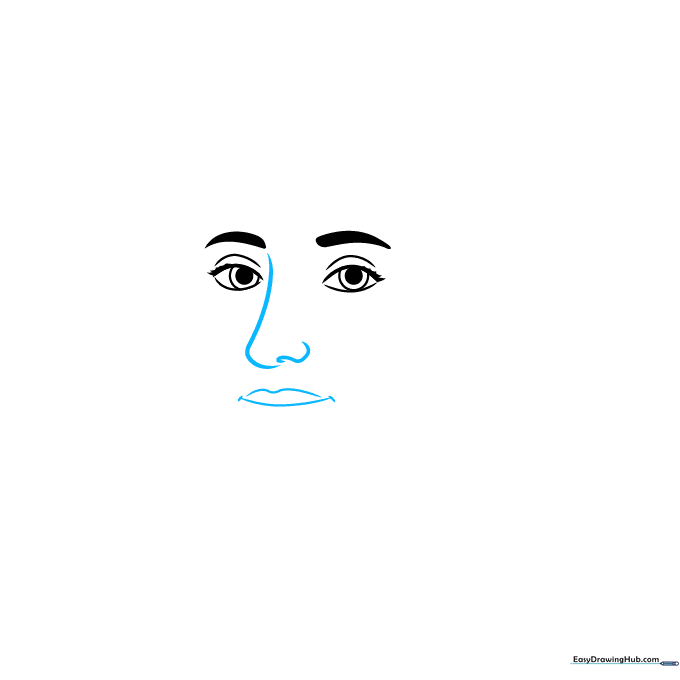
Draw the tip of the nose using a soft curve, then sketch a gentle, smiling mouth. Teacher's Tip: Add tiny lines at the corners of the mouth to give her a warm, realistic expression.
Step 4: Shaping the Face and Hairline
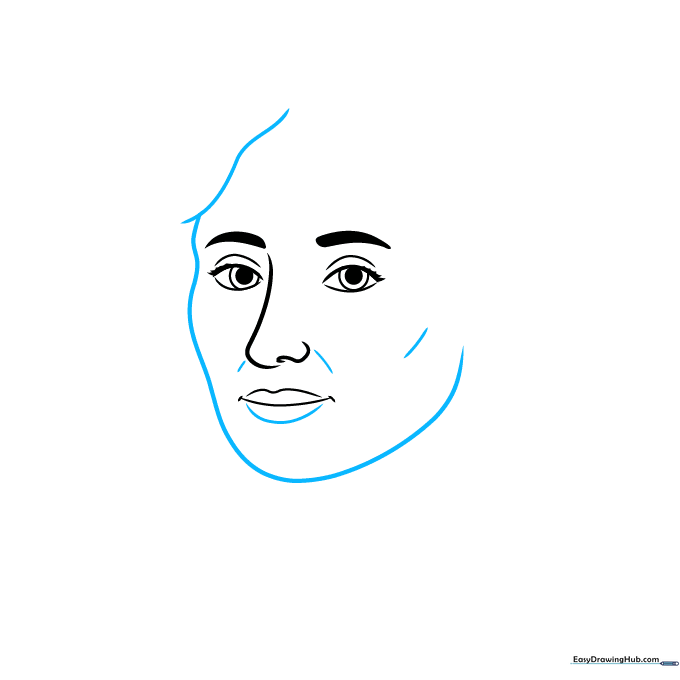
Outline the jawline with two smooth curves and begin sketching the hair framing the face. Teacher's Tip: Focus on the curve of the chin to ensure the face looks balanced.
Step 5: Adding Ears and Hair Volume
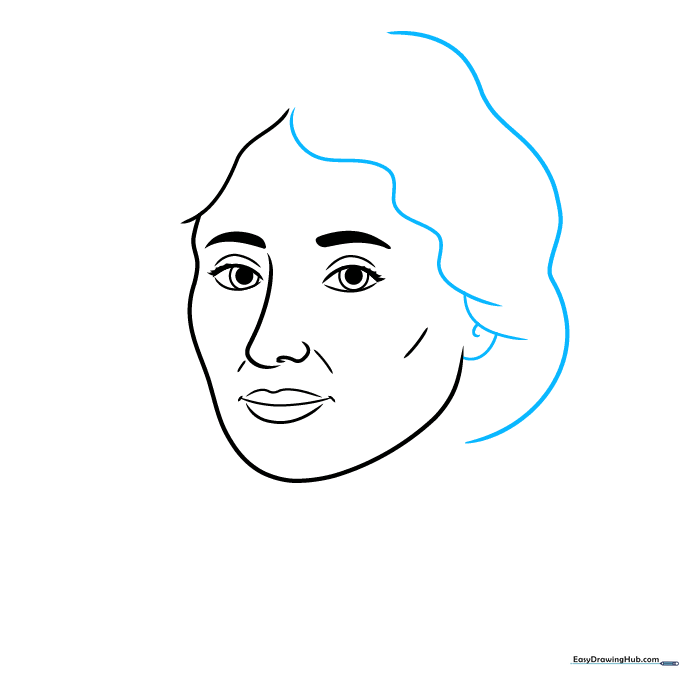
Draw the ear visible on the side of the head and continue the hair with long, flowing curved lines. Teacher's Tip: Use a small 'C' shape inside the ear to give it depth and realism.
Step 6: Drawing the Neck and Shoulders
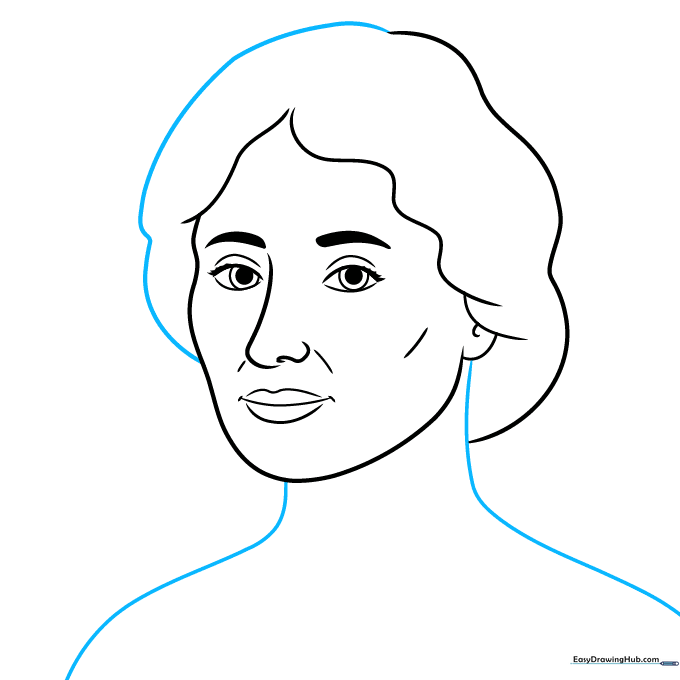
Extend long, smooth lines from the chin and ear to form the neck and shoulders. Teacher's Tip: Make sure the neck isn't too thin; it should support the head naturally.
Step 7: Designing the Garment
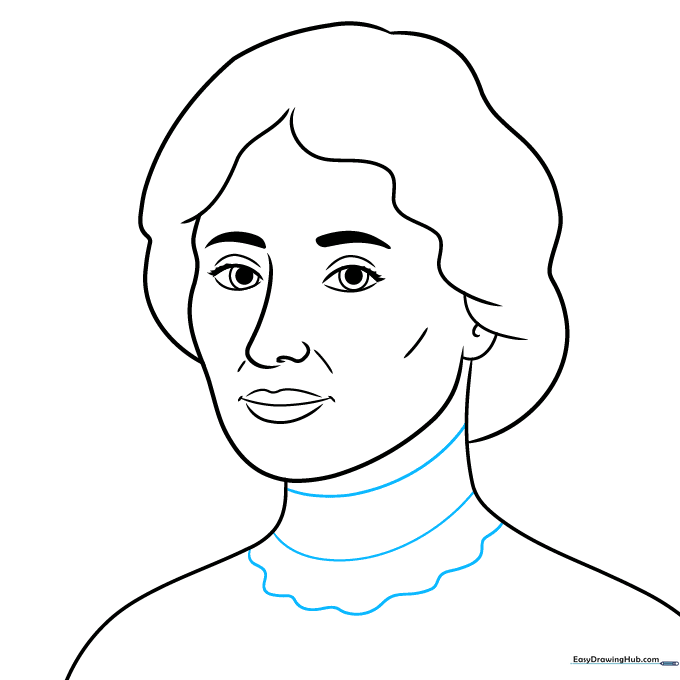
Add a scalloped line across the neck to represent the collar of her garment. Teacher's Tip: Scalloped lines look like a soft lace edge—take your time to make them even.
Step 8: Adding Clothing Details
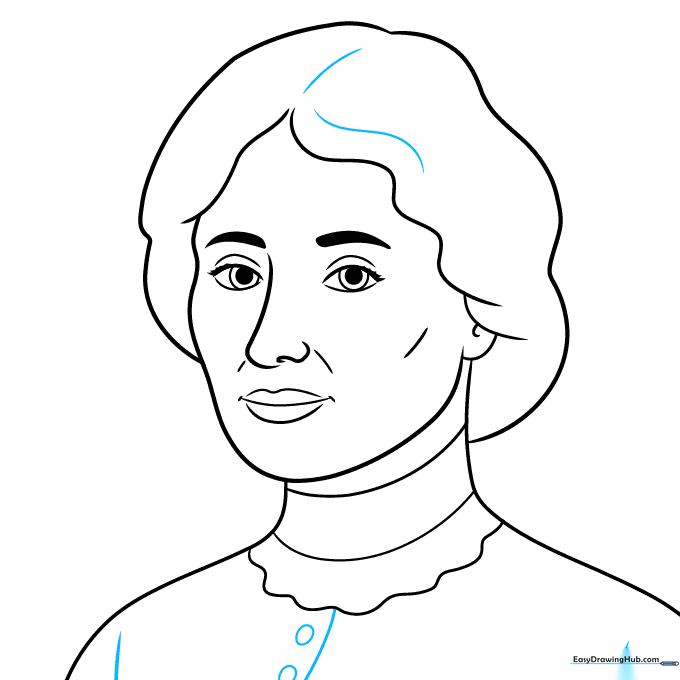
Contour the sleeves and add two round buttons near the collar. Teacher's Tip: Adding small details like buttons makes your historical portrait look much more authentic.
Step 9: Final Texturing
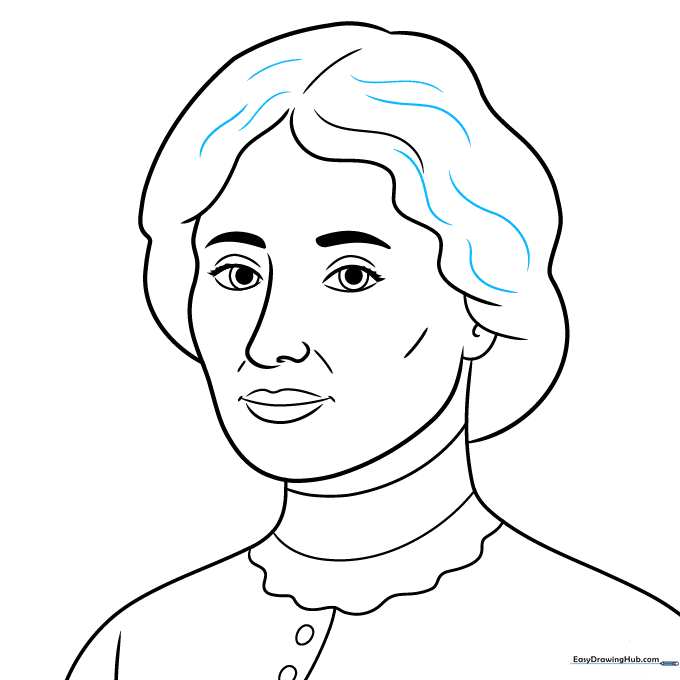
Add curved lines throughout the hair to create texture and movement. Teacher's Tip: Follow the natural flow of the hair to make it look soft and realistic.
Step 10: Bringing it to Life with Color
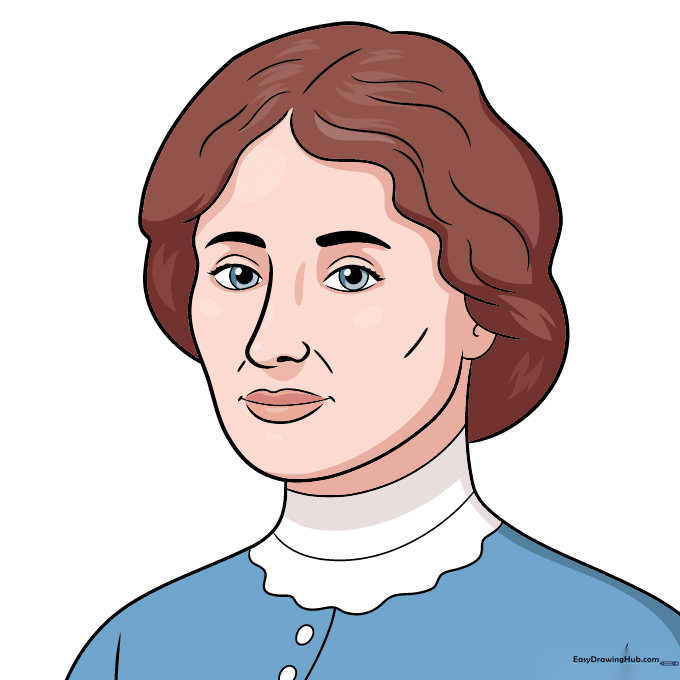
Your outline is complete! Use shades of brown or black for her hair to finish your portrait. Teacher's Tip: Use light, circular motions when coloring to keep the texture smooth and professional.
More Tutorials


