How to Draw Heart Hands: Easy 10-Step Guide for Kids
Looking for a fun way to practice drawing anatomy? This heart hands tutorial is perfect for artists ages 6 and up. All you need is a pencil, an eraser, and a piece of paper to create this sweet symbol of love.
🎯 Final Result

Step-by-Step Instructions
Step 1: Sketching the Pointer Fingers

Draw two curved lines that meet at the top to form the pointer fingers. Tip: Keep your pencil pressure light here so you can easily adjust the shape if the fingers look a bit uneven.
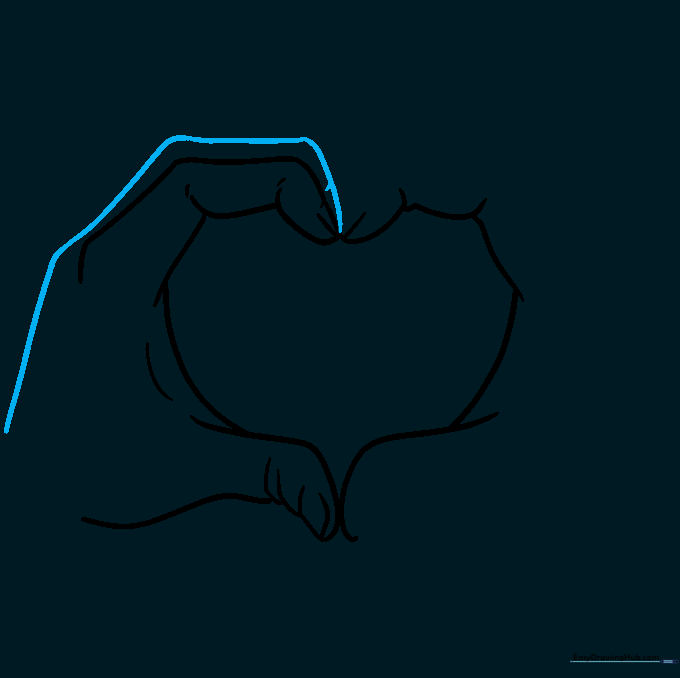
Step 2: Outlining the Left Thumb

Add a curved line to define the side of the left thumb. Tip: Imagine the thumb is a soft, rounded shape; avoid sharp corners to make the hand look more natural.
Step 3: Mirroring the Right Thumb

Repeat the process on the right side to create a mirror image of the left thumb. Tip: Symmetry is key here! Try to keep the distance between the two thumbs consistent.
Step 4: Defining the Thumb Structure

Refine the thumb shapes by adding small lines for the joints and nails. Tip: Use very short, light strokes for the fingernails so they don't look too heavy or dark.
Step 5: Detailing the Pointer Fingers

Add contour lines to the pointer fingers to show where they bend. Tip: Observe your own fingers—the skin bunches up slightly at the joints, so use a tiny curved line to represent that fold.
Step 6: Drawing the Middle Fingers
Extend the lines to draw the middle fingers curving downward. Tip: Keep these lines smooth and flowing; they form the outer curve of your heart shape.
Step 7: Adding More Hand Detail

Continue sketching the rest of the hand structure. Tip: Don't worry about perfection; hands are complex, so focus on capturing the overall gesture rather than every single knuckle.
Step 8: Refining the Fingers

Add final details like fingernails and knuckle creases. Tip: Use a slightly darker pencil stroke for these details to make them pop against the outline.
Step 9: Finalizing the Outline

Go over your drawing with a darker pencil or pen to finalize the outline. Tip: Erase any stray guidelines from your initial sketch to make the final drawing look clean and professional.
Step 10: Adding Color

Bring your drawing to life with your favorite colors! Tip: Try using a light peach or brown for the skin tone, and maybe add a soft pink or red shadow inside the heart shape to emphasize the theme.
More Tutorials


