How to Draw Headphones: Easy 10-Step Guide for Beginners
Ready to bring your favorite music gear to life on paper? This tutorial is perfect for artists ages 5 and up, requiring only a pencil, eraser, and paper. Follow these simple steps to master the geometry of headphones and build your confidence in drawing man-made objects.
🎯 Final Result

Step-by-Step Instructions
Step 1: Sketching the First Earcup
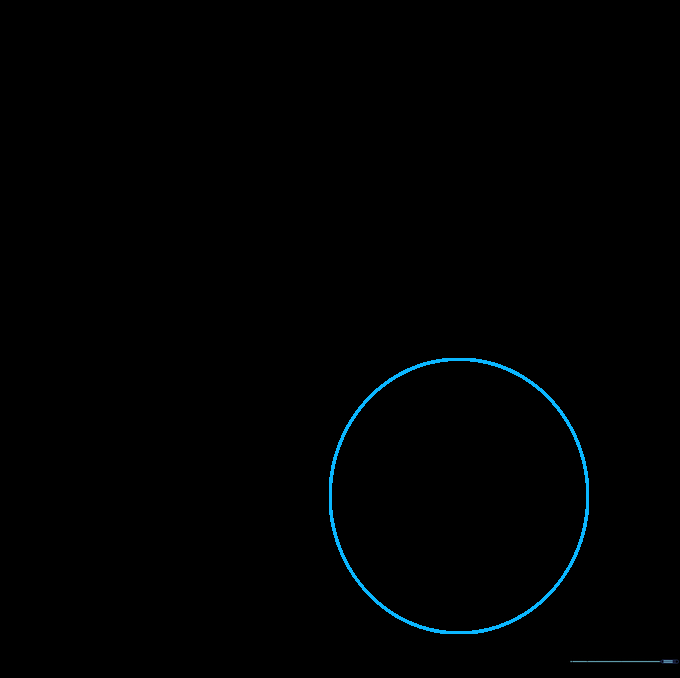
Start by drawing a clean circle to represent the base of the first earcup. Teacher's Tip: Keep this circle light; it’s just a guide for the final shape.
Step 2: Adding Depth to the Earcup
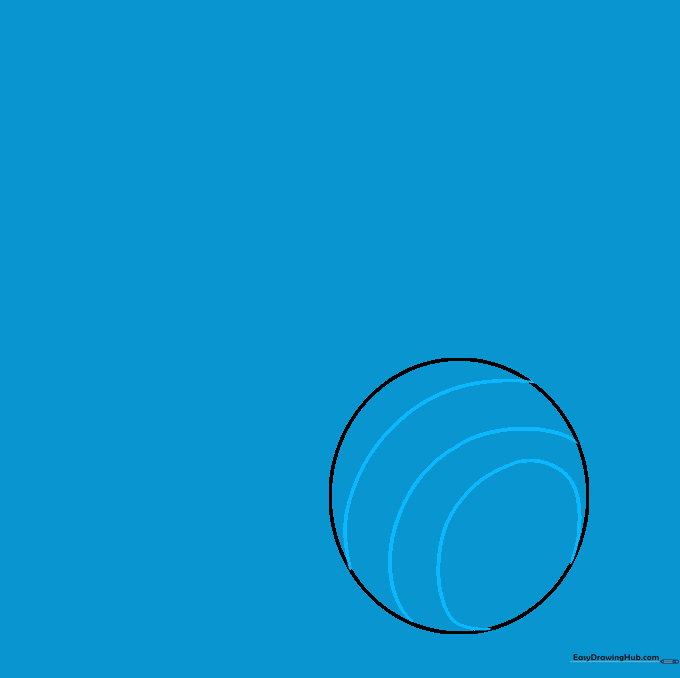
Draw a smaller oval inside the circle and add curved lines around the edge. This creates the rounded, 3D look of a cushioned earpad.
Step 3: Positioning the Second Earcup
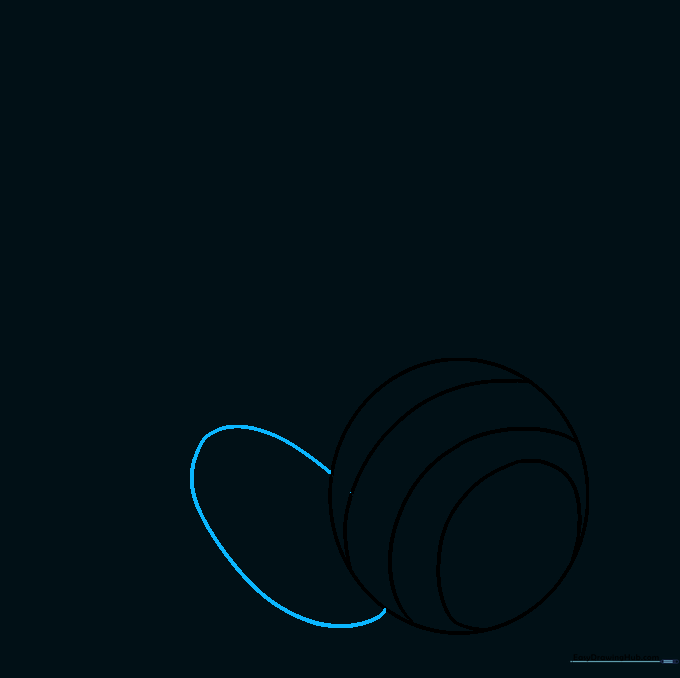
Draw a second, partially hidden oval behind the first earcup. This shows perspective, making your drawing look more professional.
Step 4: Outlining the Earcup Structure

Connect the edges of the second oval with a smooth, curved line. This defines the outer casing of the headphone.
Step 5: Adding Texture Lines
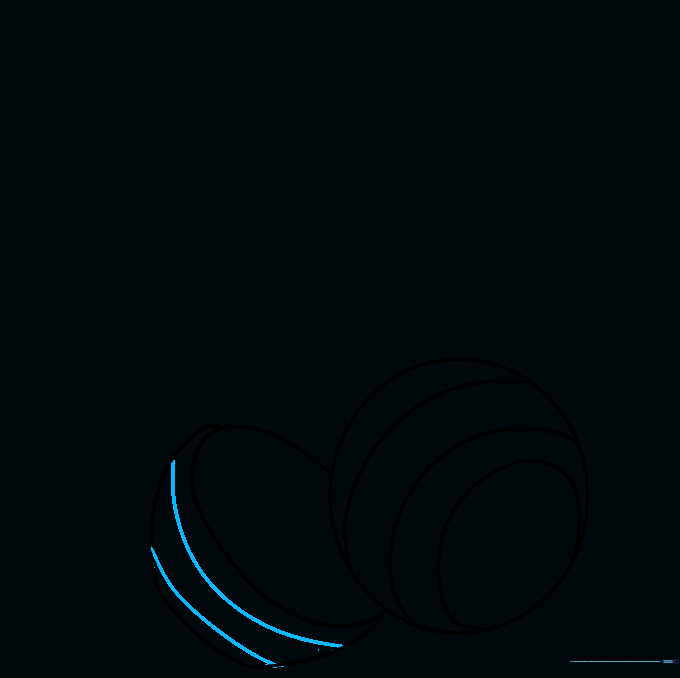
Draw soft, curved lines across the side of the second earcup. Tip: Keep these lines parallel to mimic the curve of the plastic casing.
Step 6: Detailing the Earcup Interior
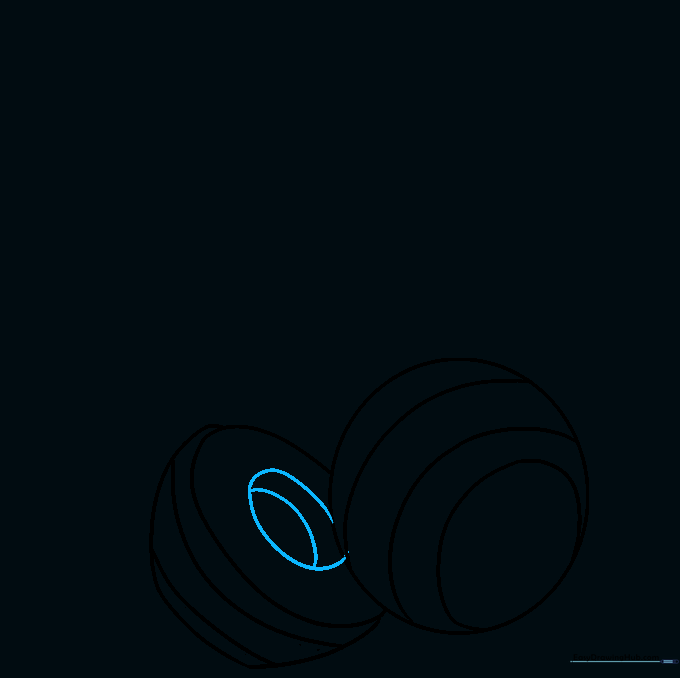
Draw a smaller oval inside the earcup and a vertical line down the center to suggest the speaker cushion and depth.
Step 7: Drawing the Headband
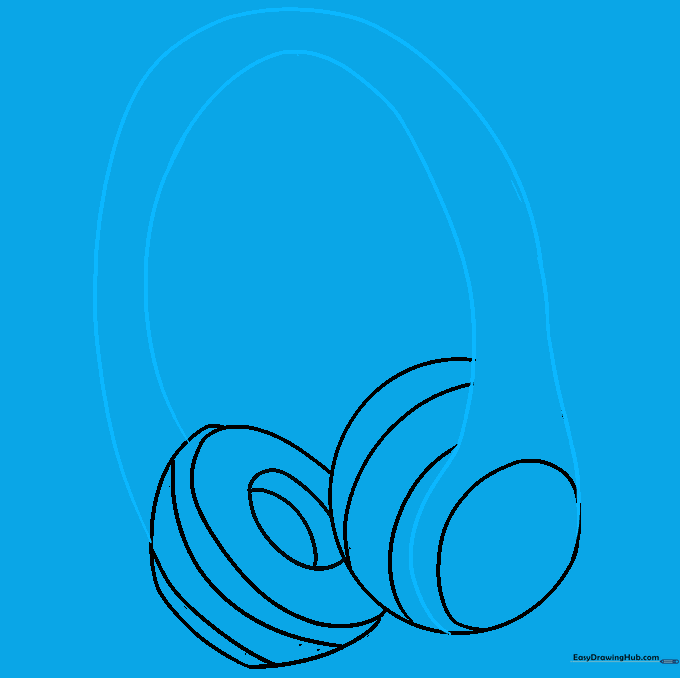
Connect the two earcups with two long, parallel curved lines. This forms the headband. Erase any overlapping lines inside the band for a clean look.
Step 8: Adding Headband Contours
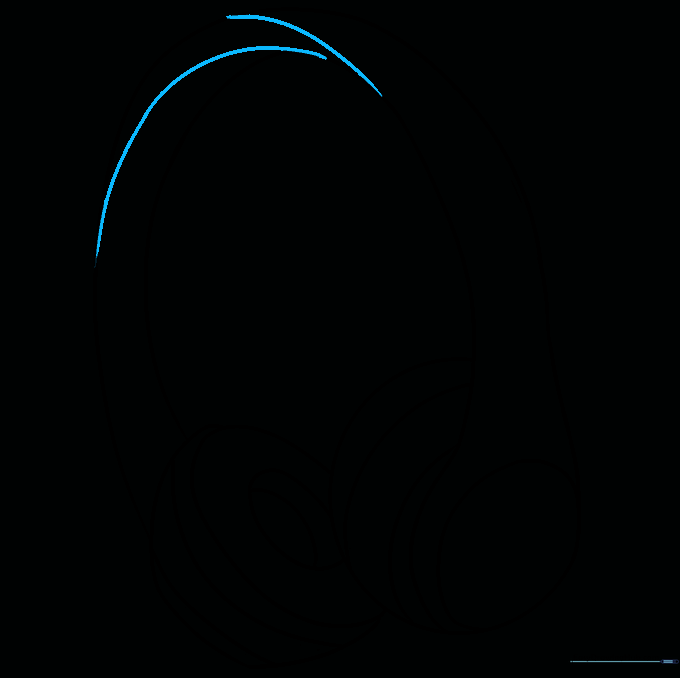
Add two more curved lines across the headband to show the padding. This makes the headphones look comfortable and realistic.
Step 9: Finalizing the Adjusters
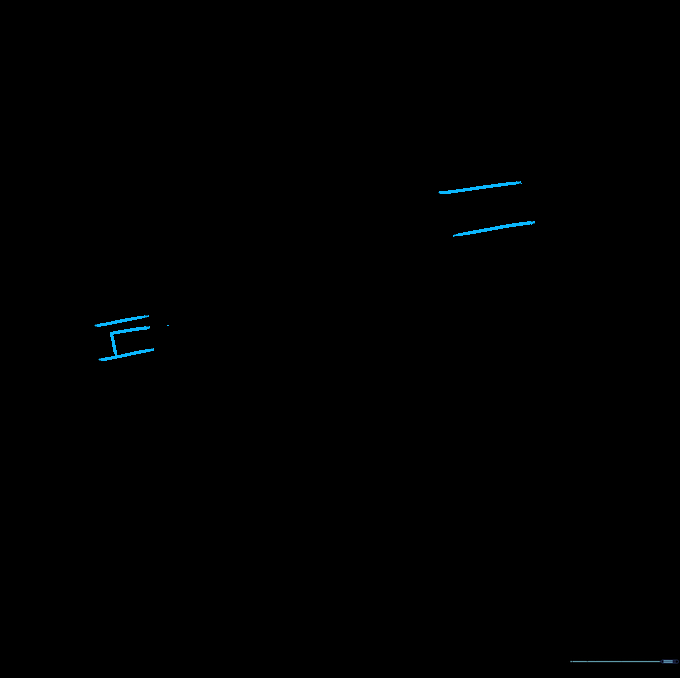
Draw small parallel lines and a rectangle on the headband to represent the size-adjustment mechanism. This is a great detail for realism!
Step 10: Adding Color

Time to color! Use bold colors like black, red, or metallic tones to make your headphones pop. Use lighter pressure for highlights to give them a shiny, plastic finish.
More Tutorials


