How to Draw Hawks from My Hero Academia: Easy Step-by-Step
Ready to bring the Wing Hero to life? This tutorial is designed for fans and aspiring artists looking to master Hawks' iconic look. Grab your pencil, eraser, and paper, and follow these steps to build his character from the ground up, focusing on his signature mask and layered wings.
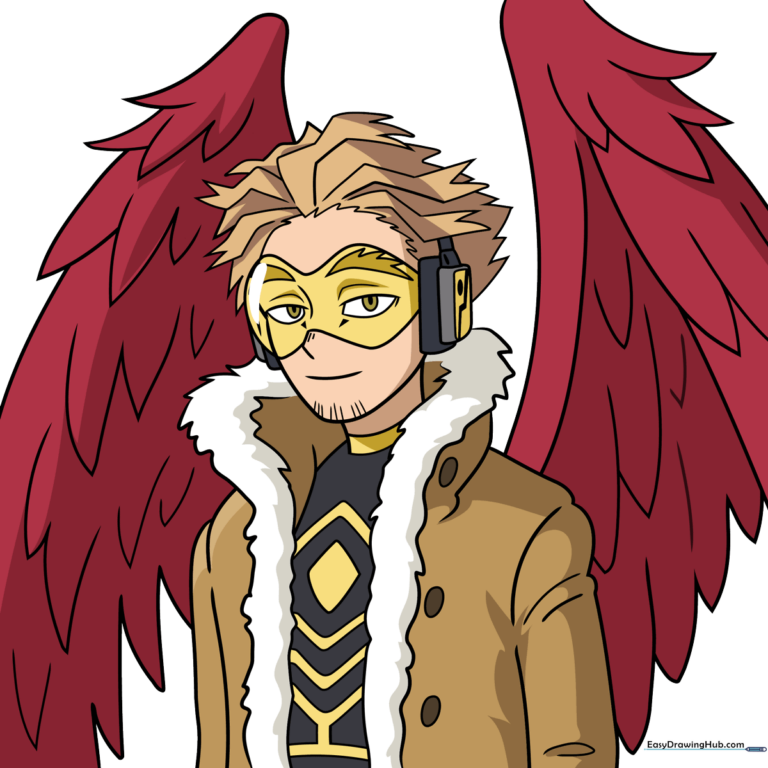
🎯 Final Result
Step-by-Step Instructions
Step 1: Establishing the Face and Eyes
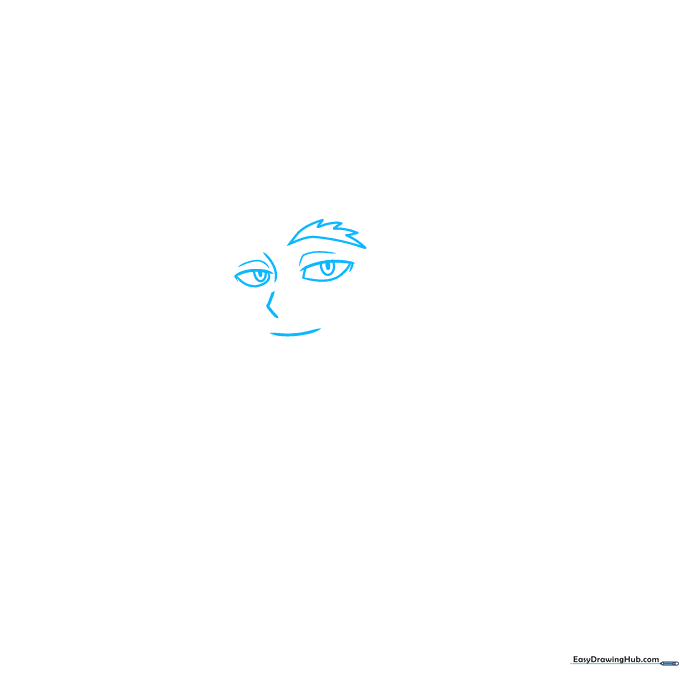
Sketch a light arrow pointing left near the center of your page to guide the face shape. Add a horizontal curve for the mouth and a vertical curve above for the brow line. Draw two loose lemon shapes for the eyes. Teacher's Tip: Keep your pencil pressure light here so you can easily refine the eye shape and erase the guidelines later.
Step 2: Defining the Jawline and Hairline
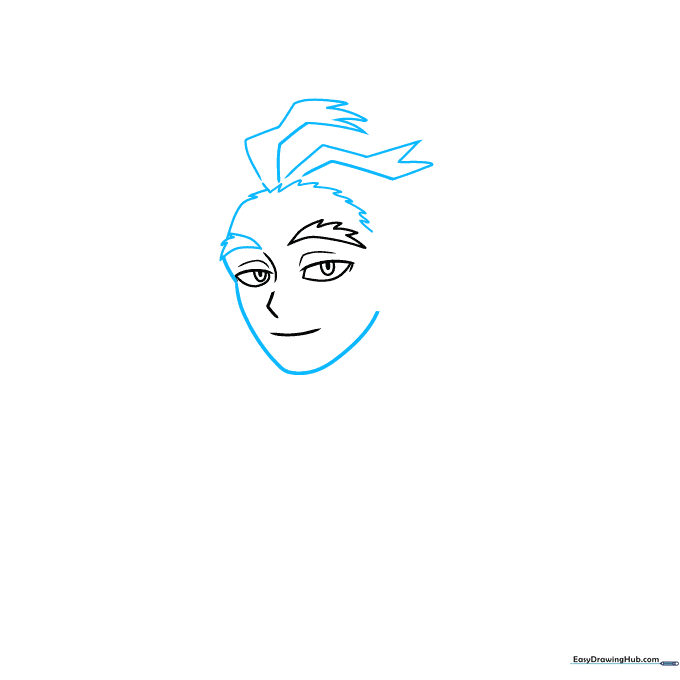
Sketch a loop under the face to define the chin. From the corner of the left eye, draw a vertical curve that sweeps upward into a semi-circle for the hair. Add triangles and diagonal lines above the hairline to create his messy, spiky hair. Teacher's Tip: Use short, quick strokes to mimic the texture of anime hair.
Step 3: Adding Headphone Details

Draw two rounded rectangles on the right side of the head, overlapping them slightly. Add smaller triangles above and around the face to build out the hair volume. Teacher's Tip: Don't worry about perfect symmetry; Hawks' hair is naturally messy and expressive.
Step 4: Drawing the Mask and Neck
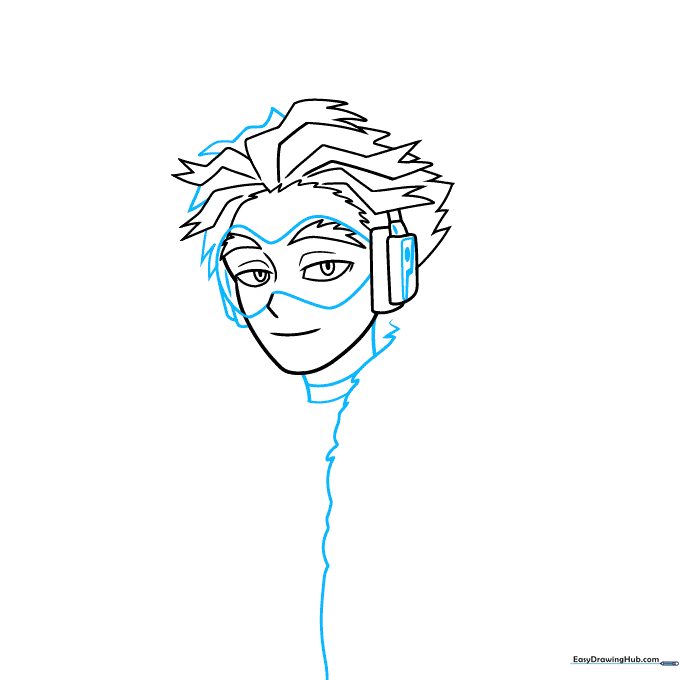
Use rounded M and W shapes to form his signature visor mask. Sketch a cylinder shape for the neck using curved lines, and begin the inner lining of his coat with a loose, trailing line. Teacher's Tip: The neck cylinder helps establish the character's posture, so keep it centered.
Step 5: Refining the Coat and Face

Add small dashes inside the mask for detail. Use uneven, sketchy lines to outline the coat's inner lining, curving it naturally around the head. Add two curved lines beside the neck to define the collar area. Teacher's Tip: Vary your line weight to make the coat look thicker and more realistic.
Step 6: Constructing the Shoulders
Outline the shoulder with long vertical lines that curve at the top. On the right, use a diagonal line followed by three loops for the sleeve. Keep the lines parallel to maintain perspective. Teacher's Tip: Think of the shoulders as rounded blocks to give the character a heroic, sturdy frame.
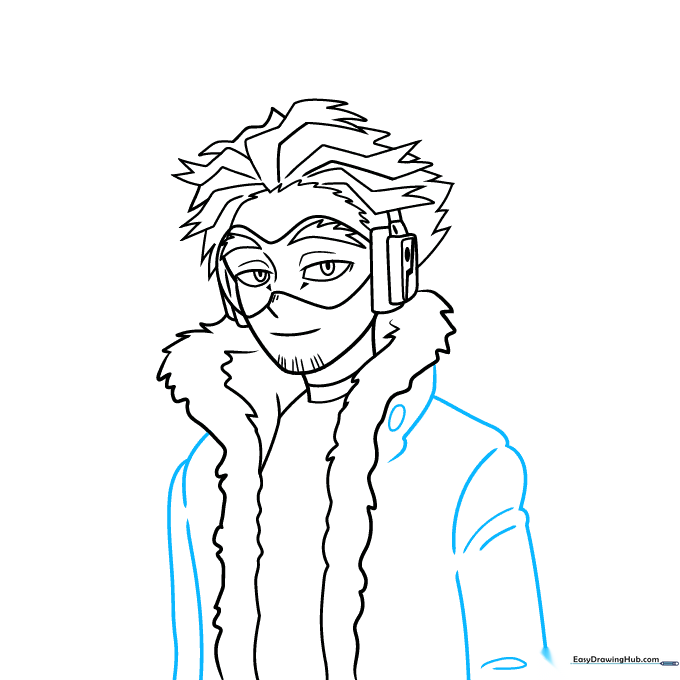
Step 7: Adding Coat Details
Add two ovals on the side of the coat for buttons or fasteners. Draw diamonds and horizontal lines on the shirt area, then sketch two tall vertical lines with a hook on top to suggest the structure of his gear. Teacher's Tip: Use a ruler if you struggle with straight lines, but freehand adds a nice organic feel.
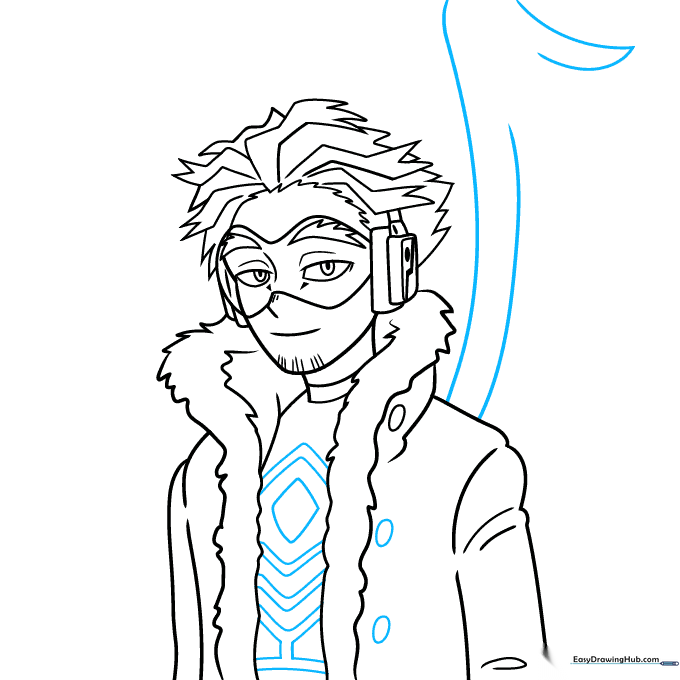
Step 8: Sketching the Feathers
Outline the top of the left wing with a loop. Sketch leaf and teardrop shapes to represent individual feathers, ensuring they overlap like shingles on a roof. Teacher's Tip: Overlapping creates depth, making the wings look soft and voluminous rather than flat.
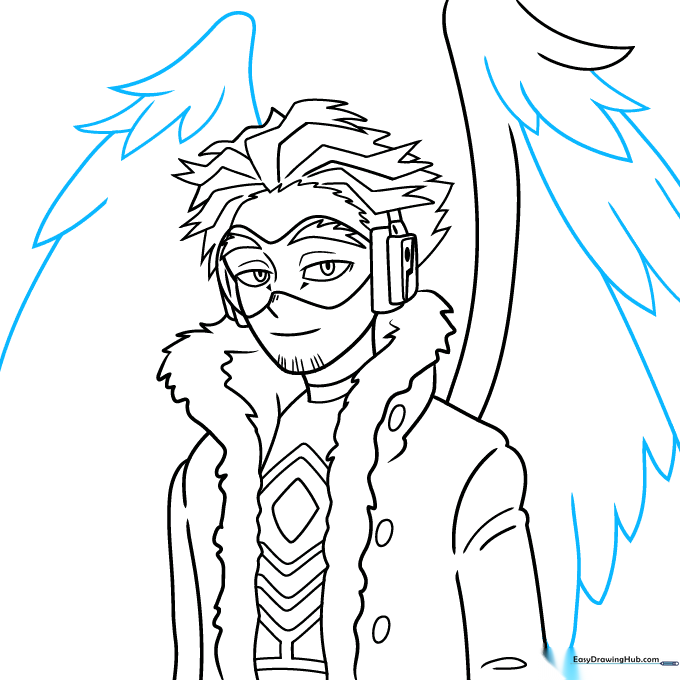
Step 9: Completing the Wing Detail
Continue adding leaf and teardrop shapes across the wing area. Keep the shapes varied in size to make the feathers look natural and dynamic. Teacher's Tip: Don't stress about making every feather identical; nature is imperfect!
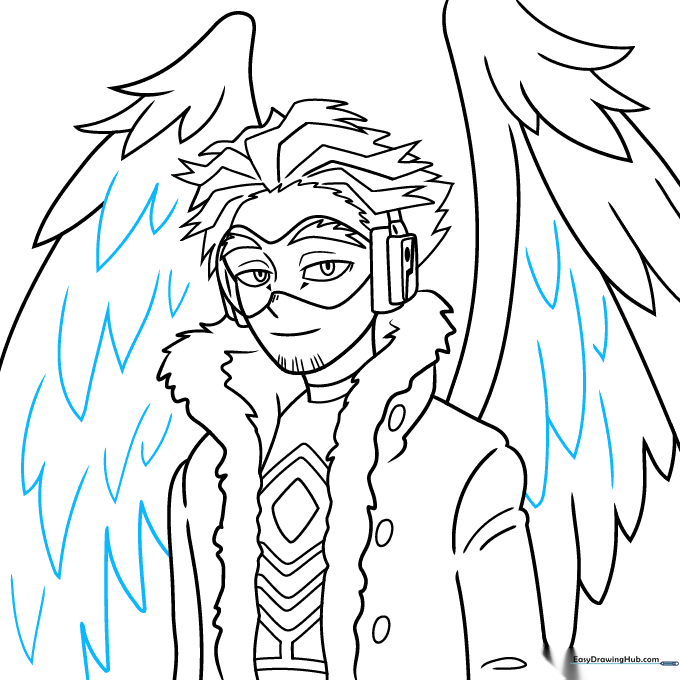
Step 10: Coloring Your Masterpiece

Outline your drawing with a black pen for a clean, professional look. Color the wings red, use tan for the skin, brown for the coat, off-white for the lining, and yellow/charcoal for the shirt and mask. Teacher's Tip: Use light, circular motions when coloring to avoid streaks and keep the colors vibrant.
More Tutorials


