How to Draw Hatsune Miku: Easy Step-by-Step Guide
Bring the world's most famous virtual idol to life with this step-by-step guide. Designed for intermediate artists, this tutorial uses simple geometric shapes to help you master Miku's iconic hairstyle and outfit. Grab your pencil, eraser, and paper, and let's start drawing!
🎯 Final Result

Step-by-Step Instructions
Step 1: Sketching the Face Shape

Start by sketching Miku's face. Use a soft 'V' shape for the chin. Tip: Keep the jawline rounded rather than too sharp to maintain that classic anime aesthetic.
Step 2: Defining the Head and Neck
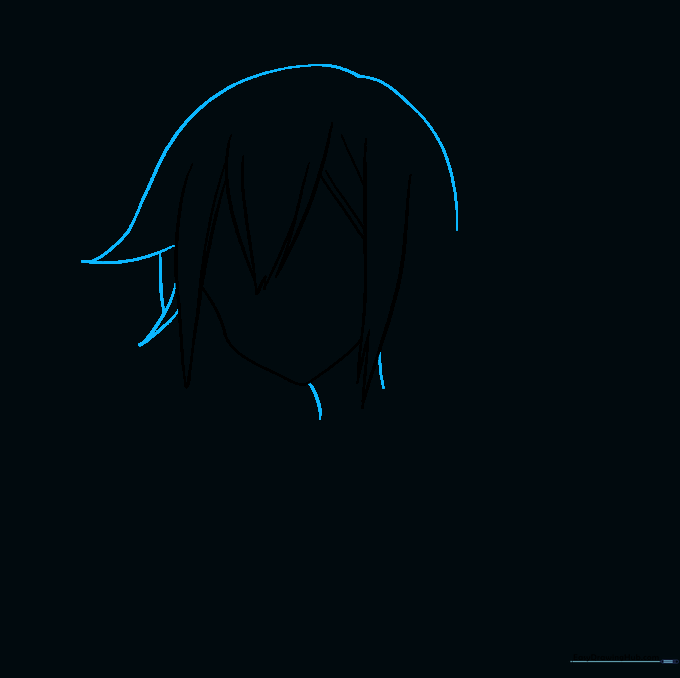
Draw a curved line for the top of the head and two vertical lines for the neck. Tip: Leave a small gap between the neck lines to give the head a natural, balanced look.
Step 3: Adding Hair Accessories
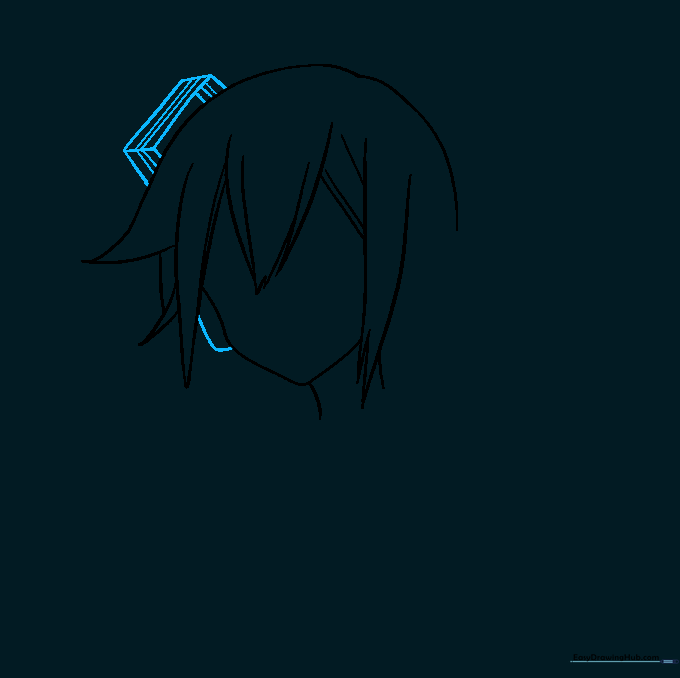
Draw the rectangular hair accessories on the sides of her head. Tip: Use a ruler if you struggle with straight lines, but keep the corners slightly rounded to match the anime style.
Step 4: Refining the Hairline
Connect the hair accessories to the head using clean, straight lines. Tip: Erase any overlapping sketch lines inside the squares to keep your drawing clean.
Step 5: Drawing the Collar and Tie
Sketch the triangular collar and the knot of the tie. Tip: Make the tie knot slightly larger than you think it needs to be; it helps anchor the character's outfit.
Step 6: Sketching the Torso
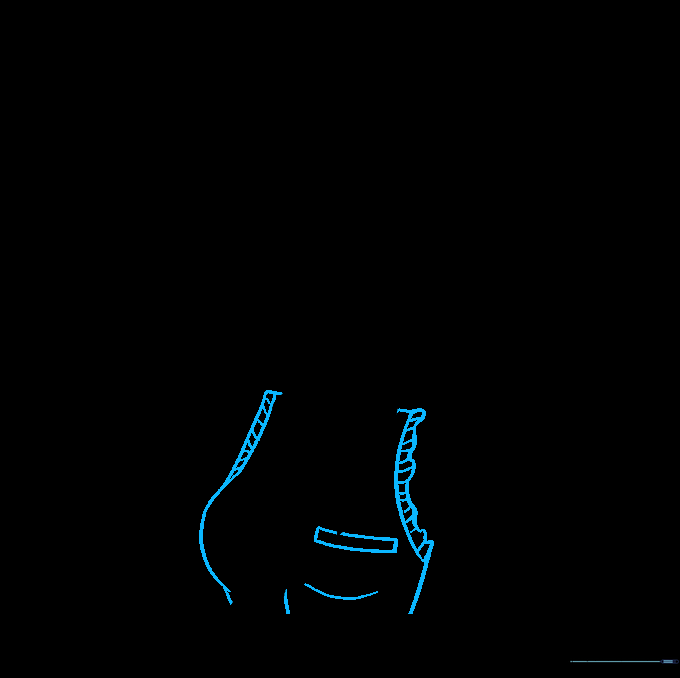
Add the shoulders and torso using gentle curves. Tip: Add a small rectangle on the chest for her signature pocket detail.
Step 7: Adding Arms and Sleeves
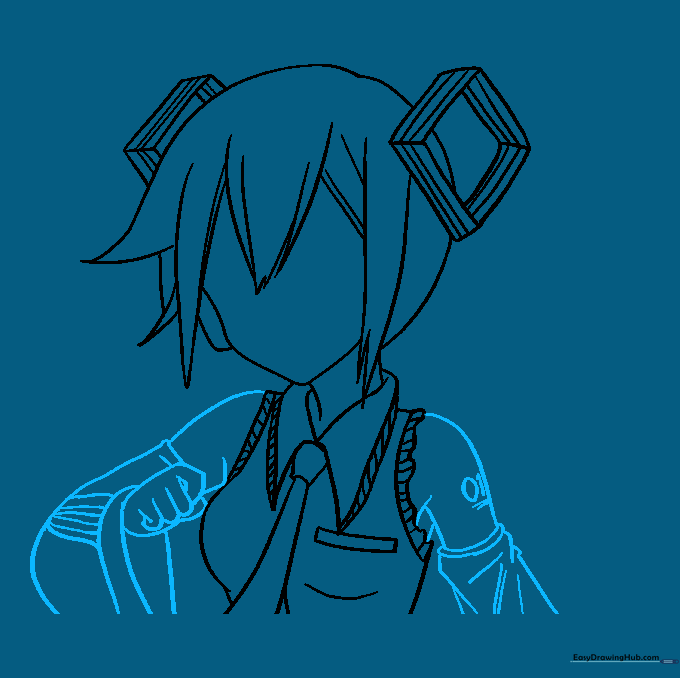
Draw the arms with flowing sleeves. Tip: Use 'U' shapes for the hands to keep them simple and expressive without needing complex finger detail.
Step 8: Drawing the Pigtails
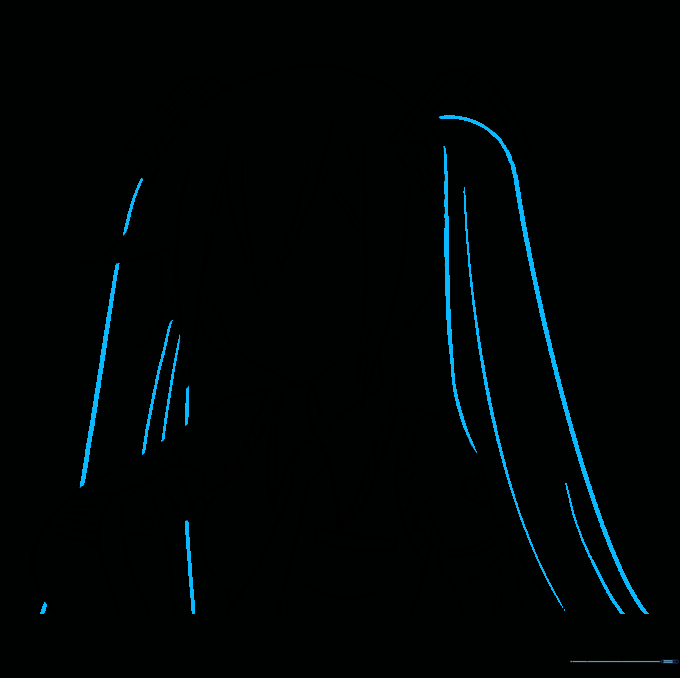
Extend long, sweeping curves from the hair accessories to form her signature pigtails. Tip: Let the lines taper off at the ends to make the hair look light and flowing.
Step 9: Facial Features
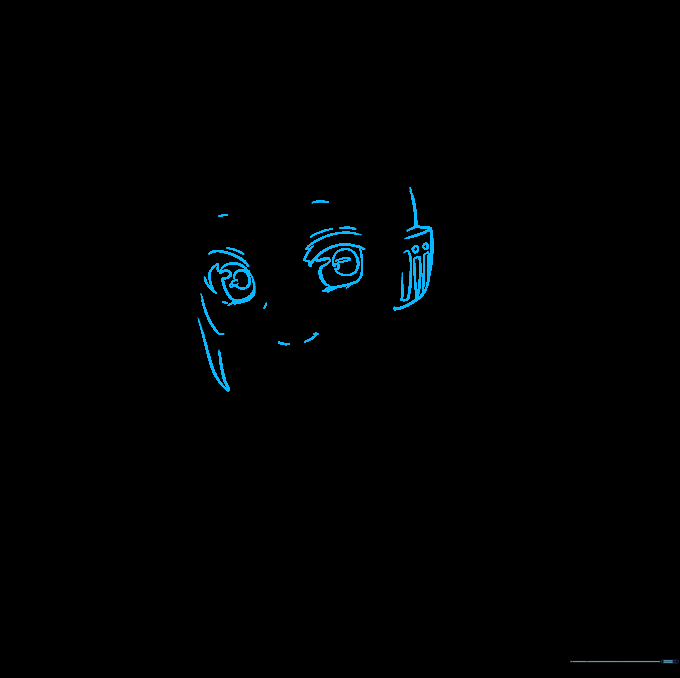
Draw the eyes, nose, and mouth. Tip: For the eyes, use large circles with smaller circles inside for highlights—this is the secret to that 'sparkling' anime look.
Step 10: Adding Color

Bring Miku to life with her iconic teal hair and eyes. Tip: Use a light blue for the base and a slightly darker shade for the shadows to add depth to your drawing.
More Tutorials


