How to Draw Harry Potter: Easy 10-Step Guide for Kids
Bring the Wizarding World to life with this step-by-step Harry Potter drawing guide, perfect for young fans ages 7 and up. You will need a pencil, an eraser, and a piece of paper to complete this magical portrait. Follow along to master character proportions and capture Harry's iconic look.
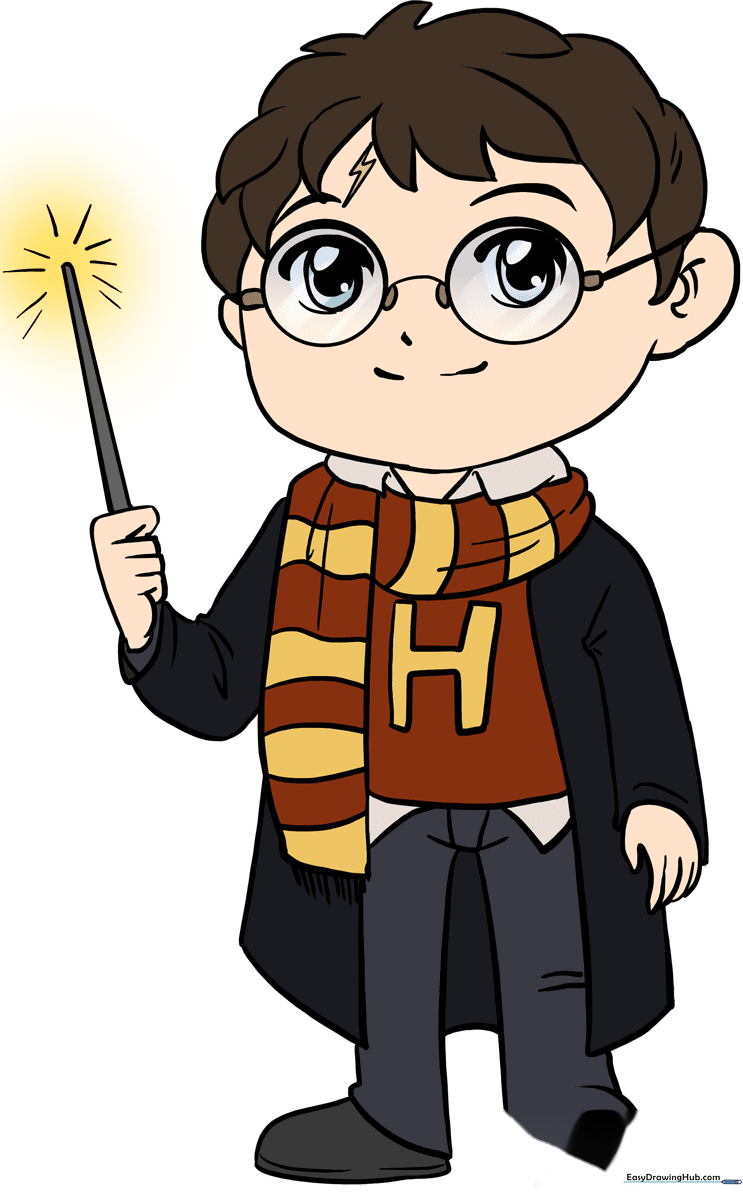
🎯 Final Result
Step-by-Step Instructions
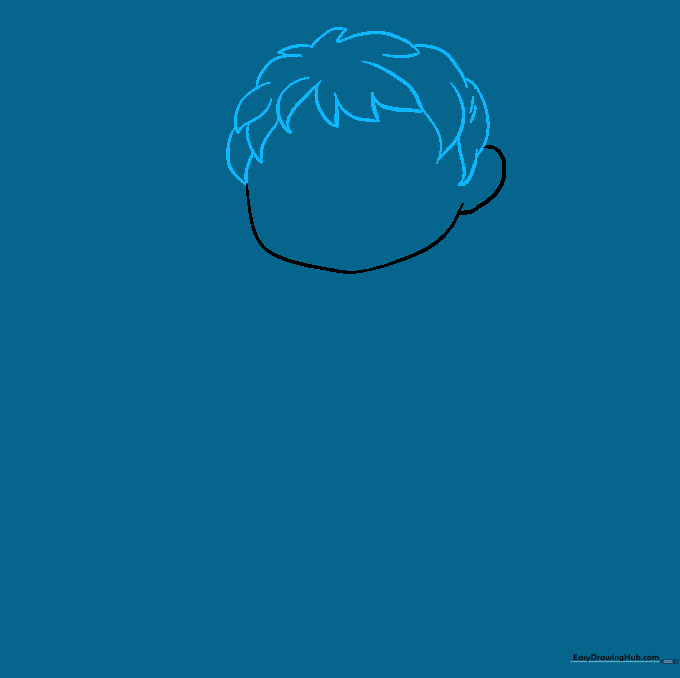
Step 1: Sketching the Face Shape

Use a long curved line for the chin and a shorter one for the ear. Teacher's Tip: Keep your pencil pressure light so you can easily adjust the shape if it looks a bit lopsided.
Step 2: Adding the Messy Hair
Draw overlapping curved lines to create Harry’s signature messy locks. Teacher's Tip: Vary the length of each lock to make the hair look natural and wind-swept.
Step 3: Drawing the Scarf and Collar
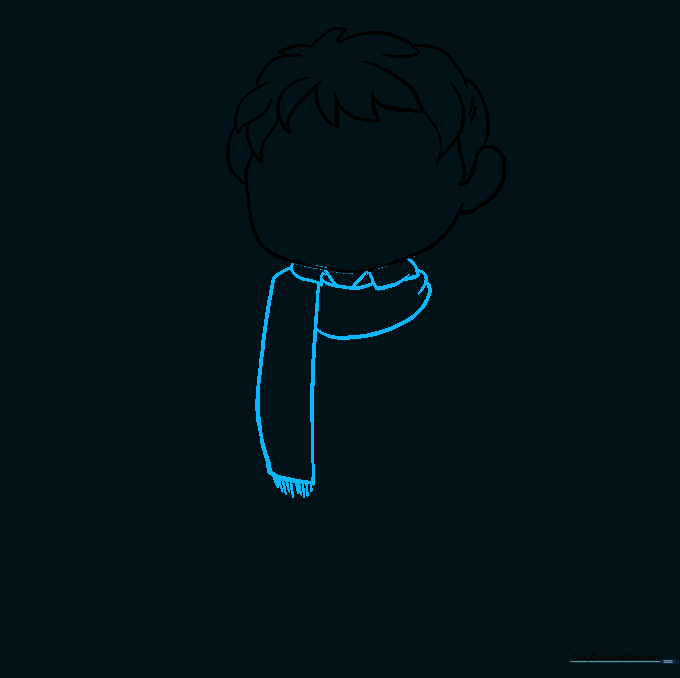
Enclose three irregular shapes for the collar, then extend parallel lines downward for the scarf. Add short fringe lines at the bottom. Teacher's Tip: Use short, quick strokes for the fringe to give it a textured, fabric-like appearance.
Step 4: Sketching the Jacket and Hand
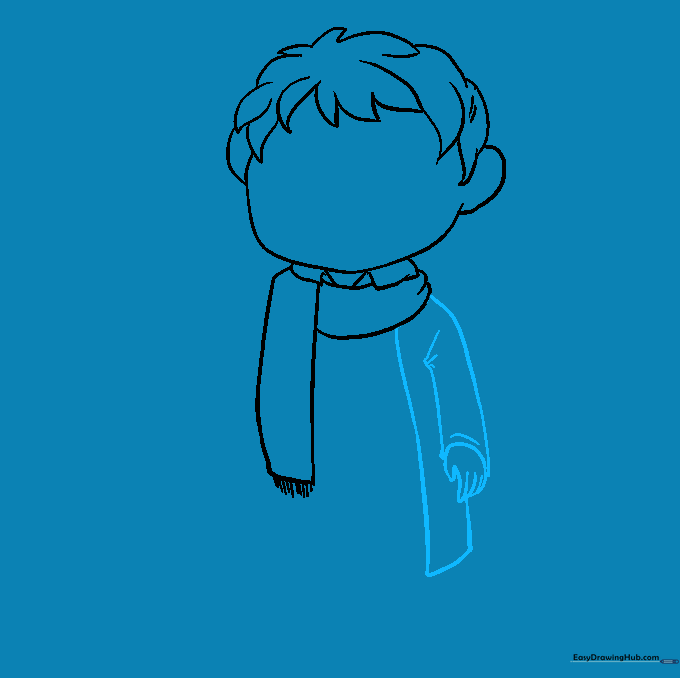
Extend curved lines from the scarf to form the jacket and sleeves. Use small 'U' shapes to define the fingers. Teacher's Tip: Focus on the folds of the fabric by adding a few extra curved lines near the elbows.
Step 5: Adding the Legs and Shirt Tails

Draw the shirt tails as two triangles and extend curved lines for the legs. Teacher's Tip: Keep the leg lines parallel to ensure the character looks balanced.
Step 6: Drawing the Shoes
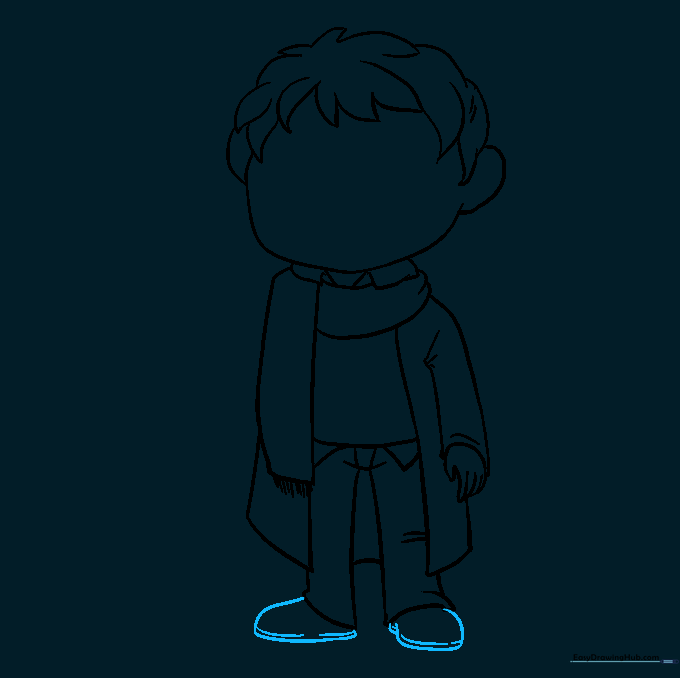
Enclose the shoe shapes with curved lines, adding a parallel line at the bottom for the sole. Teacher's Tip: Make the soles slightly thicker to give the shoes a sturdy, realistic look.
Step 7: The Wand and the Scar
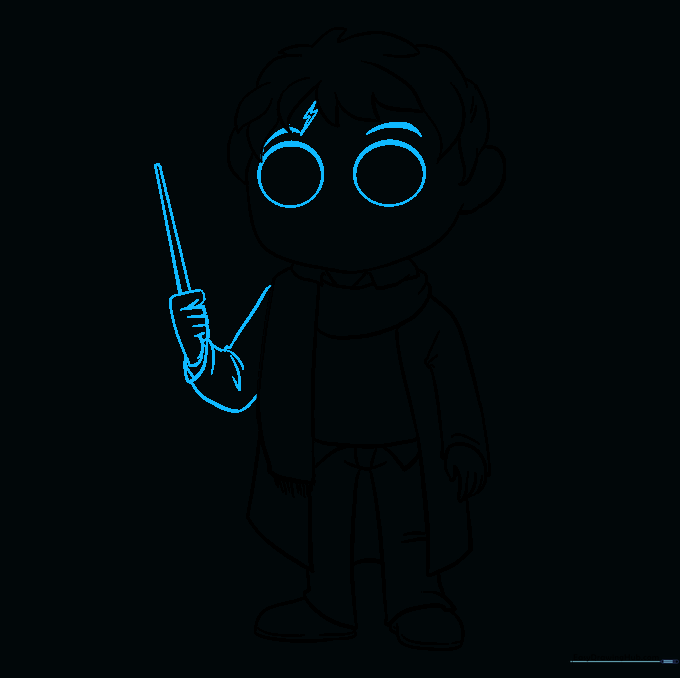
Draw the second arm, the wand, and Harry's iconic lightning bolt scar. Teacher's Tip: Keep the wand thin and straight—it’s a precise tool for a wizard!
Step 8: Adding Facial Features

Sketch the round glasses, eyes, nose, and mouth. Teacher's Tip: Draw the glasses first, then place the eyes inside them to ensure they are perfectly centered.
Step 9: Final Details
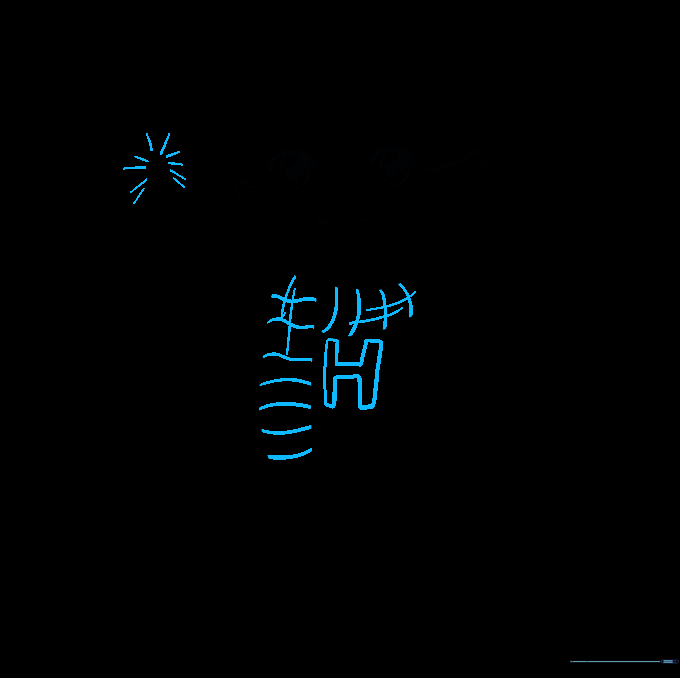
Add the 'H' to the shirt, stripes to the scarf, and magic sparks at the wand tip. Teacher's Tip: Use a darker pencil for these final details to make them pop.
Step 10: Bring Him to Life with Color
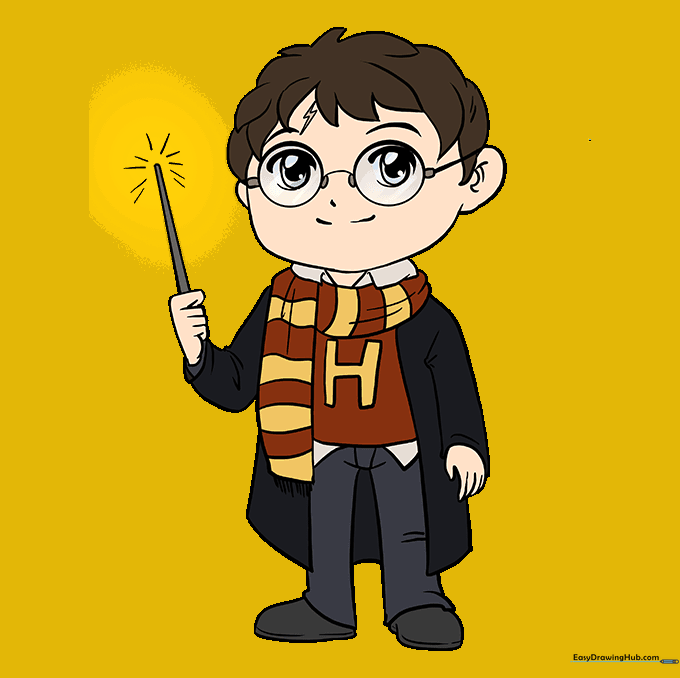
Time to color! Use Gryffindor colors—maroon and gold—for the scarf. Teacher's Tip: Use light, circular motions with your colored pencils to get an even, smooth finish.
More Tutorials


