How to Draw Hansel and Gretel: Easy Step-by-Step Guide
Bring this classic fairy tale to life! This tutorial is perfect for young artists ages 5 and up. You will need a pencil, an eraser, and your favorite coloring markers to recreate the iconic duo and their candy-covered home.
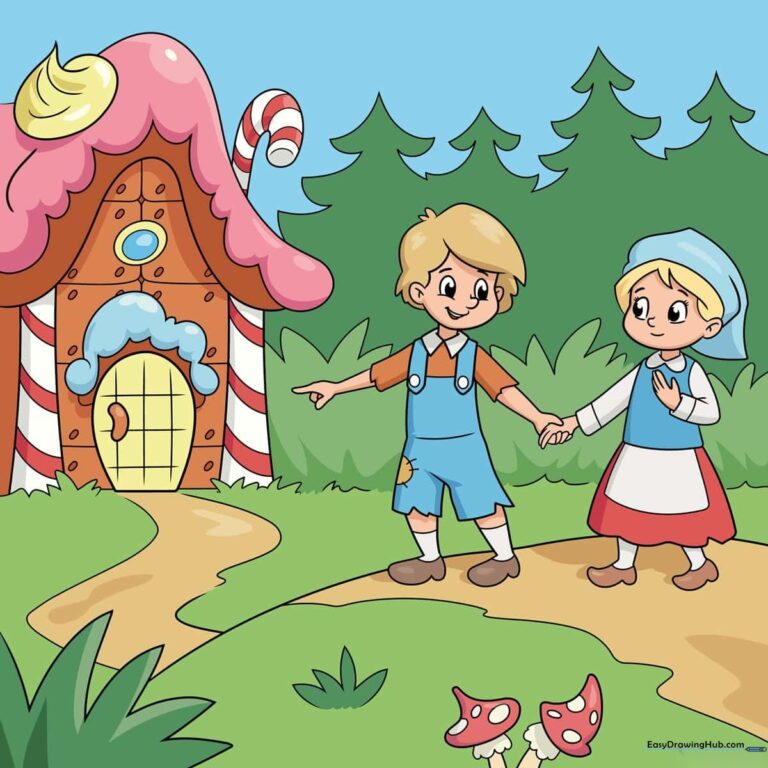
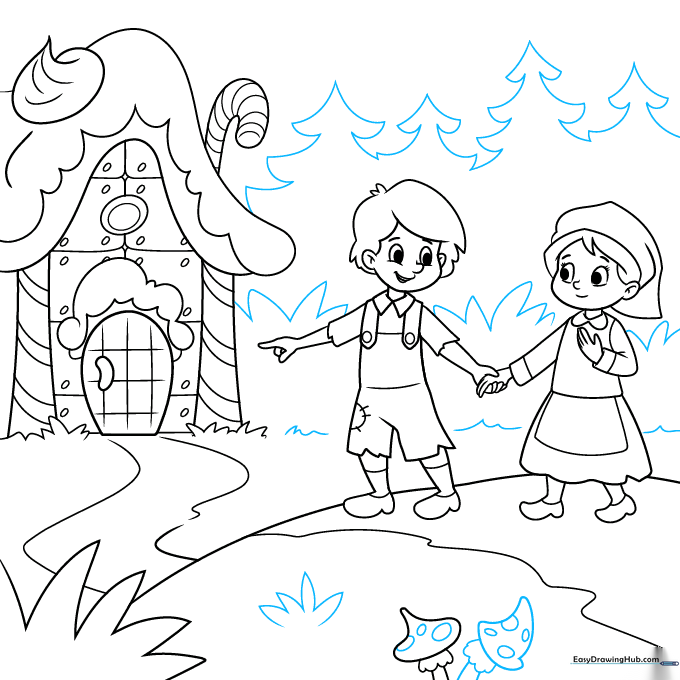
🎯 Final Result
Step-by-Step Instructions
Step 1: Sketching Hansel's Face
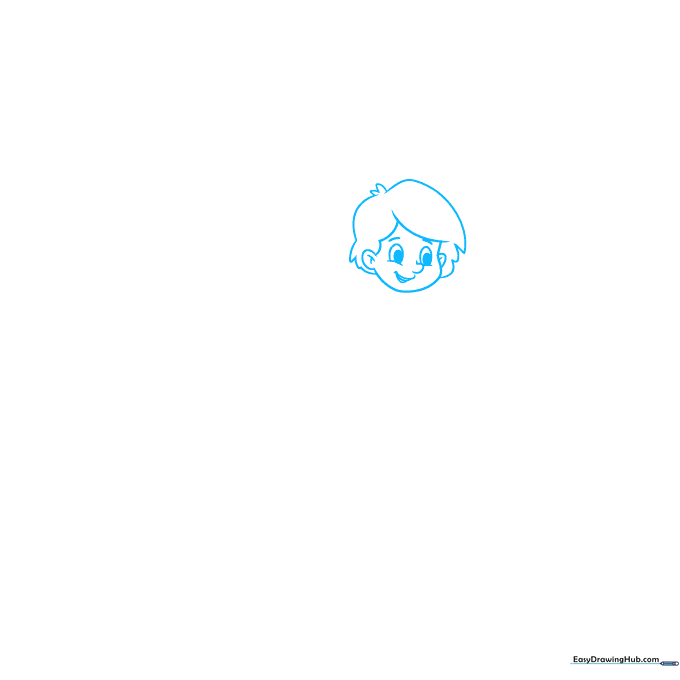
Start by drawing Hansel's face using gentle curved lines for his eyes, nose, and mouth. Teacher's Tip: Keep the eyes small and simple; adding a tiny white dot inside the pupil gives the character a friendly, 'alive' look.
Step 2: Building the Torso
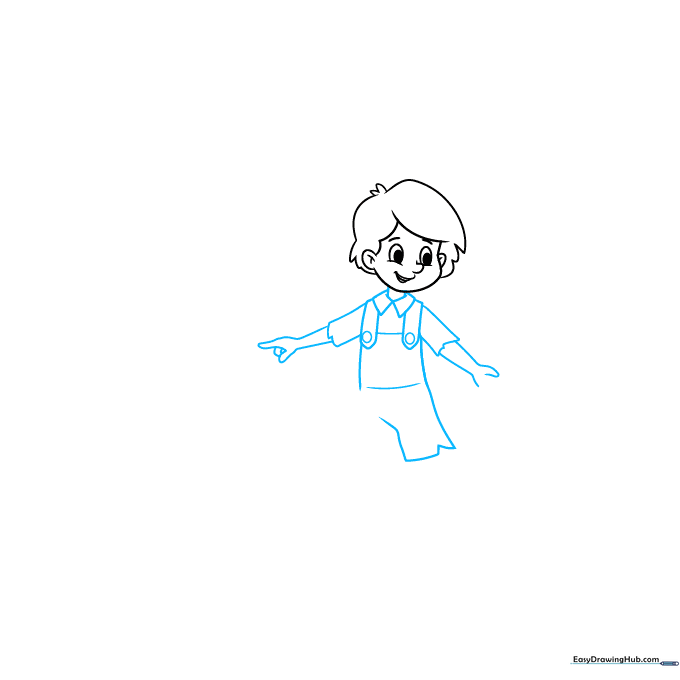
Draw Hansel's upper body, including his diamond-shaped collar and overall straps. Teacher's Tip: Use straight lines for the collar to contrast with the soft curves of his sleeves, which helps define the shape of his clothing.
Step 3: Completing Hansel and Starting Gretel
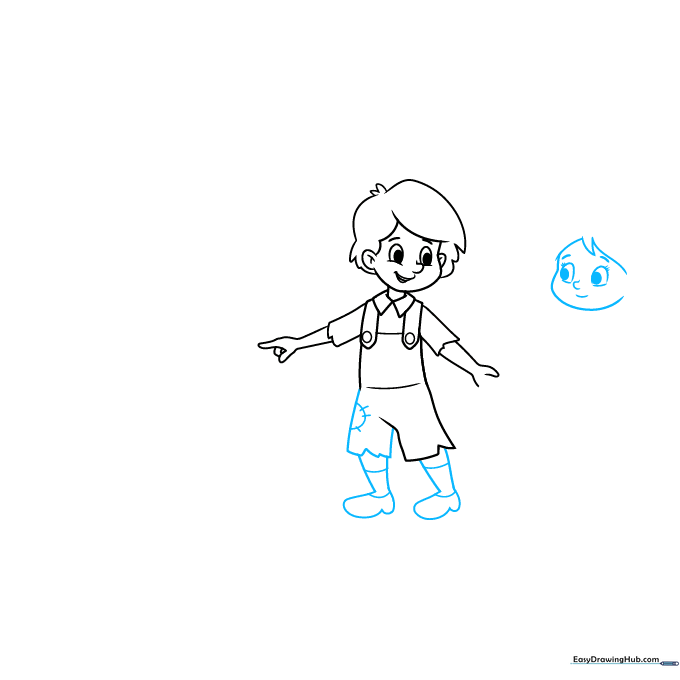
Finish Hansel's shorts and shoes, adding a patch to his overalls for character. Then, begin drawing Gretel's face nearby. Teacher's Tip: When drawing the patch, use short, quick dashes to represent stitches—it adds a fun, realistic texture to the fabric.
Step 4: Detailing Gretel's Outfit
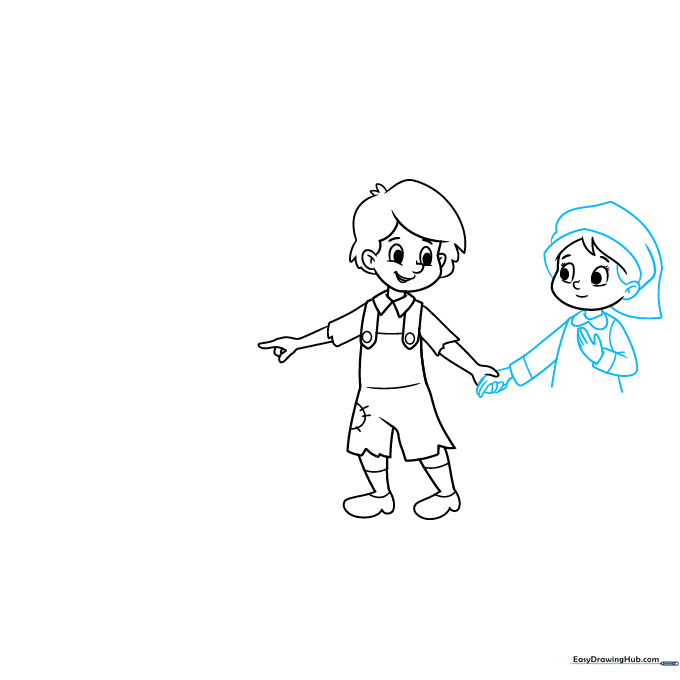
Use overlapping curved lines to draw Gretel's bonnet, hair, and dress. Teacher's Tip: Overlapping lines are the secret to showing depth; draw the hair 'in front' of the bonnet to make it look 3D.
Step 5: Setting the Scene
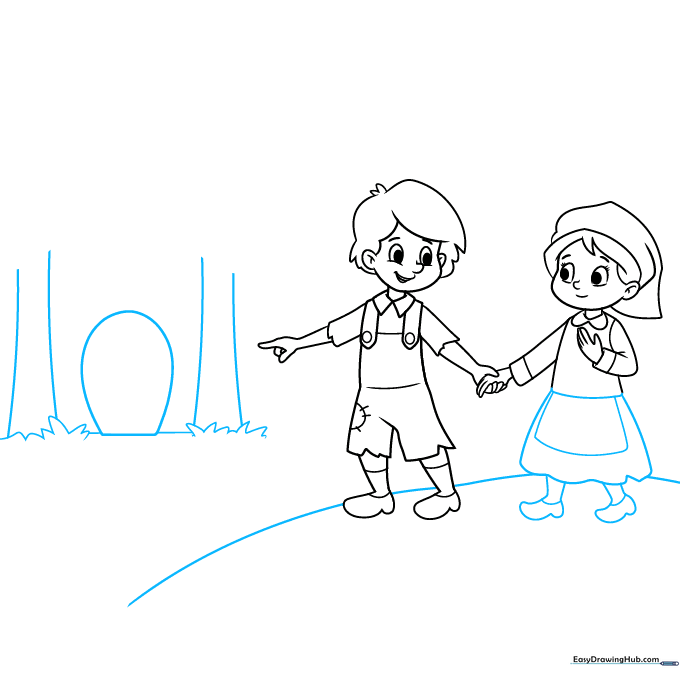
Draw Gretel's skirt and apron, then add a curved line for the hill they stand on. Start the candy house in the background with an arch. Teacher's Tip: Keep the house lines simple—it’s just a big arch, which acts as the foundation for all the 'candy' details later.
Step 6: Decorating the Candy House
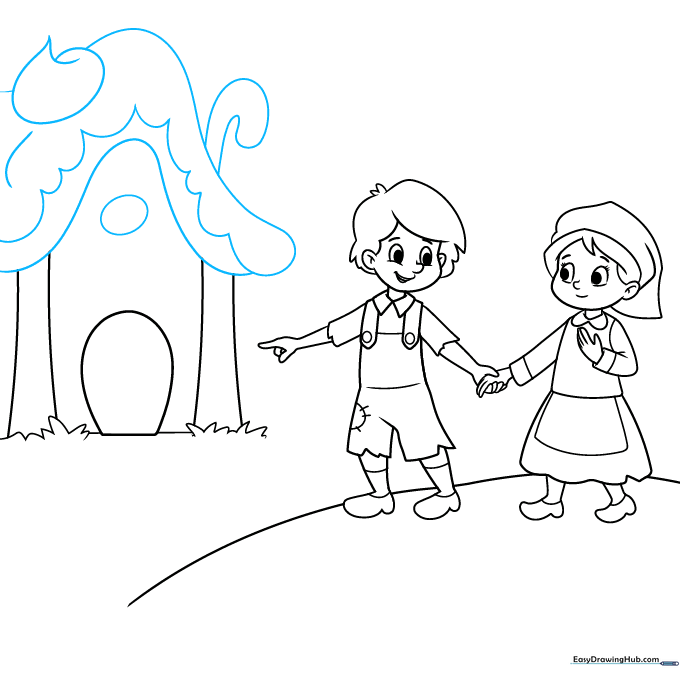
Add roof layers, a dollop of whipped cream, and a candy cane. Teacher's Tip: Use wavy lines for the 'whipped cream' to give it a soft, fluffy appearance.
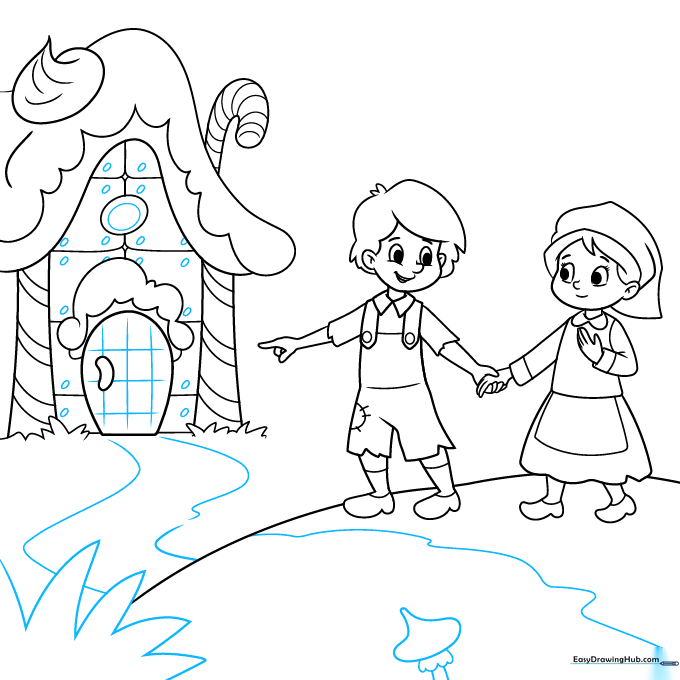
Step 7: Adding Sweet Details

Band the candy cane and add a jellybean doorknob. Texture the house walls. Teacher's Tip: Adding small, irregular dots to the walls makes them look like gingerbread or cookie texture.
Step 8: Final Touches
Draw sprinkles on the house, cross-hatching on the door, and mushrooms in the yard. Teacher's Tip: Cross-hatching (drawing lines in two directions) is a great way to show wood grain on the door.
Step 9: Completing the Forest
Add a second mushroom and a forest of pine trees in the background. Teacher's Tip: Draw the trees smaller than the children to create a sense of distance and perspective.
Step 10: Bring It to Life with Color
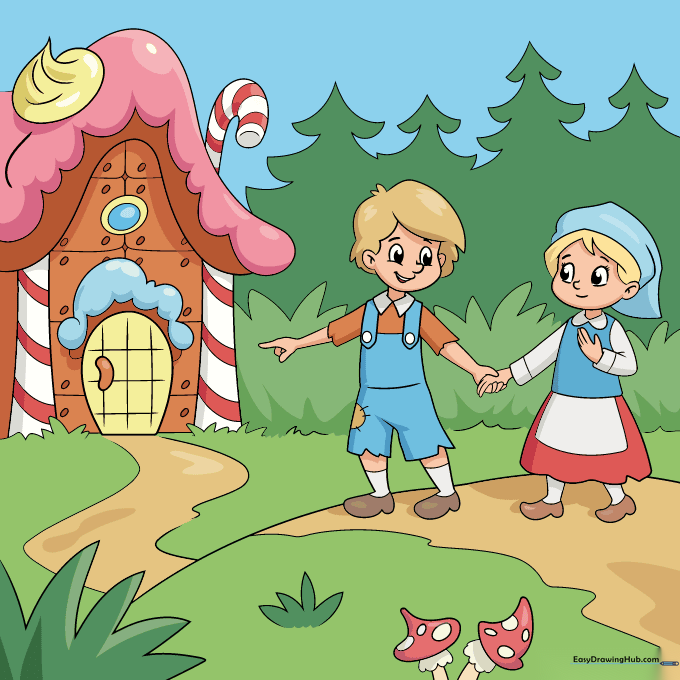
Your outline is complete! Now, use your markers to color the scene. Contrast the children's simple clothing with the bright, sugary colors of the house to make the magic pop.
More Tutorials


