How to Draw Hangyodon: Easy 10-Step Sanrio Guide
Ready to draw Sanrio’s most lovable fish? This tutorial is perfect for young artists ages 5 and up. You’ll only need a pencil, an eraser, and some markers or crayons to bring Hangyodon to life while practicing basic shape construction.
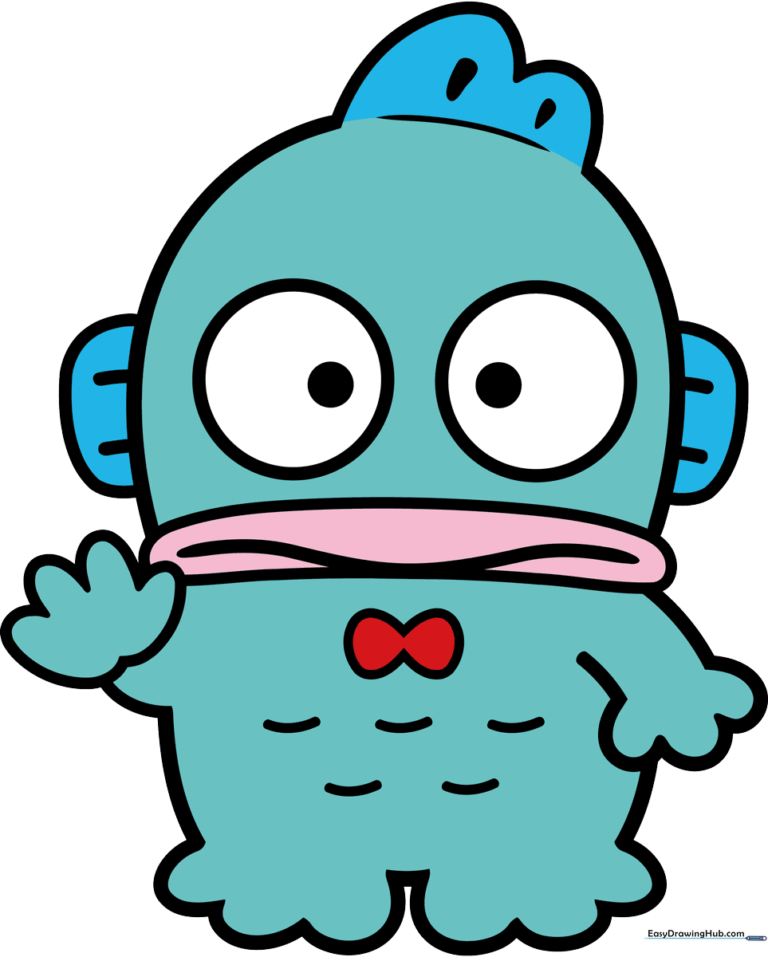
🎯 Final Result
Step-by-Step Instructions
Step 1: Sketching the Eyes and Mouth
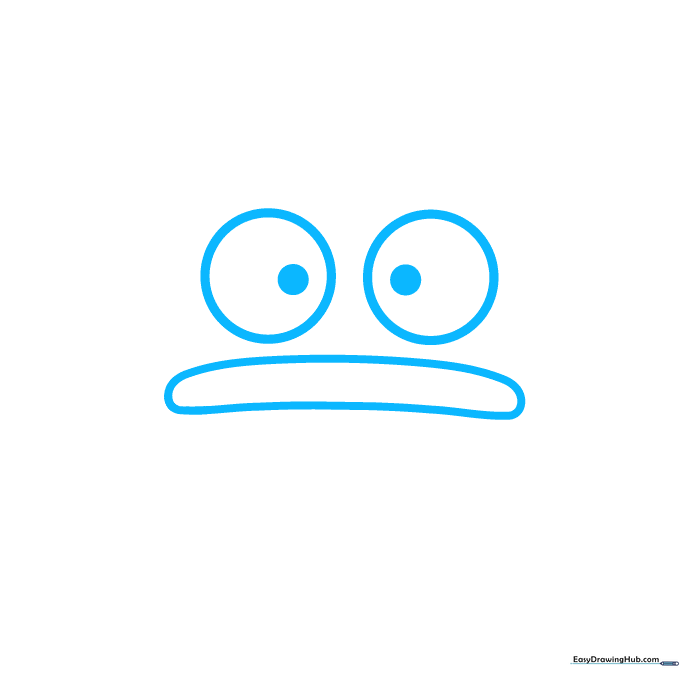
Start by drawing two circles for Hangyodon’s large eyes, adding smaller shaded circles inside for pupils. Below them, draw his signature wide mouth using two horizontal curved lines. Teacher's Tip: Keep your pencil pressure light so you can easily adjust the spacing if the eyes look a bit lopsided.
Step 2: Shaping the Head and Fin
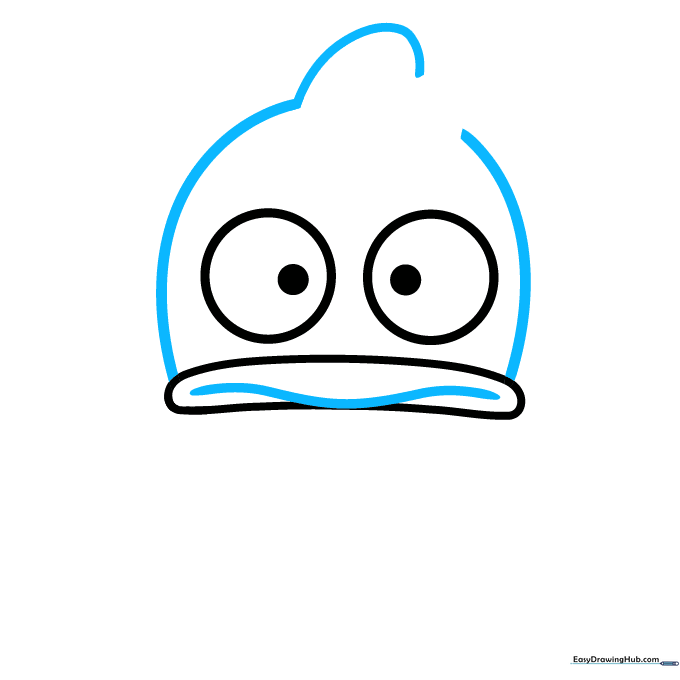
Use smooth, curved lines to outline the sides of his head and the dorsal fin on top. Add a small line to separate his lips. Teacher's Tip: Think of the dorsal fin as a soft triangle—don't worry about making it perfectly straight!
Step 3: Adding Side Fins
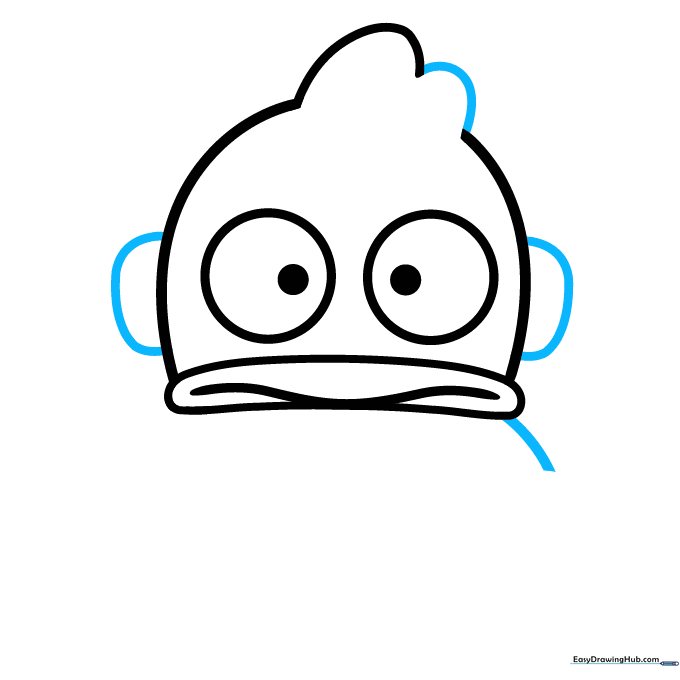
Complete the dorsal fin and draw the fins on the sides of his head, then sketch the start of his shoulders. Teacher's Tip: Use 'C' shaped curves for the side fins to give them a natural, flowy look.
Step 4: Drawing the Arm

Use a series of connected curved lines to form his armlike fin. Teacher's Tip: Keep the lines rounded rather than pointy to maintain that cute, cartoon aesthetic.
Step 5: Sketching the Waving Hand
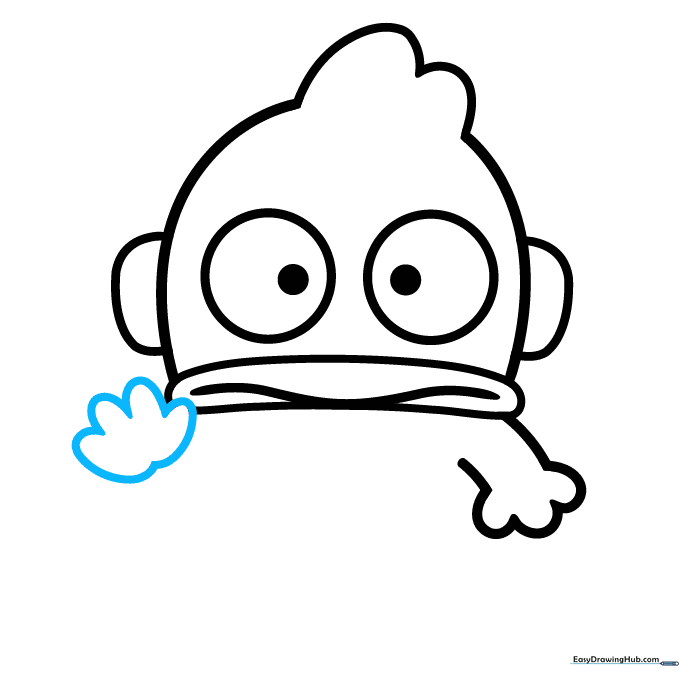
Draw the palm and four fingers on his raised hand. Teacher's Tip: Since he is waving, make the fingers slightly rounded at the tips to look friendly and soft.
Step 6: Defining the Torso and Legs

Draw the bottom of the raised arm, the sides of his torso, and the first set of toes on his finlike leg. Teacher's Tip: Keep the torso shape slightly pear-like to give him that classic Hangyodon silhouette.
Step 7: Finishing the Feet
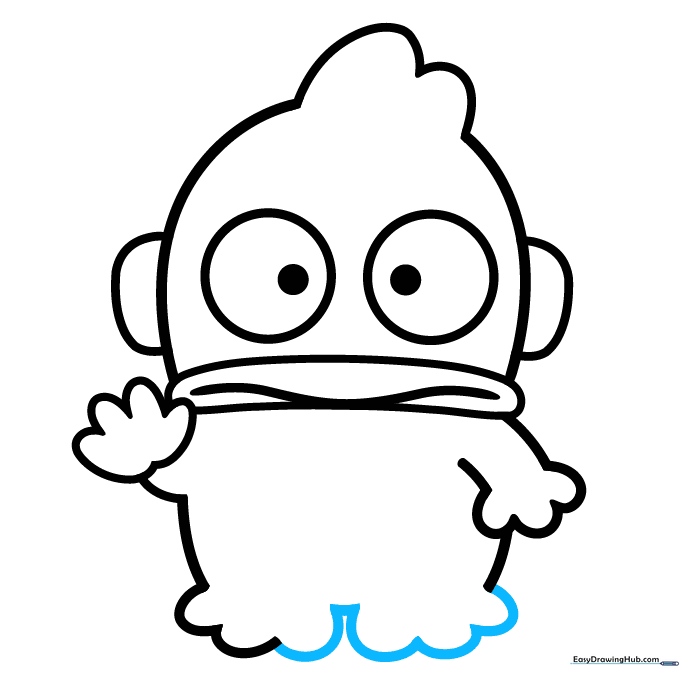
Complete the first foot and draw the second flipper-foot using three connected curves. Connect them with a short line. Teacher's Tip: Ensure the feet are flat at the bottom so he looks like he's standing firmly.
Step 8: Adding the Bow Tie and Texture
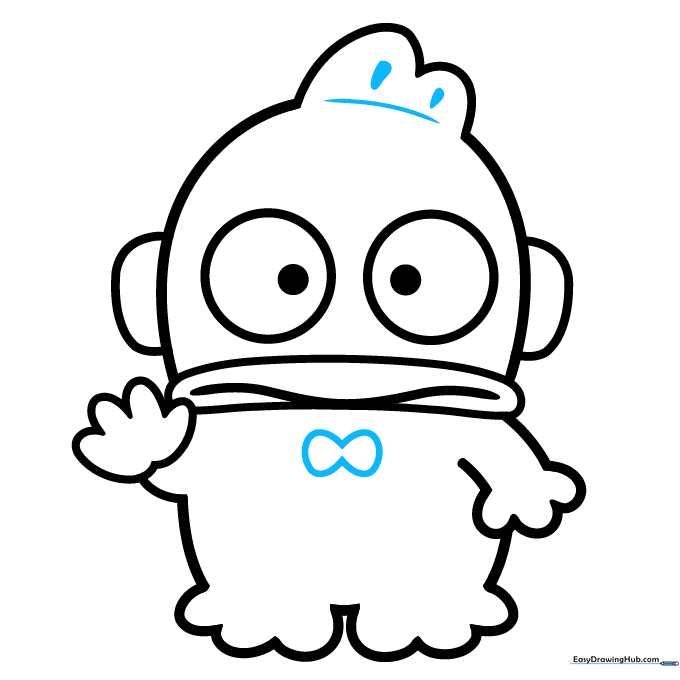
Draw an hourglass-shaped bow tie below the face. Add a curved line across the head and shade small teardrop shapes on the dorsal fin for texture. Teacher's Tip: The teardrops add great visual interest—take your time with these small details!
Step 9: Final Details
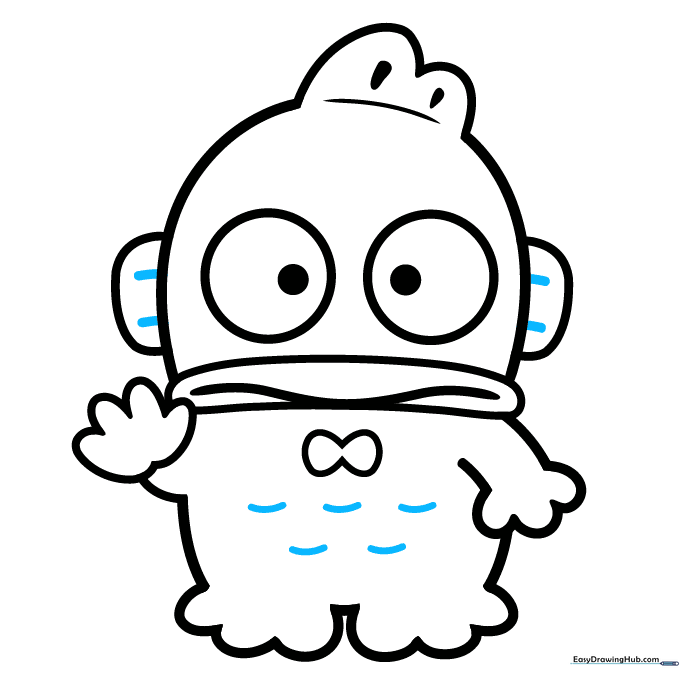
Add thick lines to the side fins and draw two rows of short, curved lines on the torso to represent scales. Teacher's Tip: Keep the scale lines consistent in size to make the texture look uniform.
Step 10: Bring Hangyodon to Life with Color

Your outline is complete! Use a bluish-green for his body, blue for the fins, pink for the lips, and a bright red for his bow tie. Teacher's Tip: Use light, circular motions when coloring to keep the pigment smooth and even.
More Tutorials


