How to Draw the Grim Reaper: Easy 10-Step Guide
Ready to draw a spooky character? This tutorial is perfect for young artists ages 7+ looking to practice character design. All you need is a pencil, an eraser, and a piece of paper to bring this iconic figure to life.
🎯 Final Result

Step-by-Step Instructions
Step 1: Sketching the Hood Opening

Draw a rounded rhombus—a diamond shape with soft corners. This creates the opening of the hood. Teacher's Tip: Keep this shape centered on your page to leave room for the scythe later.
Step 2: Defining the Hood

Outline the hood using curved lines that wrap around your rhombus. Add a small fold on one side to give the fabric a sense of weight. Tip: Use loose, flowing strokes to make the fabric look like heavy cloth.
Step 3: Creating the Robe
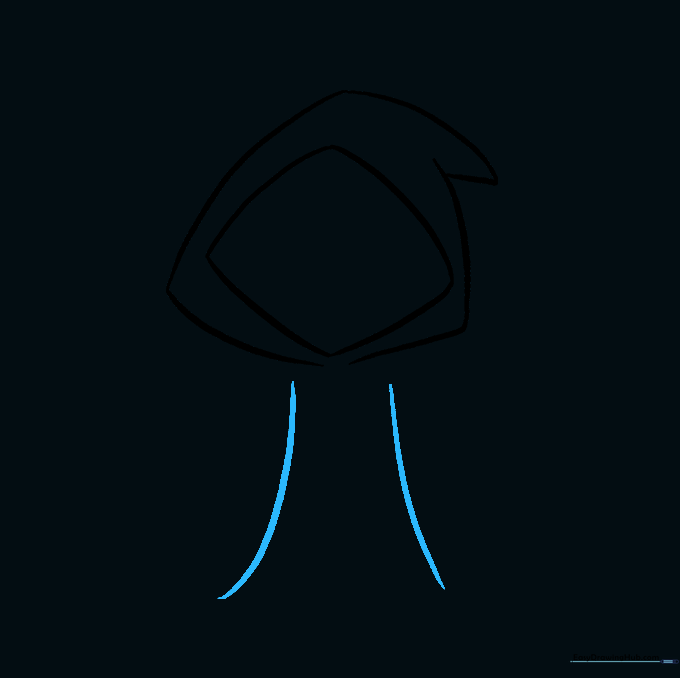
Extend two long, curved lines downward from the hood to form the body. These should flare out slightly at the bottom. Tip: Think of this as drawing a bell shape for the cloak.
Step 4: Adding Folds to the Hem

Close the bottom of the robe with a horizontal line. Add small, jagged 'V' shapes along the hem to represent fabric folds. Tip: Vary the size of the folds to make the robe look more natural.
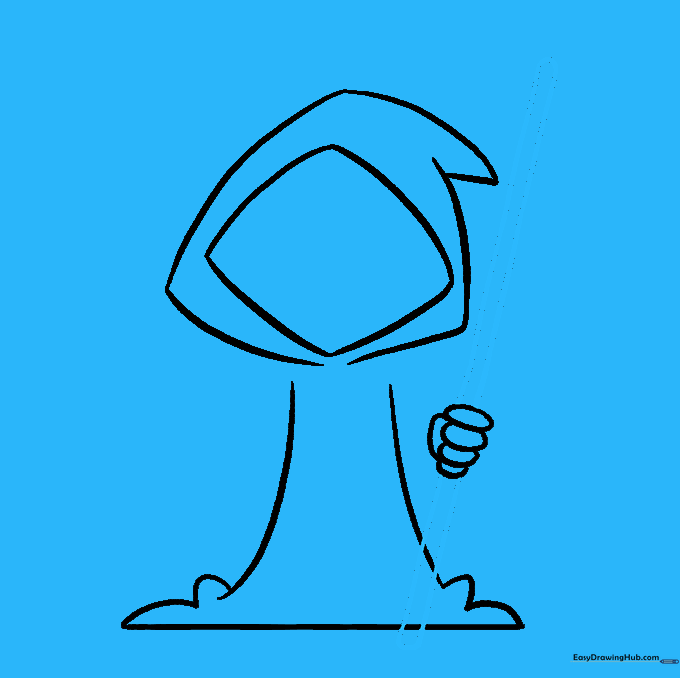
Step 5: Drawing the Hand

Draw a few small ovals for the fingers and a curved line for the palm. Tip: Keep the hand small; it should look like it's emerging from the sleeve, not floating.
Step 6: Sketching the Scythe Handle
Draw two long, parallel lines passing through the hand to create the scythe handle. Cap the ends with small curves. Tip: Use a ruler if you struggle with straight lines, but freehand lines add character!
Step 7: Adding Sleeves
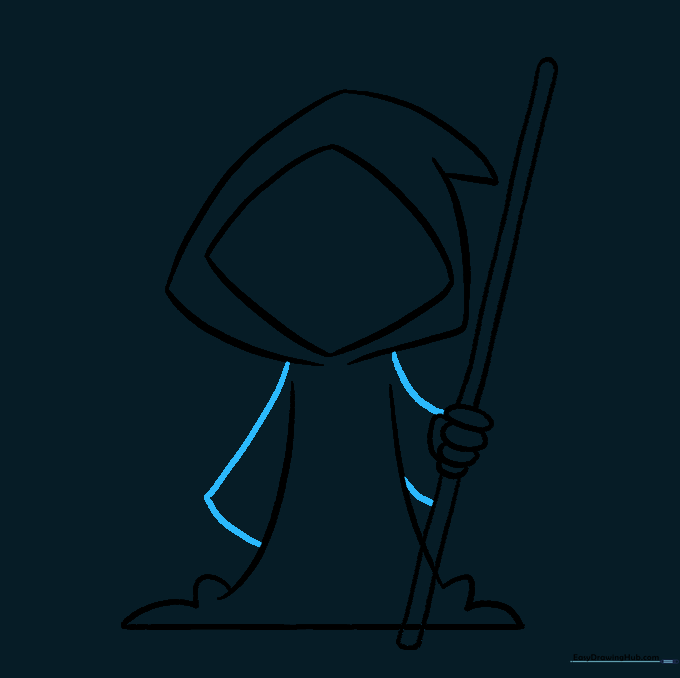
Draw two curved lines around the arm to create the sleeve opening. Tip: Make these lines overlap the robe slightly to show depth.
Step 8: Shaping the Skull

Inside the hood, draw the skull shape. Focus on the cheekbones and the jawline. Tip: Use light, sketchy lines here to get the anatomy right before finalizing.
Step 9: Final Details and Scythe Blade
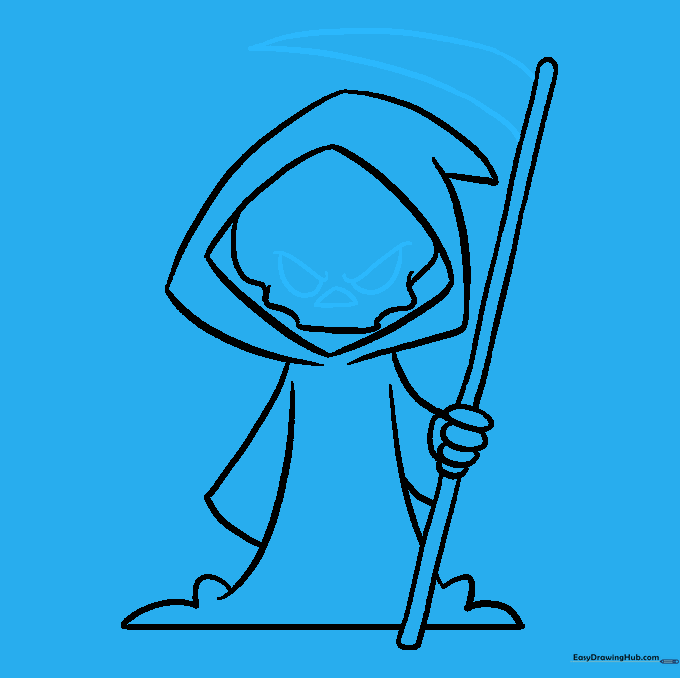
Add the eyes, nose, and the sharp, curved blade of the scythe. Tip: For the scythe blade, draw a large crescent shape that tapers to a very sharp point.
Step 10: Adding Color

Time to color! Use dark grays and blacks for the robe to keep it spooky, and a light bone-white for the skull. Tip: Use a black marker to outline your work for a clean, professional look.
More Tutorials


