How to Draw Green Beans: Easy 9-Step Art Guide
Bring the garden to your sketchbook with this simple green bean drawing tutorial, perfect for young artists ages 5 and up. All you need is a pencil, an eraser, and a piece of paper to get started. By focusing on simple curved shapes, you'll master the organic look of fresh produce in no time.
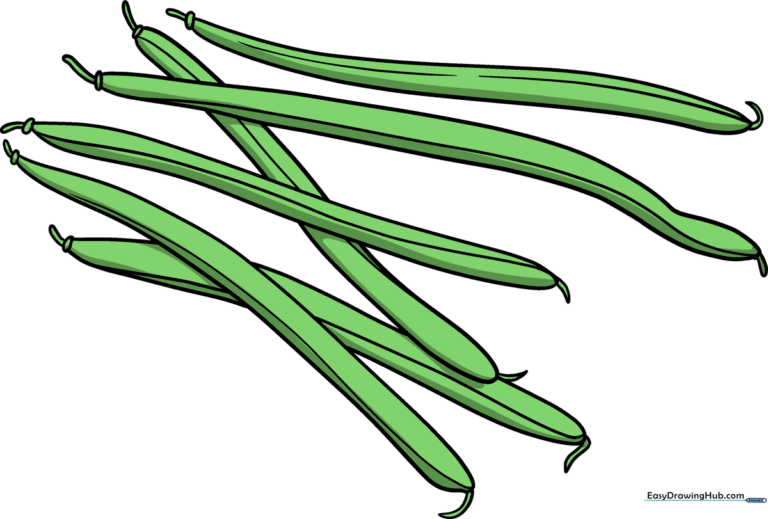
🎯 Final Result
Step-by-Step Instructions
Step 1: Sketching the First Bean
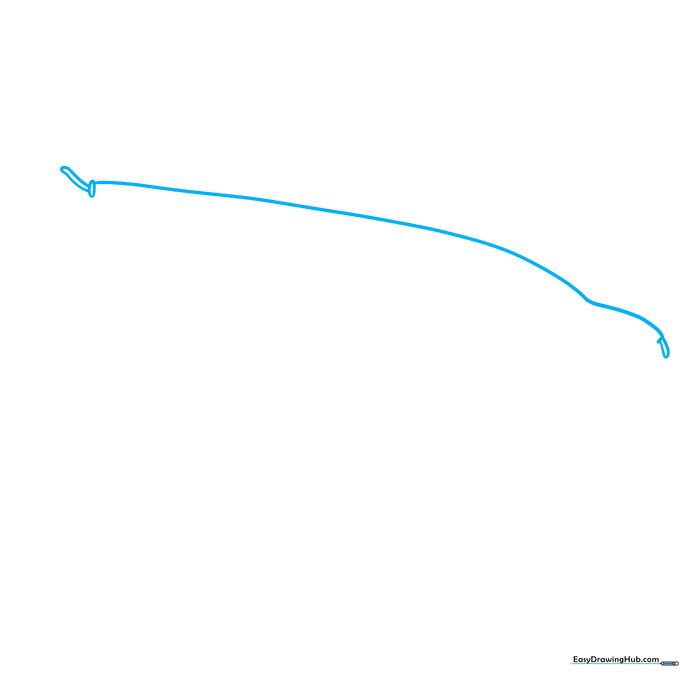
Start by drawing a long, gentle curve. At one end, add a small oval for the stem base. Tip: Keep your pencil pressure light so you can easily erase any overlapping lines later.
Step 2: Defining the Pod
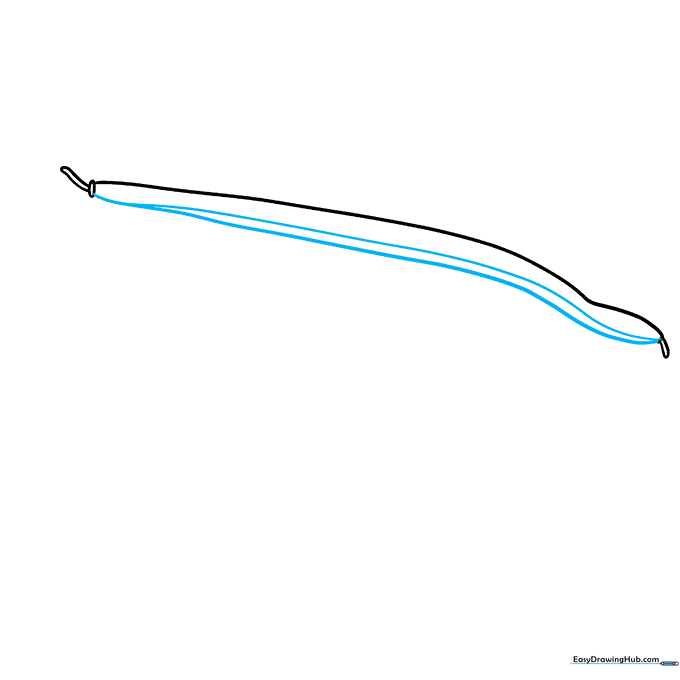
Close the shape with a second curved line to create the pod. Add a soft line down the center to represent the seam where the seeds hide. Tip: Try to keep the lines smooth rather than jagged to make the bean look fresh.
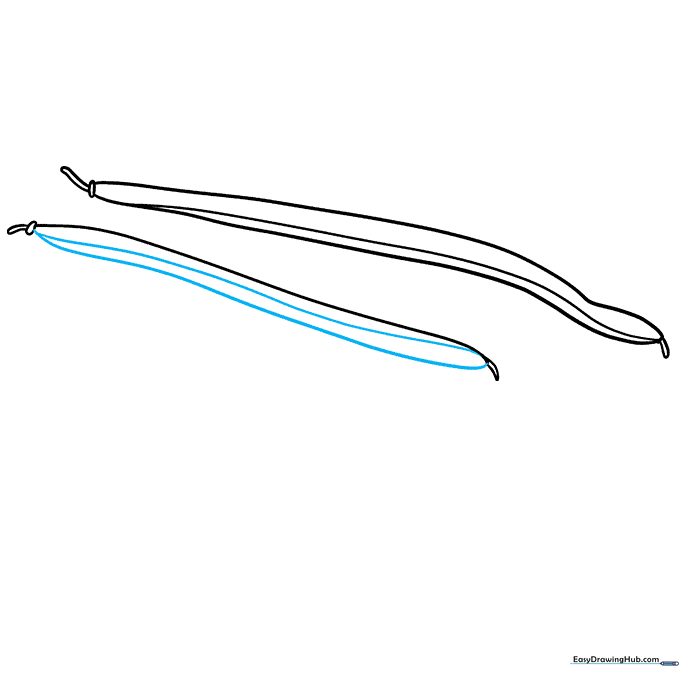
Step 3: Adding the Second Bean
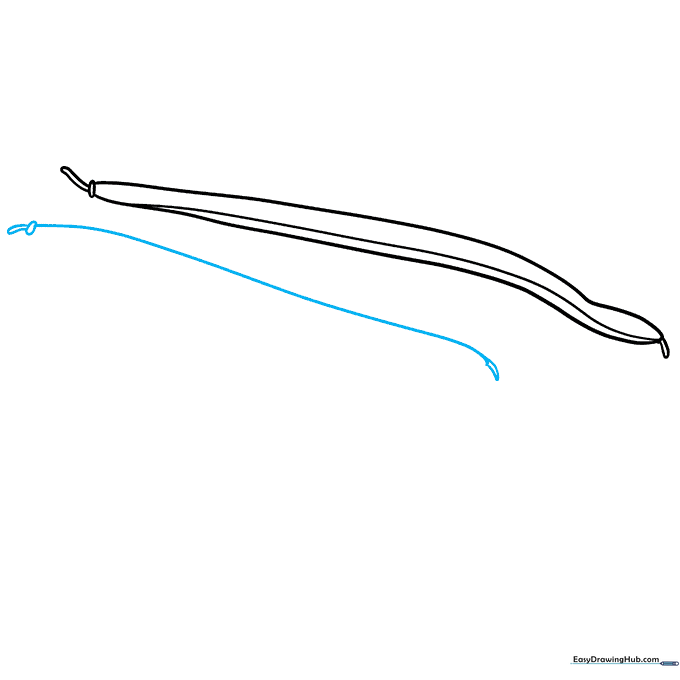
Draw a second bean overlapping the first. Use the same technique: a long curve and a small oval for the stem. Tip: Overlapping shapes is a great way to add depth to your drawing.
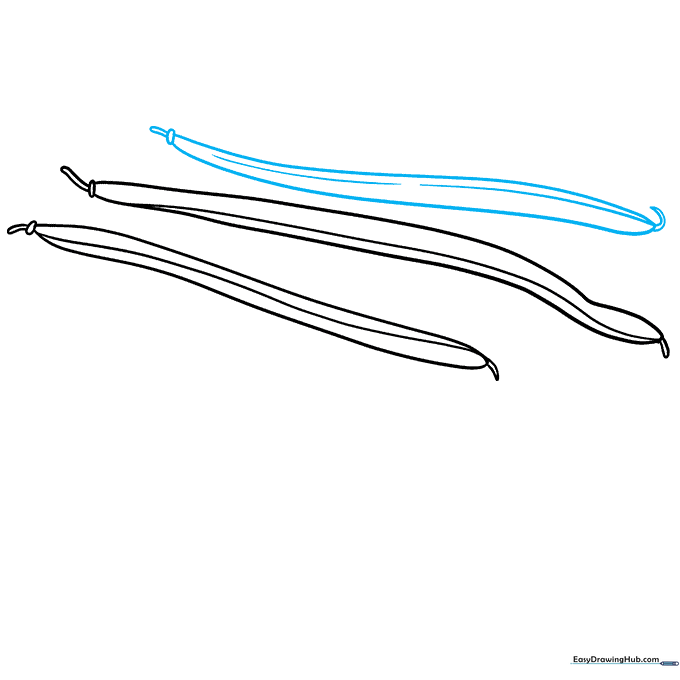
Step 4: Detailing the Second Pod
Close the second pod and add the center seam. Tip: If the beans look too identical, try making this one slightly more curved or 'wavy' to look more natural.
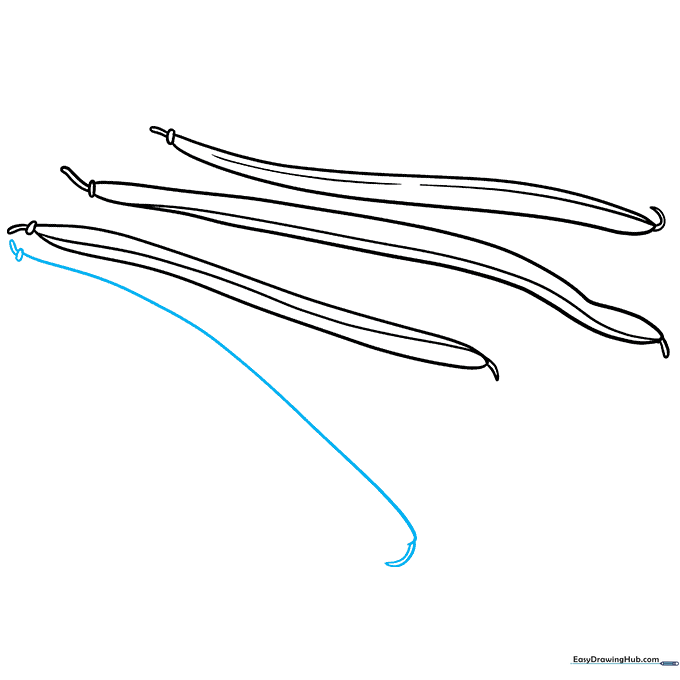
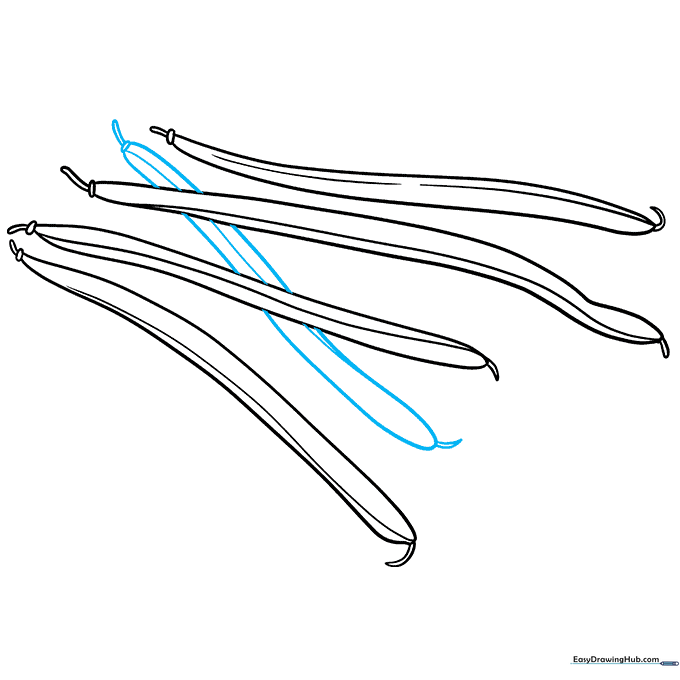
Step 5: Adding the Third Bean
Repeat the process to add a third bean. Tip: Vary the placement of the stem to make your pile of beans look realistic and unorganized.
Step 6: Sketching the Fourth Bean
Draw your fourth bean. Tip: Don't worry if the lines cross over the previous beans; you can erase the hidden lines later to make it look like they are stacked.
Step 7: Finalizing the Fourth Pod
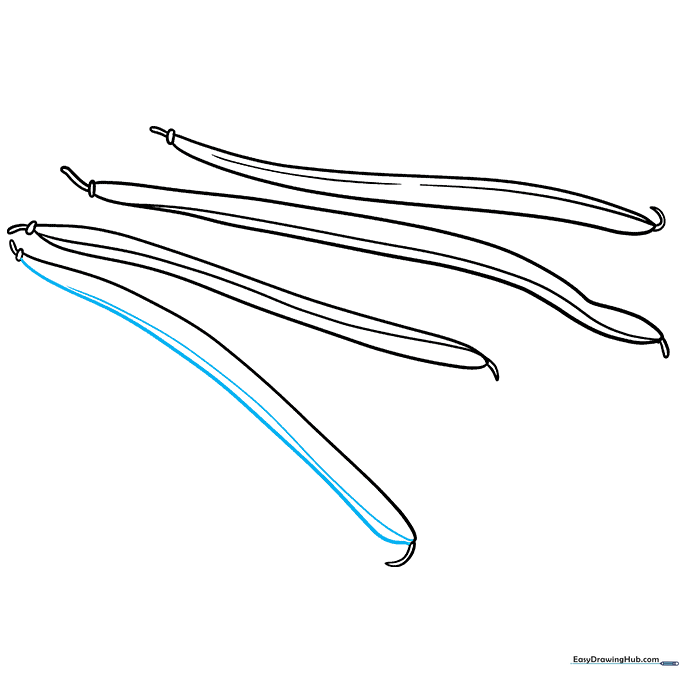
Close the fourth pod and add the seam. Tip: Use a slightly darker pencil stroke for the seam to give it a bit of shadow.
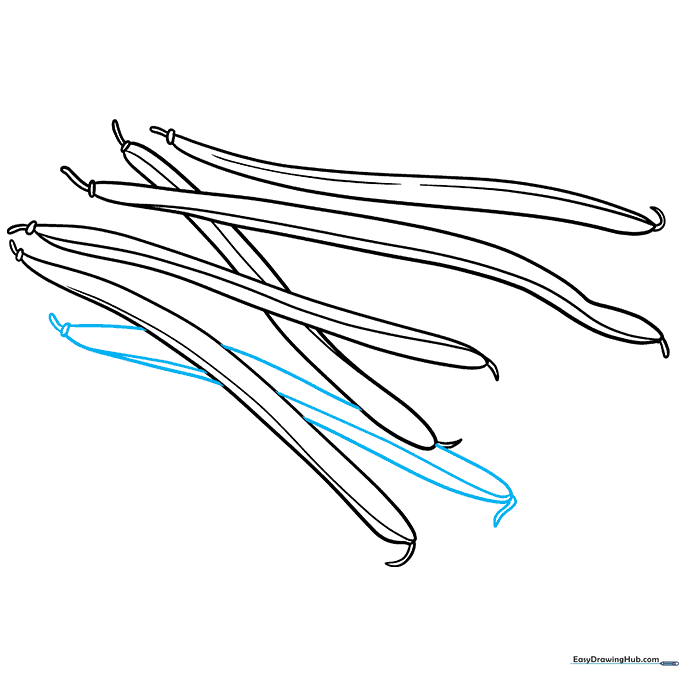
Step 8: Adding Background Beans
Draw one or two more beans partially hidden behind the others. Tip: Only draw the visible parts to create the illusion of a full pile.
Step 9: Final Touches
Complete the final bean and erase any unnecessary guidelines. Tip: Go over your final outlines with a darker pencil or pen to make your drawing pop!
Color Your Green Beans
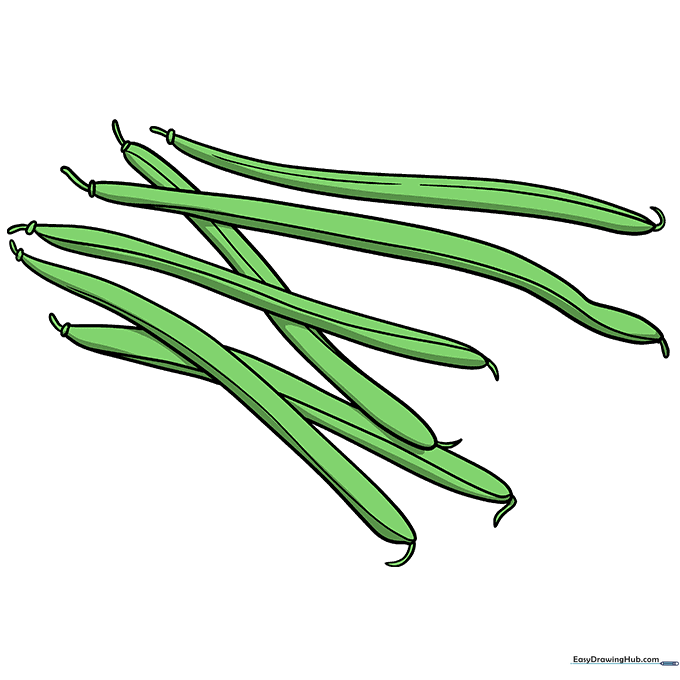
Bring your drawing to life with color! Use various shades of green for a fresh look, or try yellow for wax beans. Tip: Use a darker green near the seams to create a sense of volume and shadow.
More Tutorials


