How to Draw Grass: Easy 10-Step Landscape Guide
Ready to bring your landscapes to life? This tutorial is perfect for young artists ages 5+ looking to add texture and depth to their drawings. All you need is a pencil, an eraser, and a sheet of paper to start building your own grassy meadows.
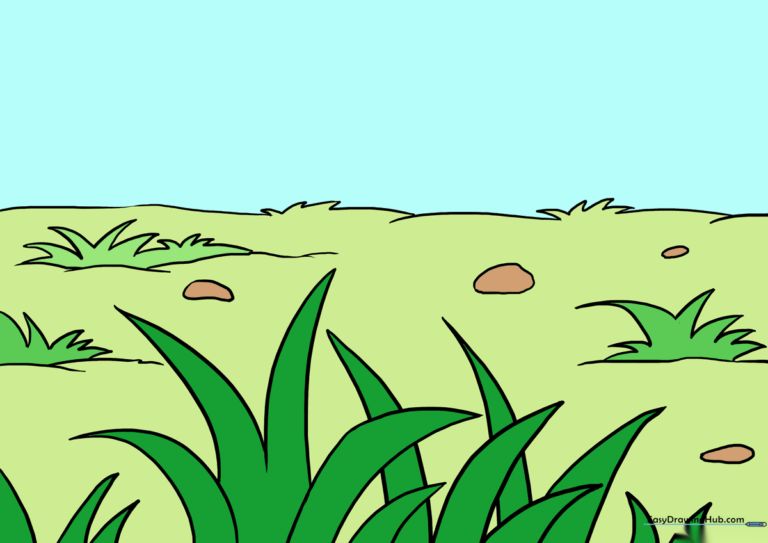
🎯 Final Result
Step-by-Step Instructions
Sketching the First Blade

Start by drawing a single blade of grass. Use two curved lines that meet at a sharp point. Teacher's Tip: Keep your pencil pressure light so you can easily adjust the shape if it looks too stiff.
Creating Overlapping Blades

Add more blades by drawing overlapping curved lines. Ensure the bases of the blades connect to create a natural, clustered look. Teacher's Tip: Vary the height of each blade to make the grass look organic rather than uniform.
Expanding the Patch

Continue adding blades using sets of curved lines. Don't worry about perfection; grass grows in every direction! Teacher's Tip: Try tilting some blades to the left and others to the right to create movement.
Adding Depth with Background Blades

Draw a second patch of grass slightly behind the first. By letting these lines pass behind the foreground blades, you create a sense of depth. Teacher's Tip: Draw these background blades slightly smaller to simulate distance.
Filling the Meadow

Keep adding pairs of curved lines to fill out your scene. Teacher's Tip: Use short, quick strokes to give the grass a lively, energetic feel.
Drawing Distant Grass
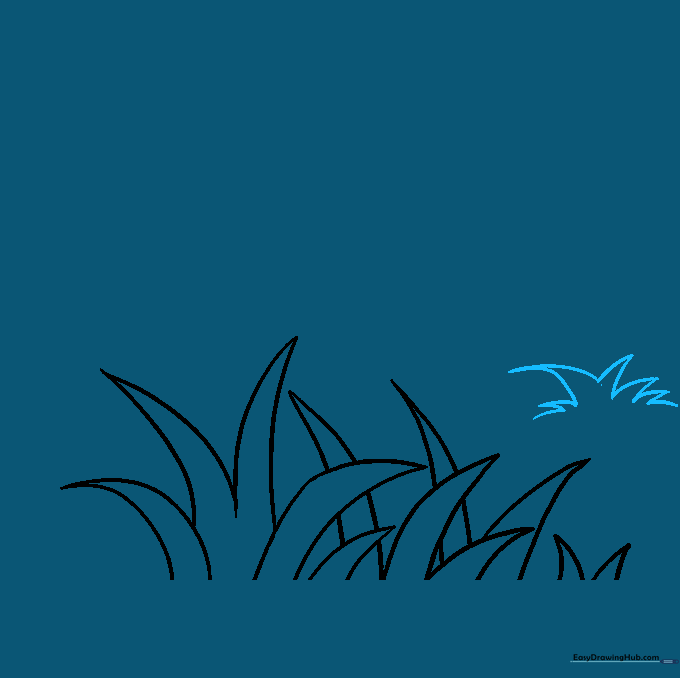
For the far distance, switch to a series of short, connected, jagged lines. This suggests a field seen from far away. Teacher's Tip: Keep these lines very small and tight to represent the horizon.
Layering the Horizon
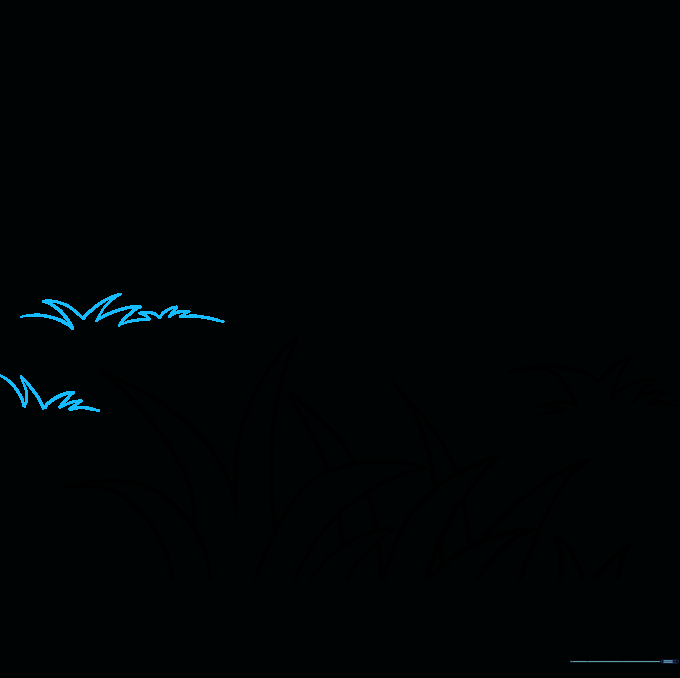
Add more distant patches using the same zigzag pattern. Teacher's Tip: Vary the height of the zigzag to show uneven terrain.
Adding Ground Details
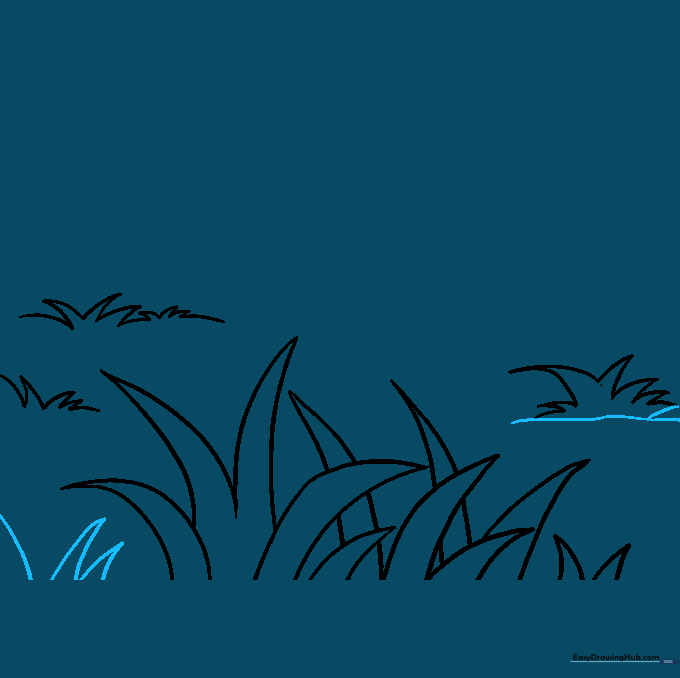
Add a few more foreground blades and a wavy line beneath the distant patches to represent the ground. Teacher's Tip: A simple curved line acts as a 'floor' for your grass to sit on.
Defining the Horizon Line
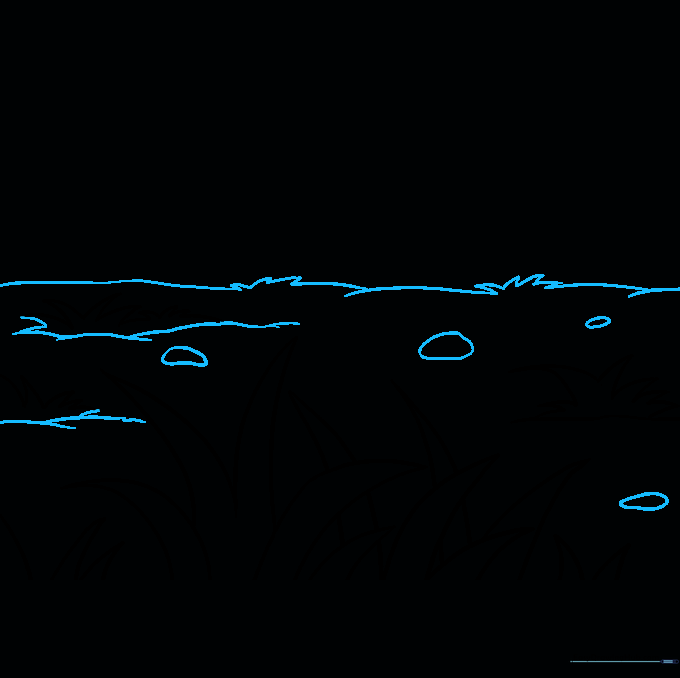
Draw a clear horizon line where the ground meets the sky. Add a few irregular, rounded shapes to represent rocks. Teacher's Tip: Keep the rocks varied in size to make the landscape look natural.
Adding Color and Life
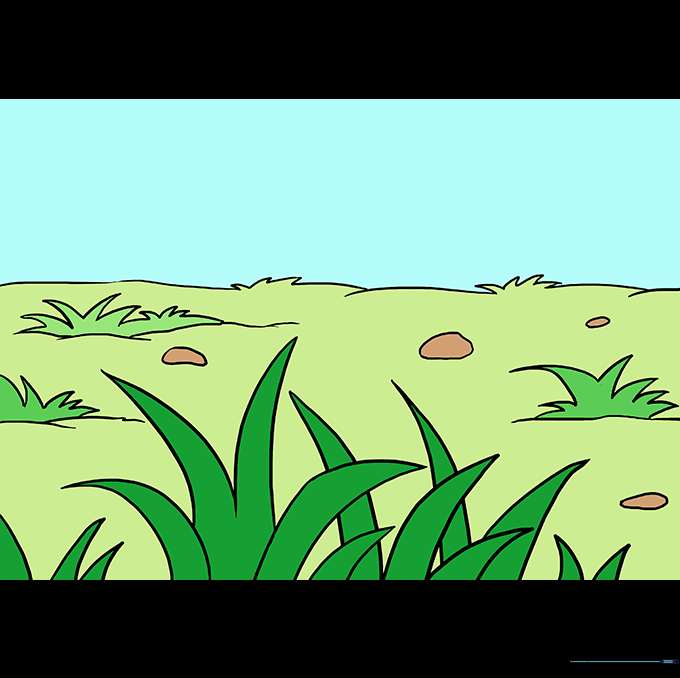
Bring your meadow to life with vibrant greens. Now that you have a beautiful landscape, try adding animals like lions or bunnies! Teacher's Tip: Use different shades of green to add highlights and shadows to your grass.
More Tutorials


