How to Draw Ghostface: Easy 10-Step Guide
Ready to sketch the iconic horror villain? This tutorial is perfect for fans and young artists ages 8+ looking to master character proportions. All you need is a pencil, an eraser, and a piece of paper to bring this spooky figure to life.
🎯 Final Result

Step-by-Step Instructions
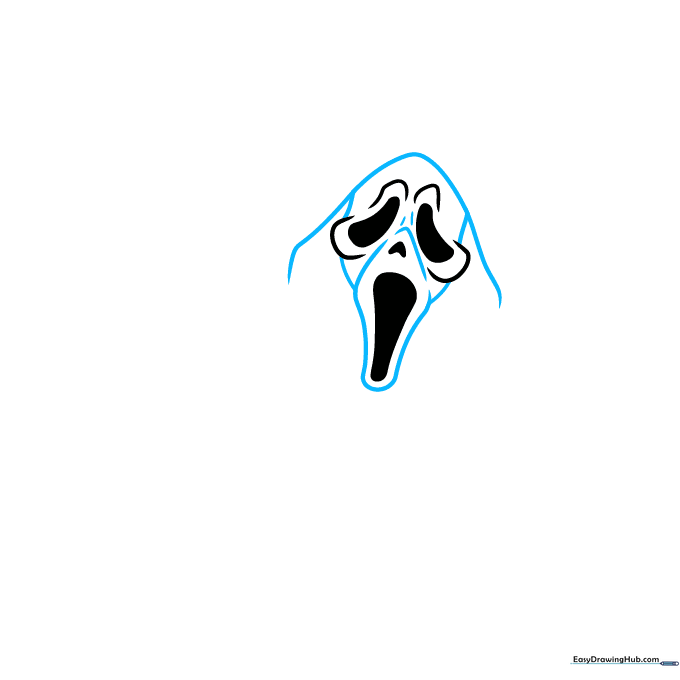
Step 1: Sketching the Mask Features

Start by drawing the hollow eyes and the heart-shaped nose. Tip: Keep the shapes slightly asymmetrical to give the mask that classic, unsettling look.
Step 2: Defining the Face Shape
Draw the elongated face shape, connecting the mouth and eye areas to the hood. Tip: Use long, sweeping strokes to ensure the face looks narrow and stretched.
Step 3: Outlining the Hood and Arm
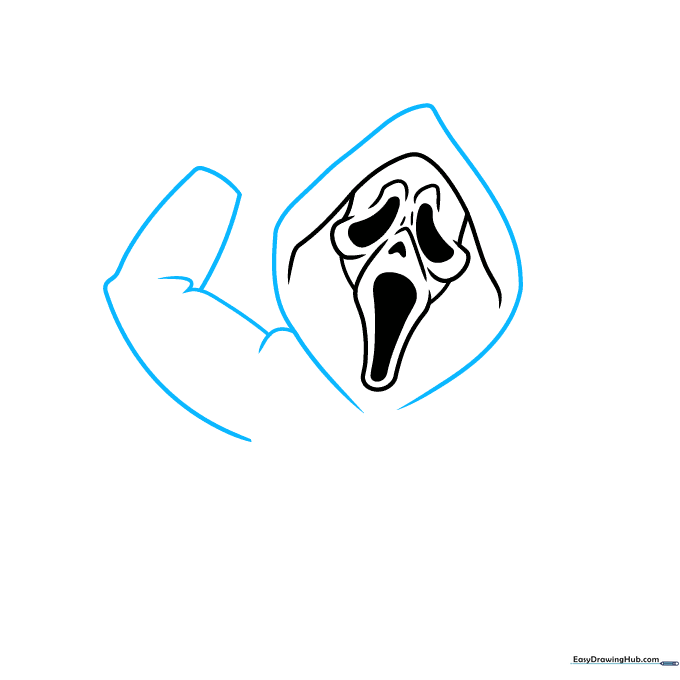
Complete the hood with a gentle point at the top and sketch the start of the upraised arm. Tip: Keep your wrist loose to create natural, flowing curves for the fabric.
Step 4: Sketching the Dagger Hilt
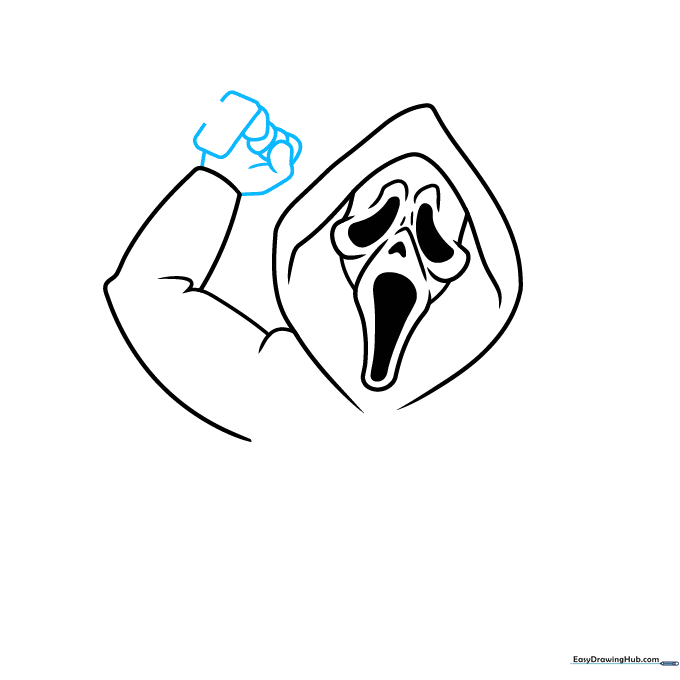
Draw a rounded rectangle for the dagger handle and sketch the fingers gripping it. Tip: Draw the fingers as simple overlapping curves first to get the placement right.
Step 5: Drawing the Blade
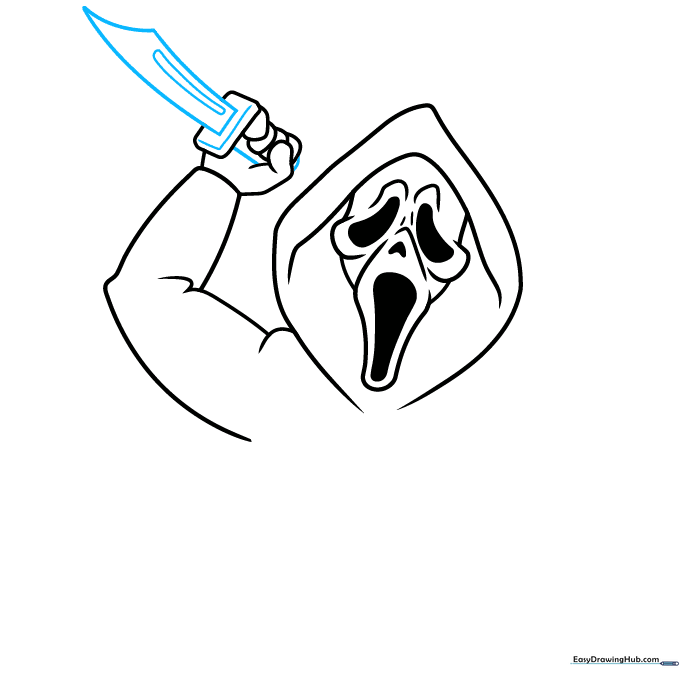
Add the sharp blade using two lines that meet at a point. Add a small rectangle inside for a metallic gleam. Tip: Use a ruler if you want the blade to look extra sharp and straight.
Step 6: Forming the Torso
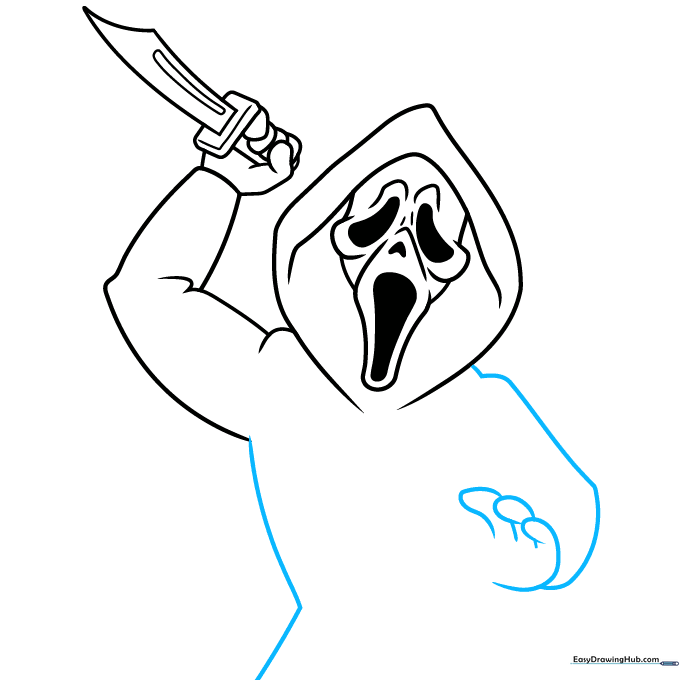
Sketch the main body of the cloak using long, flowing lines. Tip: Think of the cloak as a large, loose triangle to help keep your proportions balanced.
Step 7: Adding Ragged Sleeves
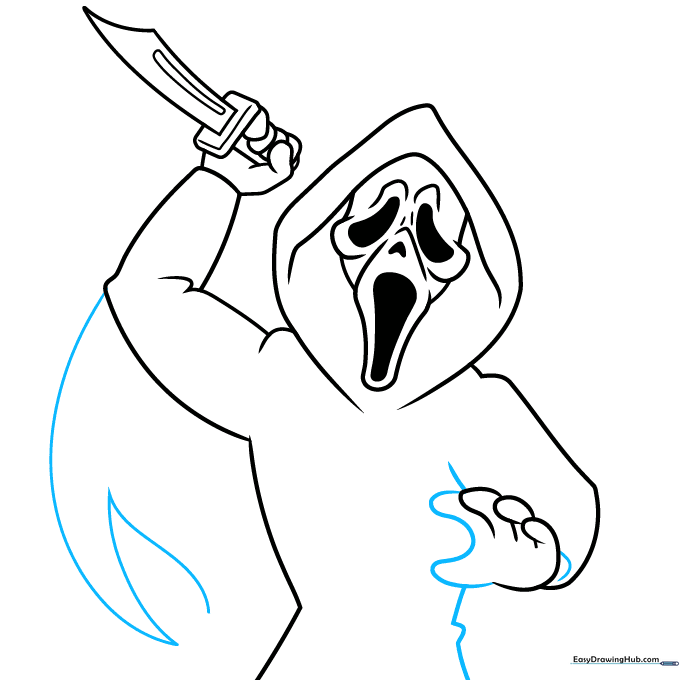
Draw the sleeve opening and add jagged, triangular shapes at the bottom for the tattered fabric. Tip: Vary the size of the triangles to make the fabric look more realistic and worn.
Step 8: Detailing the Fabric
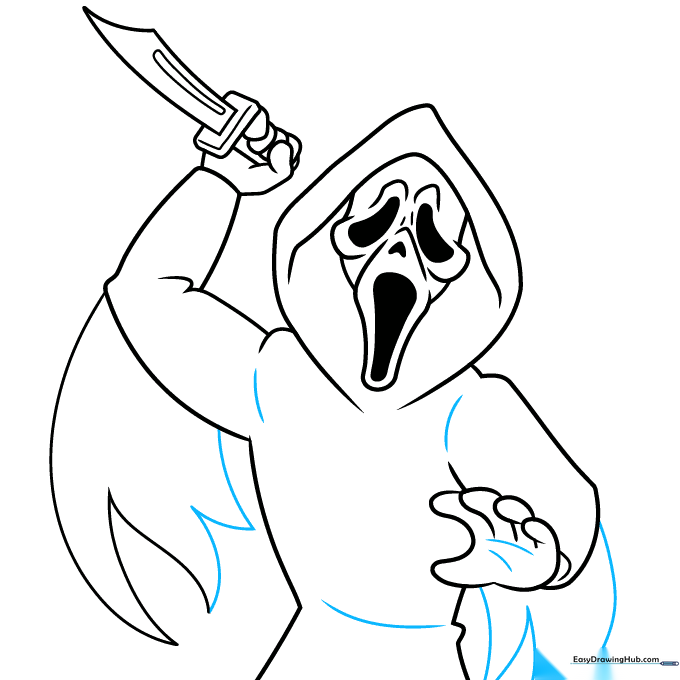
Add more ragged edges to the other arm and use short, curved lines to suggest folds in the fabric. Tip: Folds are just shadows, so keep your lines grouped together.
Step 9: Finalizing the Outline
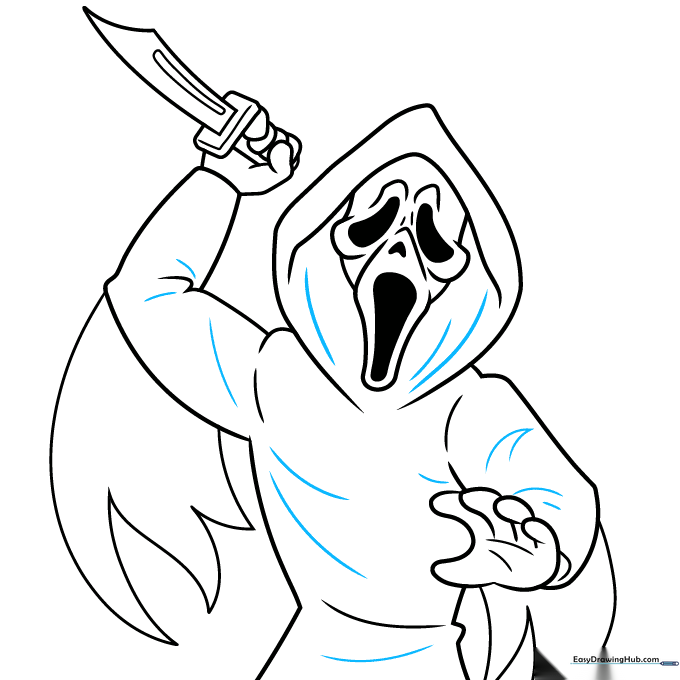
Review your drawing and add any final folds or shadow lines to the cloak. Tip: Ensure your main outline is dark and clean before you start coloring.
Step 10: Adding Color

Color the mask white and the cloak deep black. Tip: Use a light grey pencil to add subtle shading to the white mask to give it a 3D, plastic appearance.
More Tutorials


