How to Draw Ghost Rider: Easy 10-Step Tutorial for Beginners
Ready to bring the Spirit of Vengeance to life? This tutorial is perfect for young artists and Marvel fans looking to practice dynamic character posing and skeletal structure. Grab your pencil, eraser, and a piece of paper to follow along with these professional-grade techniques.
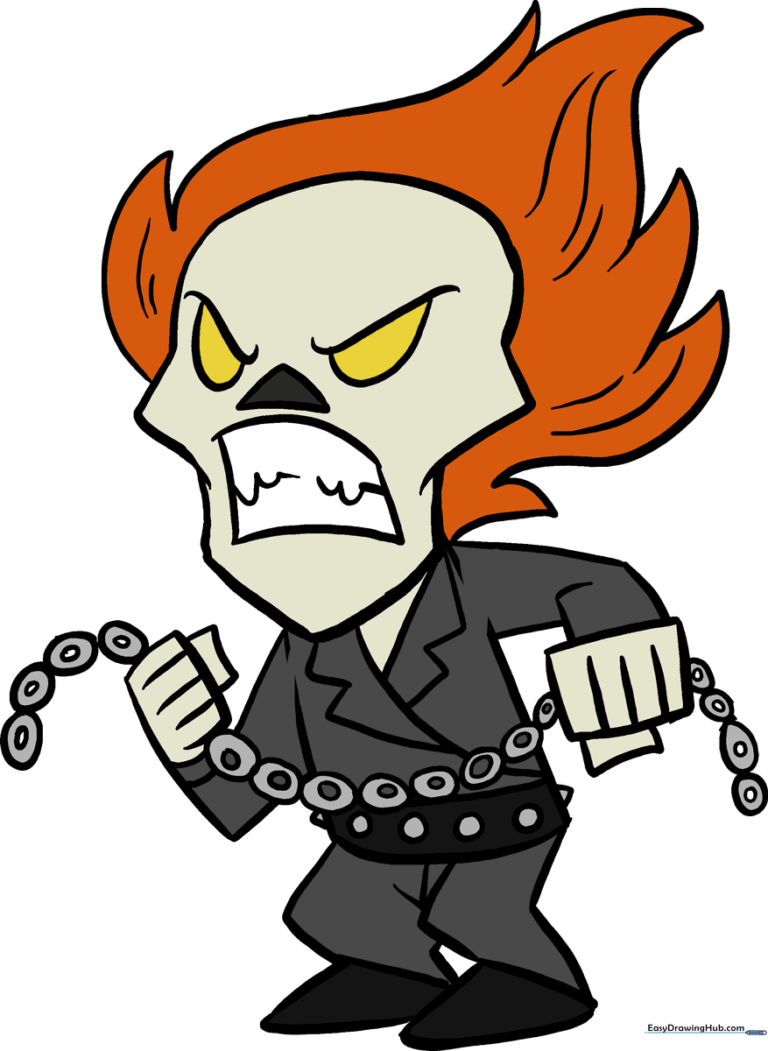
🎯 Final Result
Step-by-Step Instructions
Step 1: Sketching the Skull Base

Start by outlining the head. Enclose an irregular shape, noting the bulge at the top of the pointed chin. Teacher's Tip: Keep your lines loose and light; this is just the foundation for the skull structure.
Step 2: Mapping the Body and Legs
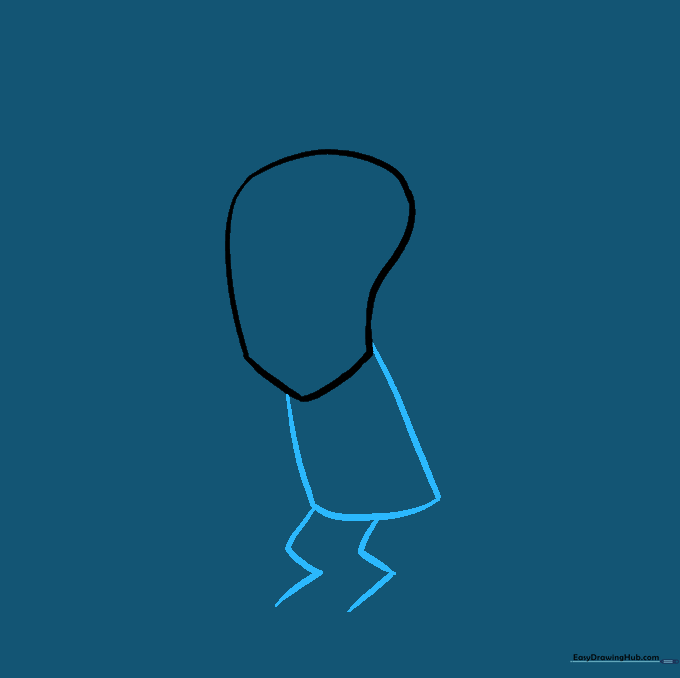
Outline the torso and legs. Use a rounded rectangle for the chest and simple 'S' curves for the legs. Teacher's Tip: Think of these as 'gesture lines'—they help you get the pose right before adding muscle or clothing.
Step 3: Defining the Legs and Boots

Use curved lines to flesh out the legs, adding a bend at the knee. Add a horizontal line at the bottom to define the boots. Teacher's Tip: Ensure the legs look sturdy to give your character a grounded, powerful stance.
Step 4: Adding the Jacket and Belt

Draw the jacket collar as two triangles and add a belt with small circles for spikes. Teacher's Tip: Spikes are just small circles; keep them evenly spaced to make the belt look realistic.
Step 5: Drawing Arms and Fists
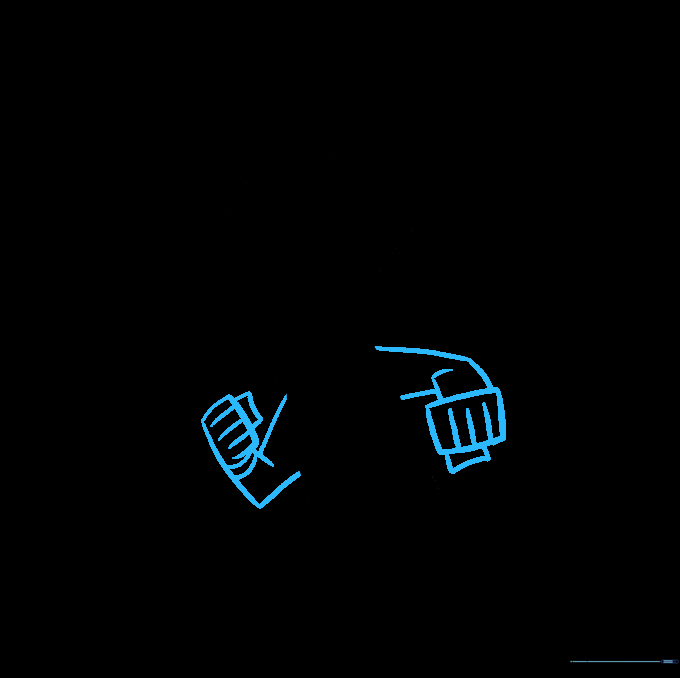
Sketch the arms with bent elbows and rectangular fists. Add parallel lines for the sleeve cuffs. Teacher's Tip: Use rectangles for the hands first—it's much easier to draw fingers once you have the basic block shape.
Step 6: Creating the Chain
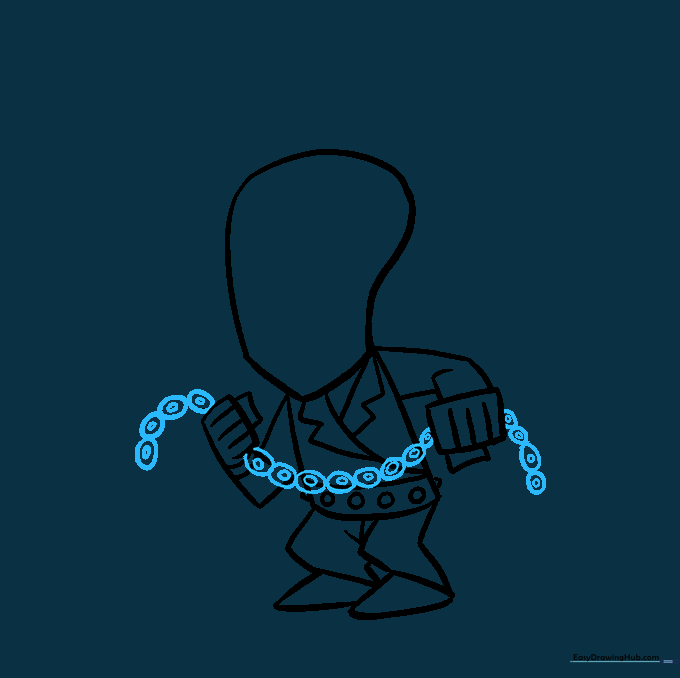
Draw a series of small, connected circles to form the chain. Add a smaller circle inside each link for depth. Teacher's Tip: Take your time here; consistent circle sizes make the chain look like real metal.
Step 7: Detailing the Skull Face
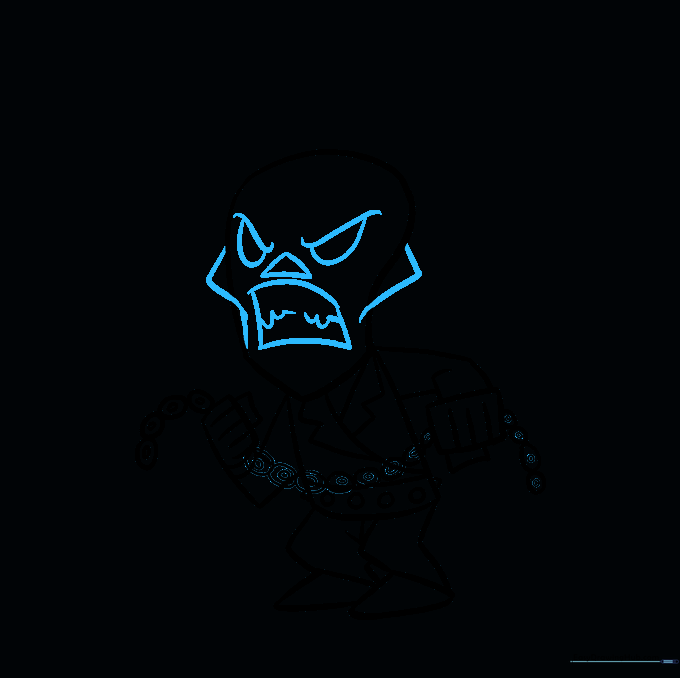
Add cheekbones, deep eye sockets, a triangular nose, and sharp teeth. Teacher's Tip: Use dark, bold lines for the eyes and mouth to make the skull look truly intimidating.
Step 8: Drawing the Flaming Hair
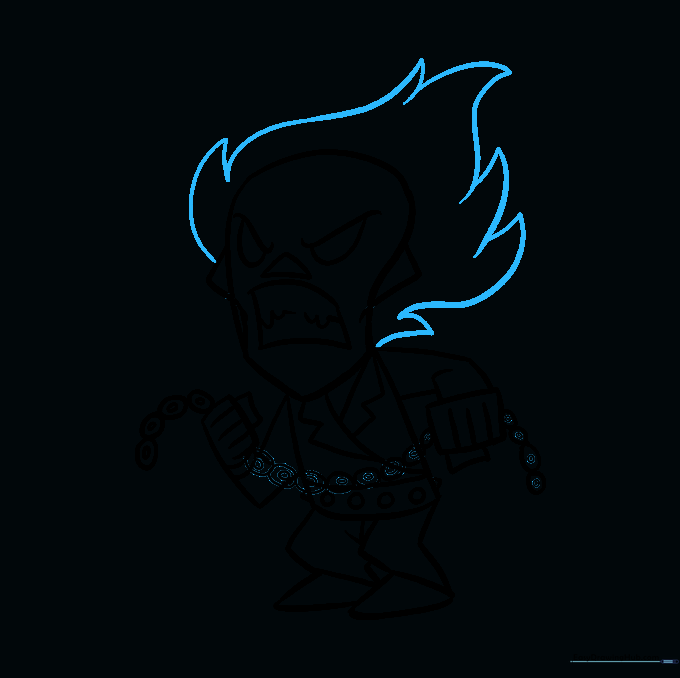
Use long, curved lines that meet in sharp points to create the look of fire. Teacher's Tip: Flames are irregular! Don't worry about making them symmetrical; the more jagged, the better.
Step 9: Adding Texture
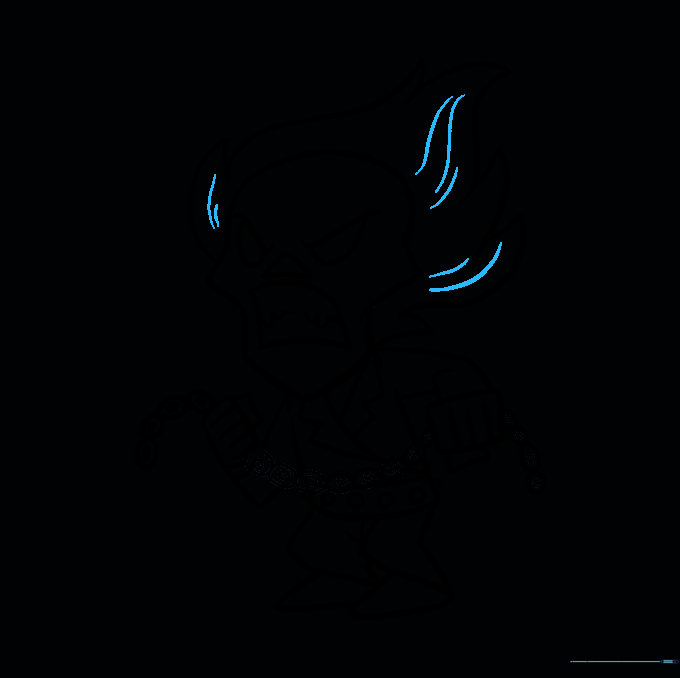
Add small, curved lines throughout the flames to give them texture and movement. Teacher's Tip: Vary the length of your lines to create a sense of flickering energy.
Step 10: Final Coloring
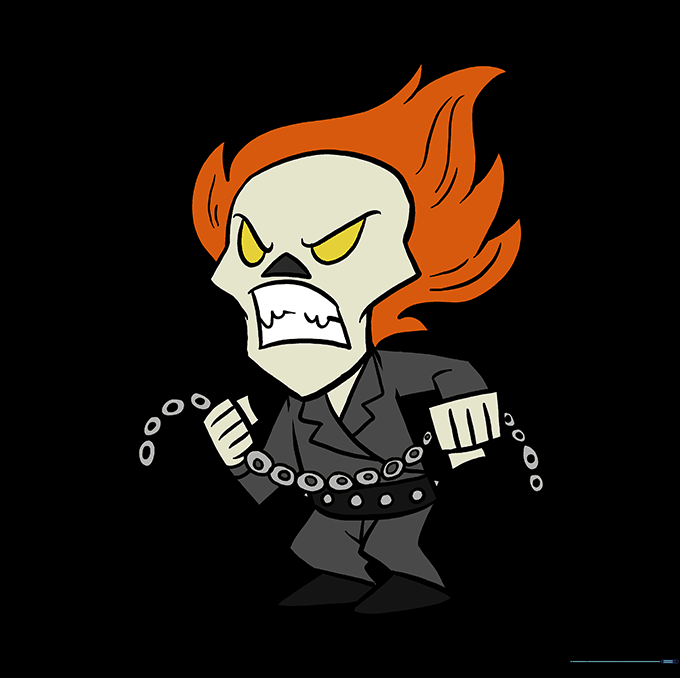
Bring your Ghost Rider to life with vibrant oranges, yellows, and reds for the fire, and dark grays for the leather jacket. Teacher's Tip: Use a lighter yellow in the center of the flames to make them look like they are glowing!
More Tutorials


