How to Draw George Washington: Easy 10-Step Guide
Bring history to life with this simple portrait guide, perfect for students and young artists ages 7 and up. All you need is a pencil, an eraser, and a sheet of paper to capture the likeness of America's first president. Follow these steps to build confidence in drawing facial features and historical clothing.
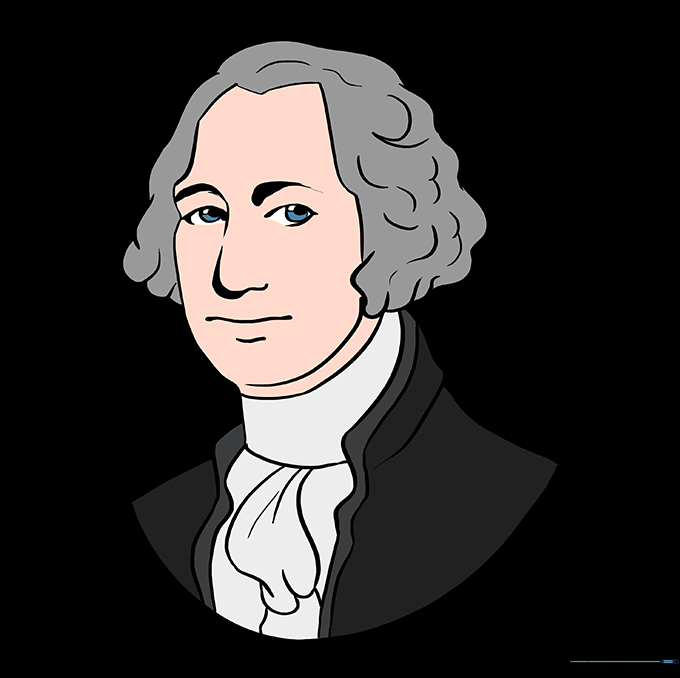
🎯 Final Result

Step-by-Step Instructions
Step 1: Sketching the Face Shape
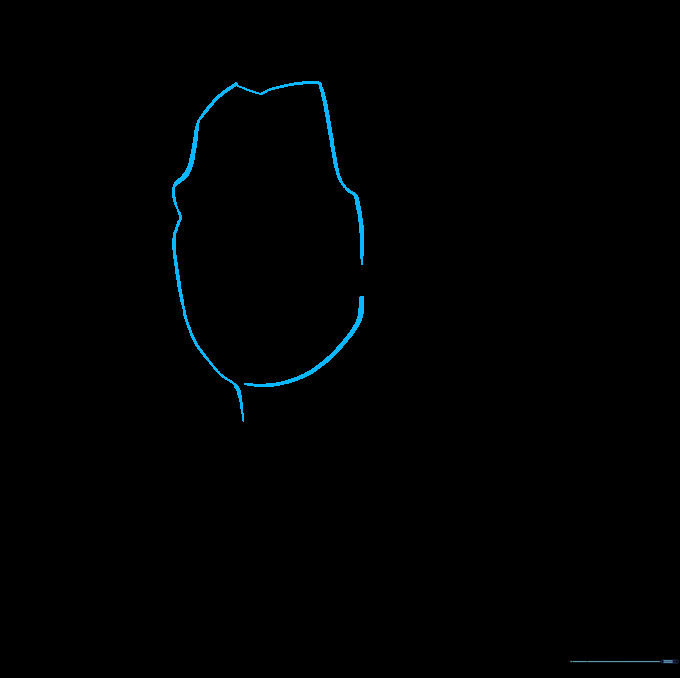
Lightly sketch the outline of the face, including the brow, jawline, and neck. Teacher's Tip: Use a very light touch with your pencil so you can easily erase any guidelines later.
Step 2: Adding the Hair

Draw the iconic colonial hairstyle using 'U' shaped loops for curls and wavy lines for the top. Teacher's Tip: Keep your strokes rhythmic to mimic the texture of powdered wigs.
Step 3: Outlining the Collar
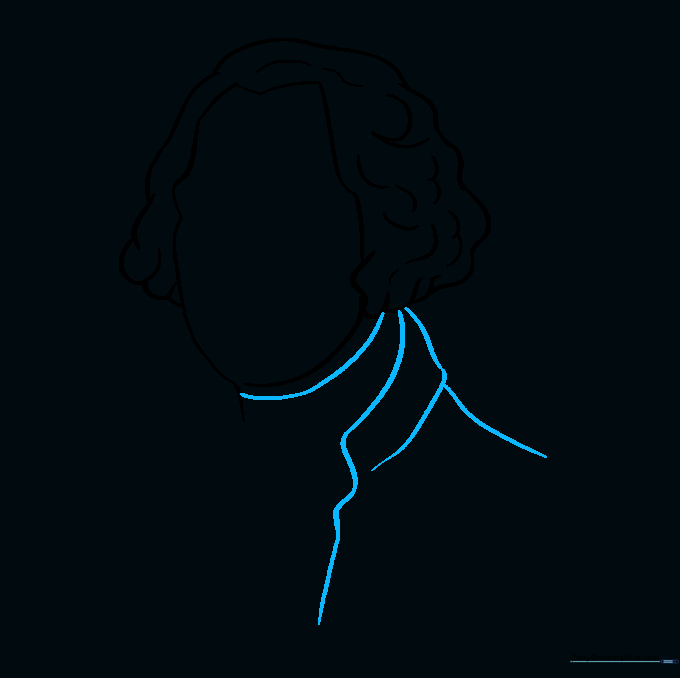
Draw the shirt collar and the start of the jacket using curved lines. Teacher's Tip: Focus on overlapping the lines to create a sense of depth in the fabric.
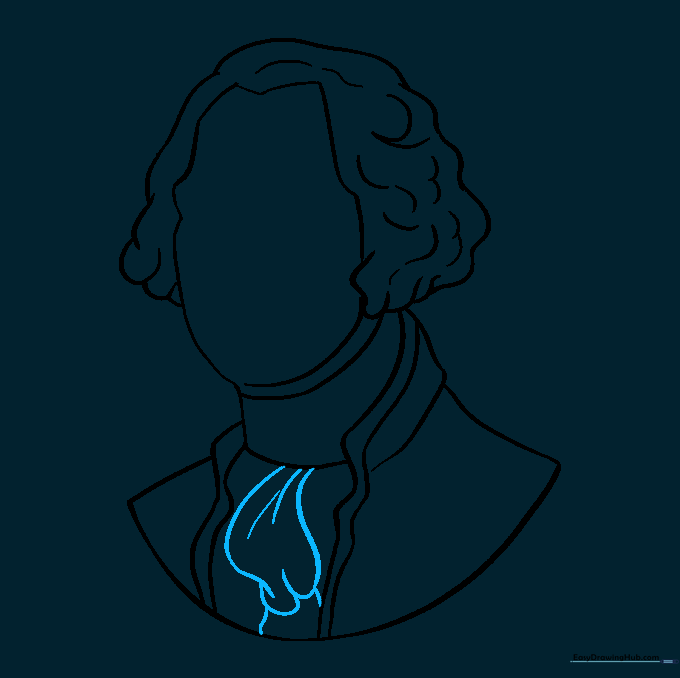
Step 4: Defining the Jacket

Extend the jacket lines and add wavy details to the front. Teacher's Tip: Wavy lines help suggest the weight and folds of historical military uniforms.
Step 5: Completing the Shoulders

Connect the shoulders with a wide 'U' shape to create a bust-style portrait. Teacher's Tip: Ensure the shoulders are symmetrical to keep the portrait balanced.
Step 6: Drawing the Scarf
Add the neck scarf with overlapping lines and small creases. Teacher's Tip: Use short, quick strokes to indicate the fabric folds near the neck.
Step 7: Facial Features - Brows and Nose
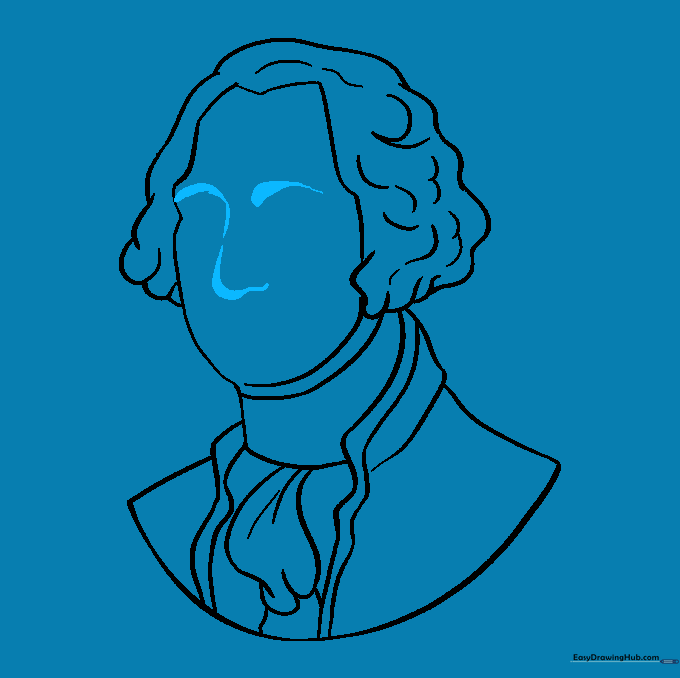
Sketch the eyebrows and nose using curved lines. Teacher's Tip: Keep the nose line subtle; you don't need to draw the whole shape, just the bridge and tip.
Step 8: Drawing the Eyes

Draw the eyes with circles for pupils. Teacher's Tip: Leave a tiny white dot in the pupil to create a 'sparkle' effect, making the portrait look more alive.
Step 9: Final Facial Details

Add the mouth and chin definition. Teacher's Tip: A simple, straight line for the mouth gives George Washington his signature serious expression.
Step 10: Color Your Portrait
Bring your drawing to life with color! Teacher's Tip: Use soft grays for the hair and muted blues or browns for the uniform to give it a classic, historical feel.
More Tutorials


