How to Draw Gengar: Easy Step-by-Step Pokémon Tutorial
Ready to capture your own Gengar? This tutorial is perfect for artists ages 6 and up who love Pokémon. Grab a pencil, an eraser, and a sheet of paper to master this iconic Ghost-type character in just a few minutes.
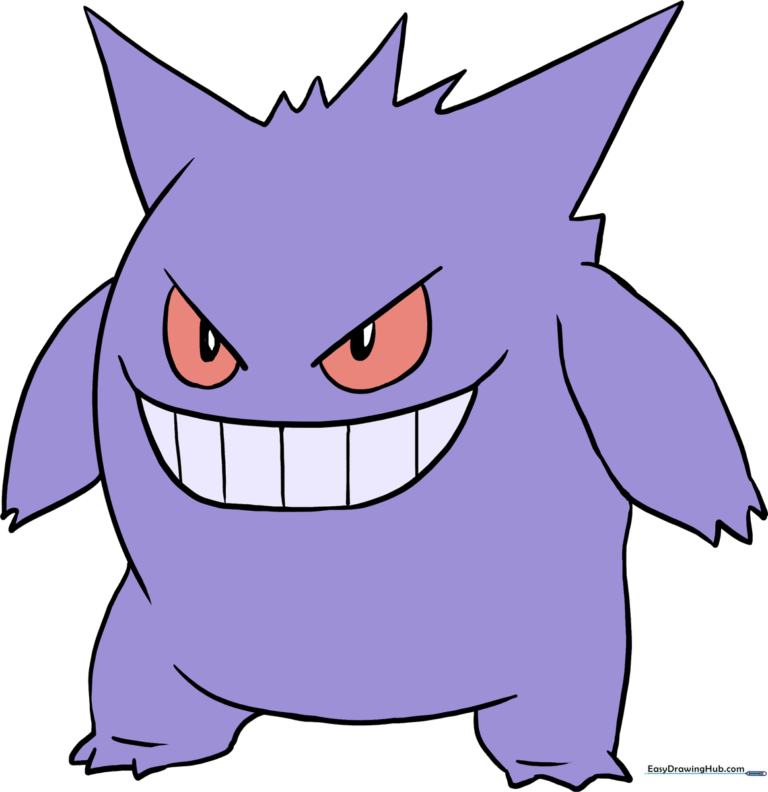
🎯 Final Result
Step-by-Step Instructions
Step 1: Sketching the Base Shape

Lightly draw a large, rounded oval to serve as Gengar's body. Teacher's Tip: Keep your pencil pressure very light here; this is just a guide, and you'll want to erase these lines later once the final shape is set.
Step 2: Adding the First Arm
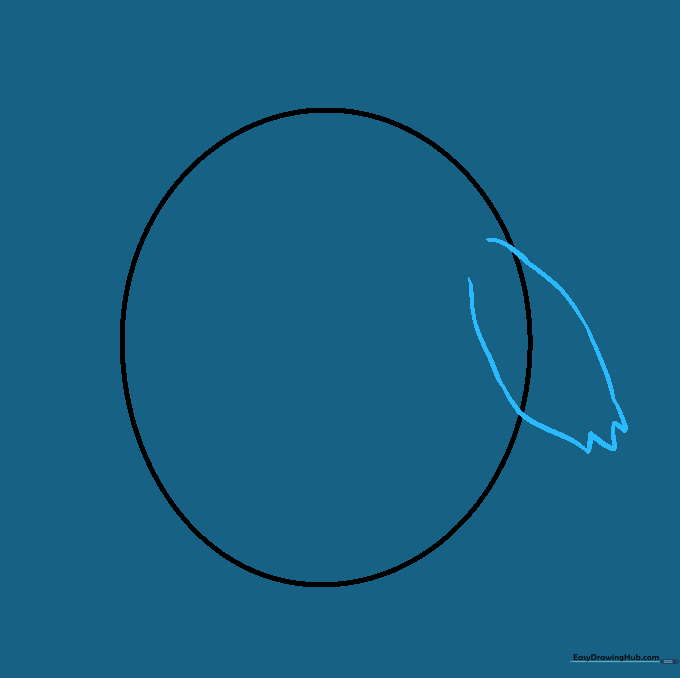
Extend two curved lines from the side of your oval. Connect them at the end with a 'W' shape to create the fingers. Teacher's Tip: Don't worry if the lines overlap the oval; that's exactly what we want for a natural look.
Step 3: Drawing the Second Arm
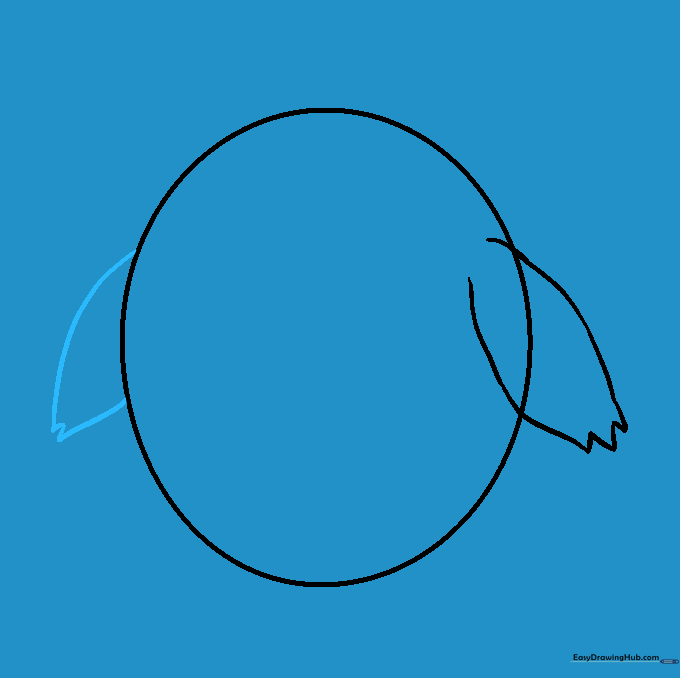
Repeat the process on the opposite side to draw the second arm. Use a small 'V' shape to define the fingers this time. Teacher's Tip: Keep the arms symmetrical in length to help Gengar look balanced.
Step 4: Sketching the First Leg
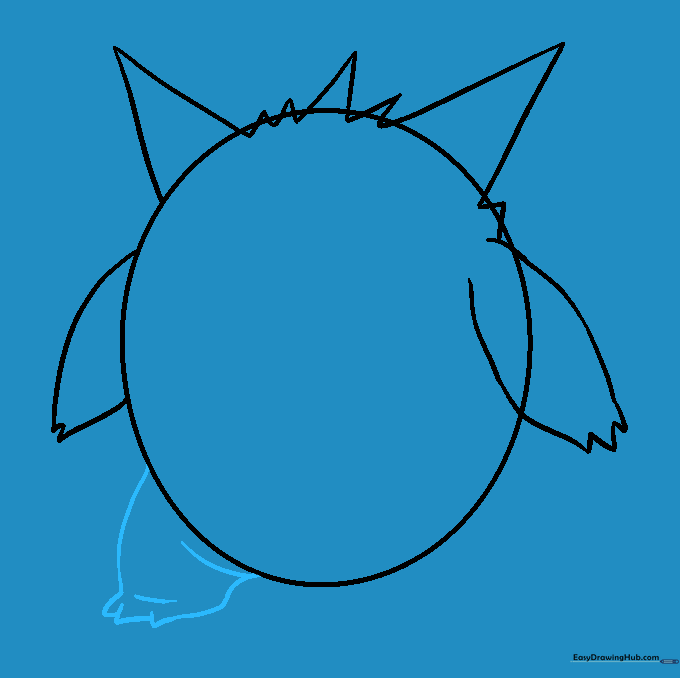
Extend two curved lines from the bottom of the body to form a leg. Use slanted 'V' shapes for the toes. Teacher's Tip: Add a slight curve at the knee to give your Gengar a bit of personality and movement.
Step 5: Adding the Second Leg
Draw the second leg using the same technique, but this time use an 'M' shape for the toes. Teacher's Tip: Keep the toes pointed slightly outward to make Gengar look like he's standing firmly.
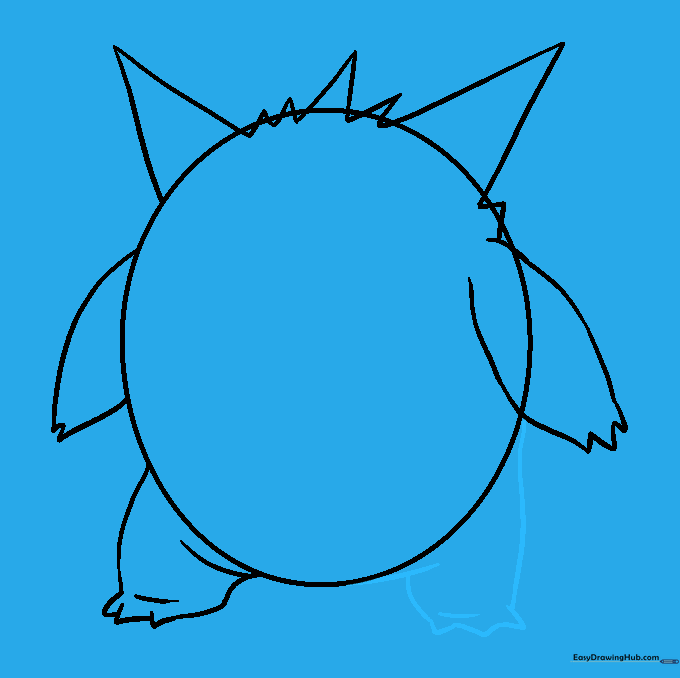
Step 6: Cleaning Up the Guides

Gently erase the overlapping oval lines inside the limbs. Teacher's Tip: Use a soft white eraser and brush away the crumbs so you don't smudge your graphite.
Step 7: Drawing the Eyes
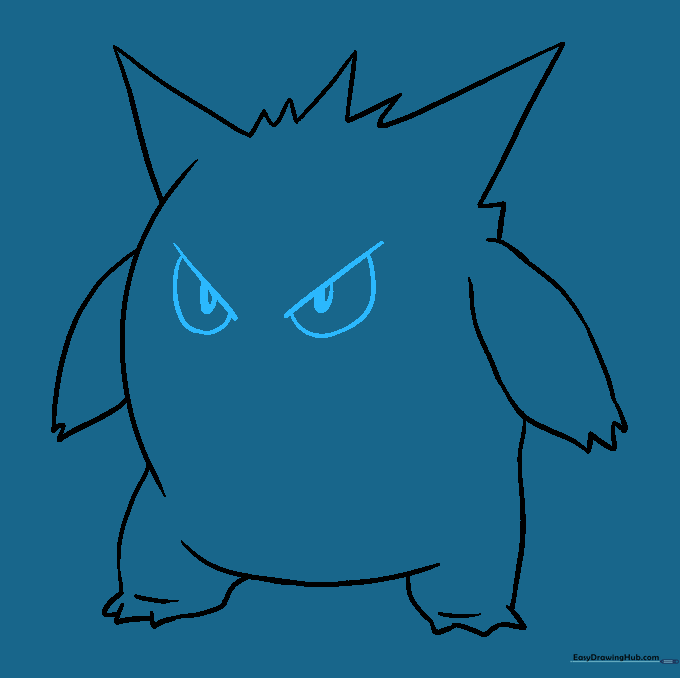
Draw two slanted lines for the top of the eyes, then add a half-circle beneath each. Add an oval inside for the pupil. Teacher's Tip: Leave a tiny white dot unshaded in the pupil to create a 'glint'—it makes the eyes look alive!
Step 8: The Grinning Mouth

Draw a wide, curved line for the mouth and add vertical lines for the sharp teeth. Teacher's Tip: Make the teeth slightly different sizes to give Gengar that mischievous, classic grin.
Step 9: Adding Color
Bring your Gengar to life with color! Use a deep purple for the body, bright red for the eyes, and keep the teeth white. Teacher's Tip: Use light, circular motions with your colored pencils to get a smooth, even coat of purple.
More Tutorials


