How to Draw Future Trunks: Easy 10-Step Anime Guide
Ready to bring the time-traveling warrior to life? This tutorial is perfect for young artists ages 8+ who want to master anime-style proportions. Grab a pencil, an eraser, and a sheet of paper to start building your character from the ground up.
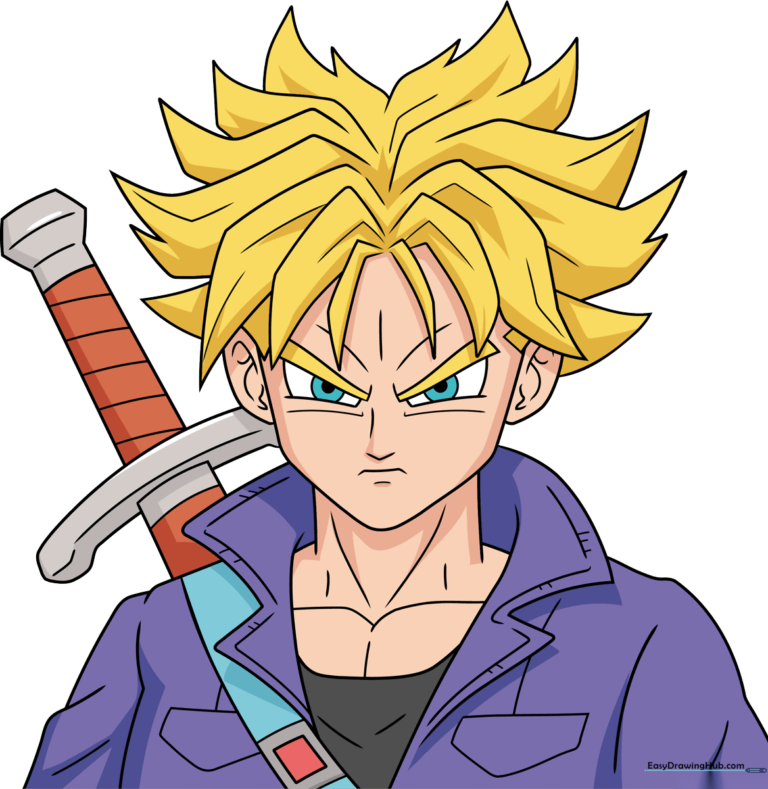
🎯 Final Result
Step-by-Step Instructions
Step 1: Sketching the Facial Features
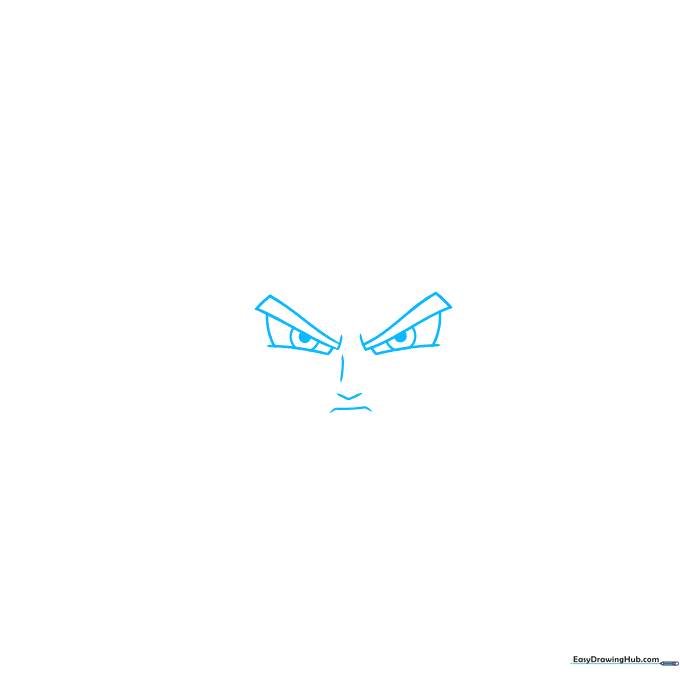
Start by drawing the eyes and eyebrows using sharp, angular lines to capture that classic anime intensity. Teacher's Tip: Keep the eyes symmetrical; draw a light horizontal guideline across your paper to ensure they sit at the same height.
Step 2: Defining the Face and Hairline
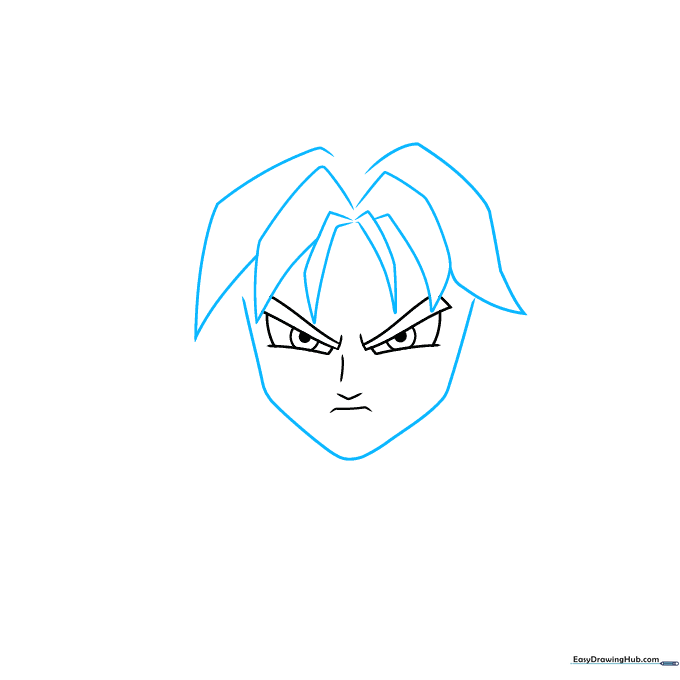
Outline the jawline with a smooth, curved shape and begin adding the jagged locks of his signature hair. Teacher's Tip: Use short, quick strokes for the hair to give it that spiky, energetic look.
Step 3: Adding Ears and Hair Volume
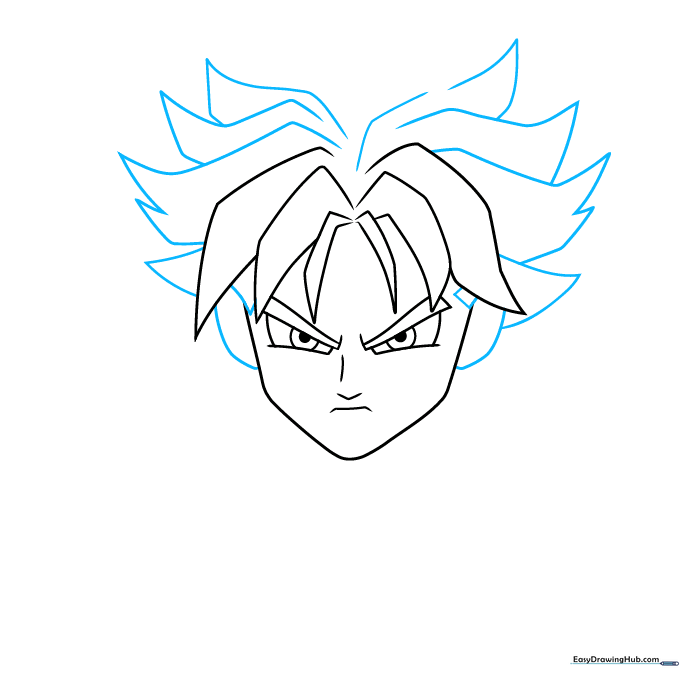
Draw the ears on the sides of the head and continue building the hair volume. Teacher's Tip: Make sure the hair spikes point outward to create a sense of movement.
Step 4: Refining Facial Contours
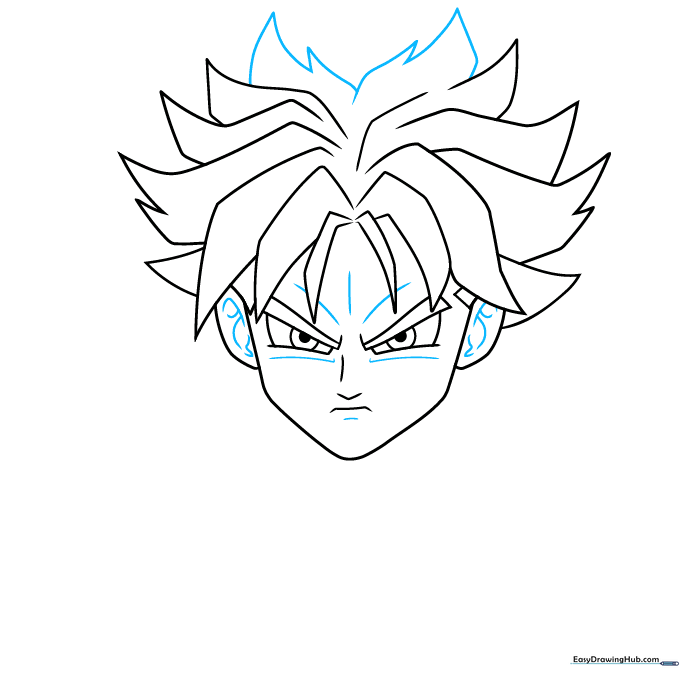
Finalize the hair shape and add subtle lines inside the ears and around the eyes to show expression. Teacher's Tip: Less is more—use very thin lines for facial details to keep the character looking young.
Step 5: Drawing the Neck and Collar
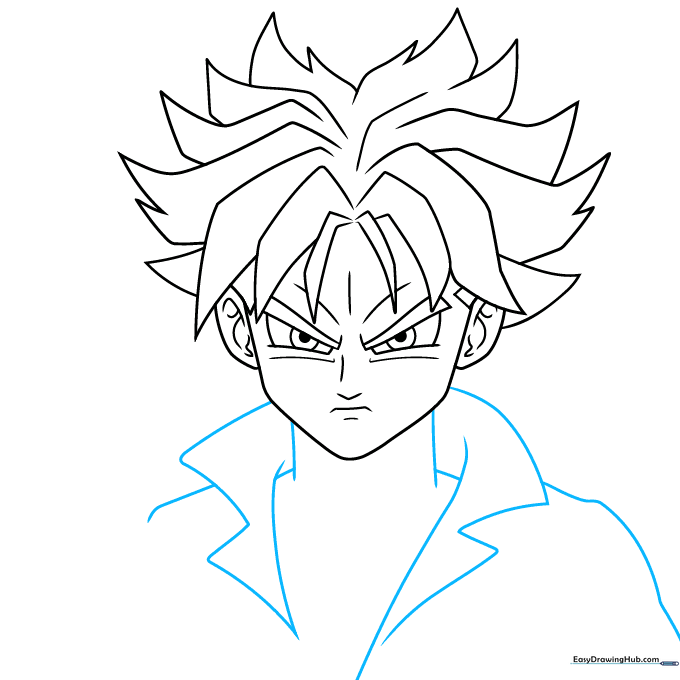
Sketch the neck and the sharp, pointed collar of his jacket. Teacher's Tip: Use overlapping lines to show the collar folding over itself, which adds depth to your drawing.
Step 6: Adding Jacket and Muscle Detail
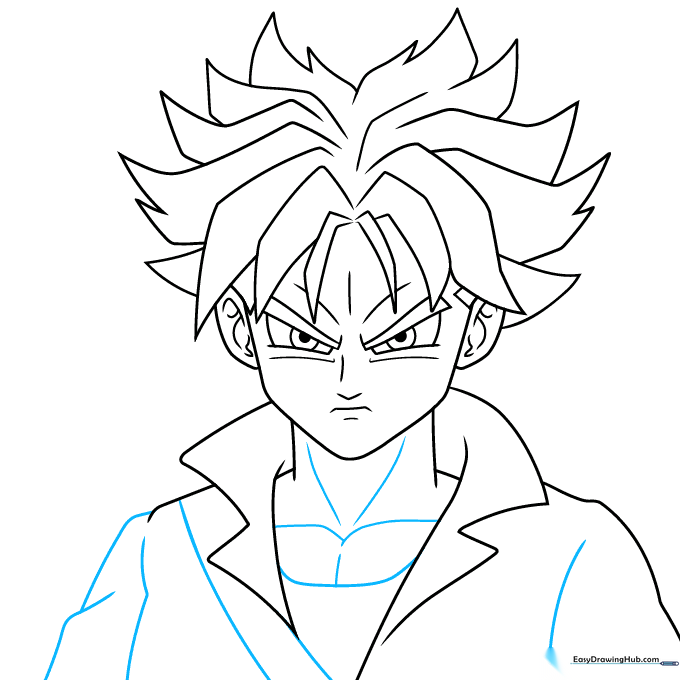
Draw the lapels and add subtle lines to suggest the chest muscles beneath the shirt. Teacher's Tip: Keep these lines curved to imply the shape of the body underneath the fabric.
Step 7: Sketching the Sword
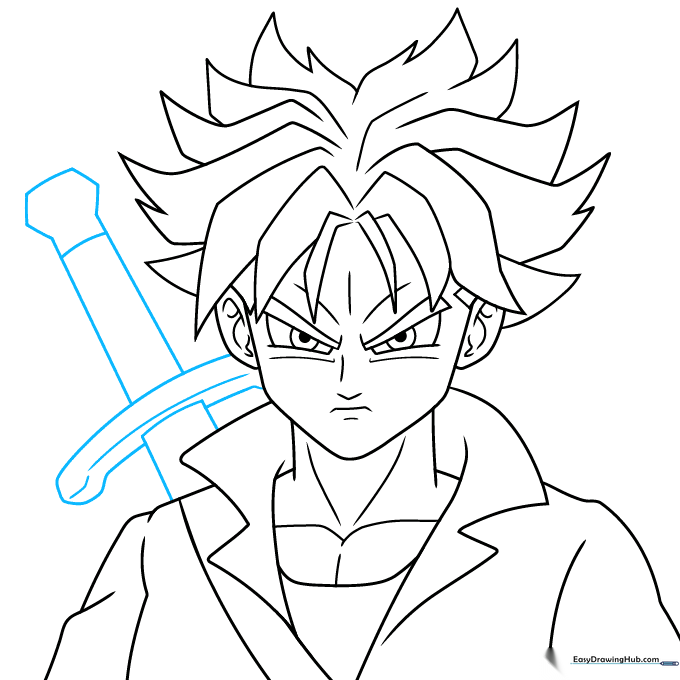
Draw the sword hilt and scabbard strapped across his back. Teacher's Tip: Use a ruler for the straight edges of the sword to keep it looking sharp and professional.
Step 8: Adding Gear Details
Add the buckle to the strap and pockets to the chest area. Teacher's Tip: Small details like buckles make your drawing look much more authentic, so take your time with these shapes.
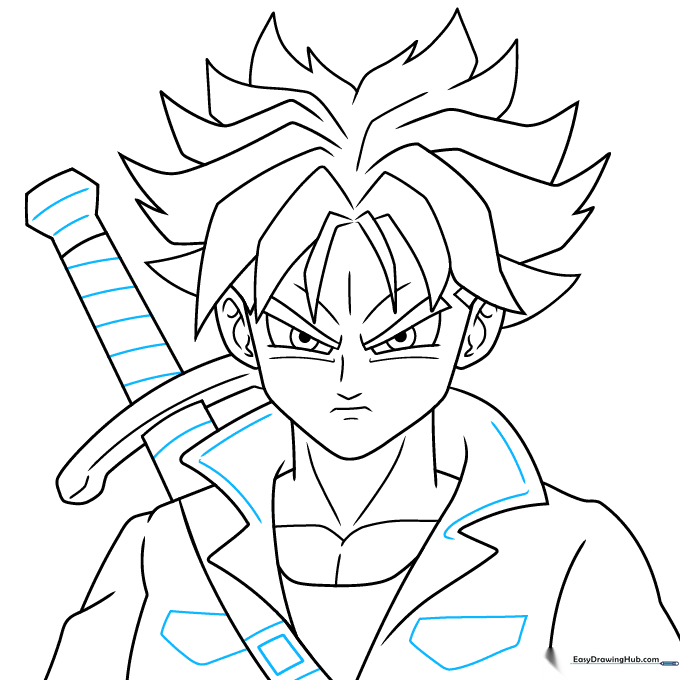
Step 9: Finalizing the Outline
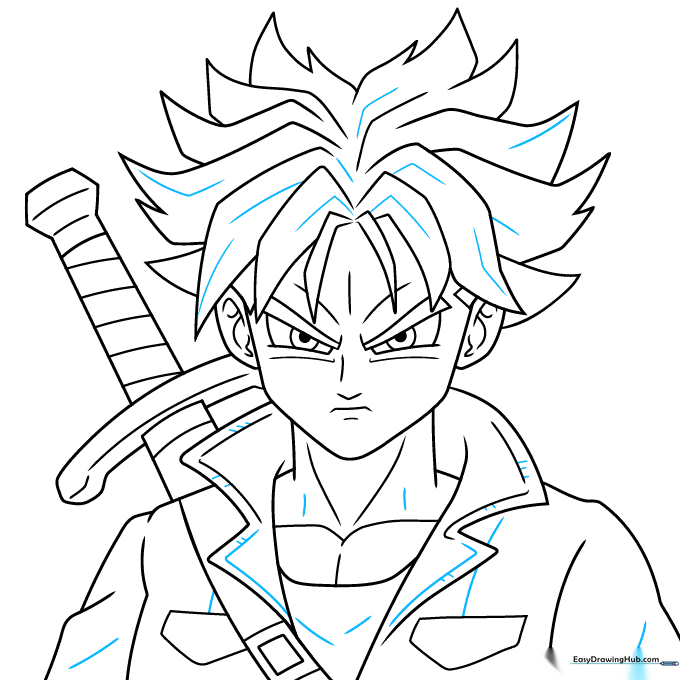
Go over your drawing with a pen and add final texture lines to the hair and fabric. Teacher's Tip: Vary your line thickness—use thicker lines for the outer edges and thinner lines for internal details.
Step 10: Bringing Trunks to Life with Color
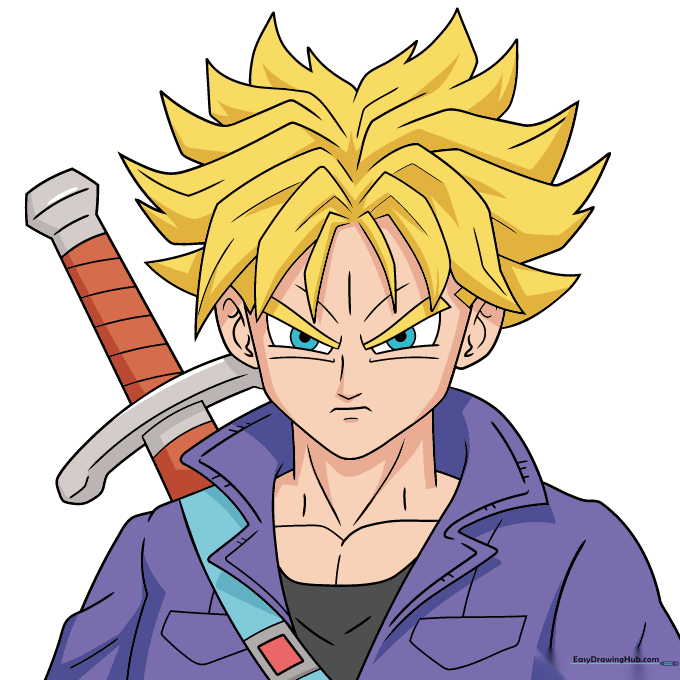
Time to color! Use lavender for his hair or bright yellow if you're drawing his Super Saiyan form. Teacher's Tip: Use a darker shade of your base color to add simple shadows under the hair and collar for a 3D effect.
More Tutorials


