How to Draw Frosty the Snowman: Easy 10-Step Guide
Bring the magic of winter to life with this fun Frosty the Snowman drawing tutorial, perfect for artists ages 5 and up. You will only need a pencil, an eraser, and your favorite coloring supplies to complete this festive character. Follow these simple steps to build your own snowman from the ground up!
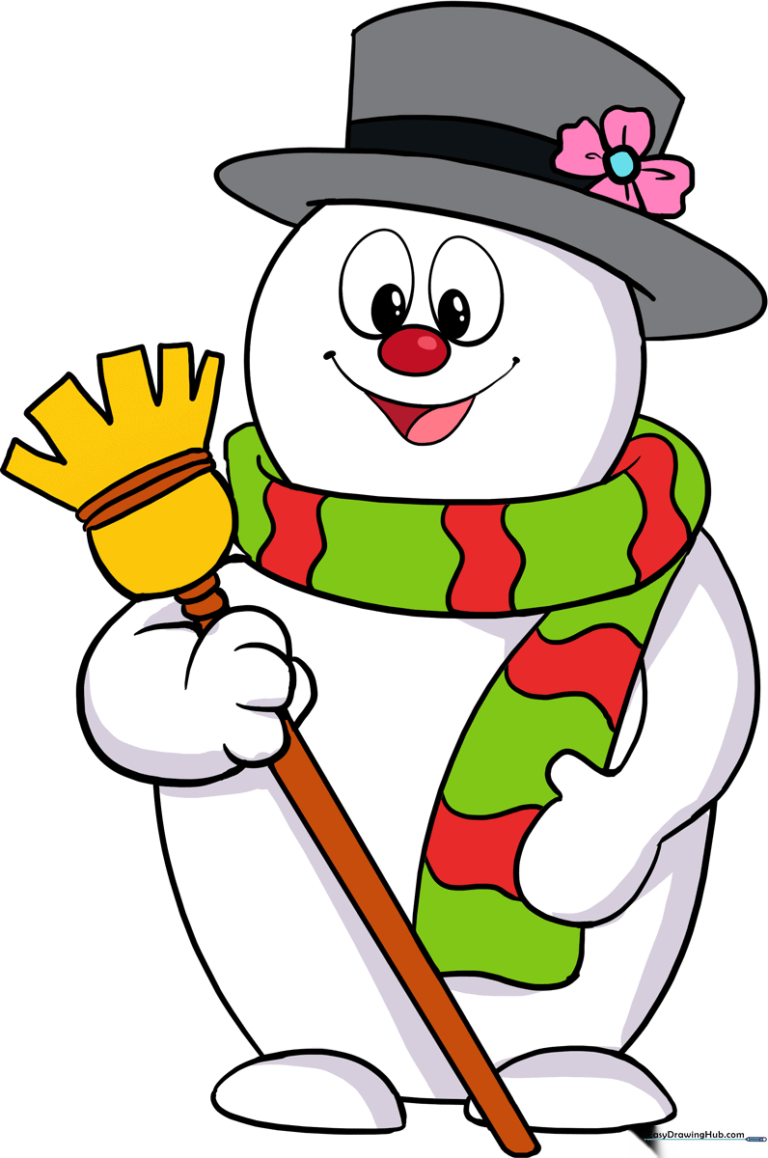
🎯 Final Result
Step-by-Step Instructions
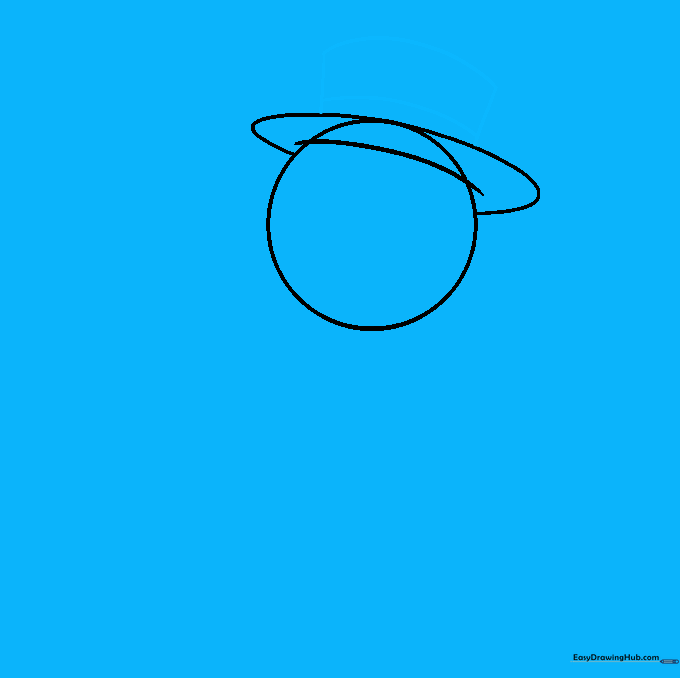
Step 1: Sketching the Head

Draw a light circle to serve as Frosty's head. Teacher's Tip: Keep your pencil strokes very faint so you can easily erase any overlapping lines later!
Step 2: Outlining the Hat Brim

Draw a curved line across the top of the head, then add an oval shape around it to create the brim of his silk hat. Tip: Make sure the oval is wider than the head to give it that classic top-hat look.
Step 3: Constructing the Hat Crown
Draw two vertical lines upward from the brim and connect them with a curved line at the top. Add a horizontal curved line at the base of the crown for the hat band. Tip: Keep your lines smooth to make the hat look like it is made of felt.
Step 4: Cleaning Up the Guides

Carefully erase the lines inside the hat and the top of the head. Tip: Use a soft eraser and brush away the crumbs so your paper stays clean for the final details.
Step 5: Adding the Scarf
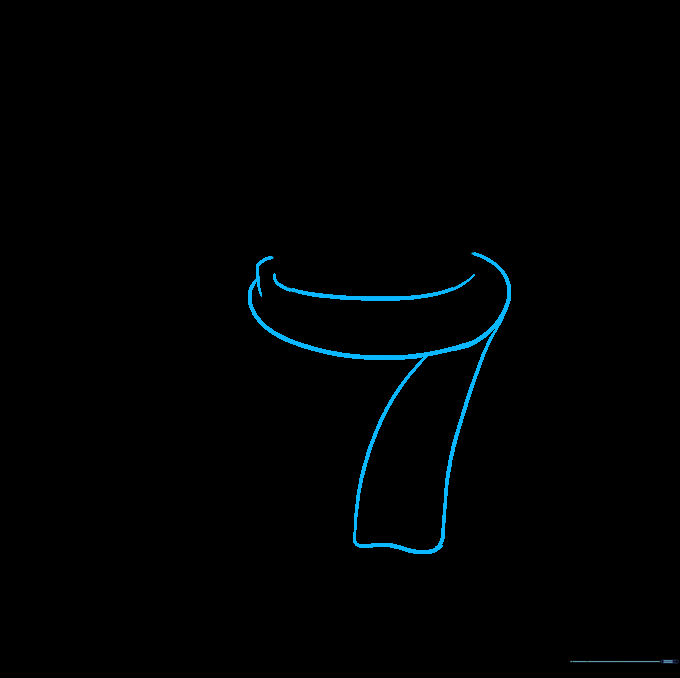
Draw a curved line across the bottom of the head and an oval shape to form the scarf. Add two parallel lines hanging down for the scarf's end. Tip: Think of the scarf as a soft fabric wrapping around his neck; keep the lines slightly wavy for a natural look.
Step 6: Refining the Scarf

Erase any overlapping guide lines inside the scarf area. Tip: Take your time here; clean lines make the final drawing look much more professional.
Step 7: Drawing the Body
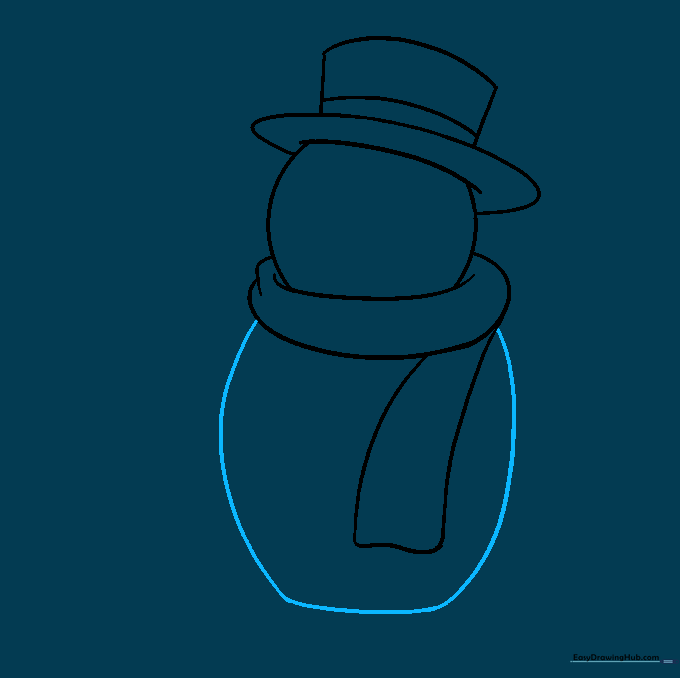
Draw two long, slightly curved lines downward from the scarf and connect them at the bottom. Tip: Make the body slightly wider than the head to give Frosty a sturdy, snowy base.
Step 8: Adding Arms and Broom
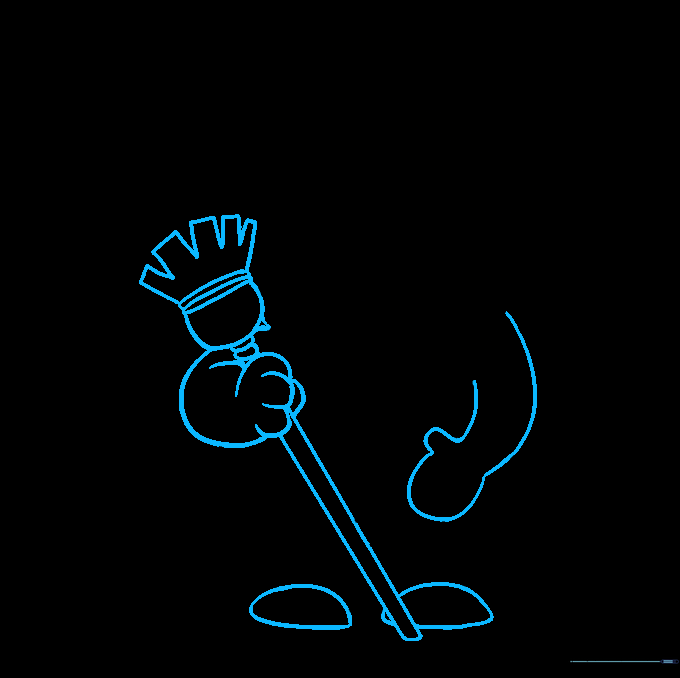
Draw two small shapes at the bottom for feet, then add twig-like arms. Sketch a broomstick using parallel lines and add bristles at the end. Tip: Use short, quick strokes for the broom bristles to make them look like real straw.
Step 9: Adding Facial Features
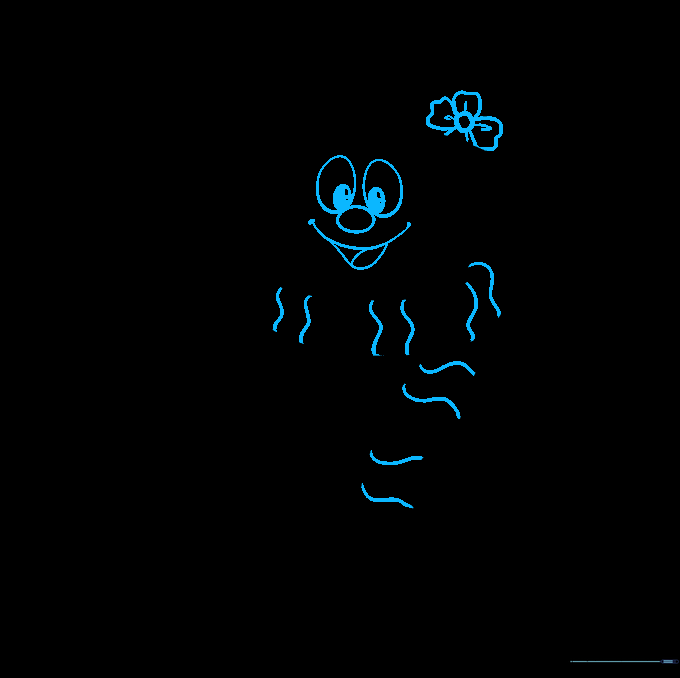
Draw a smiling face with 'U' shaped lines, and add ovals for eyes and a nose. Add a flower to the hat and wavy lines to the scarf for texture. Tip: Give the eyes a little sparkle by leaving a tiny white dot uncolored inside the oval.
Step 10: Bringing Frosty to Life with Color
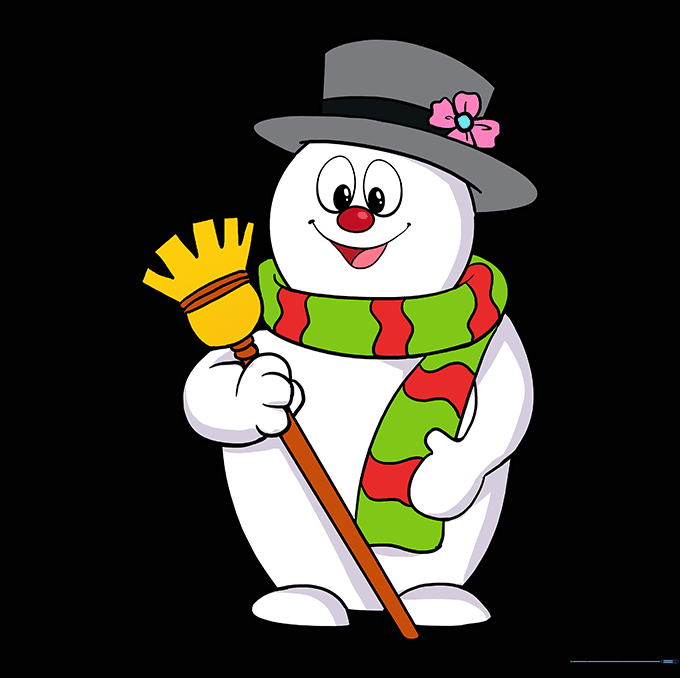
Time to color! Use bright colors for the scarf and hat, and don't forget a carrot orange for the nose. Tip: Use light blue shading around the edges of the snowman to make him look like he's made of real, cold snow.
More Tutorials


