How to Draw Frieza: Easy 10-Step Anime Guide
Ready to bring the iconic Dragon Ball villain to life? This tutorial is perfect for intermediate artists looking to refine their character proportions and muscle definition. You will need a pencil, eraser, and a fine-liner to capture Frieza’s sleek, menacing look.
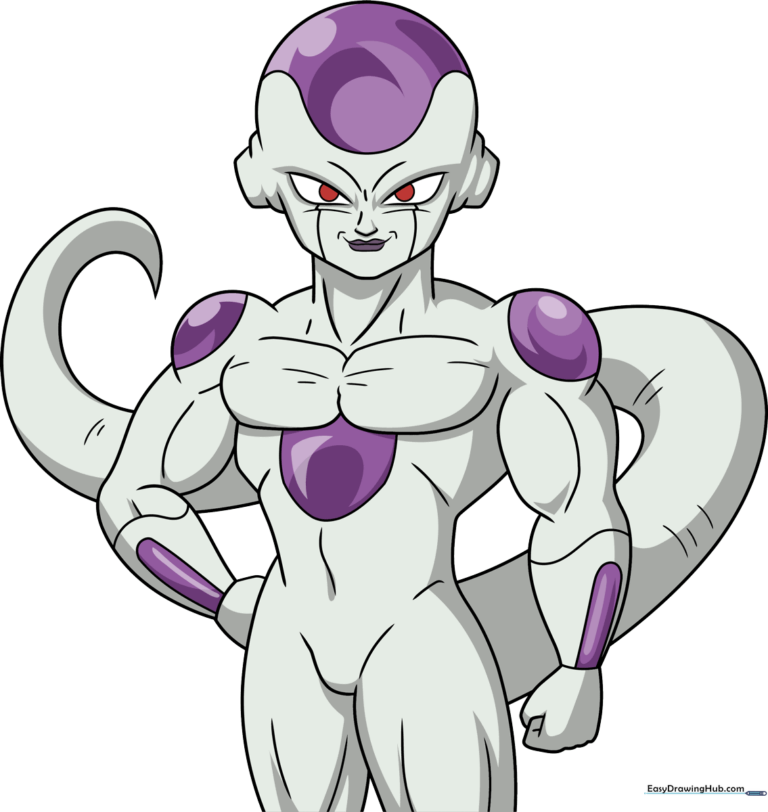
🎯 Final Result
Step-by-Step Instructions
Step 1: Sketching the Eyes and Face
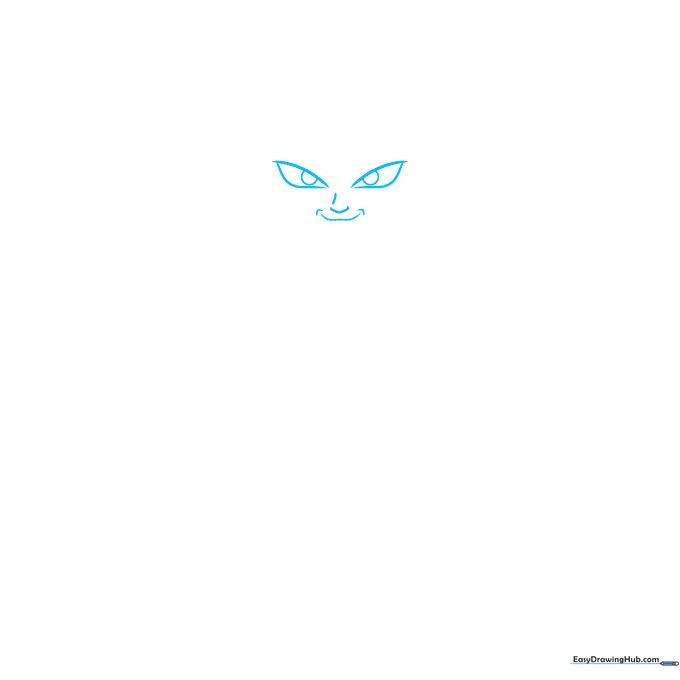
Begin by sketching the eyes using curved lines that don't quite meet at the inner corners. Add a partial circle inside each eye for the pupils. Tip: Keep your pencil pressure light here so you can easily adjust the symmetry of his signature cold stare.
Step 2: Defining the Head Shape
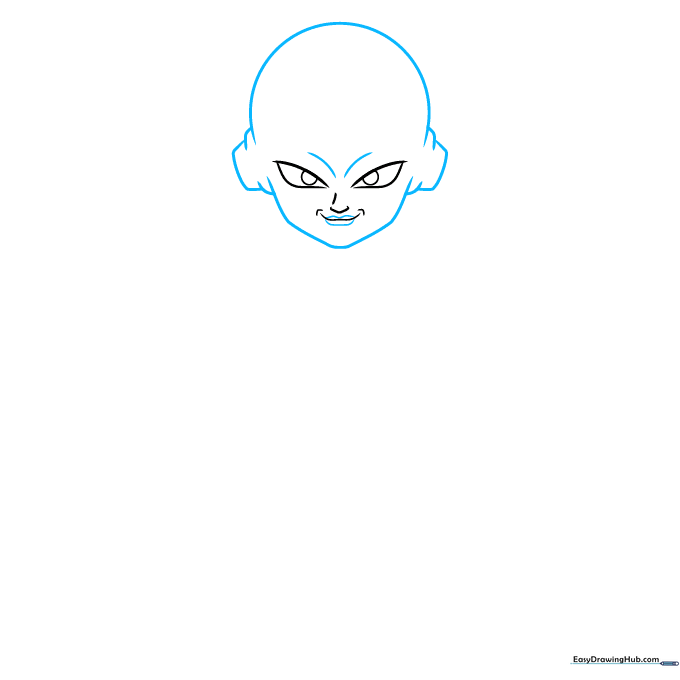
Use long, smooth curved lines to outline the top and bottom of the head. Add the ears using small, overlapping curved lines. Tip: Frieza’s head is quite smooth and rounded, so avoid sharp angles to maintain his alien aesthetic.
Step 3: Adding Neck and Shoulders
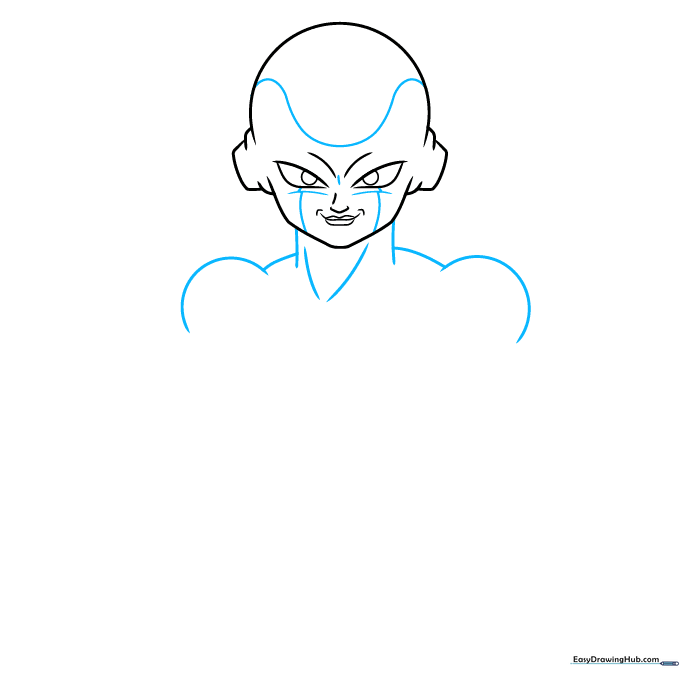
Draw a 'U' shaped line across the forehead and add contour lines around the eyes. Extend the neck downwards and sketch the muscular shoulders. Tip: Use fluid, sweeping strokes for the neck to emphasize his strength.
Step 4: Sketching the Torso
Continue the lines from the shoulders to define the chest and biceps. Use curved lines to suggest the muscle groups. Tip: Anime anatomy relies on clean, bold lines—don't be afraid to make these curves pronounced.
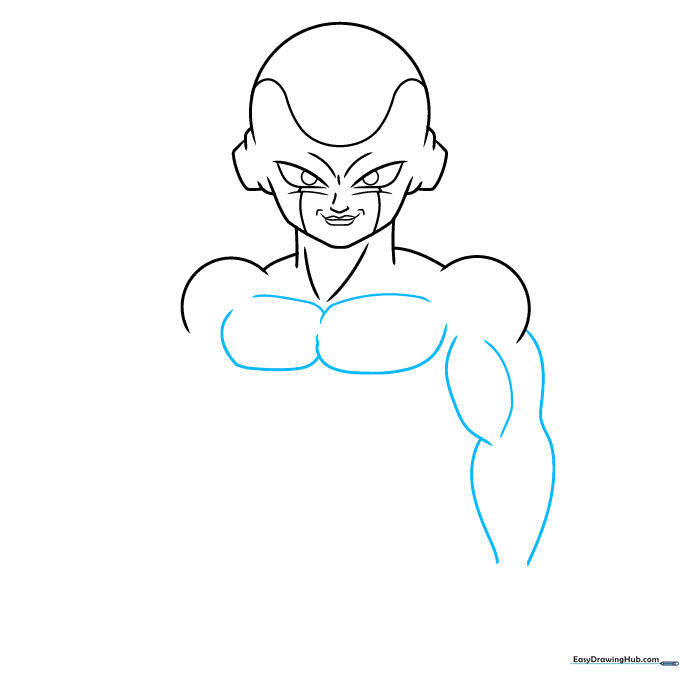
Step 5: Drawing the Arms
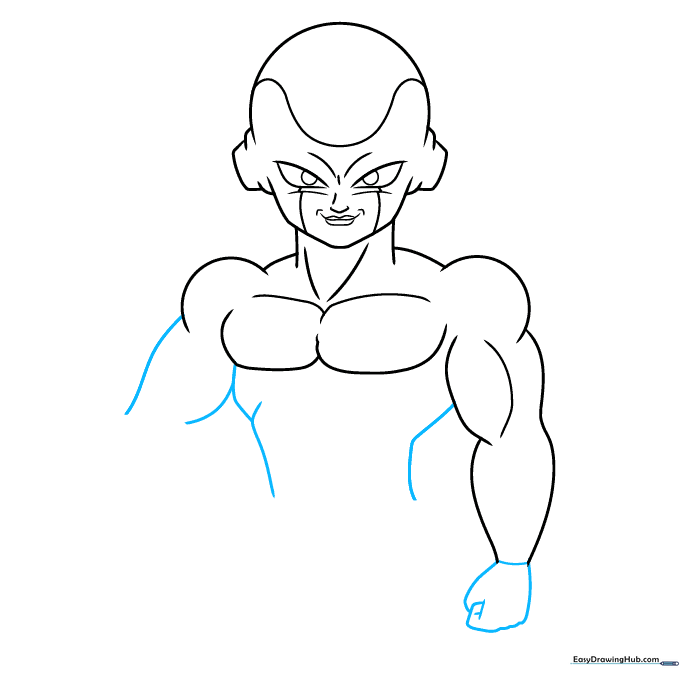
Sketch the hands and the sides of the torso using overlapping curved lines. Tip: Think of the arms as a series of connected cylinders; keep the joints rounded to match Frieza's organic look.
Step 6: Refining the Abdominals
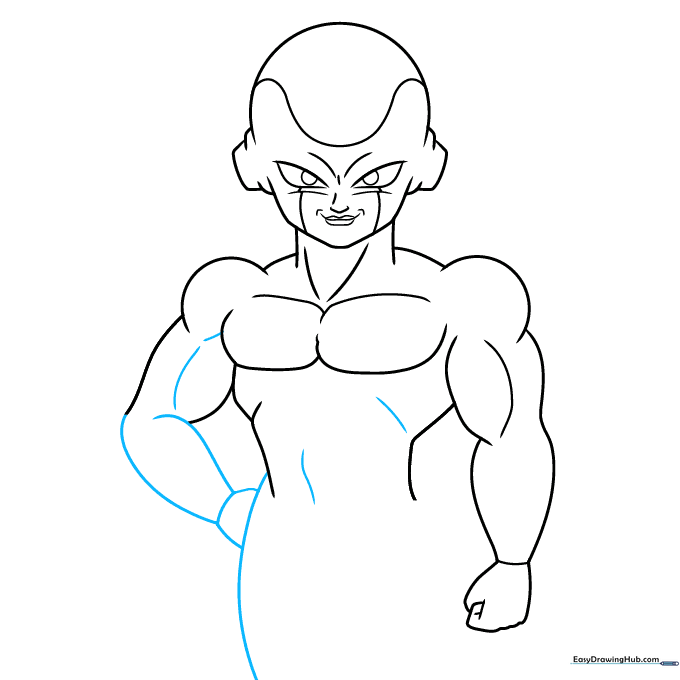
Complete the arms and add detail to the torso. Use curved lines to contour the abdominal muscles. Tip: Keep your lines consistent with the rest of the body to maintain the character's proportions.
Step 7: Lower Body and Suit Details
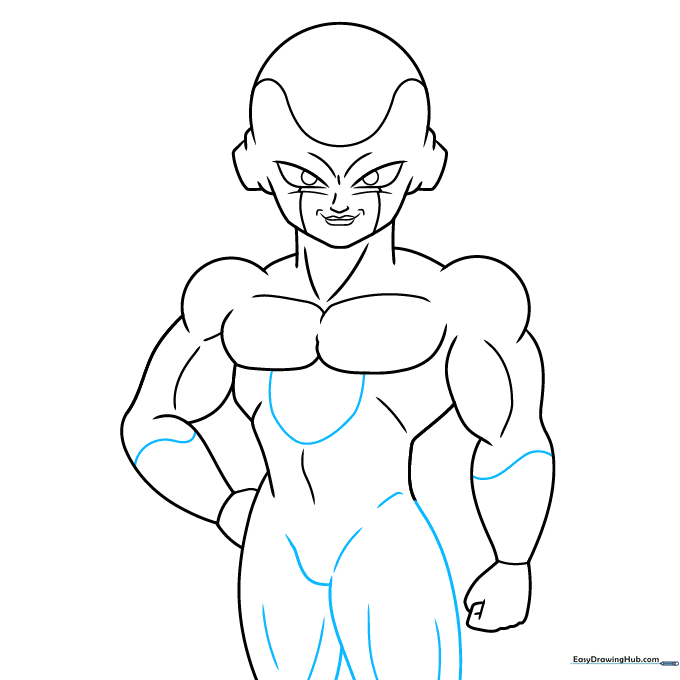
Draw the legs using long, sweeping lines. Add shorter lines to detail the groin area and the front of his bio-suit. Tip: Use a ruler or guide if you struggle with the symmetry of the leg muscles.
Step 8: Adding Armor and Tail Base
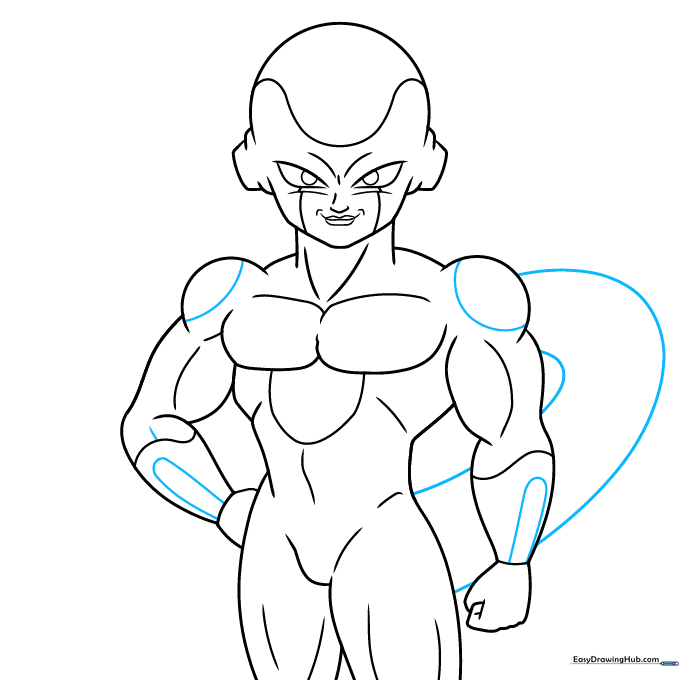
Draw partial circles on the shoulders and oval shapes on the gauntlets. Start the tail with two long, parallel curved lines. Tip: The tail should look like a natural extension of the spine.
Step 9: Finalizing the Tail
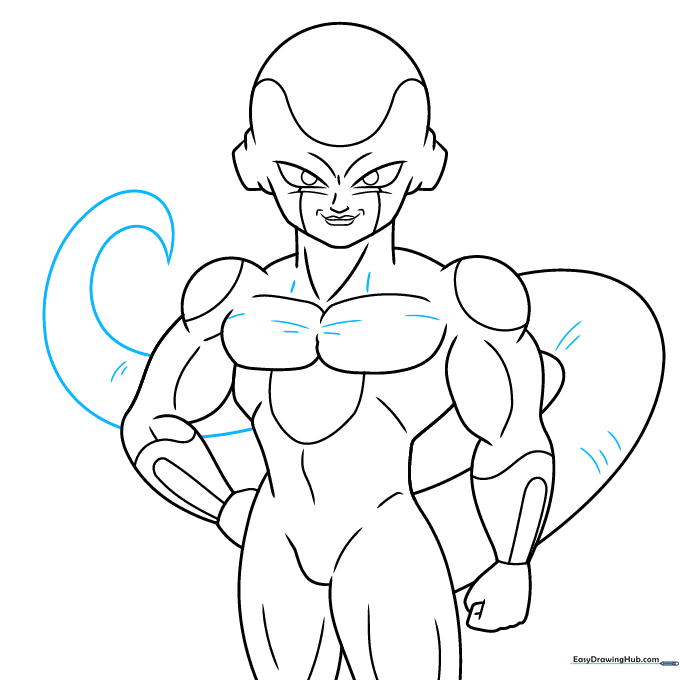
Complete the tail, tapering it to a sharp point. Add small, curved lines along the tail to show muscle texture. Tip: Ensure the tail has a nice 'S' curve to give the drawing a sense of movement.
Step 10: Coloring Your Masterpiece
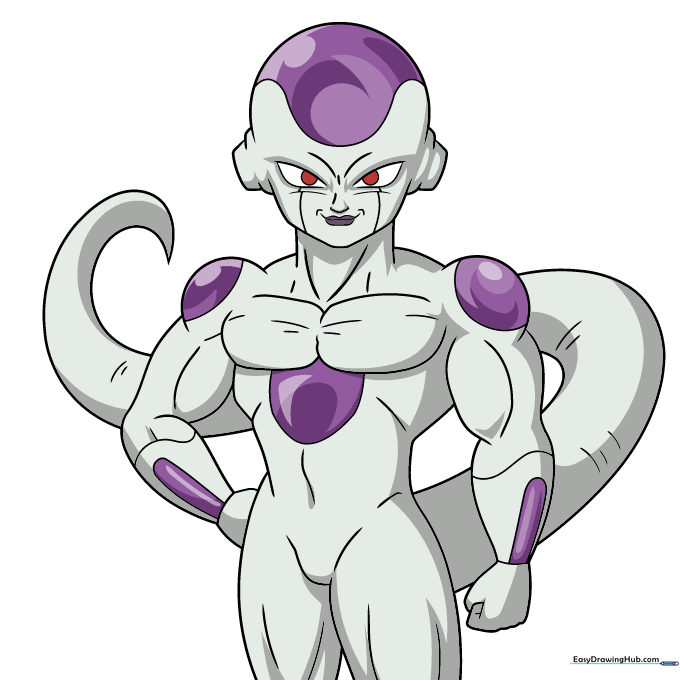
Time to bring Frieza to life! Use a pale grey for his bio-suit, vibrant purple for the armor sections, and a sharp red for his eyes. Tip: Use light, even strokes with your markers or pencils to avoid streaks.
More Tutorials


