How to Draw French Fries: Easy 10-Step Guide for Kids
Ready to draw a tasty treat? This tutorial is perfect for artists ages 5 and up. All you need is a pencil, an eraser, and your favorite markers or crayons to bring this crispy snack to life.
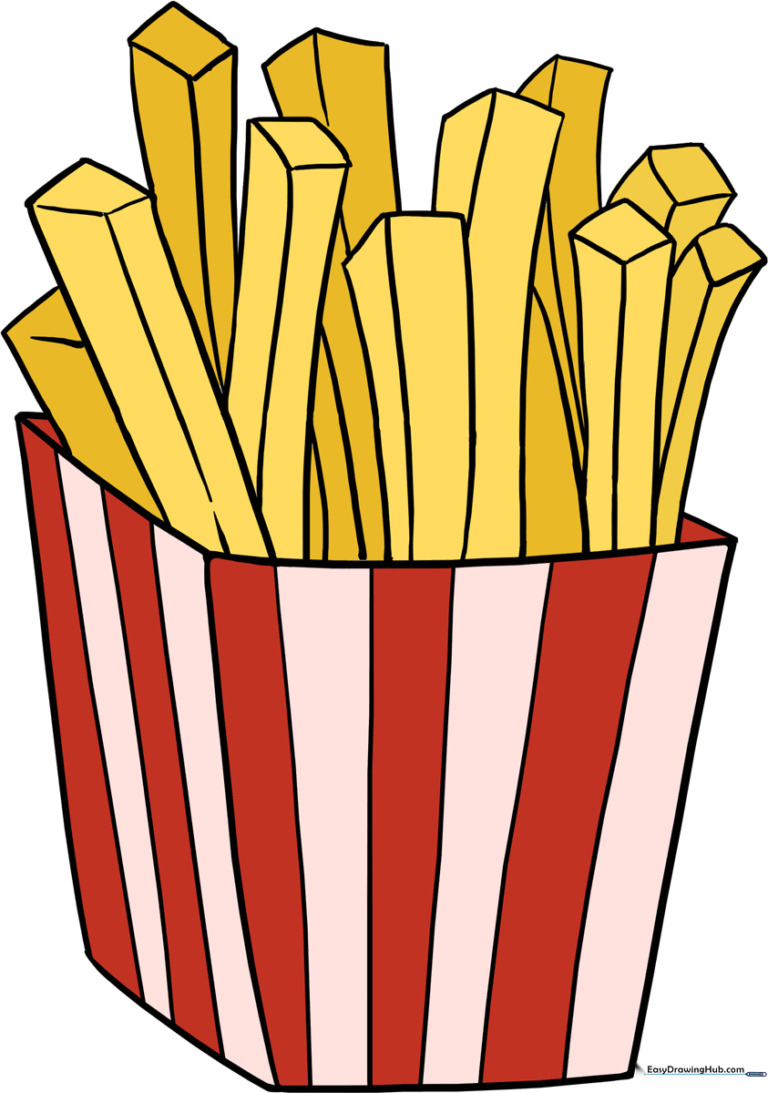
🎯 Final Result
Step-by-Step Instructions
Step 1: Sketching the Fry Box Base

Draw a slightly curved, inverted trapezoid. This forms the front of your fry container. Teacher's Tip: Keep the top wider than the bottom to give it a realistic 3D look.
Step 2: Defining the Sides

Extend diagonal lines from the top corners of your trapezoid and connect them with a straight line. This creates the side panel of the box. Tip: Use a ruler if you want perfectly straight edges!
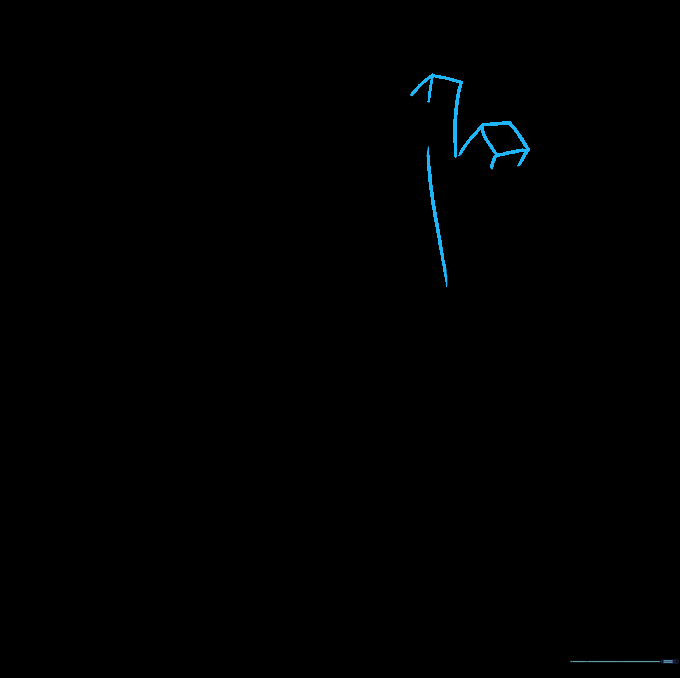
Step 3: Creating the Opening

Draw a diamond-like shape at the top of the box using two straight lines. This creates the illusion of an open container. Tip: Imagine you are looking down into the box where the fries will sit.
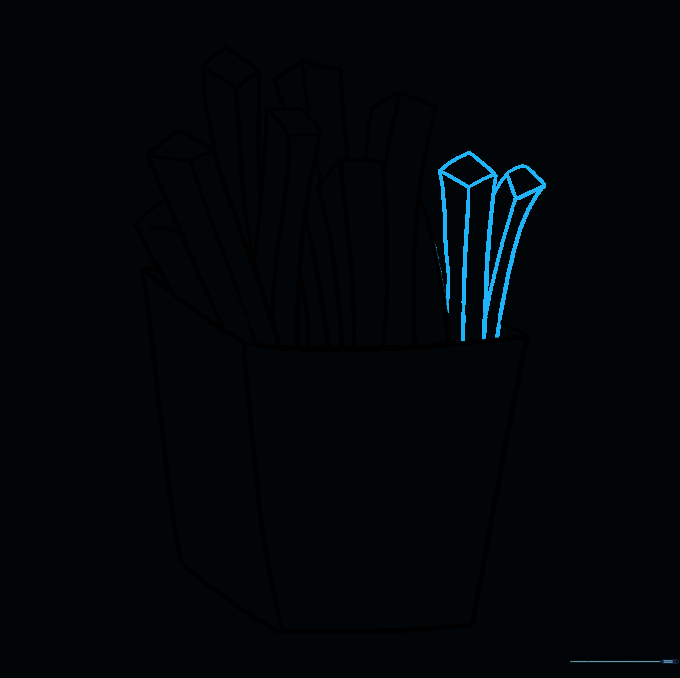
Step 4: Drawing the First Fries
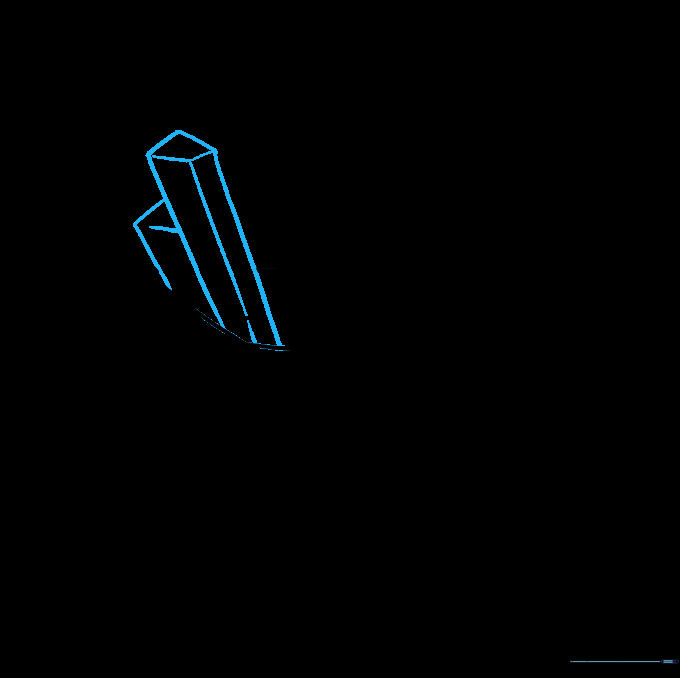
Draw parallel lines for your first two fries, connecting them with short lines at the top. Add a small vertical line down the center of each to show texture. Tip: Make the tops slightly uneven to look like real, crispy potatoes.
Step 5: Filling the Box
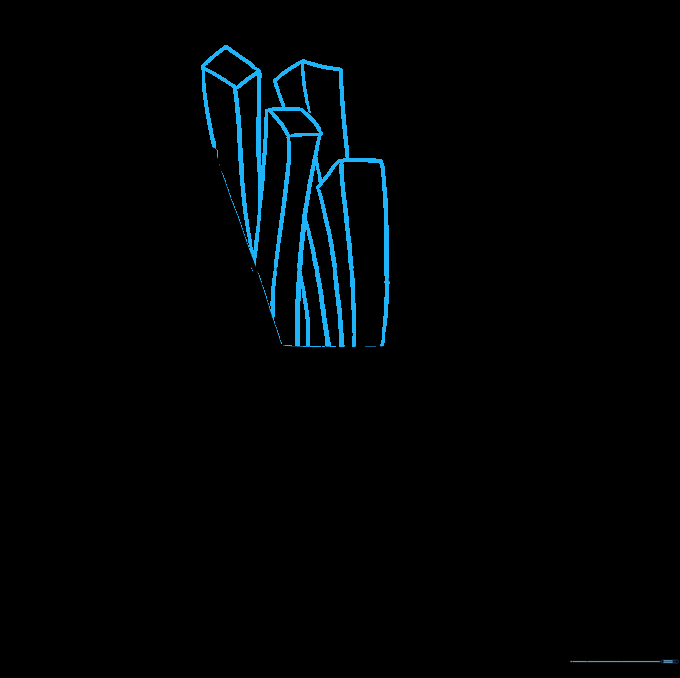
Add more fries at different angles. Overlapping them makes the drawing look more natural. Tip: Don't worry if they aren't perfect; real fries come in all shapes and sizes!
Step 6: Adding More Depth
Continue adding fries, ensuring each one has a line down the center for dimension. Erase any overlapping lines from the box that are hidden by the fries. Tip: Use your eraser to clean up the 'inside' of the box.
Step 7: Completing the Batch
Fill the remaining gaps with smaller fry shapes. This makes the box look full and delicious. Tip: Vary the height of the fries so they don't look like a flat row.
Step 8: Final Touches
Add a few final fries peeking out from behind the others to give your drawing extra volume. Tip: Check your proportions—make sure the fries aren't too big for the box!
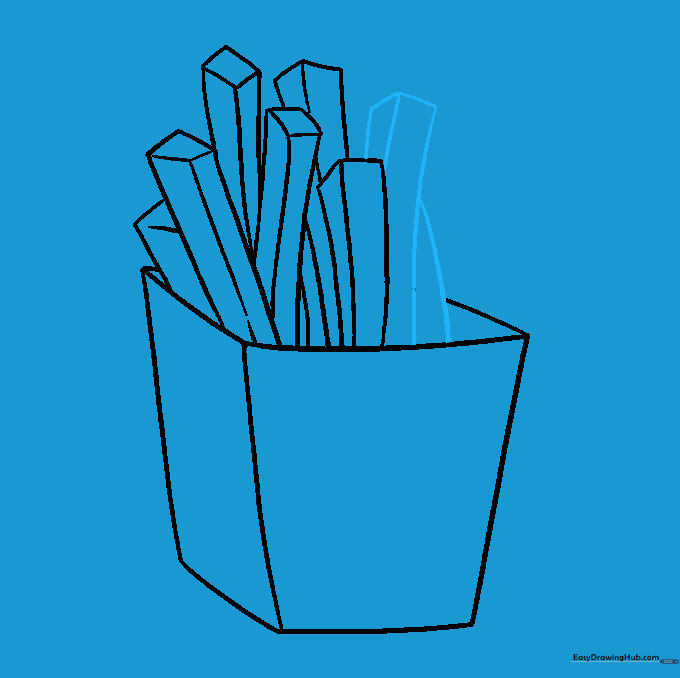
Step 9: Detailing the Container
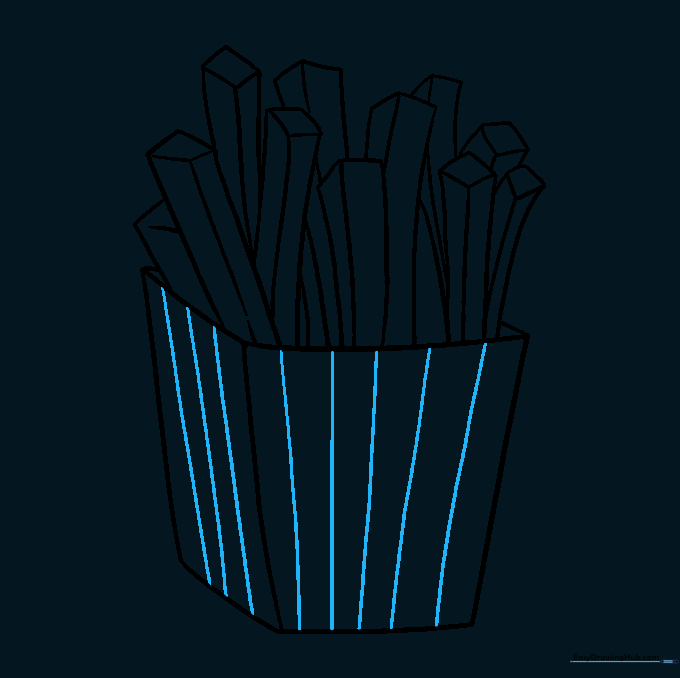
Draw vertical stripes on the fry container to give it that classic fast-food look. Tip: Space your lines evenly for a professional, clean appearance.
Step 10: Adding Color
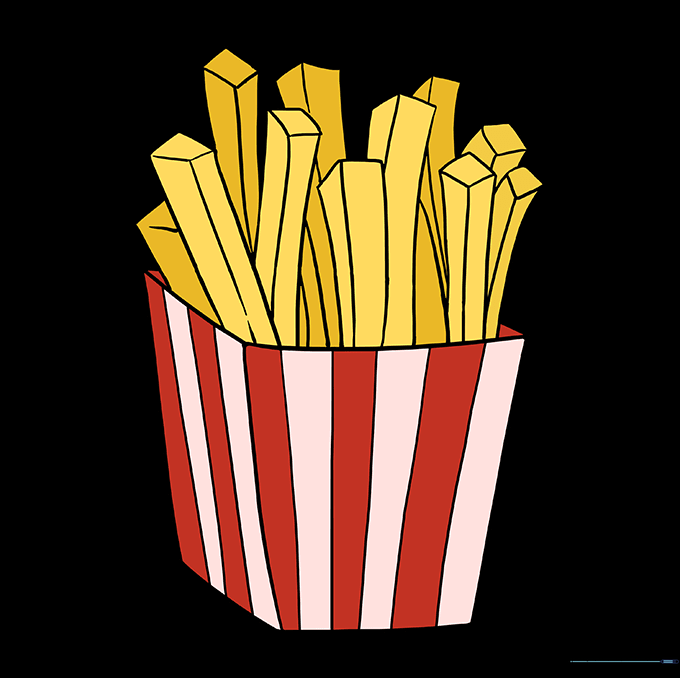
Bring your drawing to life! Use bright red for the box and golden yellow or tan for the fries. Tip: Use a darker orange shade near the edges of the fries to create a 'crispy' shadow effect.
More Tutorials


