How to Draw Fred Flintstone: Easy 10-Step Guide
Bring the Stone Age to life with this fun, step-by-step tutorial perfect for artists ages 6 and up. You will need a pencil, an eraser, and your favorite markers or crayons to capture Fred’s iconic look. Follow along to master his classic expression and signature outfit while building your character-drawing confidence.
Step-by-Step Instructions
Step 1: Sketching the Nose and Eyes

Start by drawing a curved line for Fred's prominent nose. Above it, add two partial ovals for his eyes. Teacher's Tip: Keep the eyes close together to capture his classic surprised expression.
Step 2: Drawing the Mouth
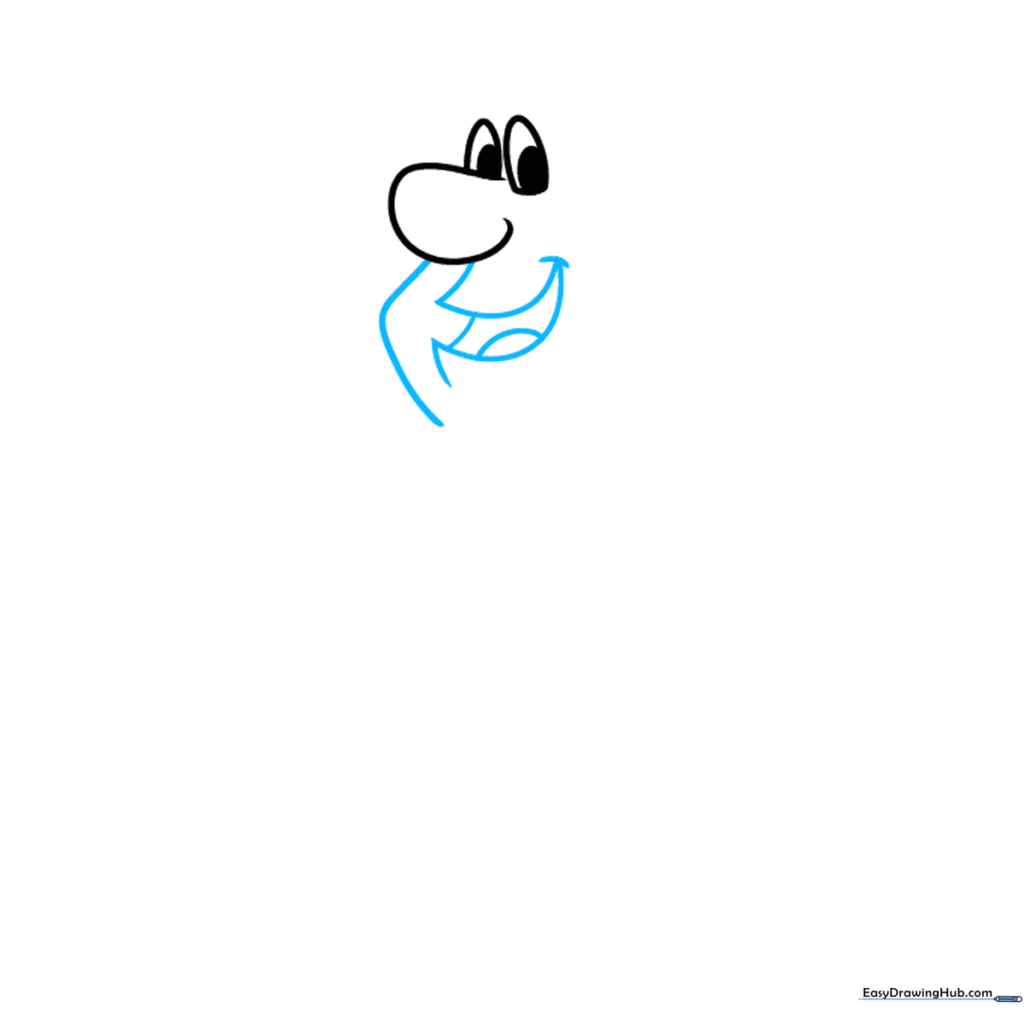
Draw a curved line for the side of his face, then create a wide, curved triangle for his open mouth. Add a small curve inside for his tongue. Teacher's Tip: Make the mouth wide to show his signature happy grin.
Step 3: Adding Hair and Brows
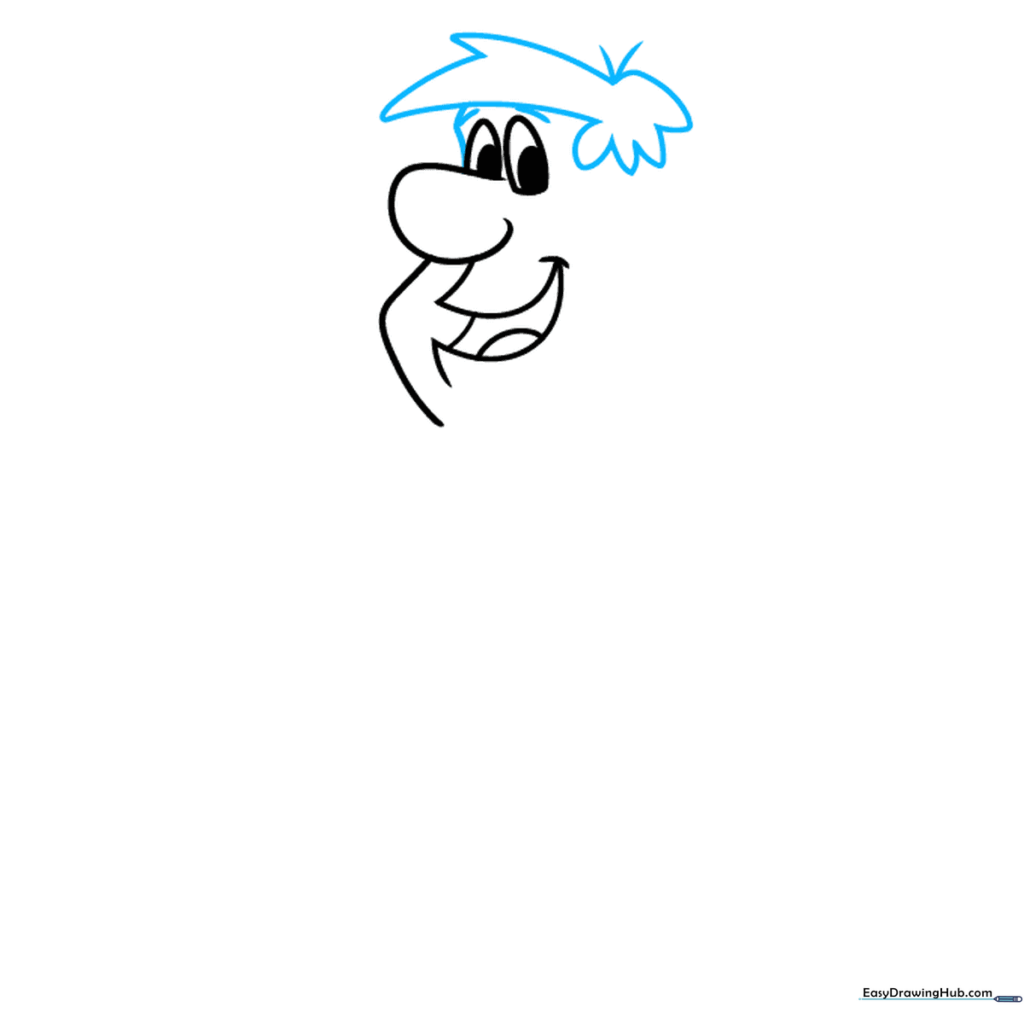
Use jagged, starburst-like lines to create Fred's hair on top of his head. Add two small curved lines above the eyes for his eyebrows. Teacher's Tip: Don't worry about making the hair perfectly symmetrical; Fred's hair is naturally messy!
Step 4: Necktie and Facial Details
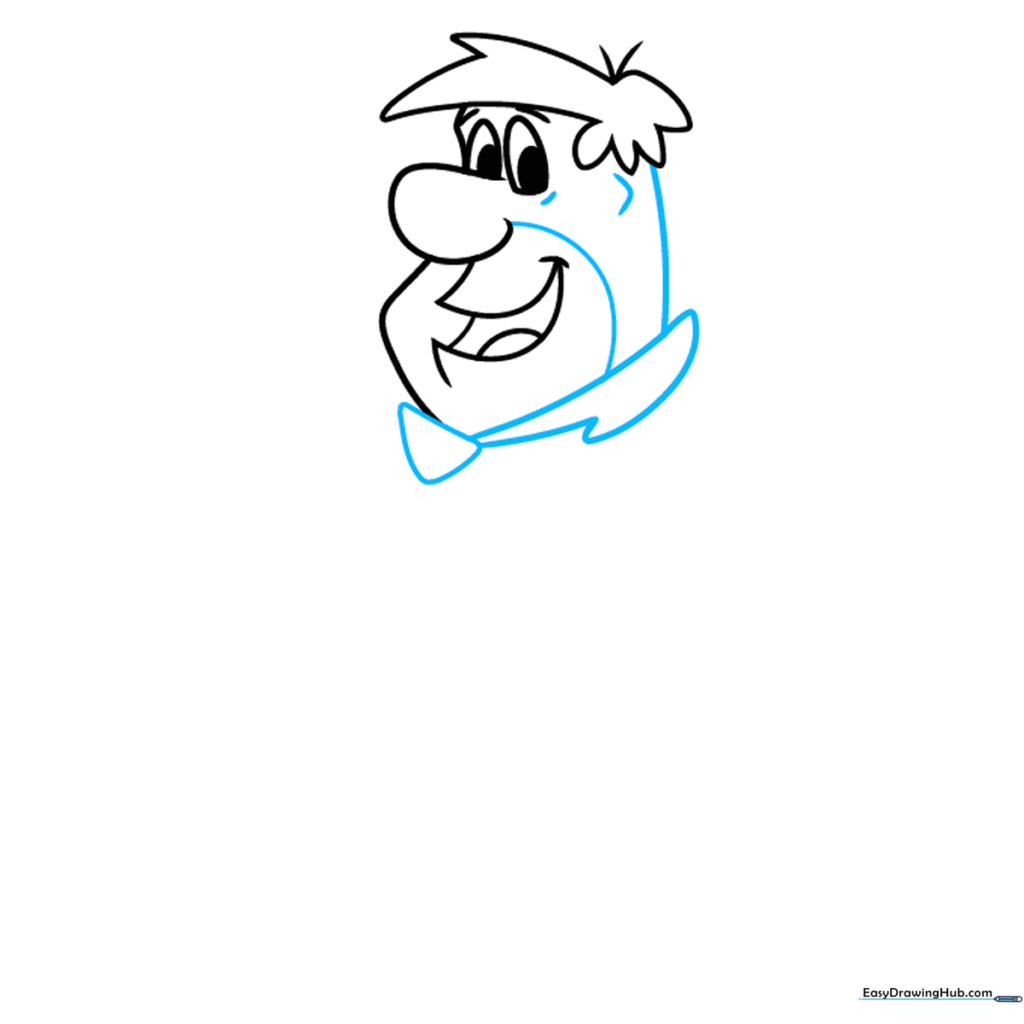
Draw a rounded triangle below the mouth for his tie knot. Add a small 'V' shape for his ear and some light shading around the mouth for his five o'clock shadow. Teacher's Tip: Use short, light pencil strokes for the shadow to keep it looking like stubble.
Step 5: Sketching the Torso
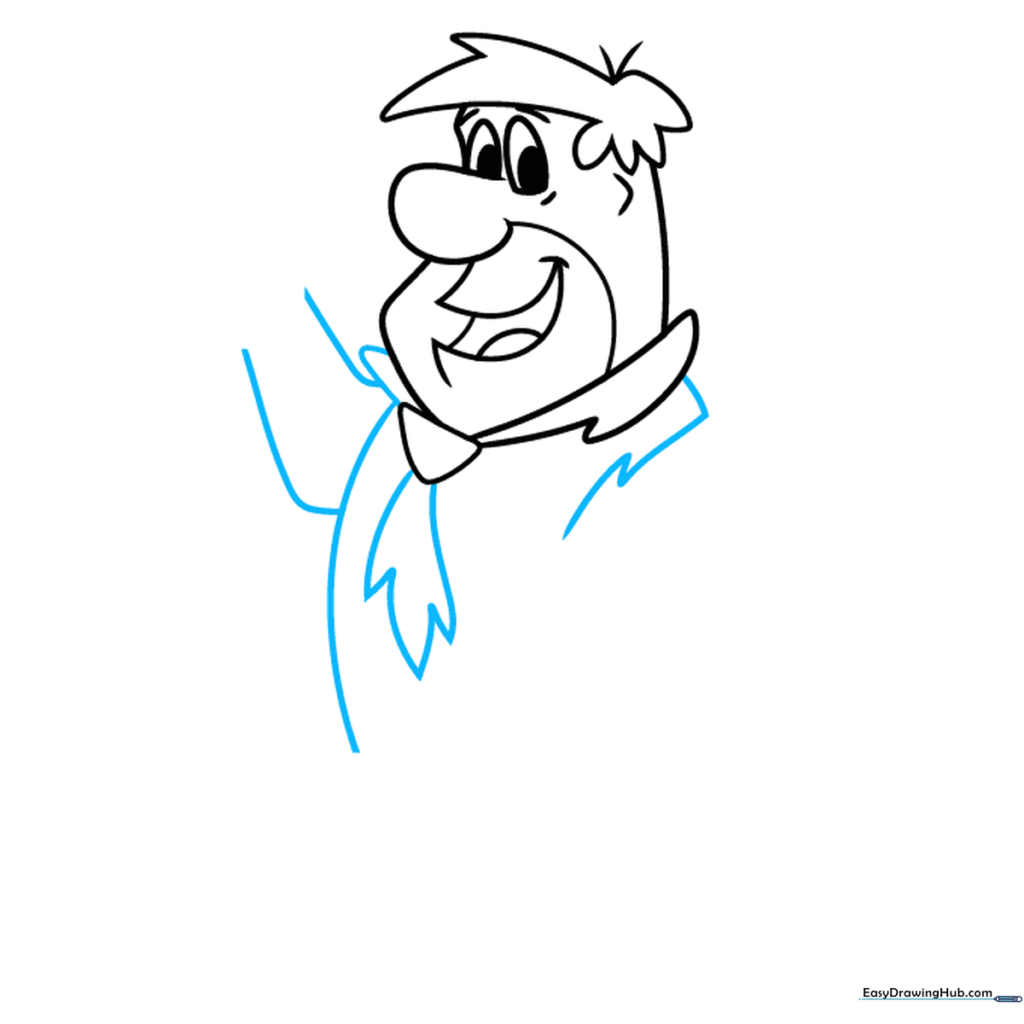
Use jagged, zig-zag lines to draw the sleeve and the bottom of his collar. Sketch the front of his torso and his upraised arm. Teacher's Tip: The zig-zag lines represent the animal skin fabric, so make them look a bit uneven.
Step 6: Drawing the Hand
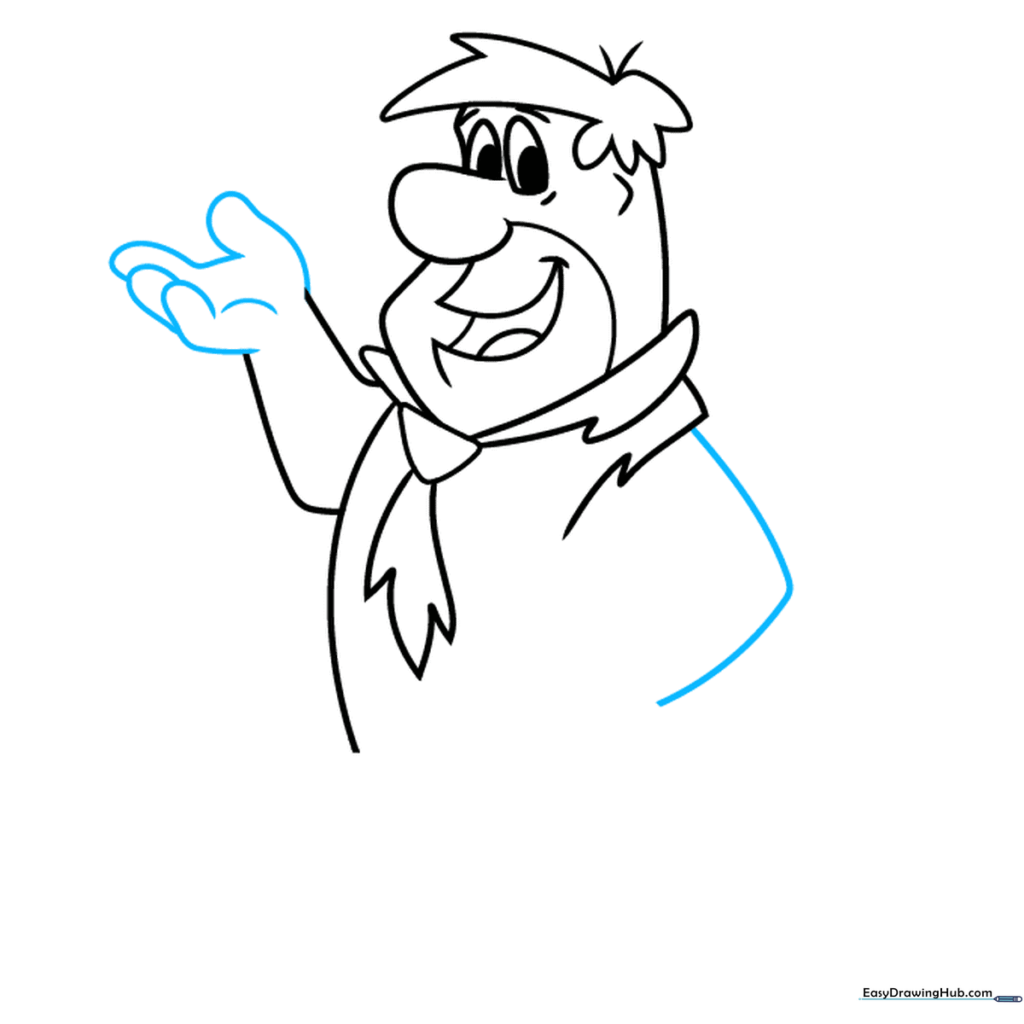
Use overlapping curved lines to sketch his upturned hand. Add an 'L' shaped line to start the second arm. Teacher's Tip: Hands can be tricky—focus on the rounded shapes of the fingers rather than individual details.
Step 7: Completing the Arm and Hem

Finish the arm resting on his hip using curved lines. Add the bottom hem of his garment with a long zig-zag line. Teacher's Tip: Ensure the zig-zag lines connect smoothly to the side of his body.
Step 8: Adding the Legs and Feet
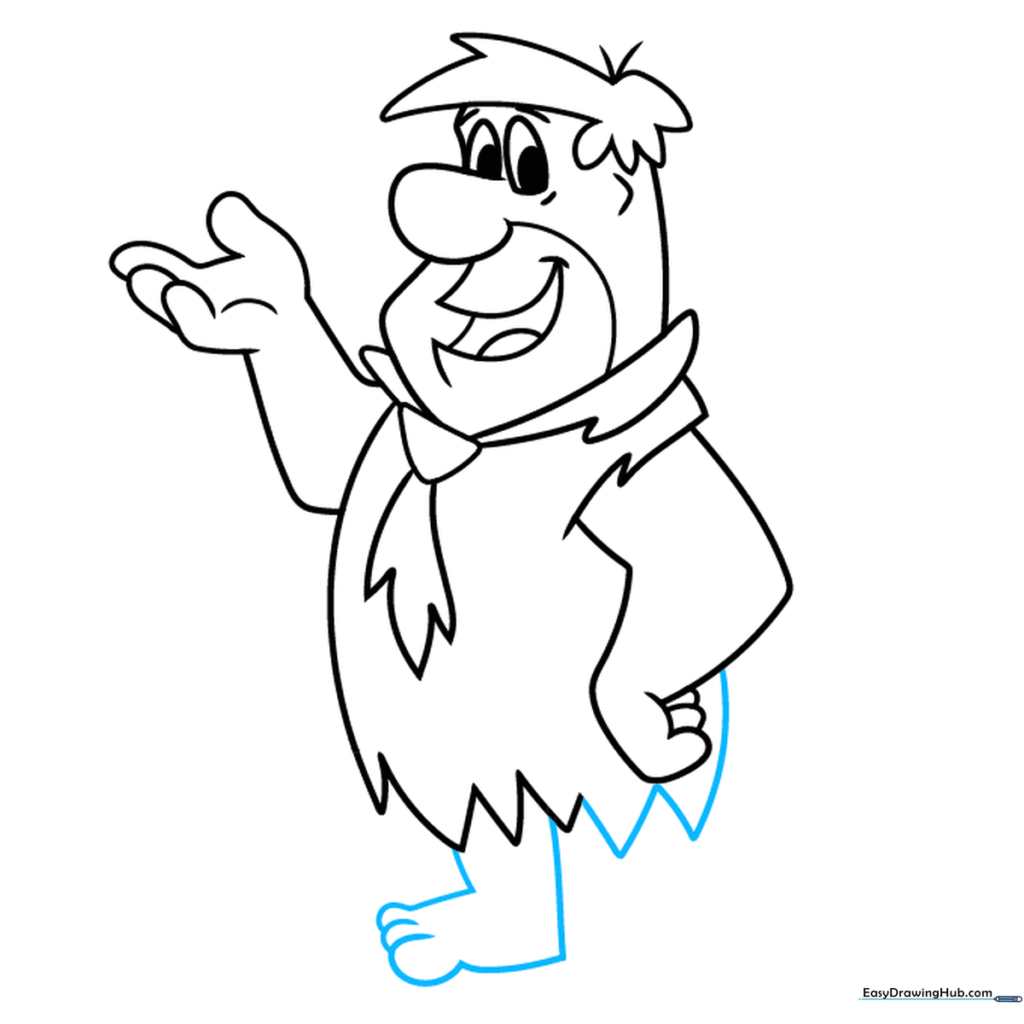
Draw the legs using 'L' shaped lines and add the feet with overlapping curves for the toes. Teacher's Tip: Keep the toes rounded to match the cartoon style of the show.
Step 9: Final Details
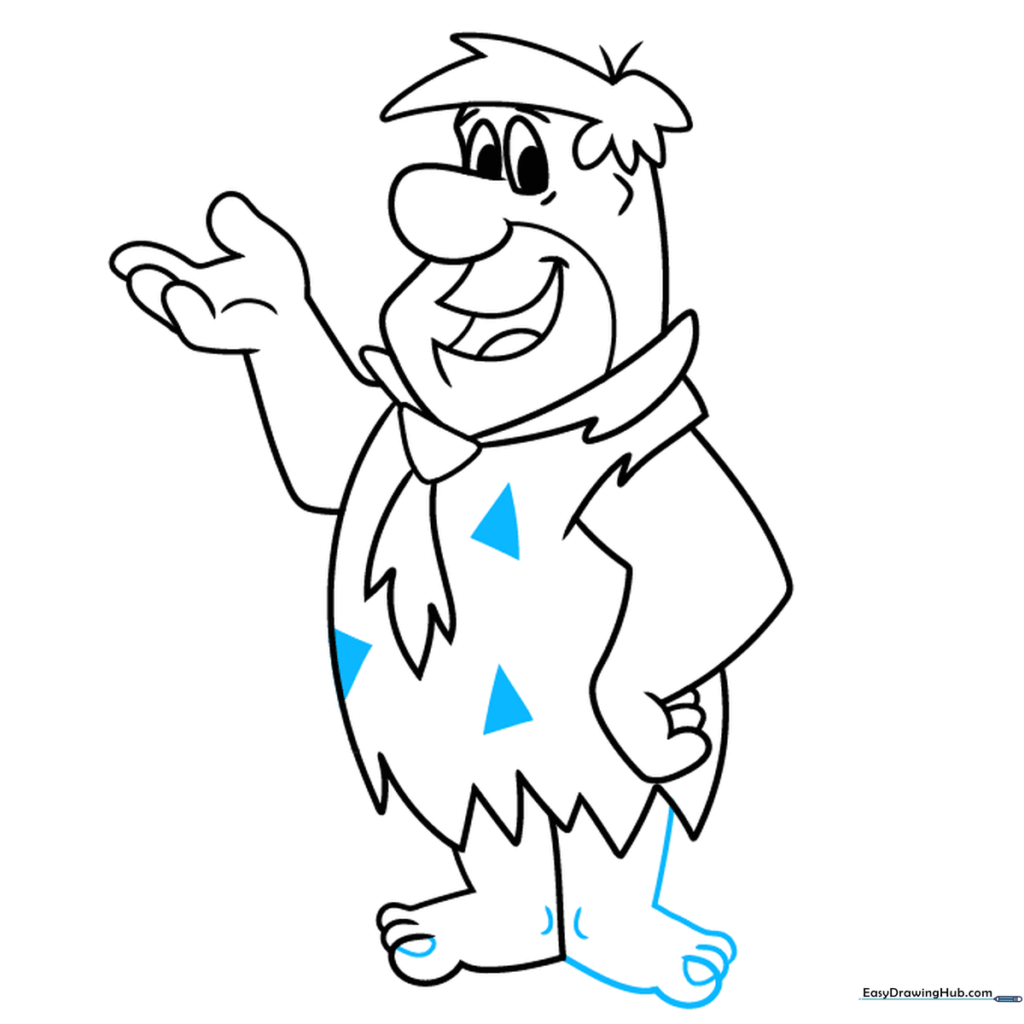
Add the final foot, toenails, and ankle details. Finish by drawing three triangular spots on his garment. Teacher's Tip: Vary the size of the spots to make the pattern look natural.
Step 10: Color Your Masterpiece
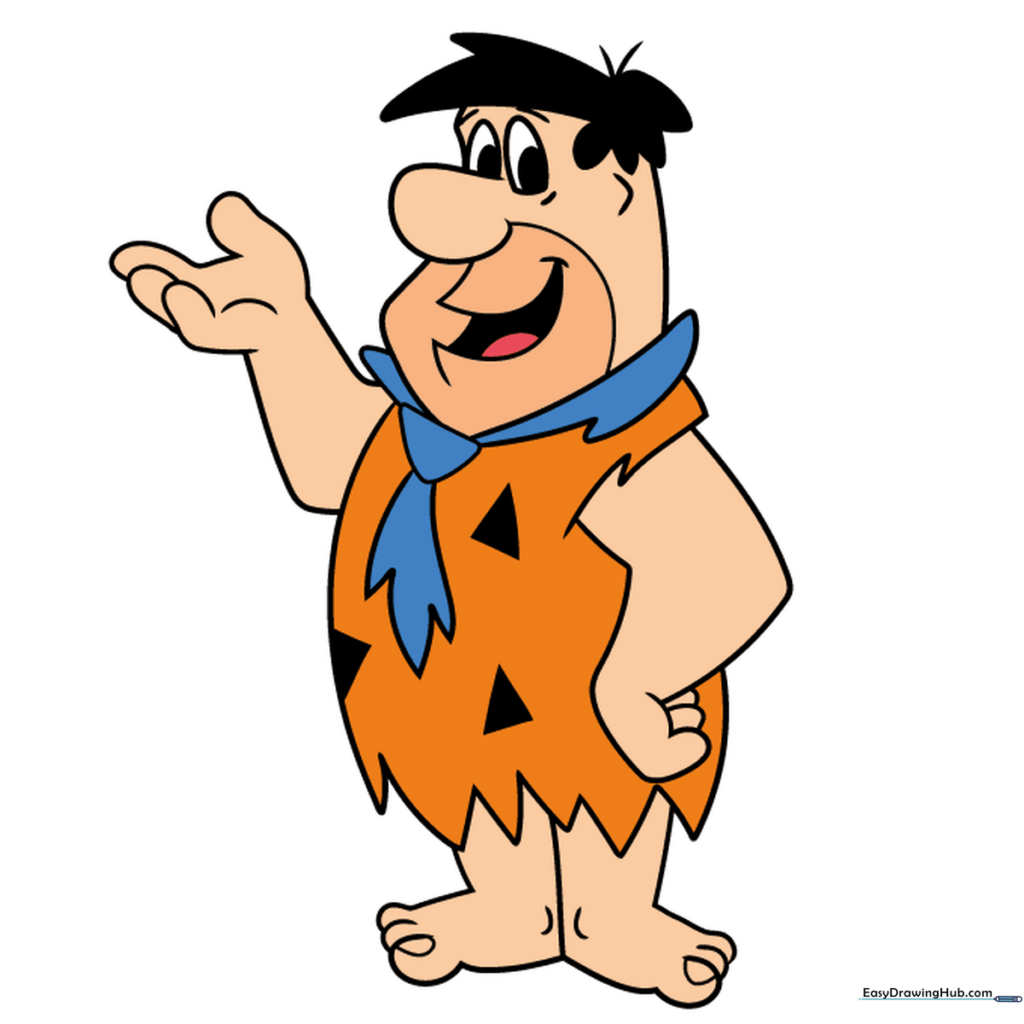
Time to color! Use black for his hair, blue for the necktie, and orange for his garment with black spots. Teacher's Tip: Use light pressure with your orange crayon to keep the color smooth and consistent.
More Tutorials


