How to Draw Forget-Me-Not Flowers: Easy 10-Step Guide
Bring the beauty of nature to your sketchbook with this simple forget-me-not drawing tutorial. Designed for young artists and beginners, this guide uses basic shapes to build a charming floral cluster. All you need is a pencil, an eraser, and your favorite coloring supplies to get started.
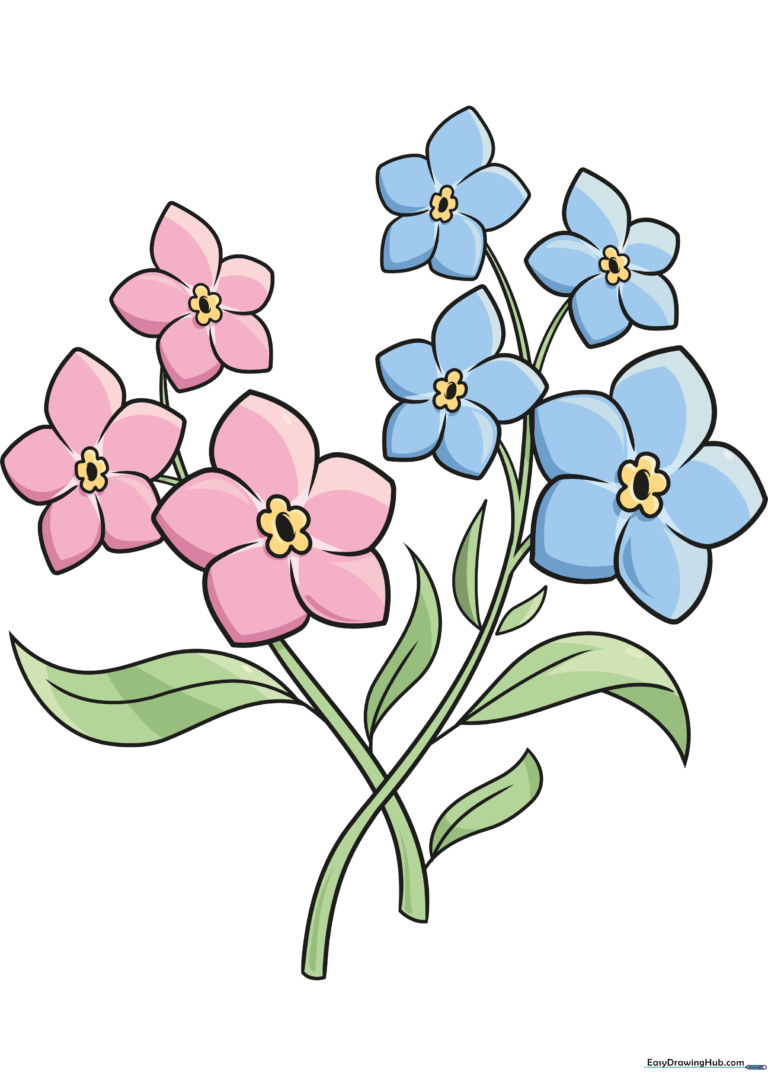
🎯 Final Result
Step-by-Step Instructions
Step 1: Sketching the Main Stems

Start by drawing two long, slightly curved lines that branch out at the top to form the main stem. Teacher's Tip: Keep these lines loose and fluid; nature is rarely perfectly straight!
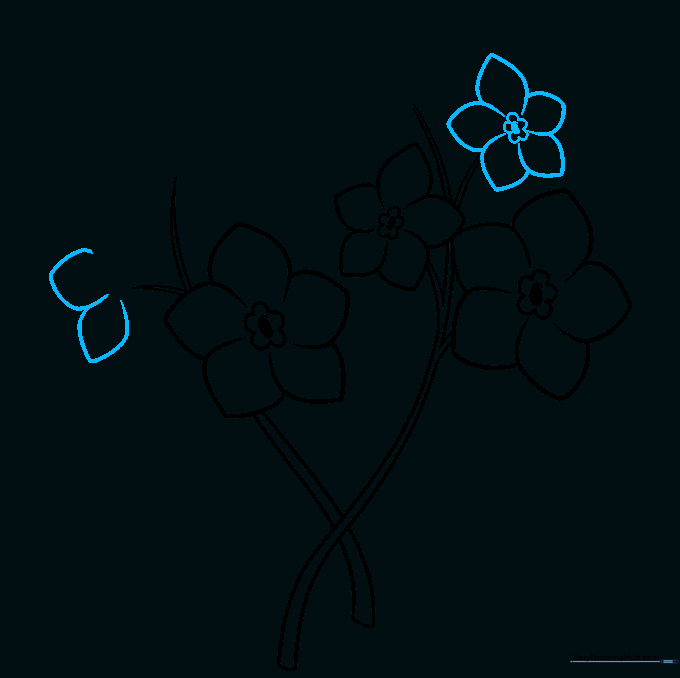
Step 2: Adding Secondary Branches
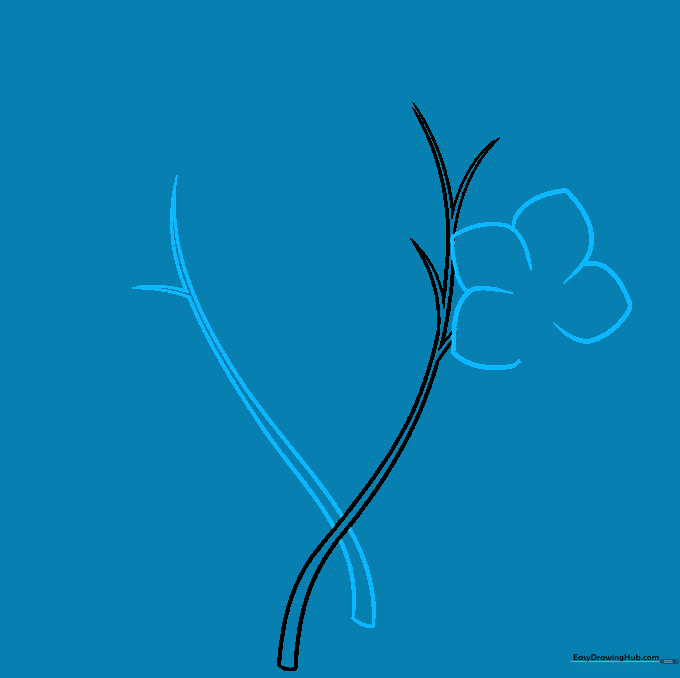
Add a second, smaller stem branching off the main one. Begin sketching the first blossom by drawing two curved lines that meet at a point for each petal. Teacher's Tip: Overlapping your petals slightly makes the flower look more realistic and less like a flat sticker.
Step 3: Defining the First Blossom
Finish the first flower by ensuring it has five distinct, star-shaped petals. Draw a small oval in the center and surround it with a wavy line. Teacher's Tip: The wavy center represents the flower's eye—keep it small to maintain the delicate look.
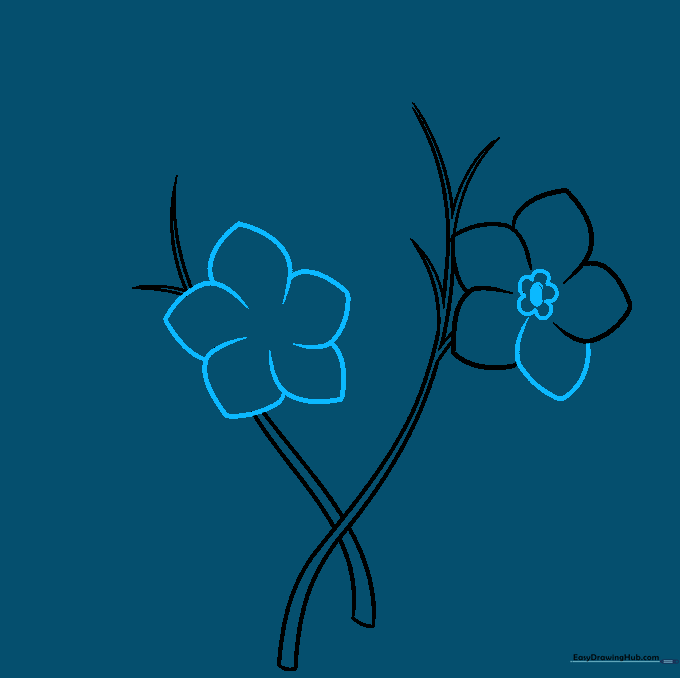
Step 4: Adding More Blooms
Repeat the process to add a second and third blossom nearby. Remember to shade the small oval center for each. Teacher's Tip: Vary the sizes of the flowers slightly to create a more natural, organic cluster.
Step 5: Expanding the Cluster
Continue adding more blossoms to your stem. Use the same five-petal technique. Teacher's Tip: If you make a mistake, don't worry! Use your eraser to lift the graphite gently before redrawing.
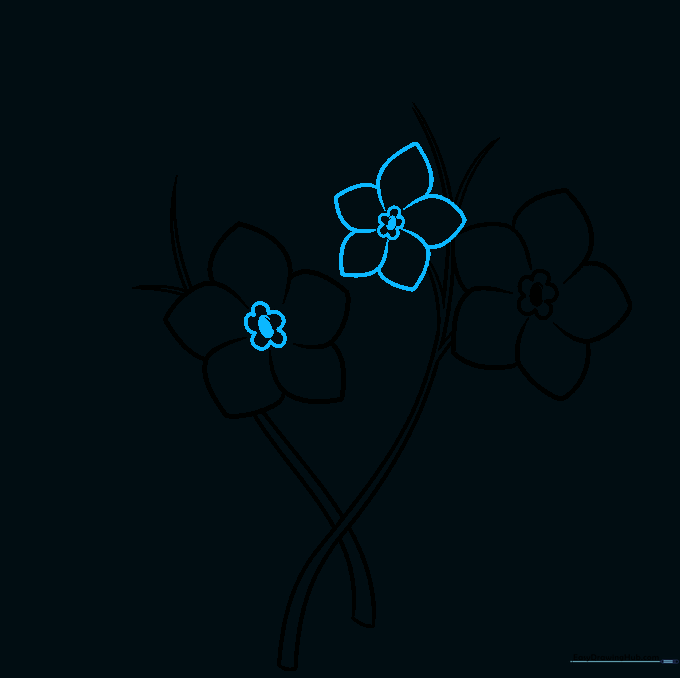
Step 6: Building the Bouquet
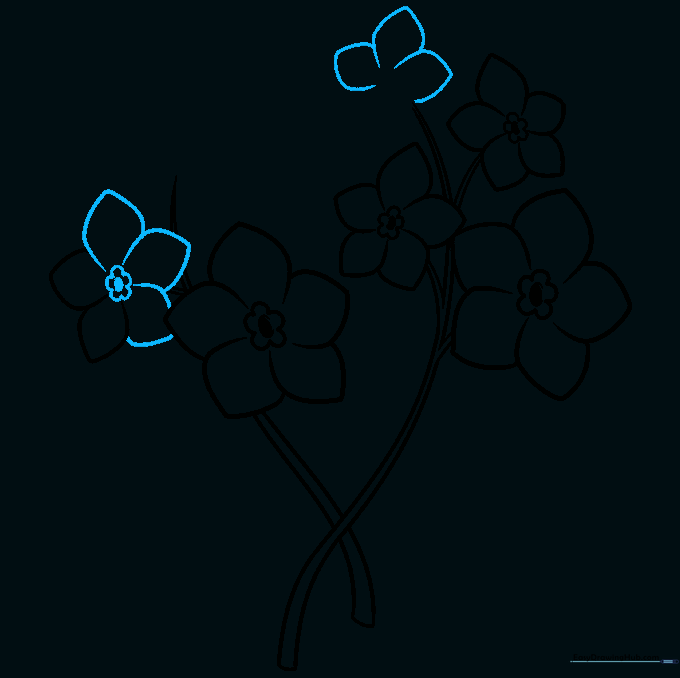
Keep adding flowers until your stem looks full. Focus on making the petals look soft and rounded. Teacher's Tip: Try rotating your paper if it feels awkward to draw the petals at certain angles.
Step 7: Refining the Petals
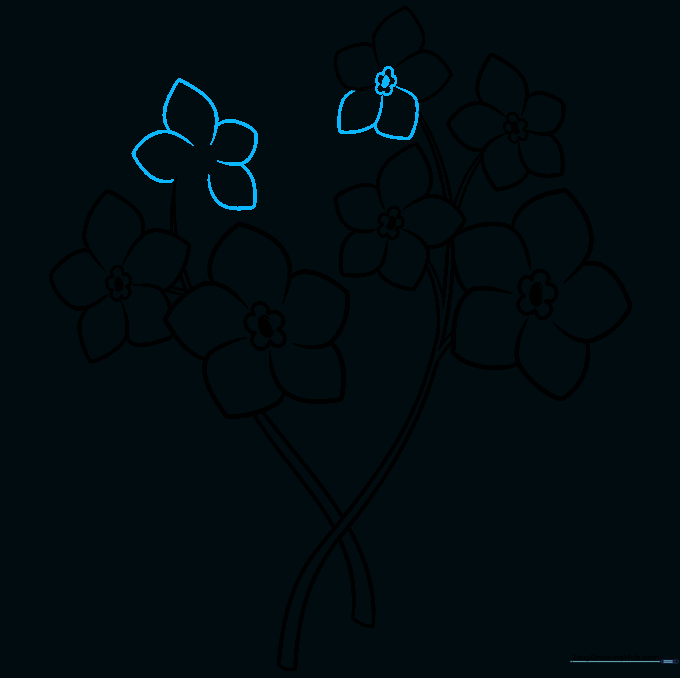
Check your flowers and add any missing petals to ensure each bloom looks complete. Teacher's Tip: Ensure the centers are consistent across all flowers to keep the drawing unified.
Step 8: Adding Leaves
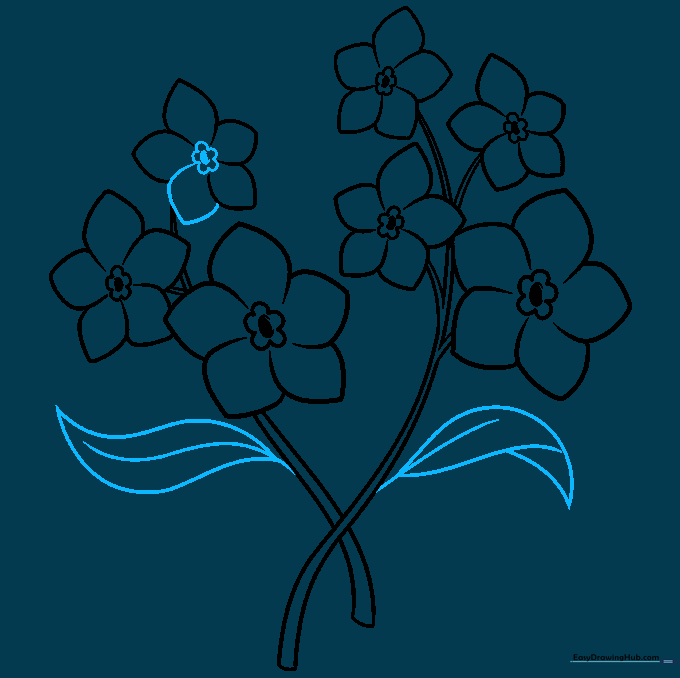
Draw leaves by extending two curved lines that meet at a sharp point. Add a single line down the center of each leaf for the vein. Teacher's Tip: Leaves are a great way to balance out the composition of your drawing.
Step 9: Finalizing the Foliage
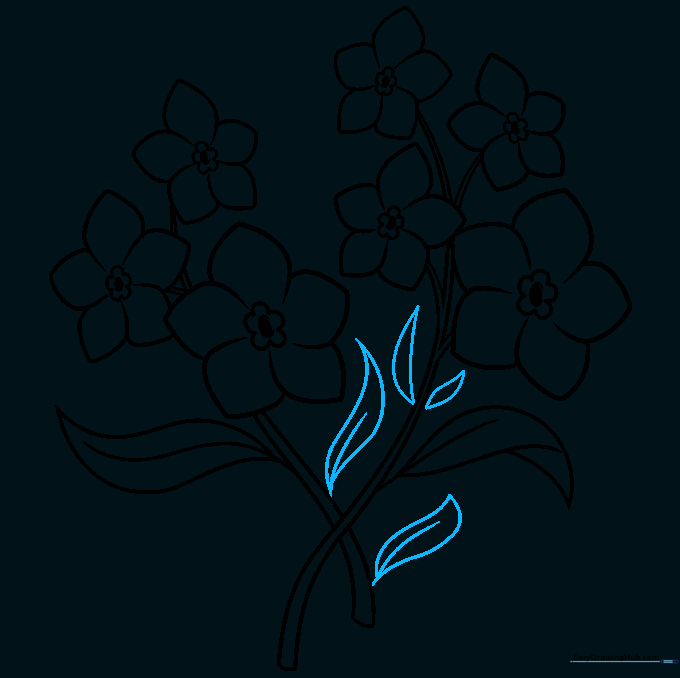
Add a few more leaves to the base of the stems to ground your drawing. Teacher's Tip: Vary the length of the leaves to make the plant look more realistic.
Step 10: Adding Color
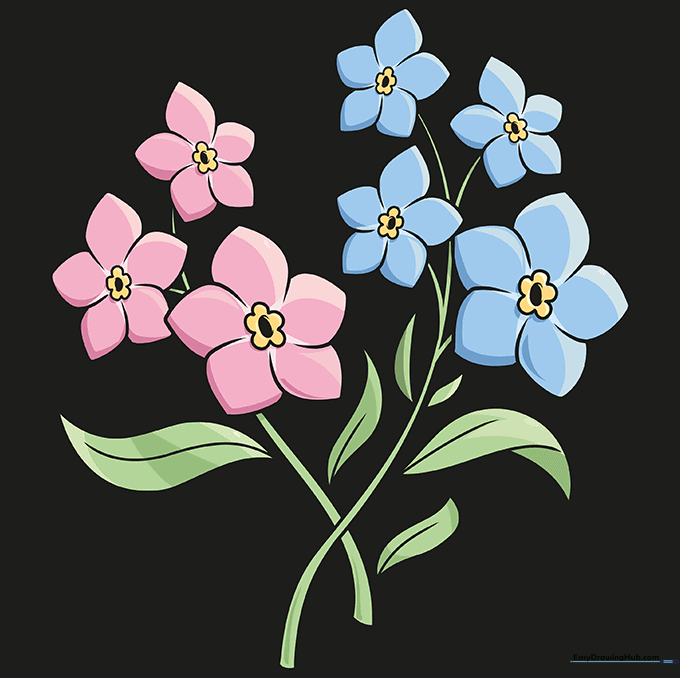
Bring your drawing to life! Use soft blues, pinks, or whites for the petals, and bright yellow or orange for the centers. Teacher's Tip: Try layering two shades of blue to give your petals a bit of depth and shadow.
More Tutorials


