How to Draw Fog: Simple Landscape Tutorial for Beginners
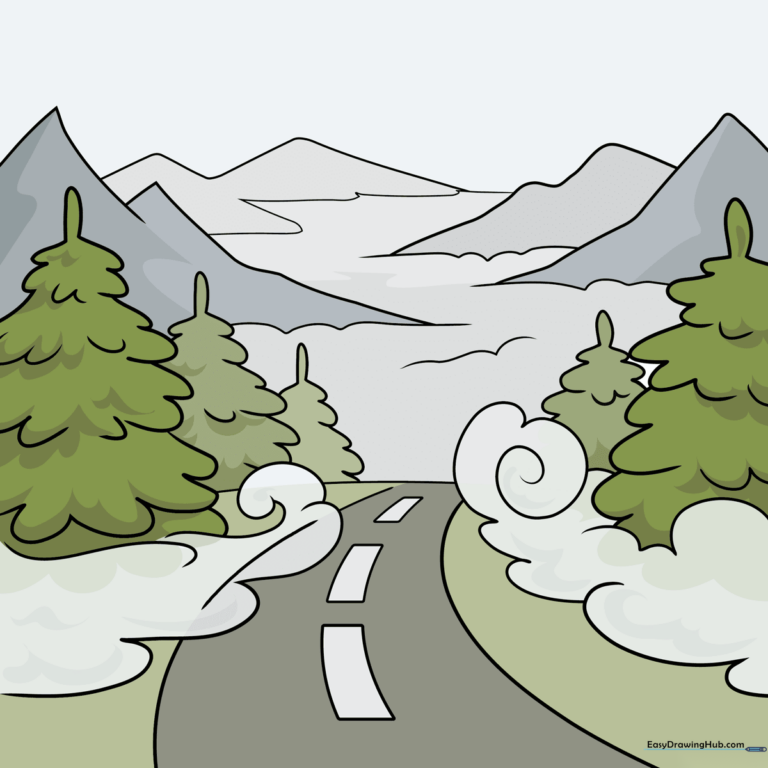
Capture the moody, atmospheric beauty of a foggy day with this simple landscape drawing guide. Designed for artists of all ages, this project uses basic shapes to build depth and perspective. You will need a pencil, an eraser, and a sheet of paper to create your own misty scene.
🎯 Final Result
Step-by-Step Instructions
Sketching the Base Mist
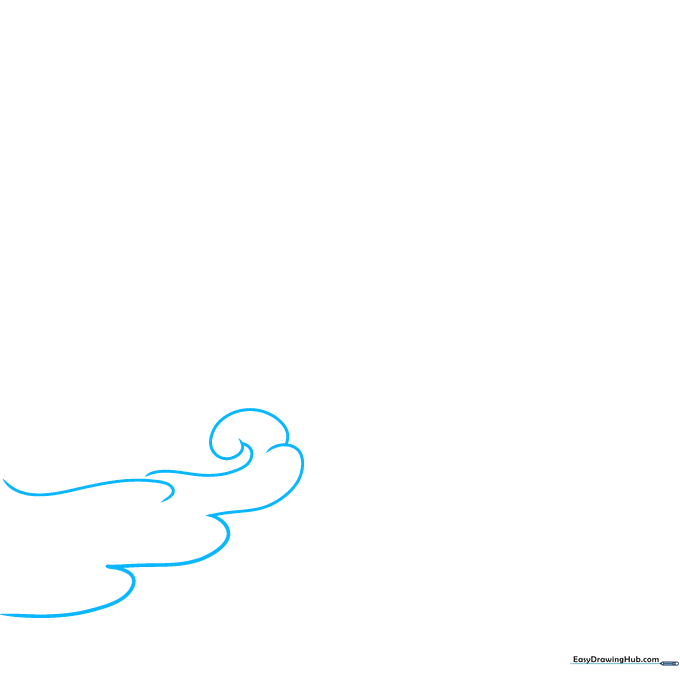
Draw loose, wavy horizontal lines across your paper to represent the rolling fog. Teacher's Tip: Keep your wrist relaxed and use fluid, sweeping motions to make the lines look soft rather than rigid.
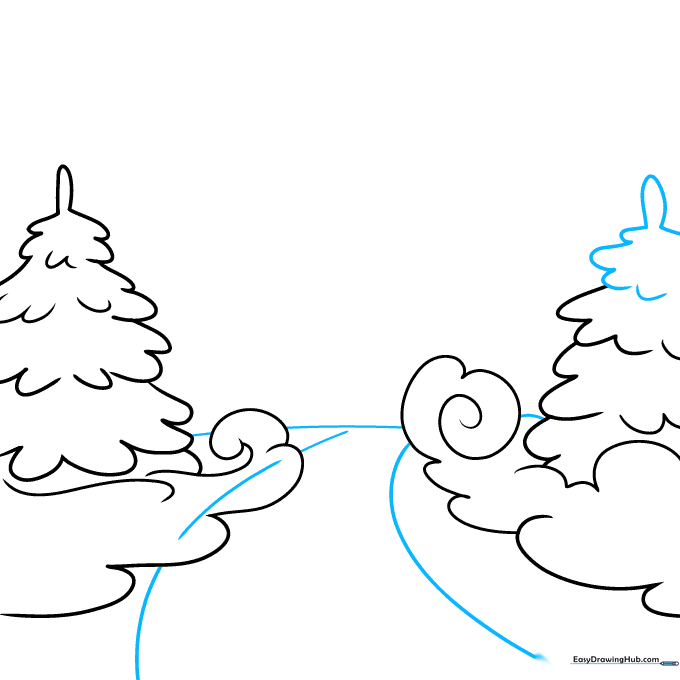
Adding Swirls of Mist

Add a small, snail-like swirl at the end of your fog lines to create movement. Teacher's Tip: Think of these as little pockets of air moving through the mist.
Outlining the First Tree
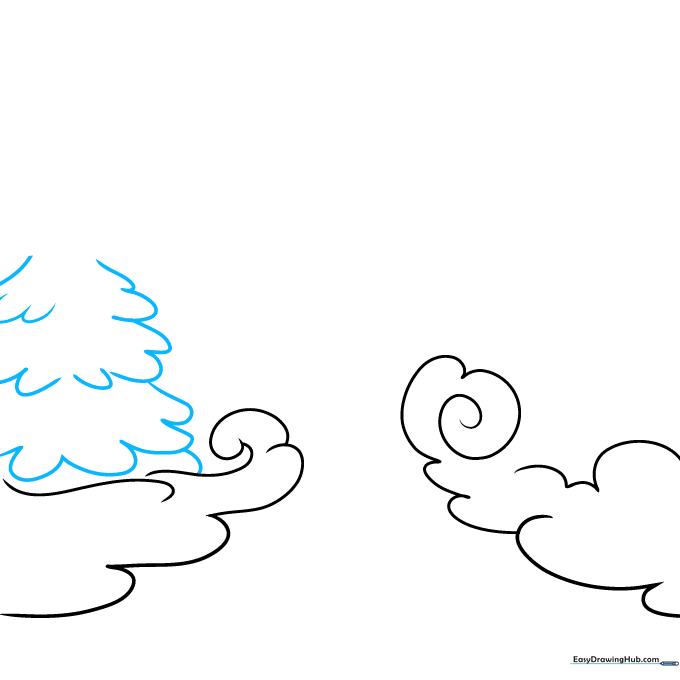
Sketch vertical, bumpy loops on the left side to form the silhouette of a tree. Teacher's Tip: Don't worry about perfect symmetry; trees in nature are wonderfully irregular.
Defining Tree Shapes
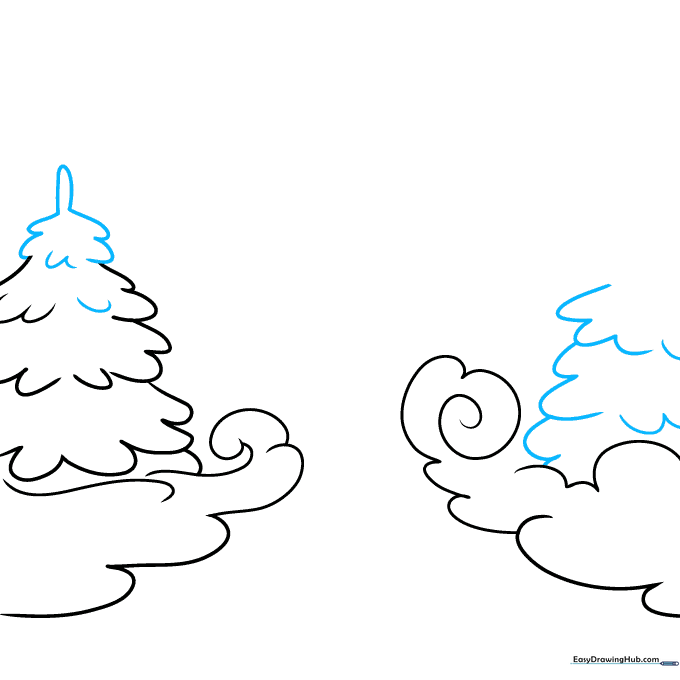
Add a thin loop at the top of your tree to give it height, then repeat the process for a tree on the right. Teacher's Tip: Vary the heights of your trees to create a sense of distance.
Establishing the Horizon and Road
Draw a straight horizontal line for the horizon, then two curved lines extending downward for the road. Teacher's Tip: Make the road wider at the bottom of the page to create a realistic perspective effect.
Adding Depth with Background Trees
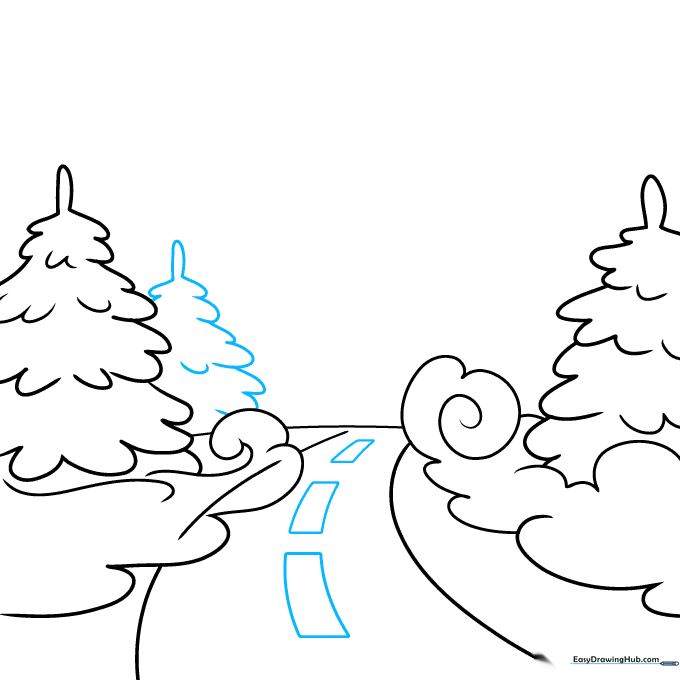
Sketch a smaller, lighter tree behind the first one to show depth. Then, add rectangular markings on the road. Teacher's Tip: Objects further away should be drawn smaller and with less detail.
Layering the Landscape
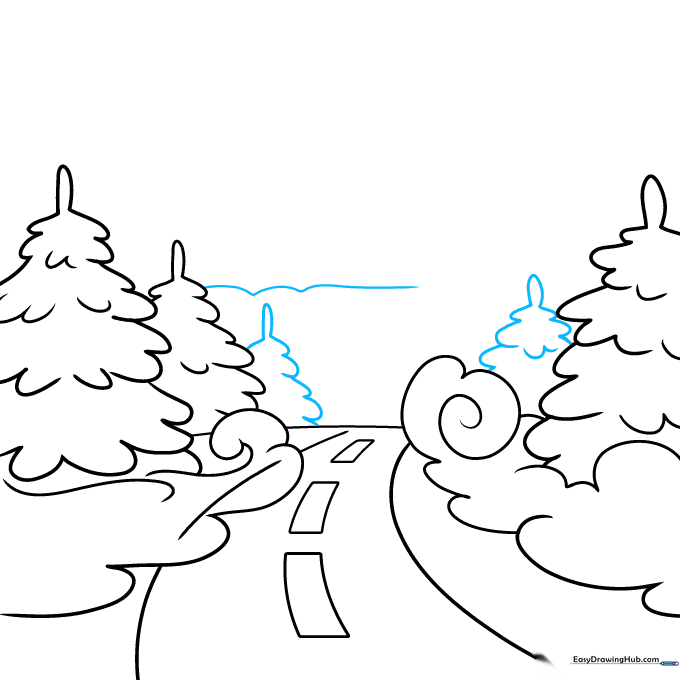
Add two more trees and a wavy line in the background to represent distant hills. Teacher's Tip: Use a lighter touch with your pencil for these background elements to keep them looking 'misty'.
Drawing Mountain Silhouettes
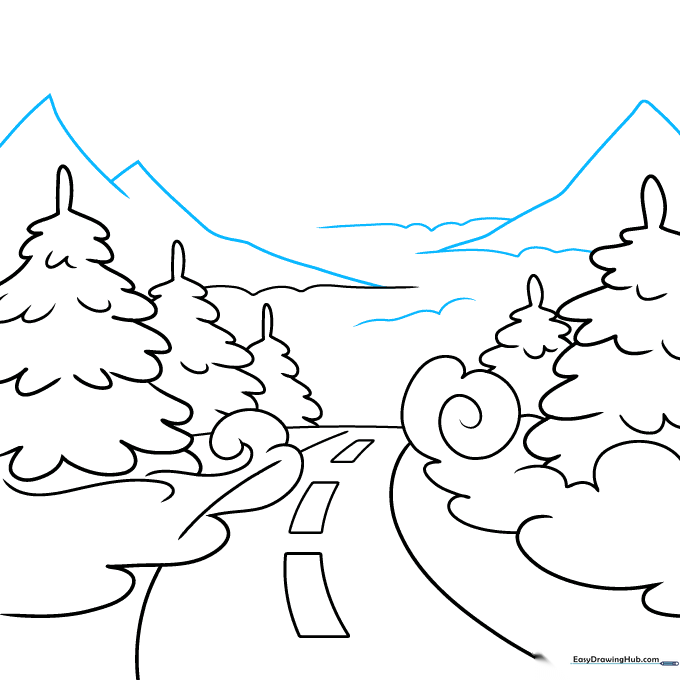
Draw uneven, jagged triangles for mountains in the far distance. Add more wavy lines to suggest fog rolling around the base. Teacher's Tip: Keep the mountain peaks soft and rounded rather than sharp.
Refining the Mountain Range
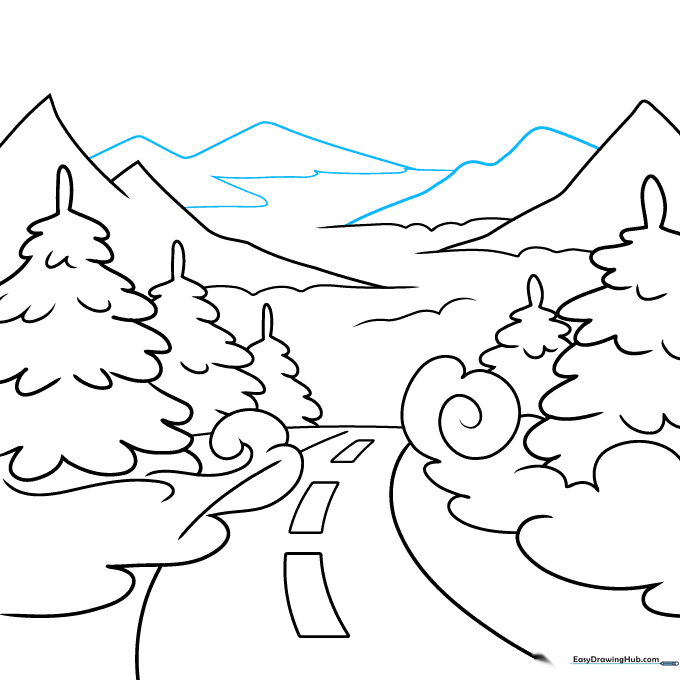
Continue adding layers to your mountains to fill the background. Teacher's Tip: Overlapping your shapes helps the viewer understand which objects are closer and which are further away.
Adding Color and Atmosphere
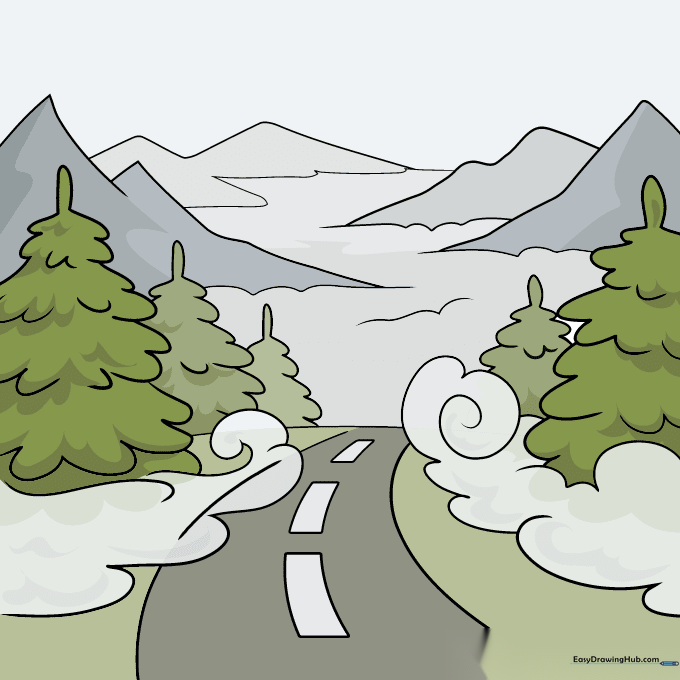
Outline your work with black, then color using muted greens, grays, and whites. Teacher's Tip: Use a light gray for the fog and leave some white space to make it look airy and translucent.
More Tutorials


