How to Draw a Flaming Skull: Easy Step-by-Step Guide
Ready to add some edge to your sketchbook? This tutorial is perfect for artists ages 8+ looking to practice dynamic character design. You only need a pencil, an eraser, and a piece of paper to bring this fiery skull to life.
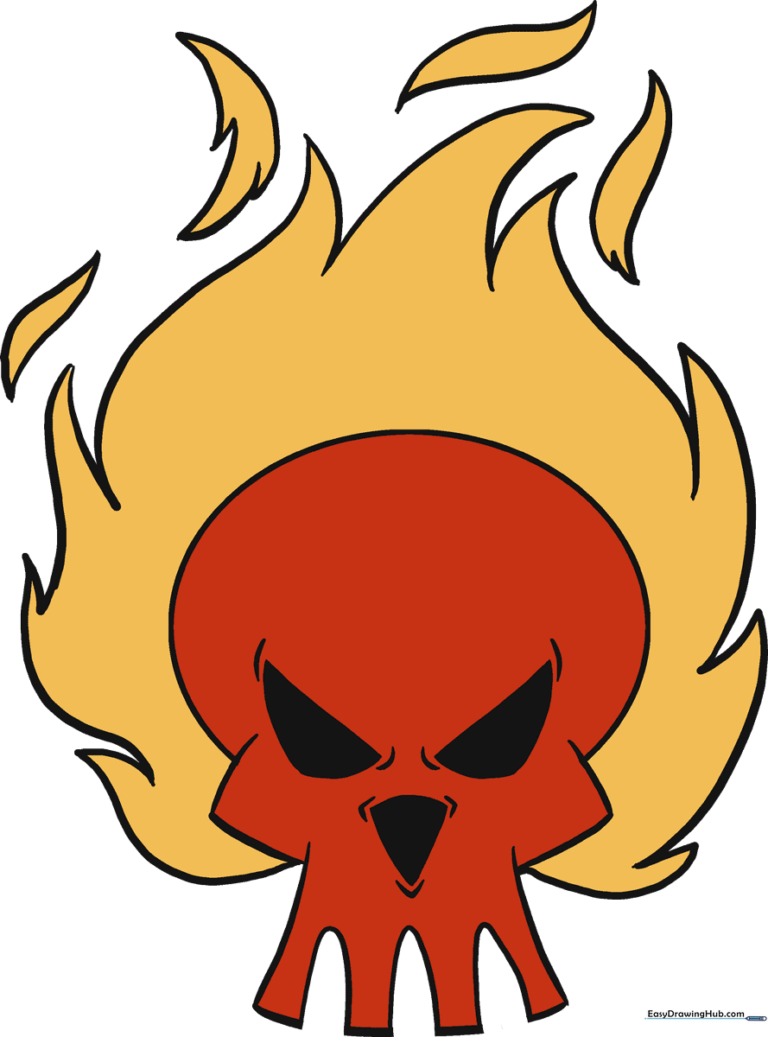
🎯 Final Result
Step-by-Step Instructions
Sketching the Cranium
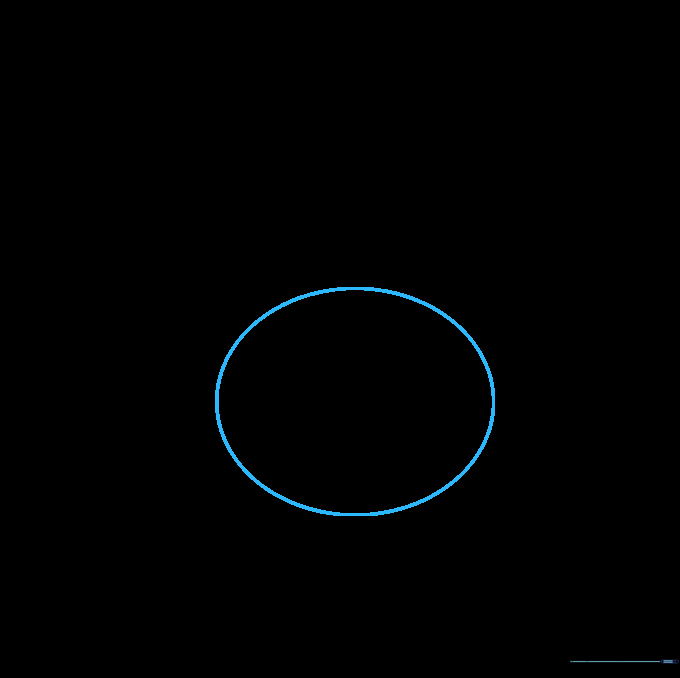
Draw a rounded oval to serve as the top of the skull. Teacher's Tip: Keep your pencil grip loose and your lines light; this helps you erase easily if you want to adjust the shape later.
Defining the Eye Sockets
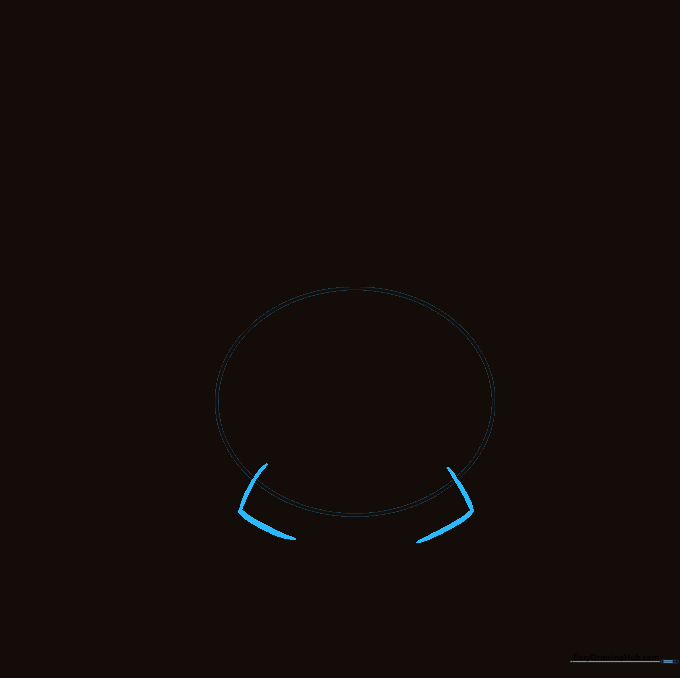
Extend two curved lines from the oval, bending them at a right angle. Teacher's Tip: Think of these as the 'frames' for the eyes; keeping them symmetrical makes the skull look more balanced.
Forming the Jawline

Use three curved lines to enclose the lower mouth area. Teacher's Tip: Ensure these lines connect firmly to the upper skull to create a solid, unified structure.
Adding the Teeth

Draw elongated, curved shapes along the bottom of the jaw. Teacher's Tip: Vary the size of these shapes slightly to make the teeth look more natural and less like a perfect grid.
Refining the Jaw

Erase the overlapping lines at the bottom of the teeth shapes. Teacher's Tip: Use a kneaded eraser if you have one; it’s great for picking up graphite without smudging your drawing.
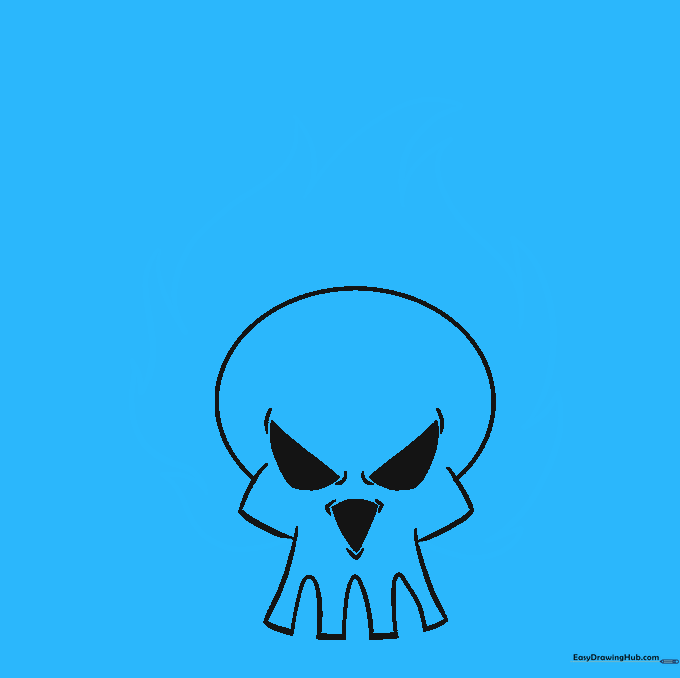
Detailing the Eyes

Draw diagonal lines inside the eye sockets, then add a slanted semicircle beneath each. Shade these in. Teacher's Tip: Adding those tiny curved lines at the corners of the eyes gives the skull a more expressive, 'angry' look.
Drawing the Nasal Cavity

Draw an upside-down triangle between the eyes and shade it. Teacher's Tip: Don't worry about making it perfectly straight; a slightly irregular shape makes the skull look more organic.
Adding the Base Flames
Use connected, curved lines to create jagged, flame-like shapes around the skull. Teacher's Tip: Think of these as 'wavy' lines that meet at sharp points—the more variety in your points, the more realistic the fire will look.
Completing the Fire
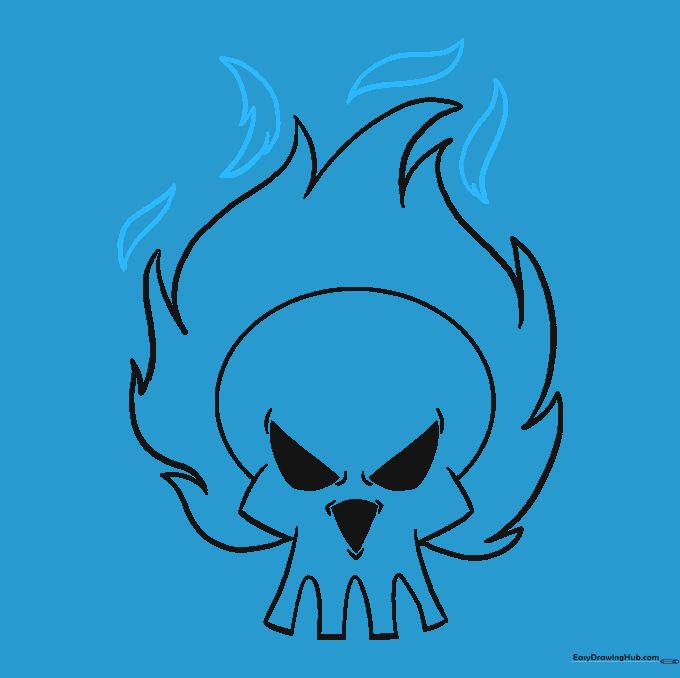
Add more wispy, irregular flame shapes above the skull. Teacher's Tip: Make these top flames thinner and more pointed to give the drawing a sense of upward movement.
Adding Color
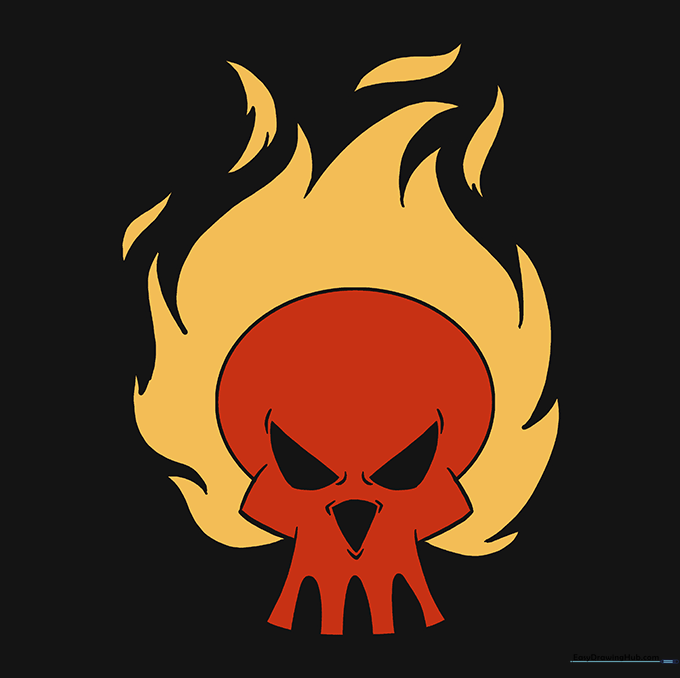
Bring your drawing to life with vibrant oranges, yellows, and reds. Teacher's Tip: Use a darker orange at the base of the flames and transition to yellow at the tips for a realistic 'glow' effect.
More Tutorials


