How to Draw Fencing: Easy Step-by-Step Guide for Kids
Ready to capture the excitement of a fencing match on paper? This tutorial is perfect for young athletes and artists ages 7+ who want to learn how to draw dynamic sports figures. Grab your pencil, eraser, and paper, and let's bring this fast-paced duel to life with simple, guided shapes.
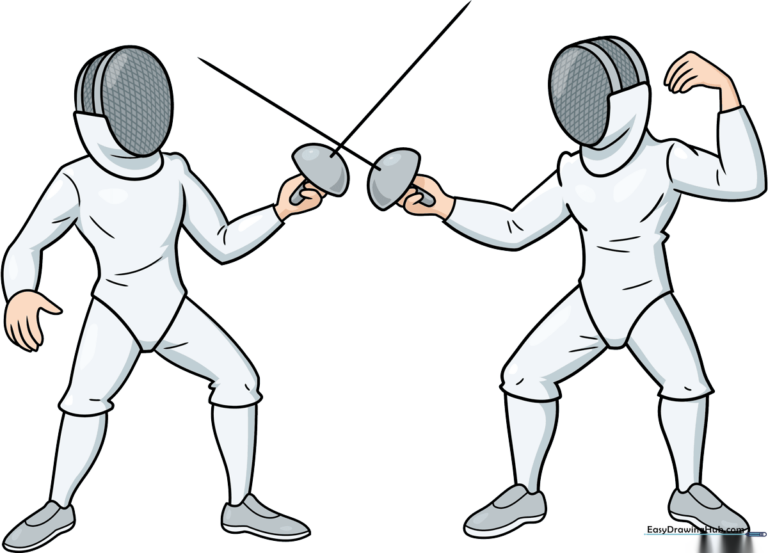
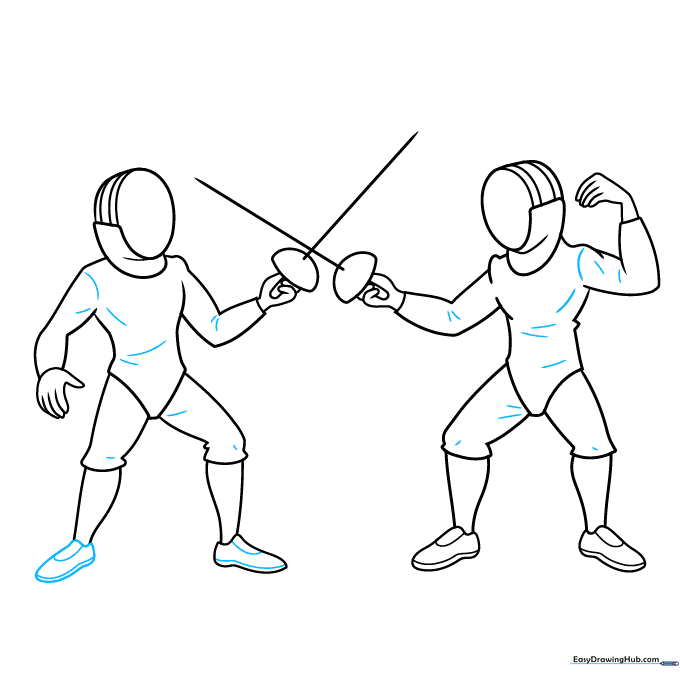
🎯 Final Result
Step-by-Step Instructions
Step 1: Sketching the Protective Mask
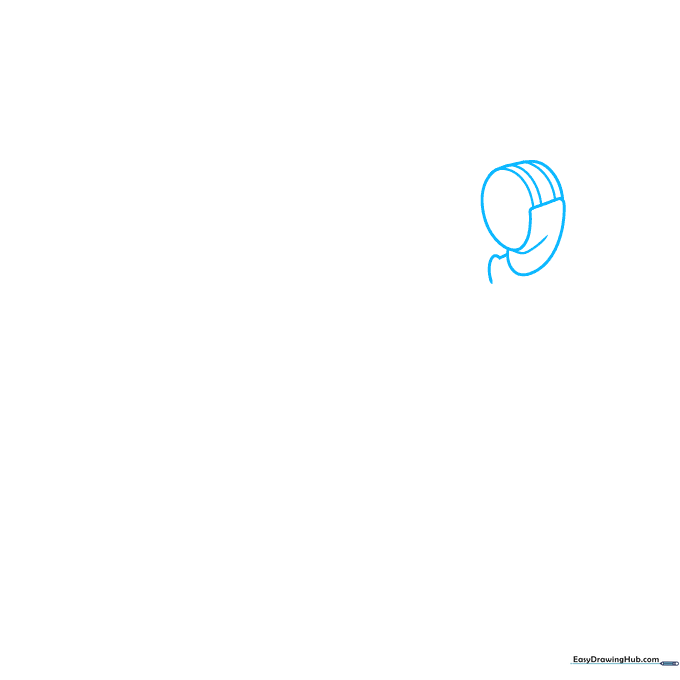
Start by drawing the fencer's protective mask. Use curved lines to create a rounded rectangular shape for the face and a cylinder for the neck guard. Teacher's Tip: Keep your pencil pressure light here so you can easily refine the shape later if it looks a bit lopsided.
Step 2: Drawing the Sword Arm
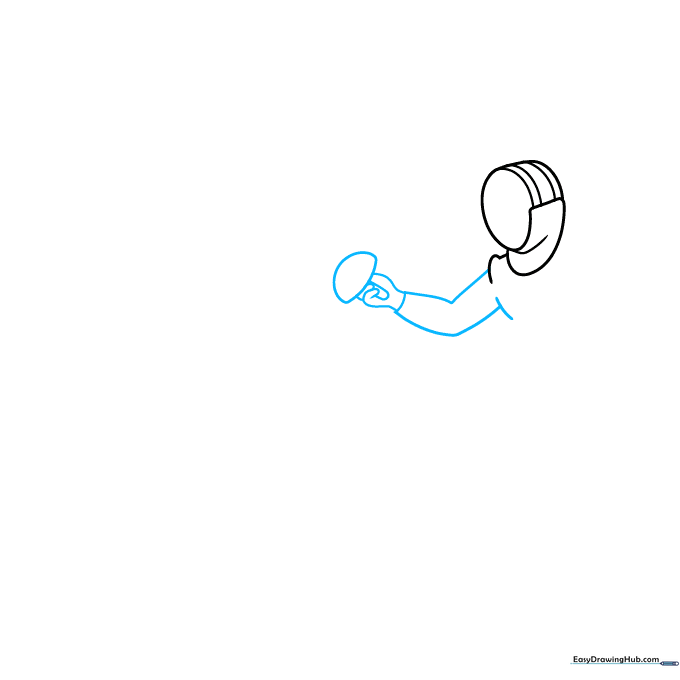
Use overlapping curved lines to sketch the extended arm and hand. Add a half-circle shape at the end to represent the epee guard. Tip: Think of the guard as a small bowl protecting the hand—keep it rounded to show depth.
Step 3: Adding the Blade and Second Arm
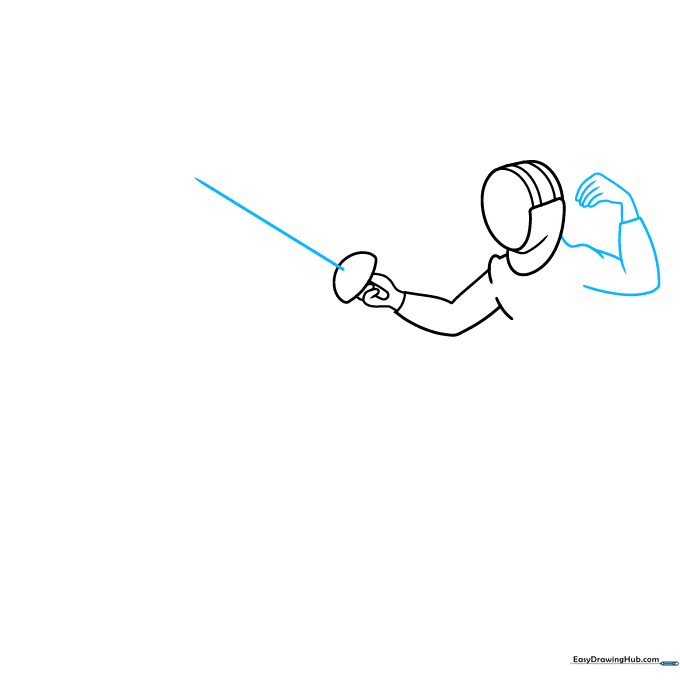
Draw a straight line from the center of the guard to form the blade. Then, sketch the second arm bent at the elbow. Teacher's Tip: Use a ruler for the blade if you want it to look extra sharp and straight!
Step 4: Outlining the Torso
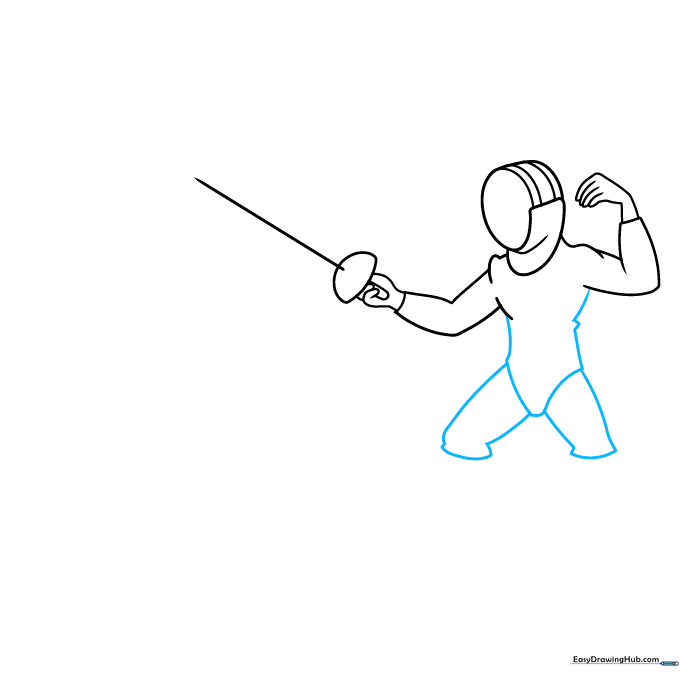
Use curved lines to enclose the torso and the top of the legs. Add small wavy lines to suggest the fabric of the fencing jacket. Tip: Fencing gear is thick, so use slightly wider curves to make the outfit look padded.
Step 5: Shoes and the Second Fencer

Draw the shoes at the bottom of the legs, adding lines for the soles. Then, start the second fencer's mask with a spiraling curved line. Teacher's Tip: Overlapping the two fencers creates a sense of action and movement.
Step 6: Detailing the Second Fencer
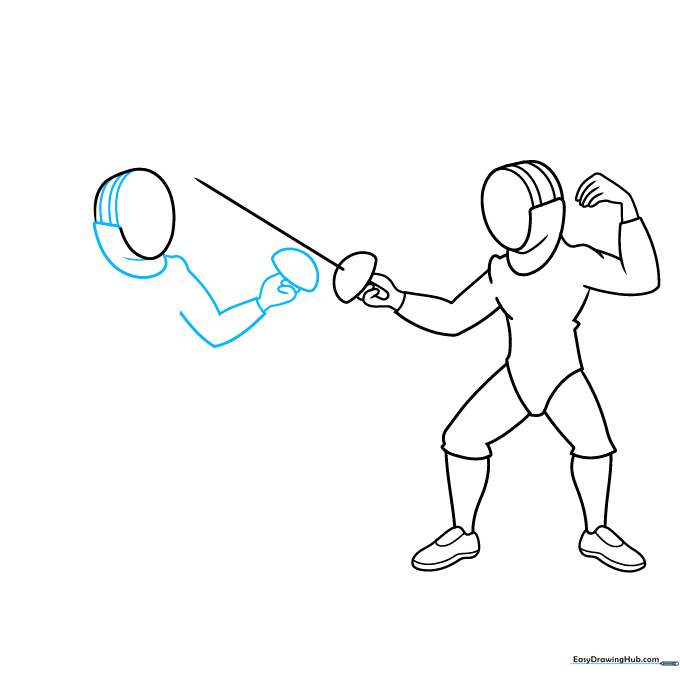
Add the neck guard and mask details to the second fencer. Sketch their arm and sword guard similarly to the first. Tip: Keep the second fencer slightly smaller if you want to show depth or perspective.
Step 7: Finishing the Second Sword
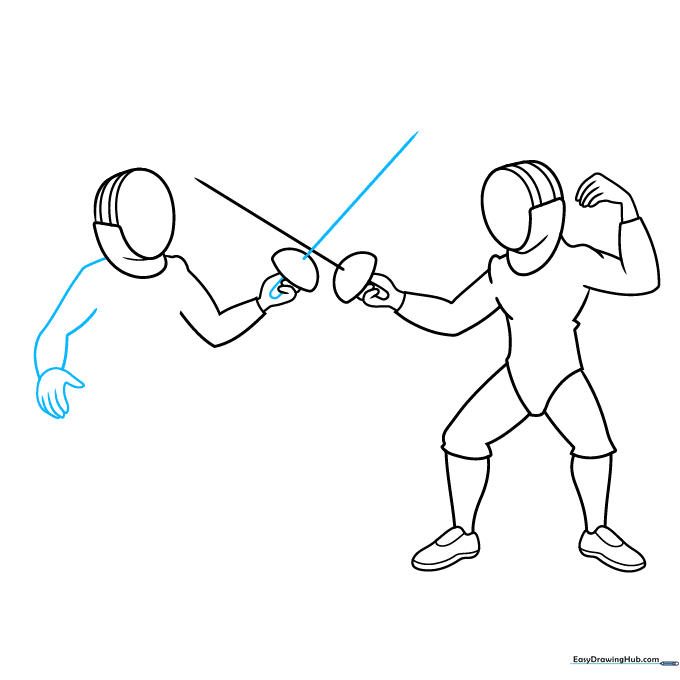
Draw the grip and blade for the second fencer, then add the arm and hand. Teacher's Tip: Make sure the blades are pointing toward each other to show they are in the middle of a match!
Step 8: Completing the Second Body
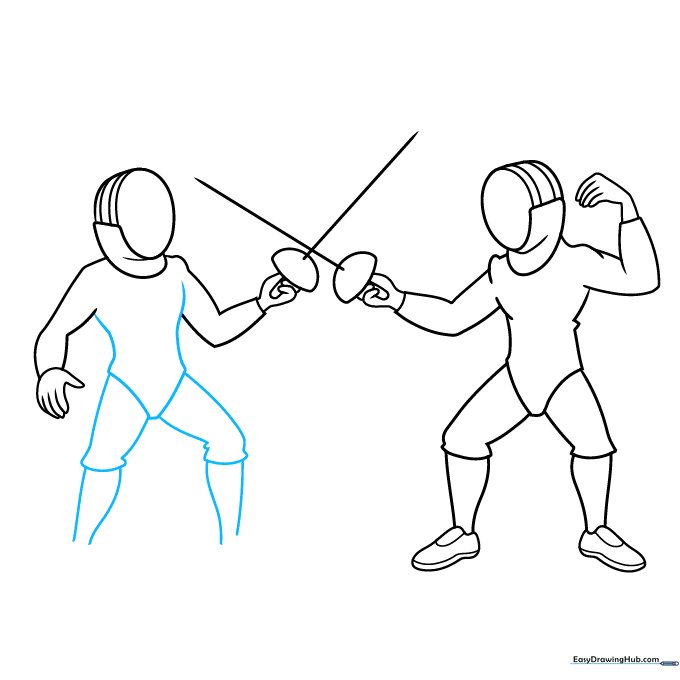
Use curved lines to finish the torso, knickers, and legs for the second fencer. Tip: Use consistent line thickness to match the first fencer's style.
Step 9: Final Touches
Finish the shoes and add small contour lines to the fabric of both uniforms. Teacher's Tip: These small lines help show the folds in the fabric, making your drawing look more realistic.
Step 10: Color Your Masterpiece
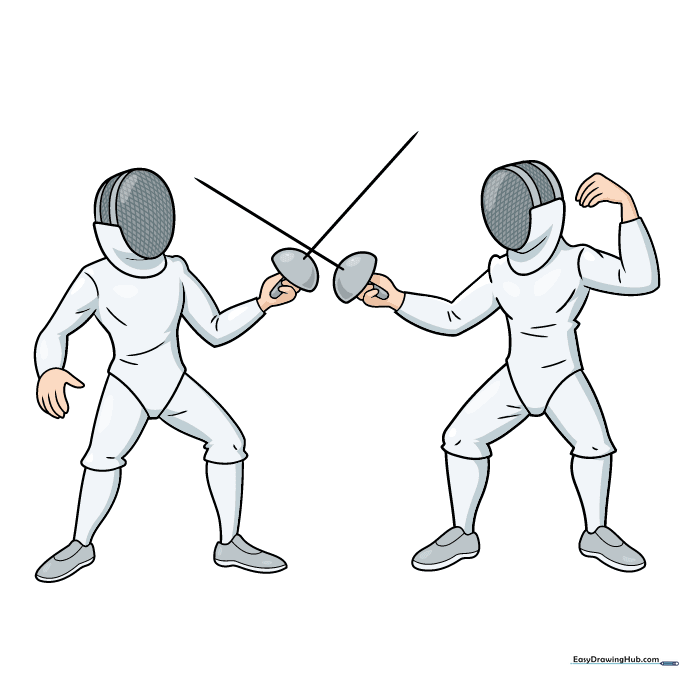
Your fencing duel is ready! Fencing gear is traditionally white, but you can add subtle grey shading to show the texture of the fabric. Tip: Use a light blue or grey to shade the folds to make the white pop!
More Tutorials


