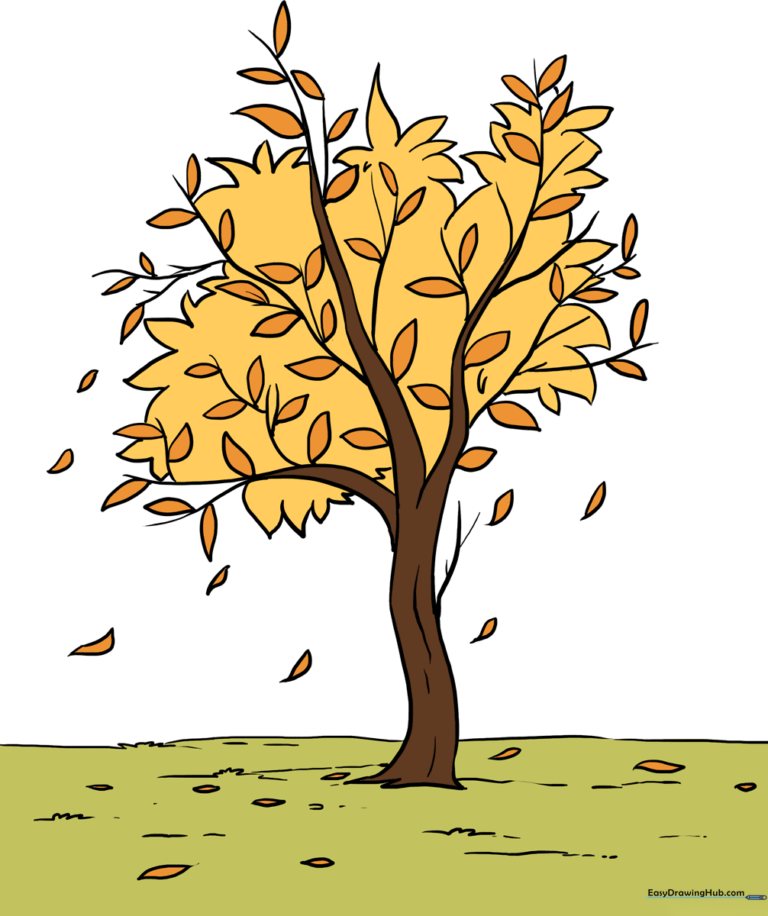
How to Draw a Fall Tree: Easy 10-Step Guide for Kids
Capture the beauty of the changing seasons with this simple fall tree drawing guide, perfect for artists ages 5 and up. All you need is a pencil, an eraser, and your favorite autumn-colored markers or crayons. By the end of this lesson, you will have a vibrant, textured tree that celebrates the magic of fall.
🎯 Final Result
Step-by-Step Instructions
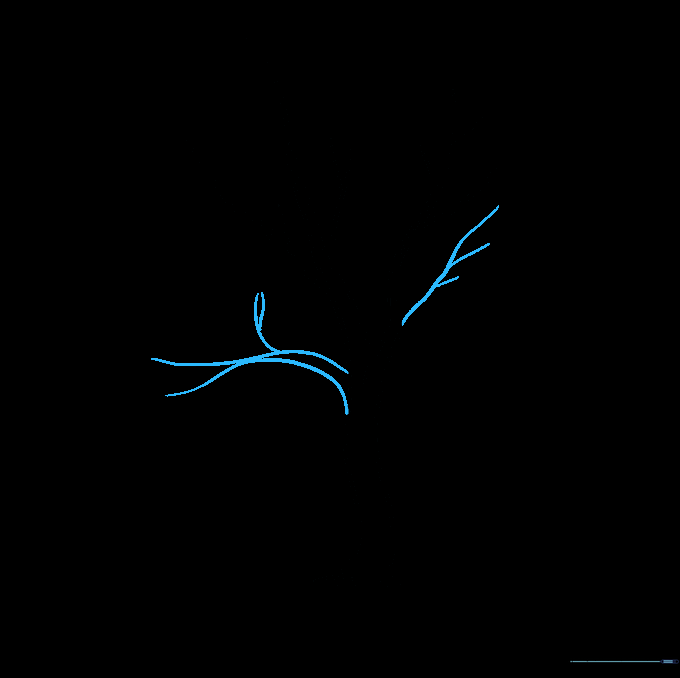
Step 1: Sketching the Main Branch Structure
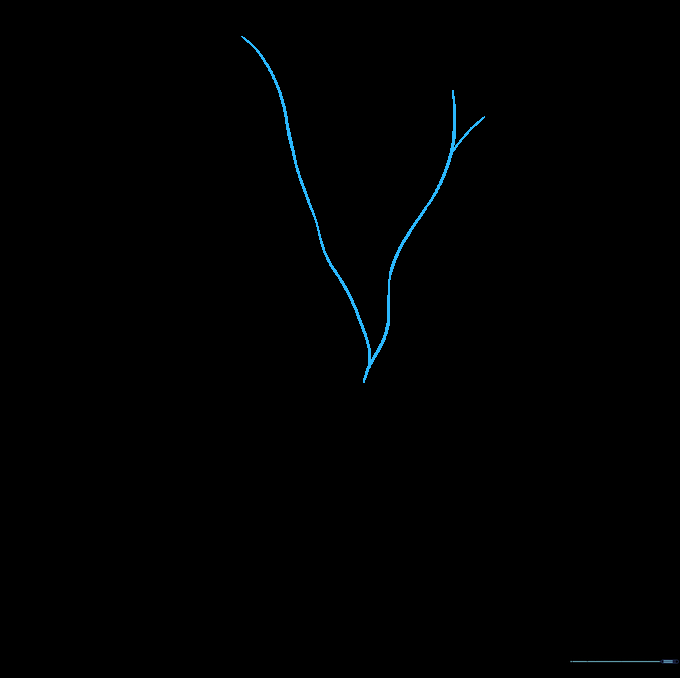
Start by drawing a large 'V' shape using long, wavy lines. Teacher's Tip: Keep your pencil pressure light so you can easily adjust the shape later if the branches look too stiff.
Step 2: Defining the Tree Trunk
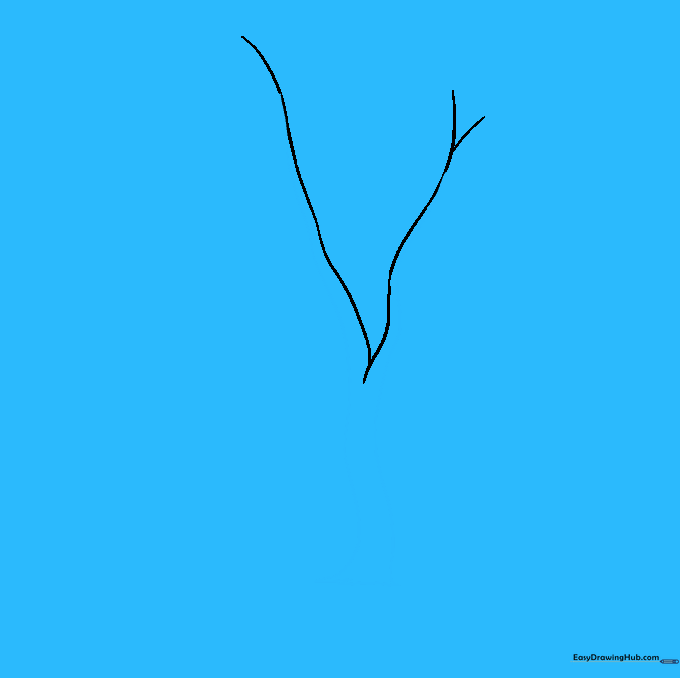
Draw parallel lines extending down from your 'V' to create the trunk, finishing with short, overlapping curves at the base. Teacher's Tip: Think of the trunk as the sturdy anchor for your tree; make it wider at the bottom to show it's firmly planted in the ground.
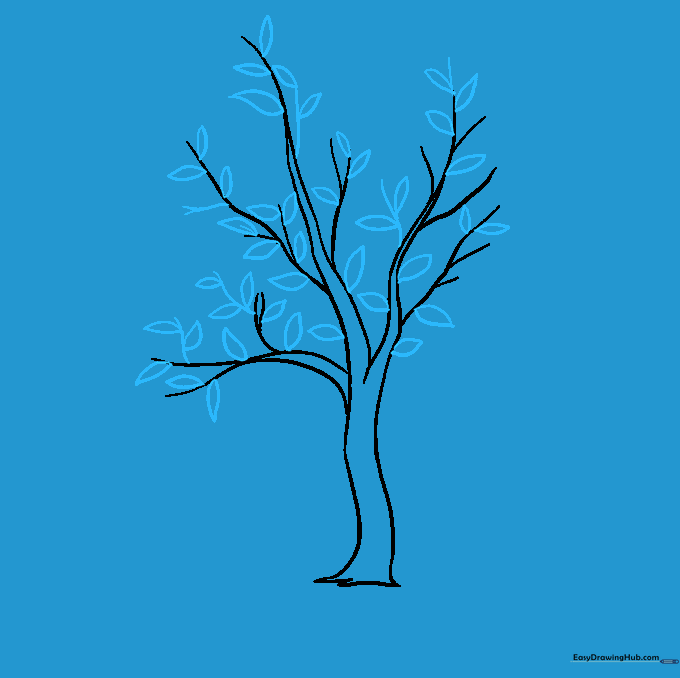
Step 3: Adding Upper Branches
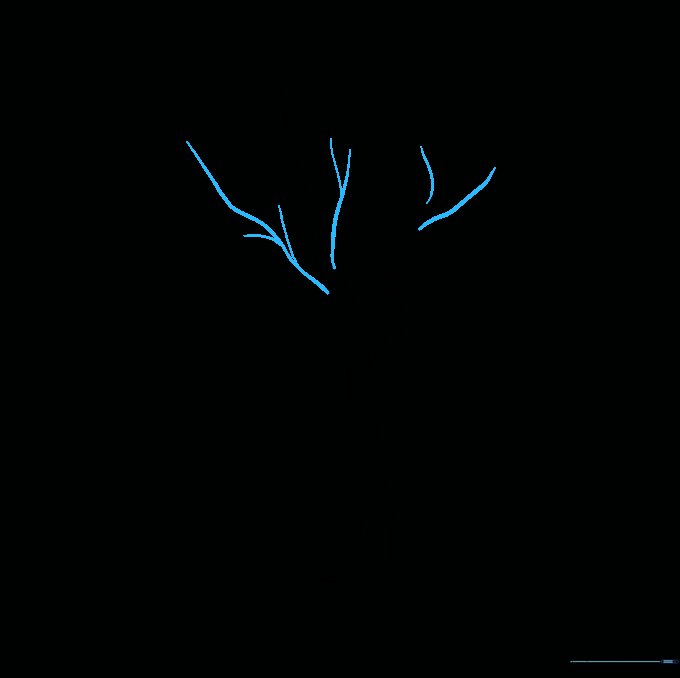
Extend curved lines of varying lengths from the main branches to create smaller twigs. Teacher's Tip: Nature isn't perfectly symmetrical, so don't worry if your branches look a little different on each side—that makes it look more realistic!
Step 4: Expanding the Branching System
Add a wider branch extending from the trunk using two lines, then fill in empty spaces with more small twigs. Teacher's Tip: Use short, quick strokes to make the twigs look natural and organic.
Step 5: Drawing Individual Leaves
Draw small, teardrop-shaped leaves attached to the ends of your branches. Teacher's Tip: Vary the size of the leaves to make the tree look full and healthy.
Step 6: Creating the Leafy Canopy
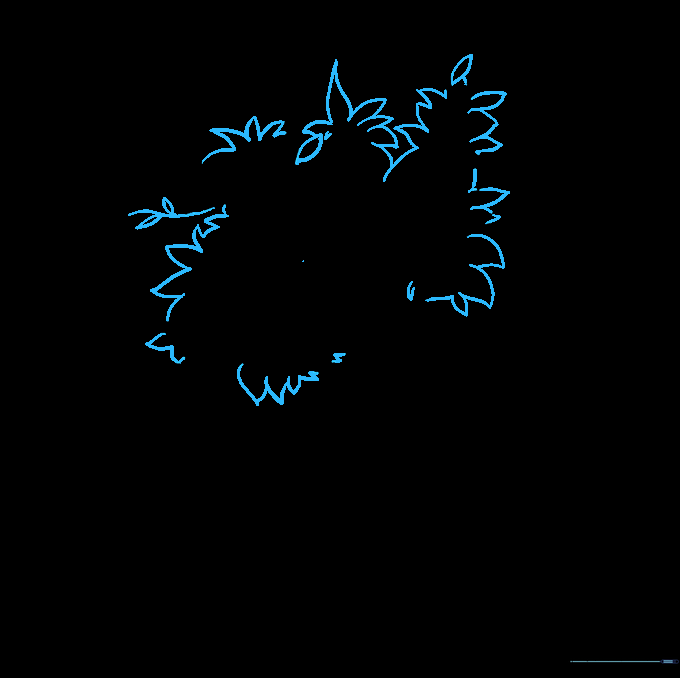
Sketch a large, irregular 'cloud' shape behind your detailed leaves to represent the dense canopy. Teacher's Tip: Use a 'bumpy' hand motion to create the jagged edges of the foliage.
Step 7: Adding Ground and Falling Leaves
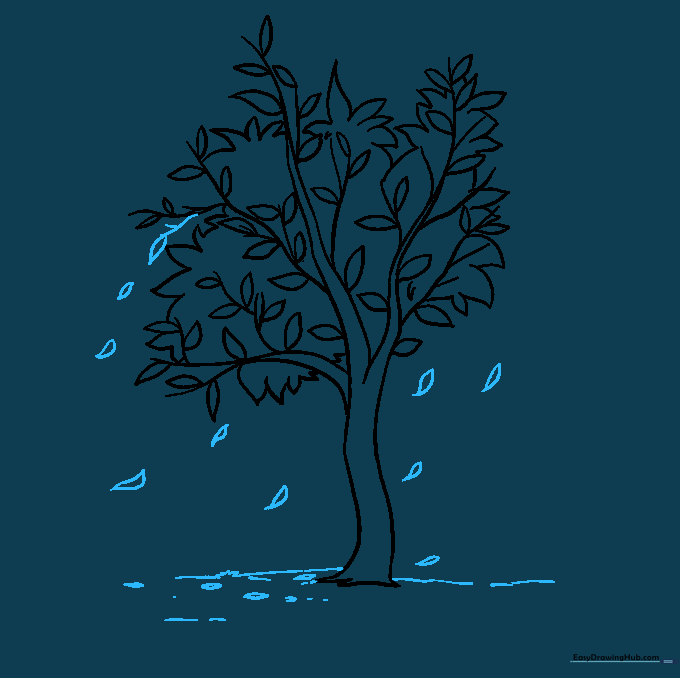
Draw a horizon line and sketch a few teardrop-shaped leaves 'floating' in the air. Teacher's Tip: Placing leaves at different heights creates a sense of movement, as if they are drifting in the wind.
Step 8: Adding Texture and Detail
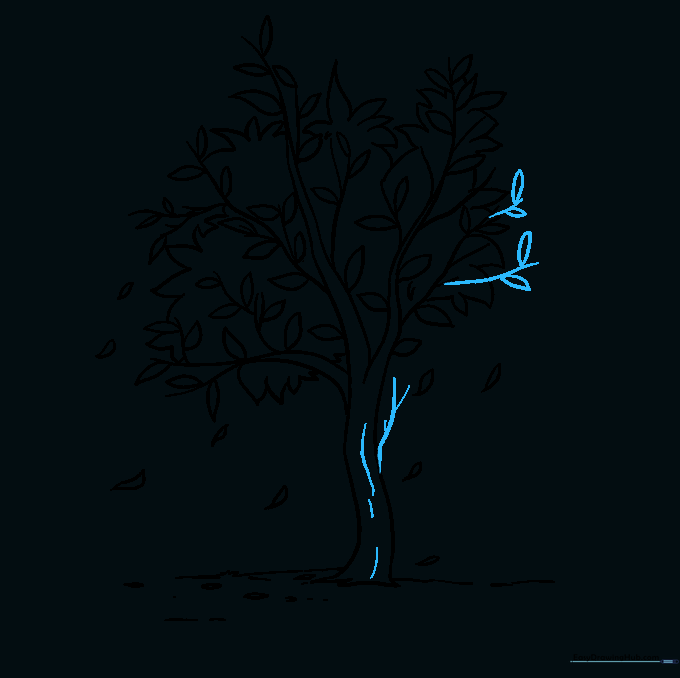
Add extra twigs and use small, curved lines on the trunk to create bark texture. Teacher's Tip: Don't overthink the bark lines; simple, short, vertical curves are enough to suggest texture.
Step 9: Finalizing the Landscape

Draw a second horizon line for depth and add a few fallen leaves on the ground. Teacher's Tip: Overlapping the leaves on the ground makes your drawing look more professional and grounded.
Step 10: Bringing Your Tree to Life with Color
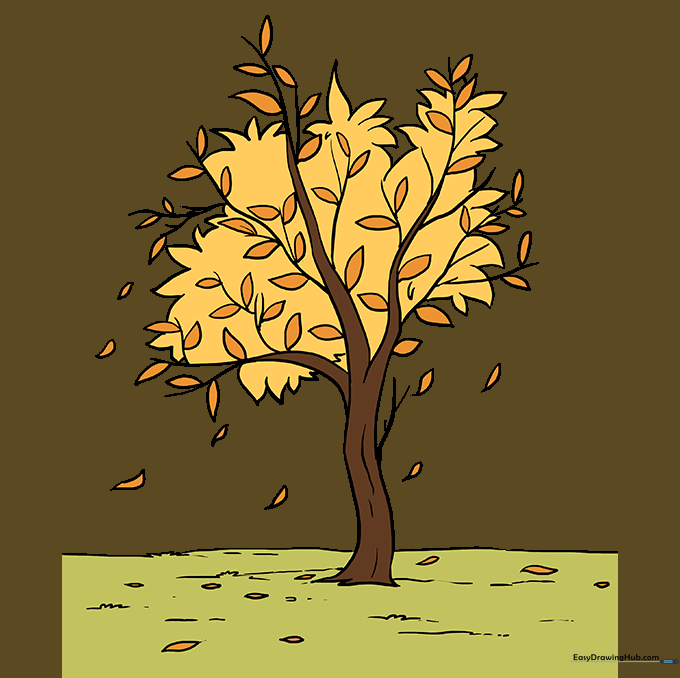
Time to color! Use warm autumn tones like golden yellow, burnt orange, and deep red. Teacher's Tip: Try blending two colors on a single leaf to make it look like it's just starting to change color.
More Tutorials


