How to Draw Fall Oak Leaves: Easy 10-Step Art Guide
Capture the beauty of autumn with this simple leaf-drawing project, perfect for artists ages 5 and up. All you need is a pencil, an eraser, and your favorite fall-colored markers or crayons. By the end of this lesson, you will master the signature lobed shape of an oak leaf and learn how to layer them for a professional, overlapping effect.
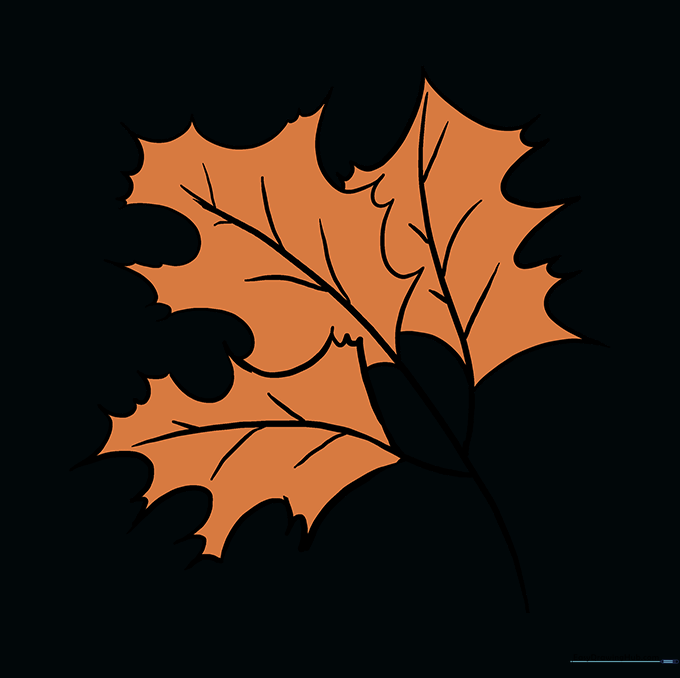
🎯 Final Result

Step-by-Step Instructions
Step 1: Sketching the Central Stem

Draw a long, slightly curved line to serve as the main stem and central vein. Teacher's Tip: Keep your pencil pressure light so you can easily adjust the angle later if needed.
Step 2: Planning the Leaf Cluster

Add two more curved lines branching out from the first. These will be the stems for your additional leaves. Tip: Vary the angles to make your cluster look natural and wind-blown.
Step 3: Outlining the First Lobe
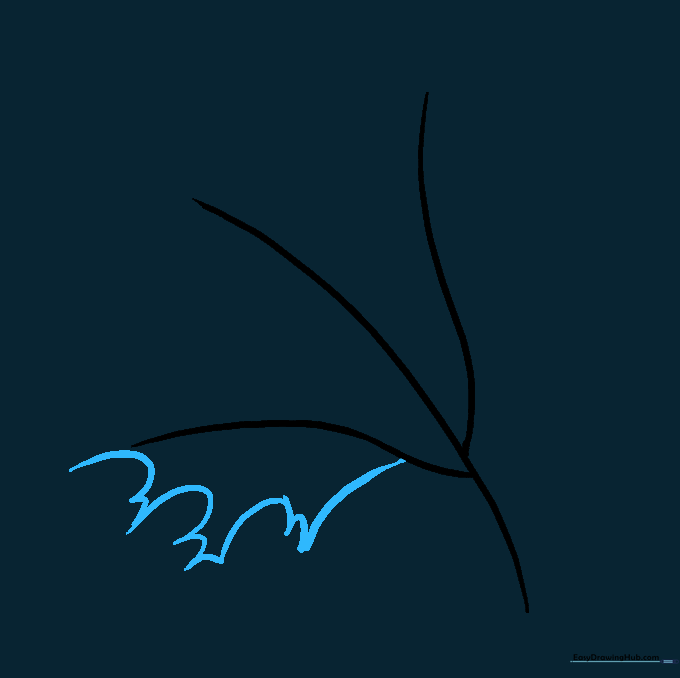
Start drawing the jagged, wavy outline of the first leaf. Use long, curved strokes that meet at sharp points. Tip: Think of these as 'hills and valleys'—the longer lines create the lobes.
Step 4: Closing the First Leaf
Continue the jagged pattern until you return to the stem, fully enclosing the leaf shape. Tip: Make sure the tip of the leaf comes to a distinct point.
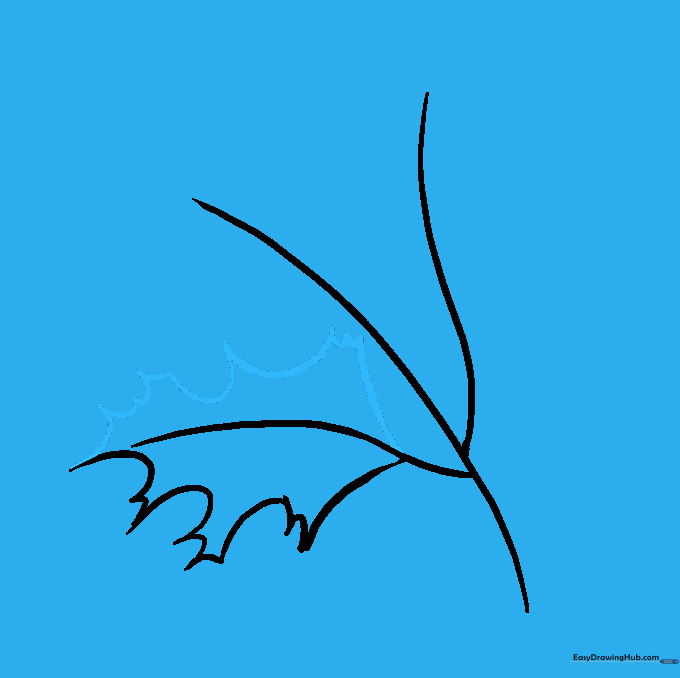
Step 5: Positioning the Second Leaf
Begin the outline for the second leaf, starting your lines from the edge of the first. This creates the illusion of depth. Tip: Don't draw through the first leaf; stop your line when it hits the existing shape.
Step 6: Finishing the Second Leaf

Complete the jagged outline for the second leaf. Remember to use those characteristic long, sweeping curves for the lobes. Tip: Keep the lobes consistent in style with the first leaf.
Step 7: Adding the Third Leaf

Outline the third leaf, attaching it to the others to create a dense, natural-looking cluster. Tip: Imagine the leaves are falling together in a pile.
Step 8: Completing the Cluster

Close the final leaf shape with your signature jagged lines. Tip: Check that all your leaf shapes are fully enclosed before moving on to details.
Step 9: Adding Vein Details
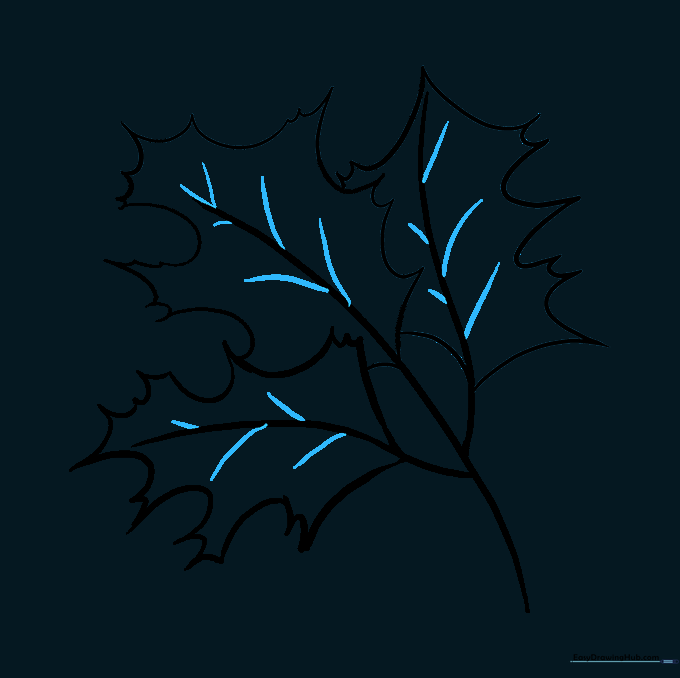
Draw short, delicate lines branching out from the center of each leaf to represent the veins. Tip: Keep these lines thin so they don't overpower the leaf shape.
Step 10: Bringing Leaves to Life with Color
Bring your drawing to life! Use warm autumn tones like burnt orange, deep red, and golden yellow. Tip: Try blending two colors together on one leaf for a realistic, changing-season look.
More Tutorials


