How to Draw Realistic Eyes: Easy 9-Step Guide for Beginners
Ready to bring your portraits to life? This guide is perfect for artists ages 7+ looking to master the structure of the human eye. You only need a pencil, an eraser, and a sheet of paper to get started. By the end of this lesson, you will understand how to balance proportions and add expressive detail to your drawings.
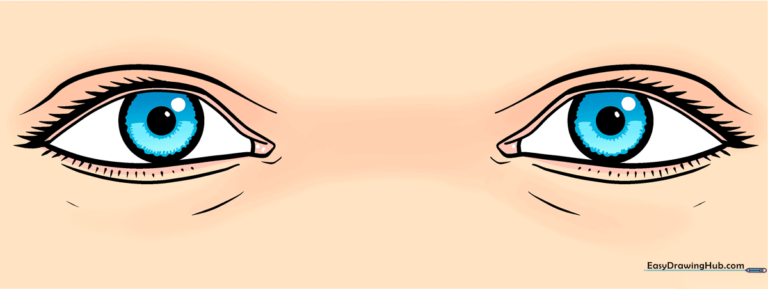
🎯 Final Result
Step-by-Step Instructions
Step 1: Sketching the Eye Shape
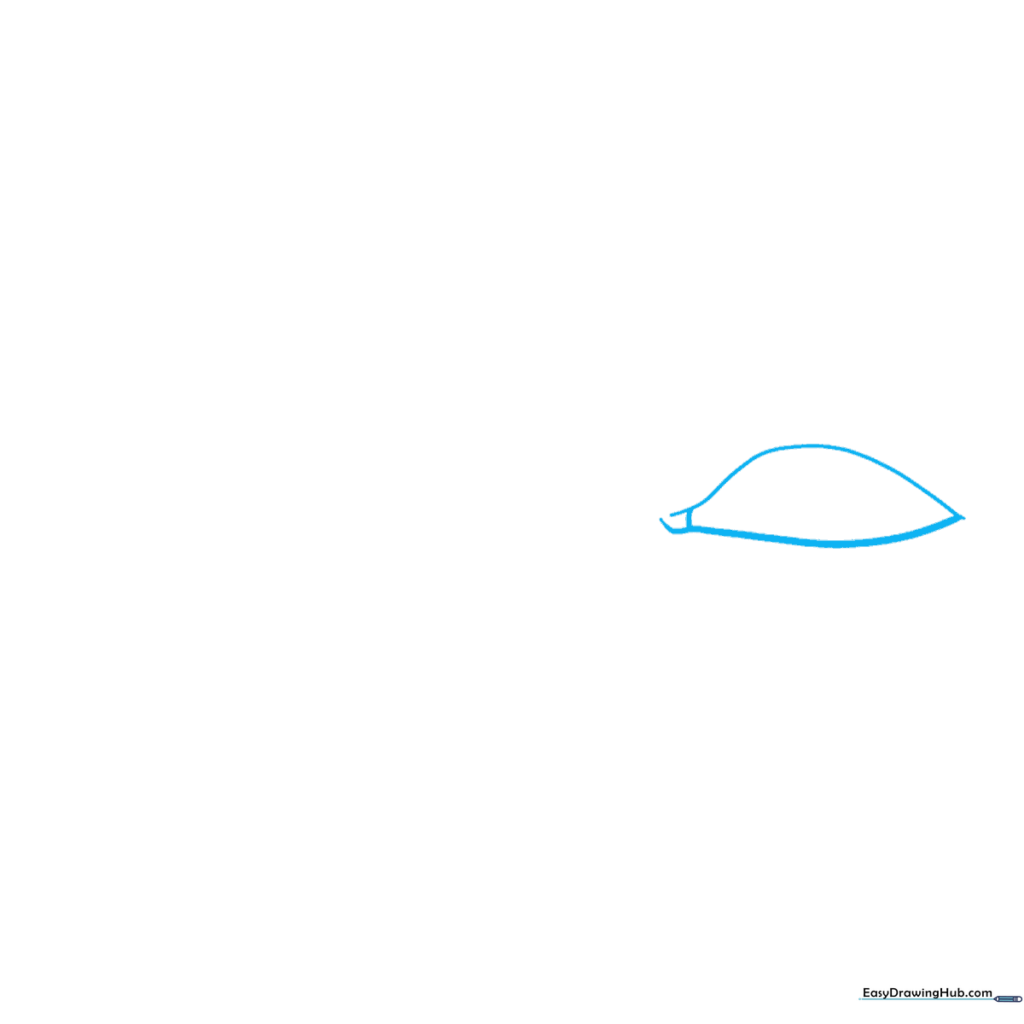
Begin by sketching the almond-like outline of the eye using two curved lines that meet at a sharp point on the outer edge. Tip: Leave a small gap at the inner corner to represent the tear duct area.
Step 2: Adding the Iris and Pupil
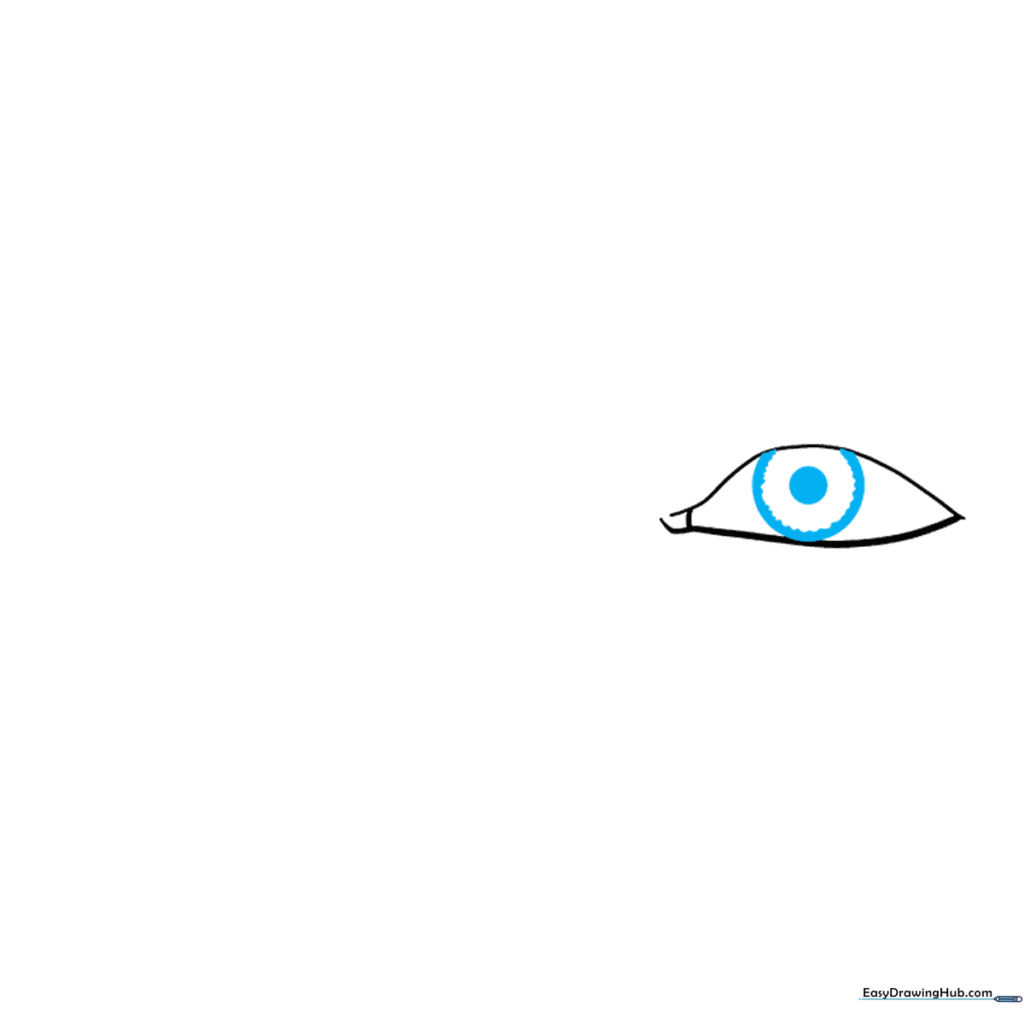
Draw a partial circle inside the eye for the iris. Make the edge slightly scalloped or uneven for a natural look. Add a smaller, solid circle in the center for the pupil. Tip: Don't worry about perfect circles; eyes are organic shapes!
Step 3: Drawing the Upper Eyelashes
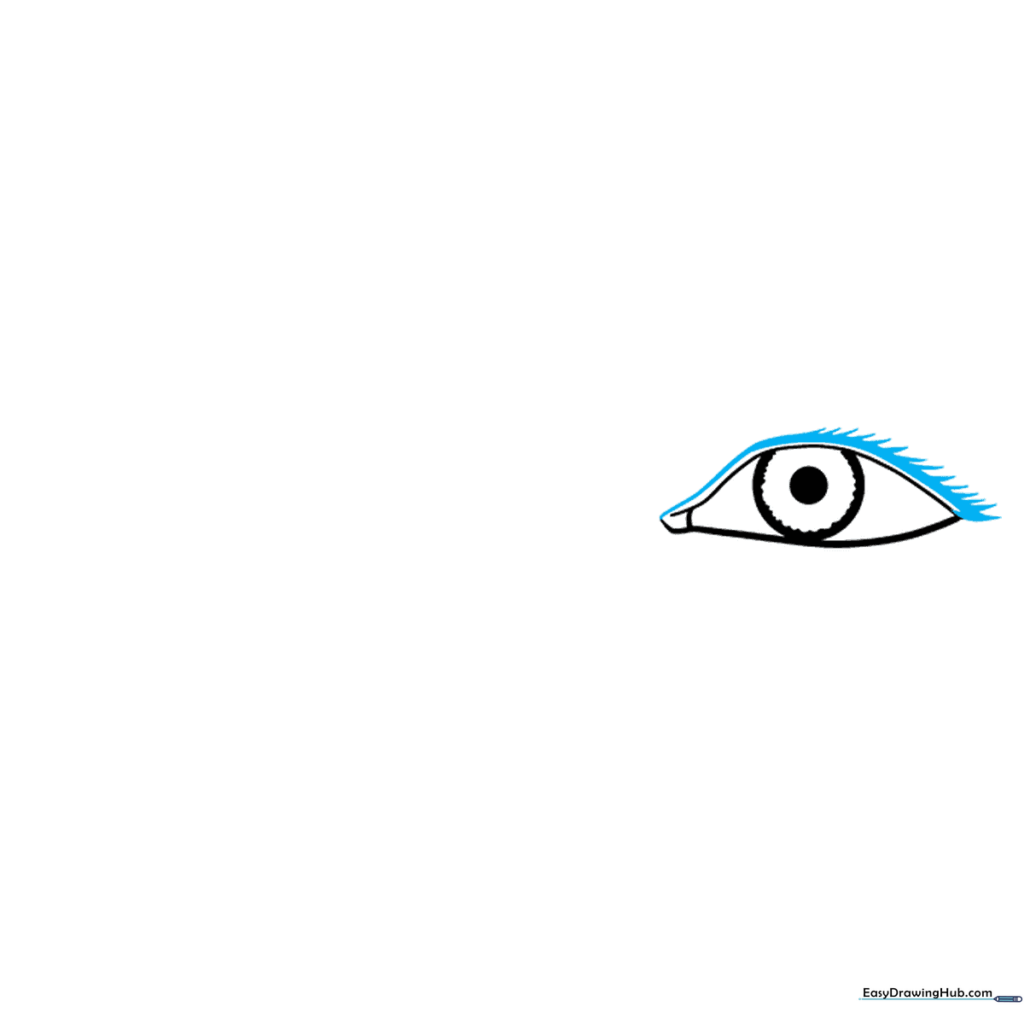
Draw a curved line above the eye to define the eyelid. From this line, flick your pencil upward to create overlapping lashes. Tip: Vary the length of the lashes to make them look more realistic.
Step 4: Defining the Lower Lid

Add a soft curved line beneath the eye to represent the lower lid. Connect it to the eye with tiny, short strokes. Tip: Keep these lines very faint to avoid making the eye look tired.
Step 5: Adding Depth and Contours
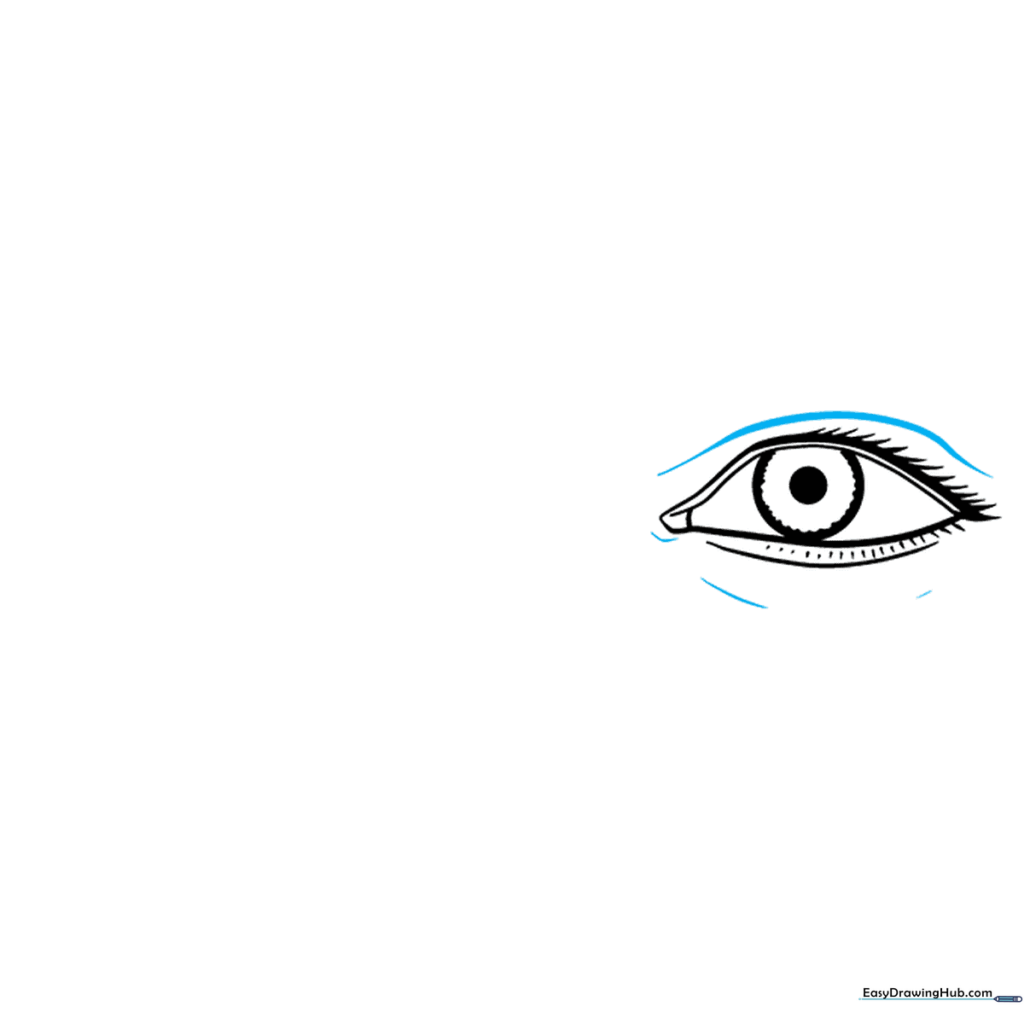
Add a subtle contour line above the eyelid and around the inner corner. This adds dimension to the skin around the eye. Tip: Think of this as drawing the 'shadow' where the eyelid folds.
Step 6: Starting the Second Eye
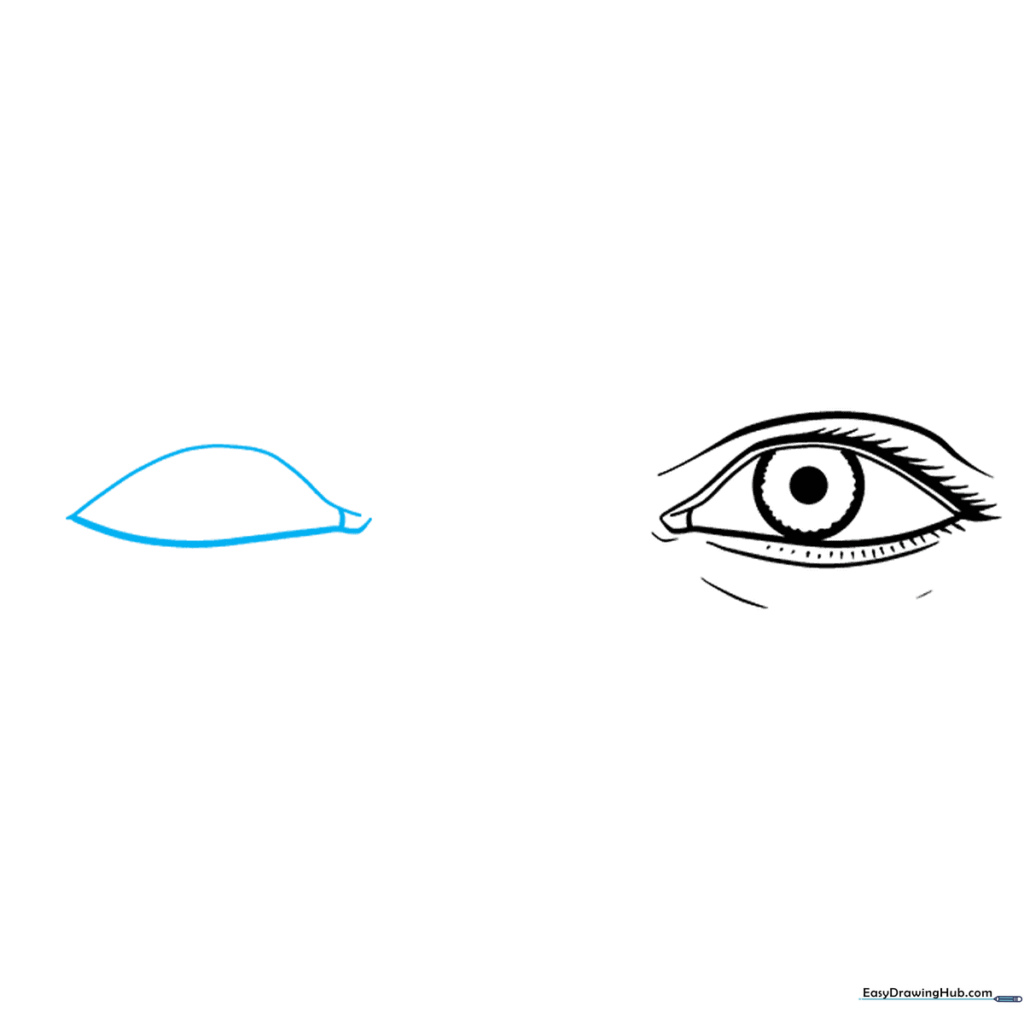
Repeat the process from Step 1 to draw the second eye. Ensure it is aligned horizontally with the first one. Tip: Use your pencil to lightly mark the top and bottom boundaries to keep them even.
Step 7: Adding Iris and Pupil to the Second Eye

Add the iris and pupil to the second eye, mirroring the style of the first. Tip: Make sure the pupils are looking in the same direction so the eyes don't look 'crossed'.
Step 8: Finalizing Eyelashes and Lids
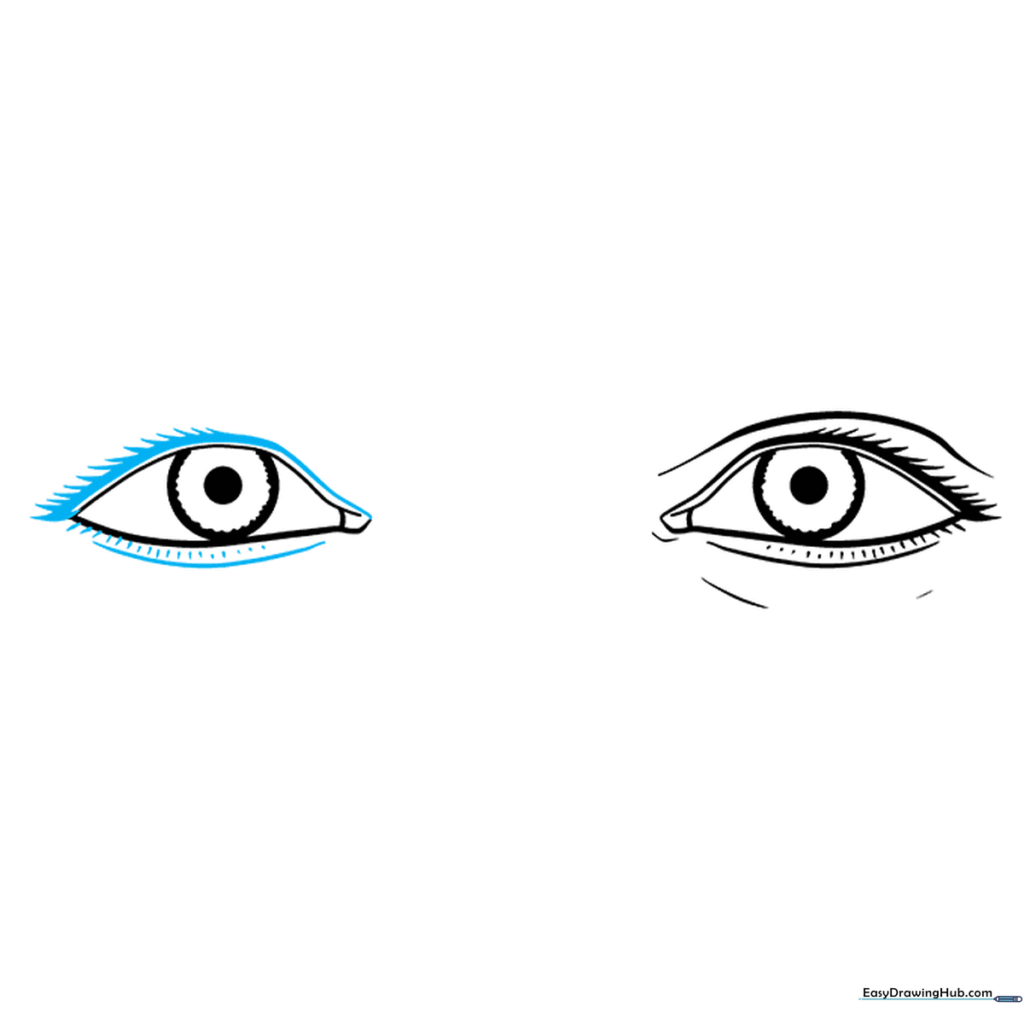
Add the upper eyelid crease and eyelashes to the second eye, matching the first. Add the lower lid line as well. Tip: Consistent pressure on your pencil helps keep the line weights uniform.
Step 9: Final Contours
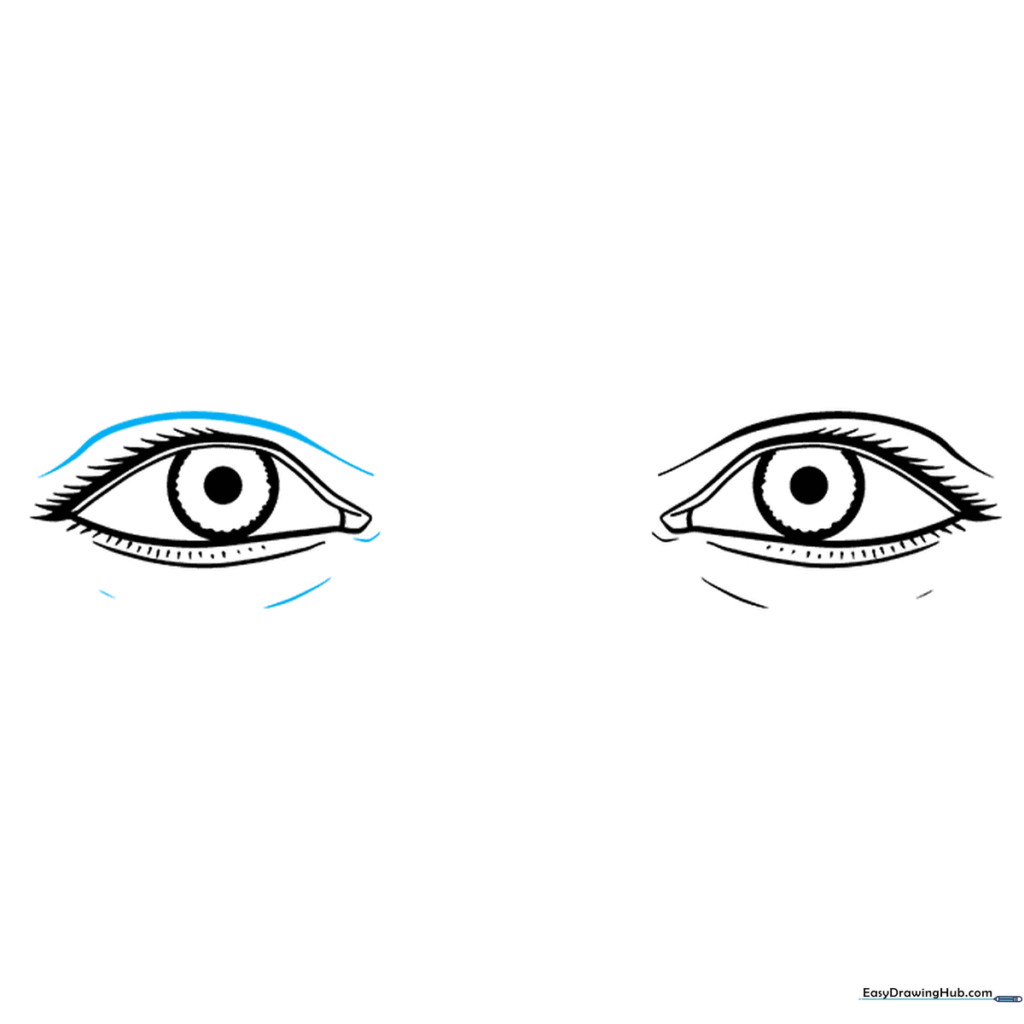
Complete the drawing by adding the final contour lines above and below the second eye. Clean up any stray marks with your eraser. Tip: Take a step back to look at your drawing from a distance to ensure both eyes look balanced.
Step 10: Bring Your Eyes to Life with Color
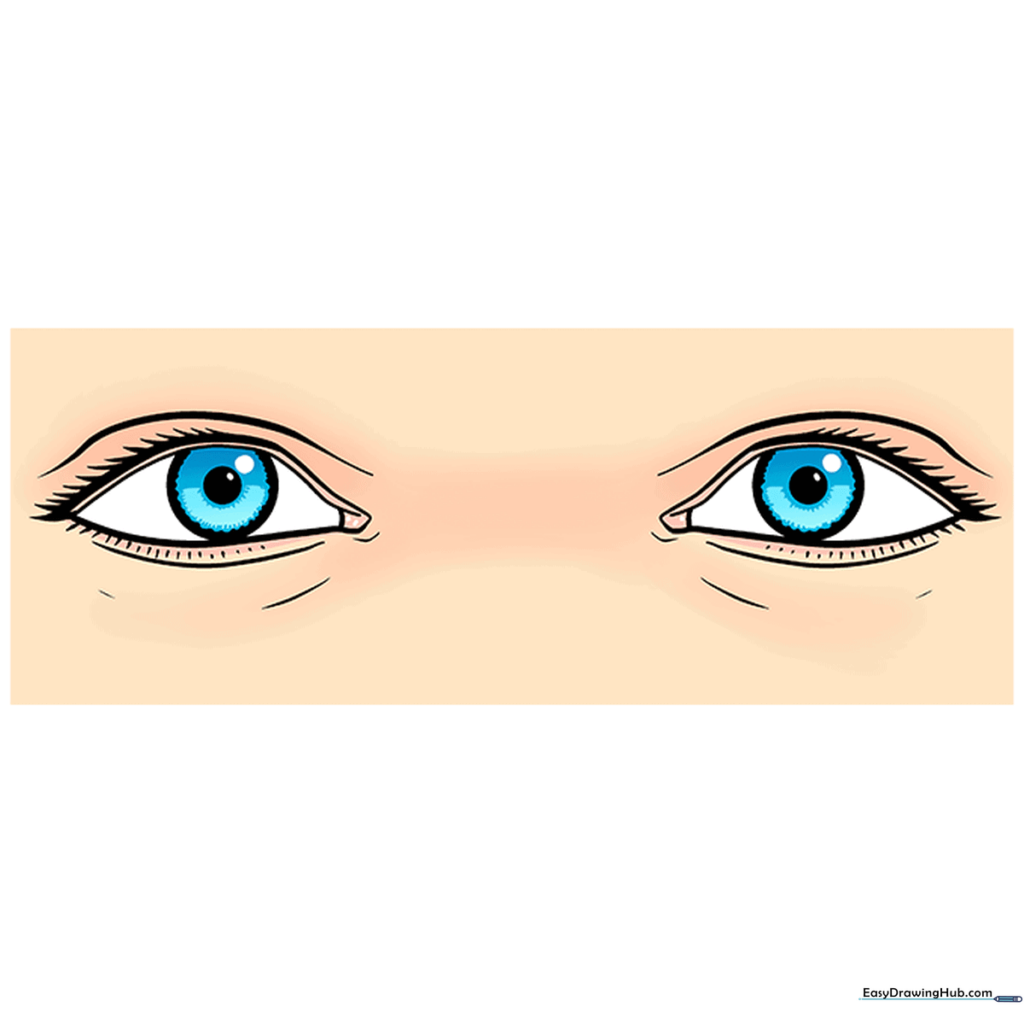
Now for the fun part! Color your eyes using your favorite shades. Whether you choose blue, green, or brown, try adding a tiny white dot in the pupil to create a 'glint' or reflection. Tip: Use a lighter shade near the pupil and a darker shade toward the outer edge of the iris for a realistic look.
More Tutorials


