How to Draw Erling Haaland: Easy 9-Step Portrait Guide
Capture the likeness of football sensation Erling Haaland with this approachable, step-by-step portrait tutorial. Designed for young artists and beginners, this guide uses basic shapes to build a recognizable face. Grab your pencil, an eraser, and a piece of paper to start building your drawing skills today.
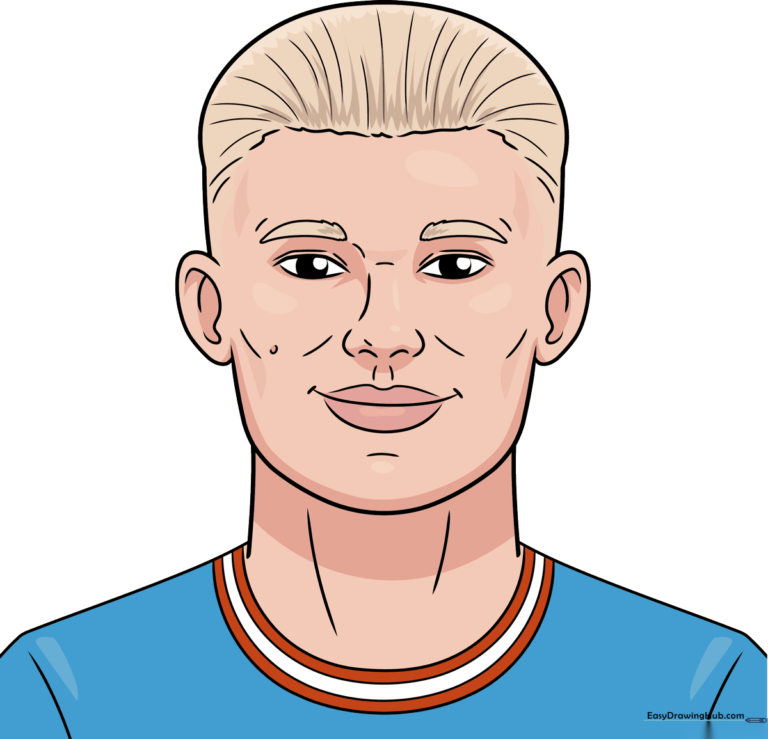
🎯 Final Result
Step-by-Step Instructions
Step 1: Sketching the Eyes and Brows
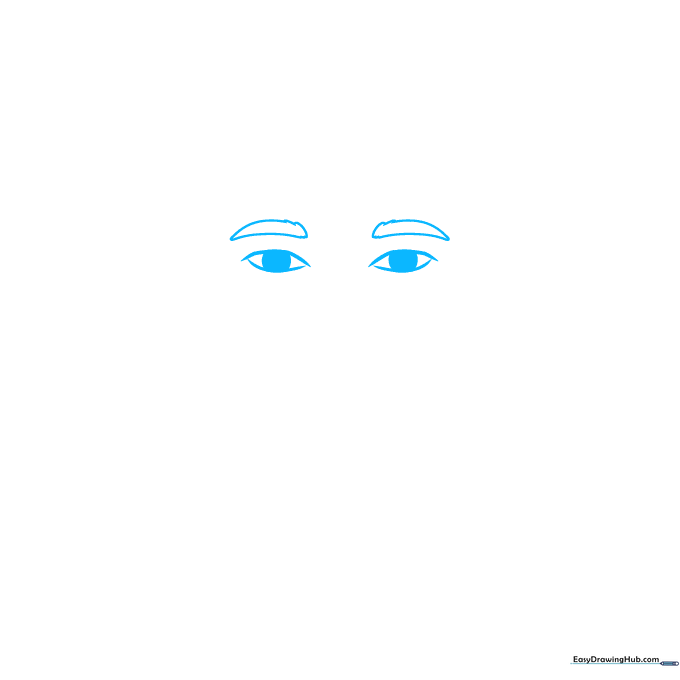
Start by drawing two curved shapes for the eyes, adding a small circle inside each for the pupils. Above these, sketch the bushy eyebrows using short, jagged lines. Teacher's Tip: Keep the eyebrows slightly angled to give him that focused, game-day look!
Step 2: Defining Eyelids and Nose
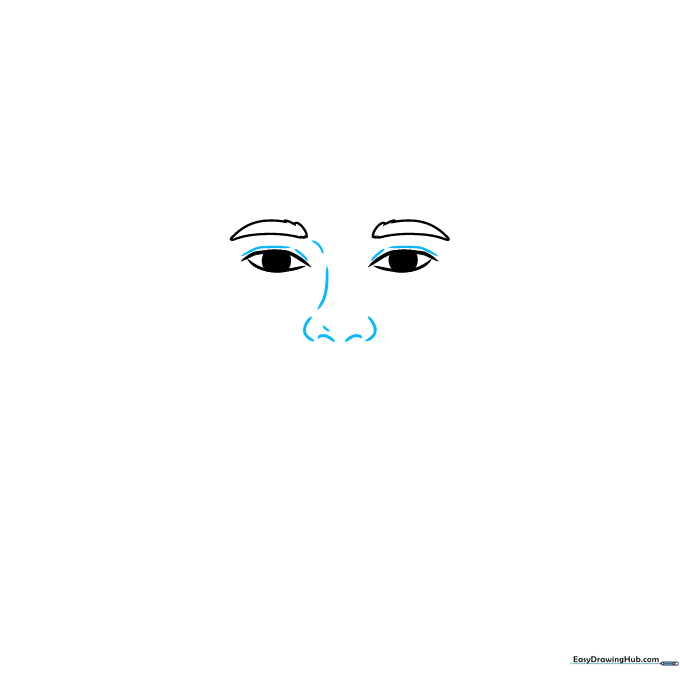
Add a small line above each eye to represent the eyelid. Then, draw the nose using a few soft, curved lines. Teacher's Tip: Use a light touch for the nose; you only need a hint of the bridge to keep the drawing looking youthful.
Step 3: Shaping the Jaw and Mouth
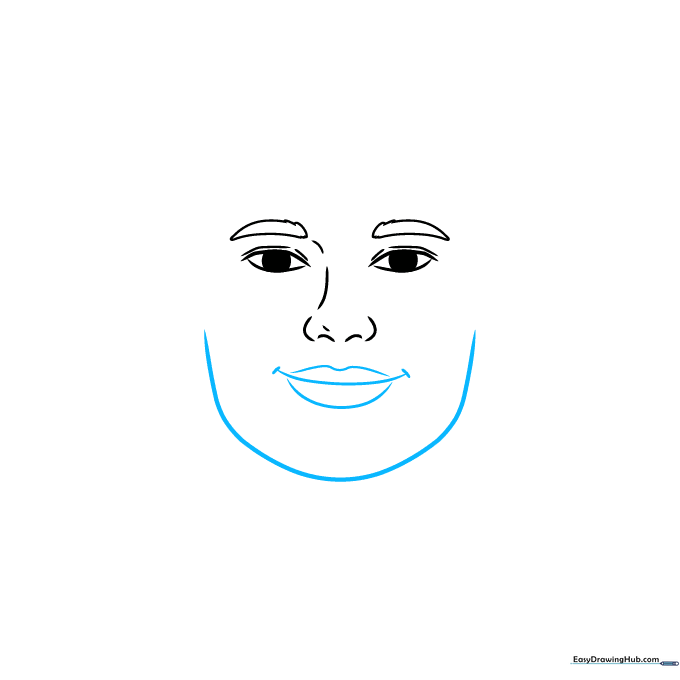
Draw a long, smooth curve to define the chin and cheeks. Add the mouth with a horizontal line and two smaller curves for the lips. Teacher's Tip: Add tiny lines at the corners of the mouth to give him a subtle, confident smirk.
Step 4: Ears and Hairline
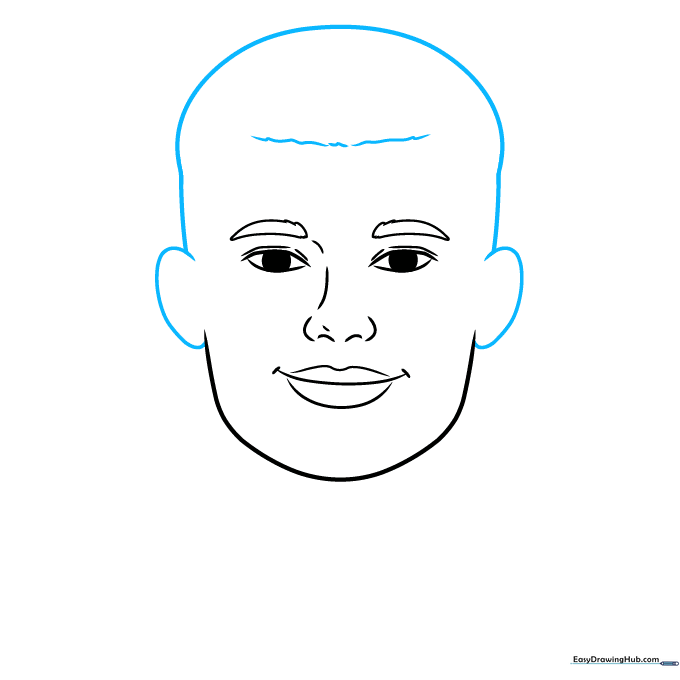
Draw 'C' shaped lines on the sides for ears, then connect them with a large curve to form the top of the head. Use wavy lines across the forehead to start the hairline. Teacher's Tip: Don't make the hairline too straight; a little bit of wave makes the hair look natural.
Step 5: Refining the Ears and Hair
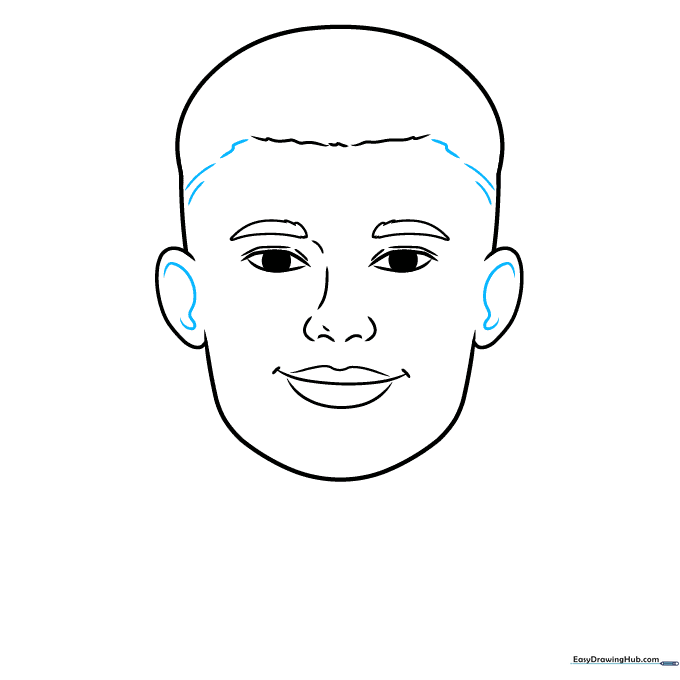
Add inner curves to the ears for detail and extend the hairline down the sides of the head. Teacher's Tip: Keep these lines light—you'll be adding more hair texture in the next step.
Step 6: Adding Hair Texture
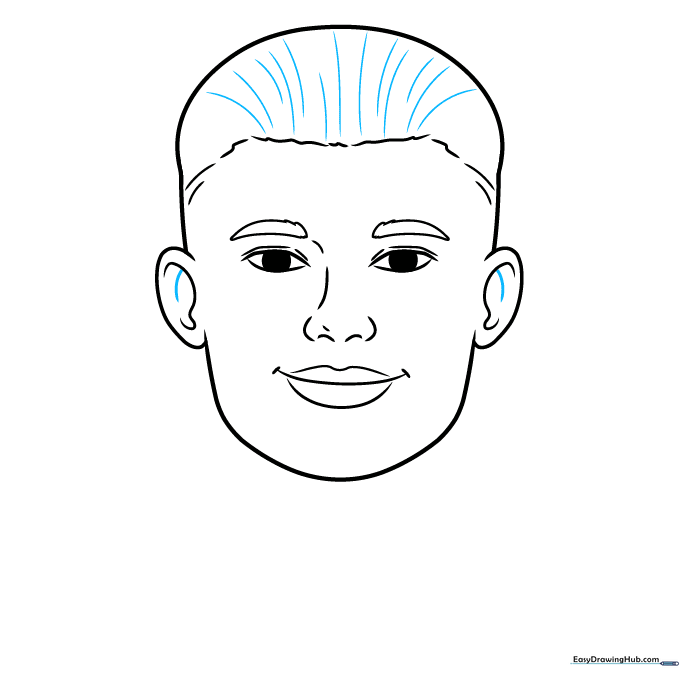
Use a mix of long and short curved lines to create the look of hair flowing over the head. Teacher's Tip: Vary the length of your strokes to make the hair look like it has volume and movement.
Step 7: Drawing the Neck and Shoulders
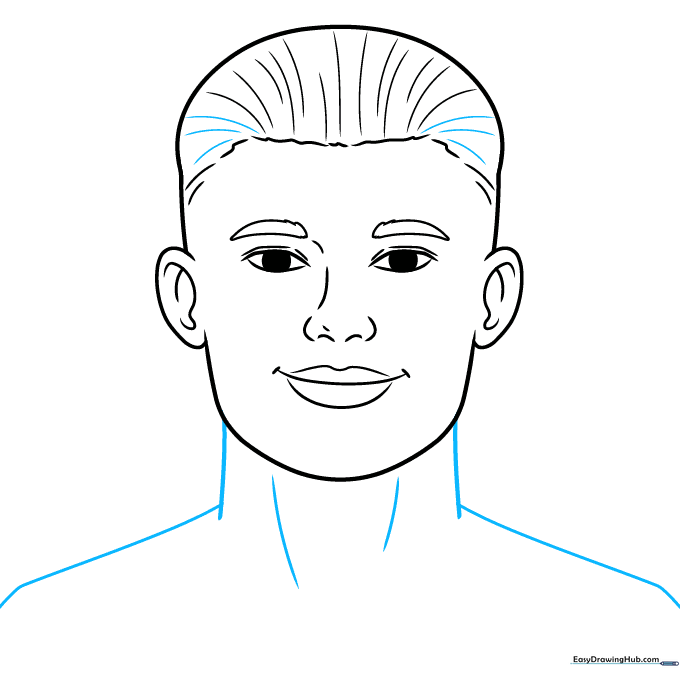
Extend two lines down from the head to form the neck, then curve outward to create the shoulders. Add a few small lines on the neck to show muscle definition. Teacher's Tip: Make the neck wide to give him a strong, athletic build.
Step 8: Adding the Shirt Collar
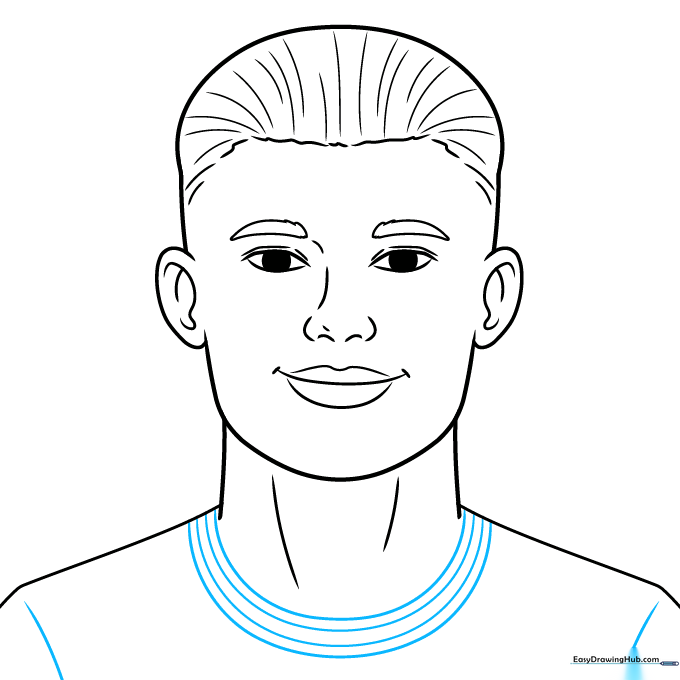
Draw four parallel lines around the base of the neck to create the collar of his jersey. Contour the top of the sleeves to show where the shirt sits on the shoulders.
Step 9: Final Facial Contours
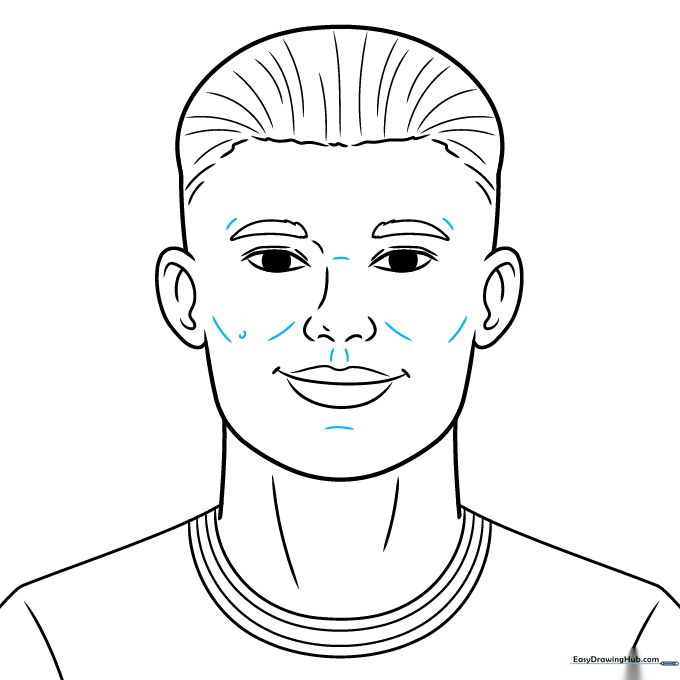
Add subtle lines around the eyes, cheekbones, and mouth to define his facial structure. Teacher's Tip: Less is more here—just a few light strokes will add depth without making the face look too old.
Step 10: Bring Your Drawing to Life with Color
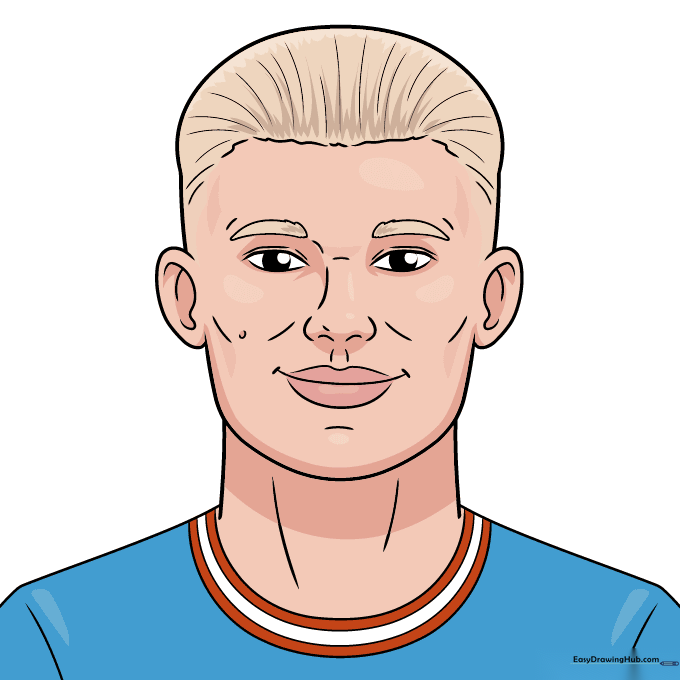
Your outline is complete! Now, add color. Use a light blonde for his hair and choose your favorite team colors for his jersey. Teacher's Tip: Use a darker shade of blue or red to add shadows in the folds of the shirt to make it look 3D.
More Tutorials


