How to Draw an Ender Dragon: Easy Minecraft Art Guide
Ready to bring the End dimension to your sketchbook? This tutorial is perfect for young Minecraft fans looking to level up their drawing skills. Grab a pencil, an eraser, and a piece of paper to start building your own blocky dragon, one simple shape at a time.
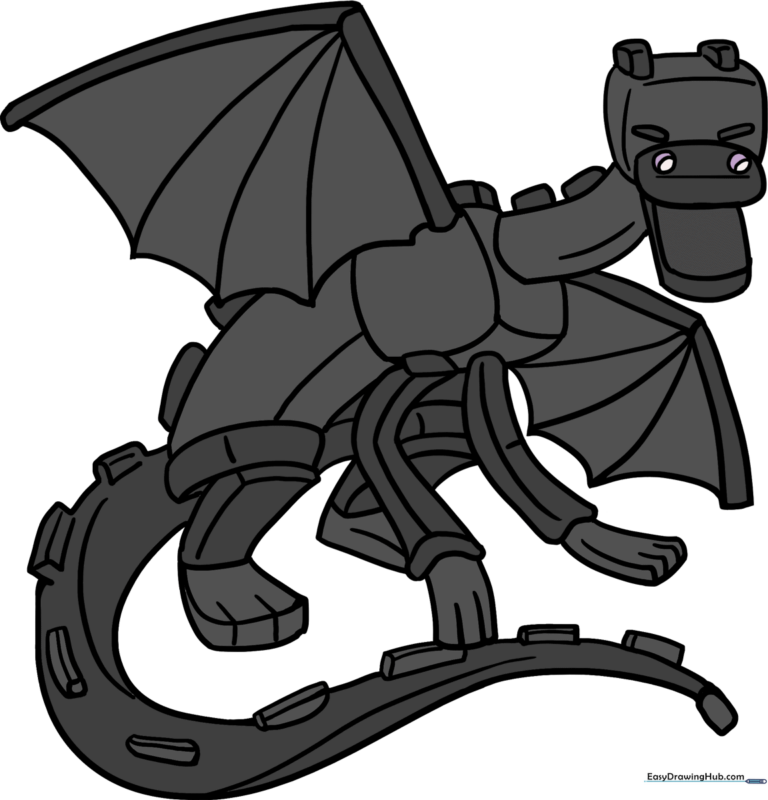
🎯 Final Result
Step-by-Step Instructions
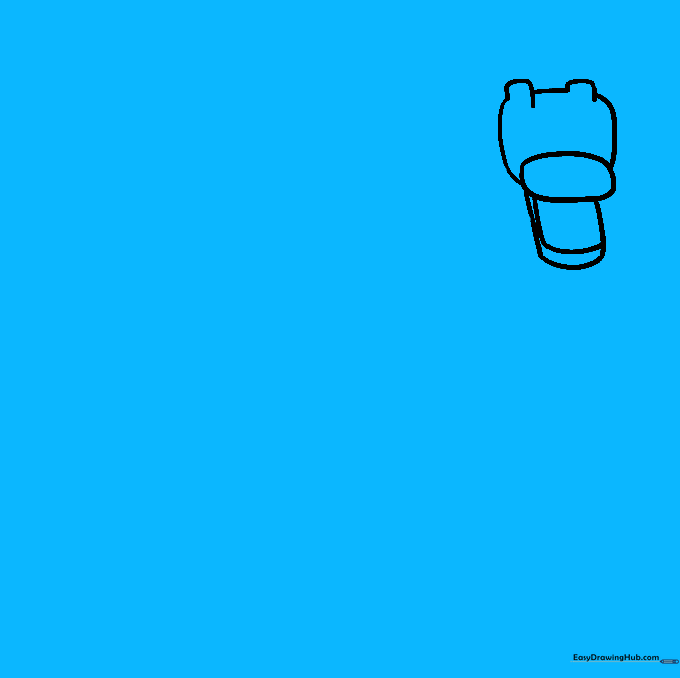
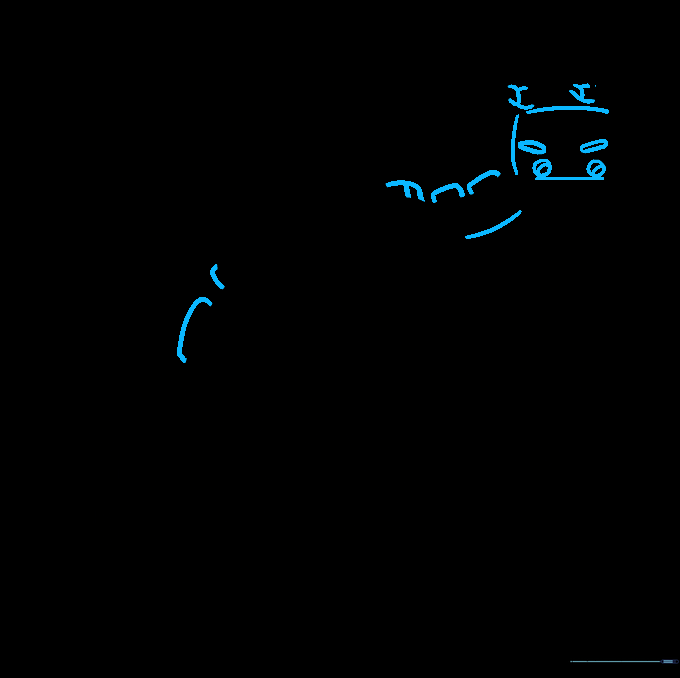
Step 1: Sketching the Snout

Start by drawing a light oval for the upper snout. Add two straight lines underneath, connecting them with a curve for the jaw. Teacher's Tip: Keep your pencil pressure light here; you'll want to erase these construction lines later to make the final dragon look clean.
Step 2: Defining the Neck and Torso
Connect the head to the body using two long, slightly curved lines. Add a rounded square just behind the neck to anchor the torso. Teacher's Tip: Focus on the 'blocky' Minecraft aesthetic—don't worry about making it perfectly round; keep the corners slightly squared off.
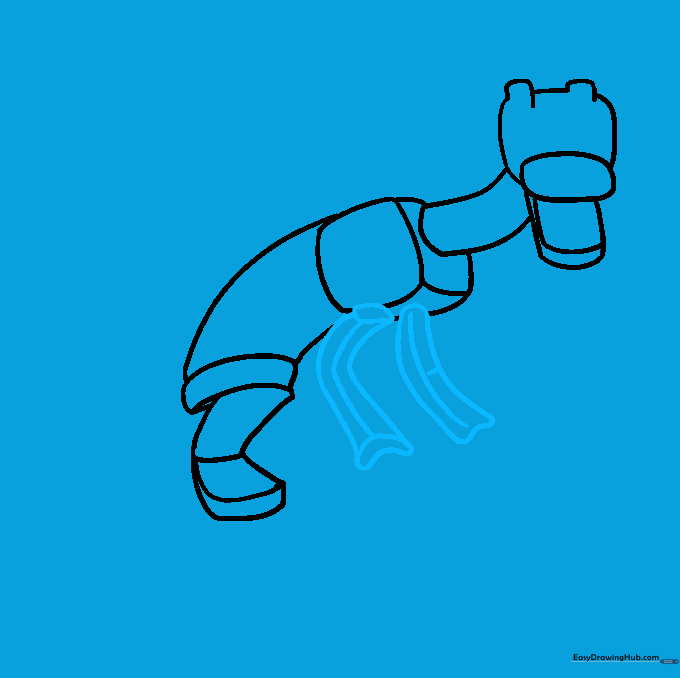
Step 3: Adding the Abdomen and Rear Leg
Extend the abdomen with two curved lines and add a rectangular shape for the back leg. Teacher's Tip: When drawing the foot, think of it as a small block. Adding a horizontal line across the foot helps suggest the dragon's clawed structure.
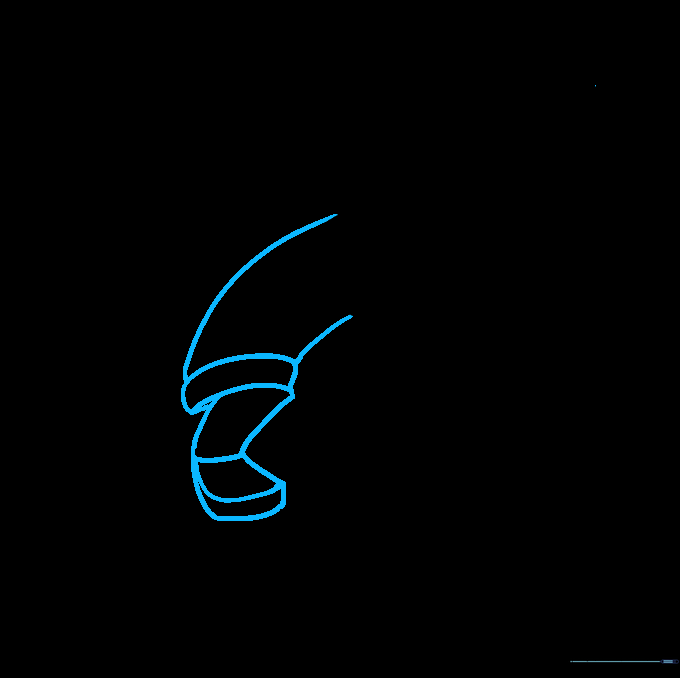
Step 4: Sketching the Forearms
Use long, curved lines to enclose the forearms. Teacher's Tip: If you make a mistake, don't worry! Use your eraser to clean up the overlapping lines now so your final drawing looks sharp and professional.
Step 5: Drawing the Wings
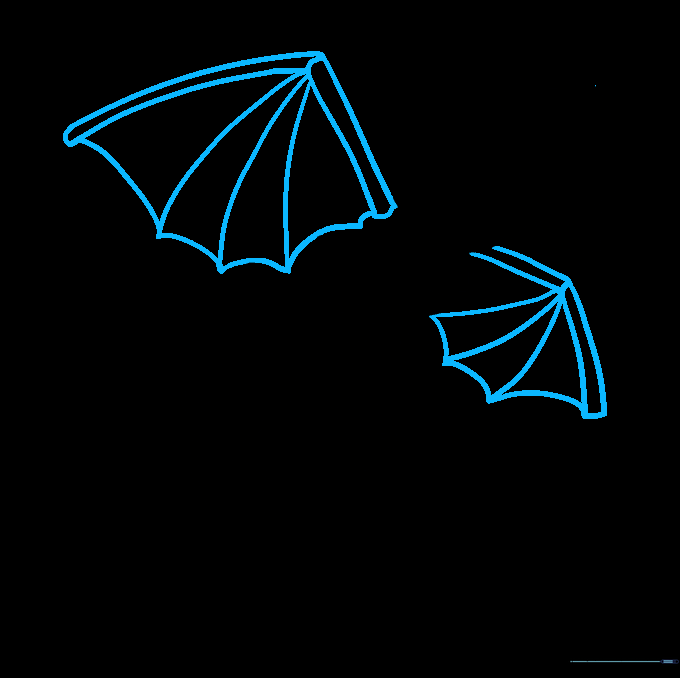
Draw two long, narrow rectangles for the wing structure, then connect them with jagged, curved lines to create the membrane. Teacher's Tip: The Ender Dragon's wings are iconic—make sure the points are sharp to give it that menacing, game-accurate look.
Step 6: Adding Hands and Fingers
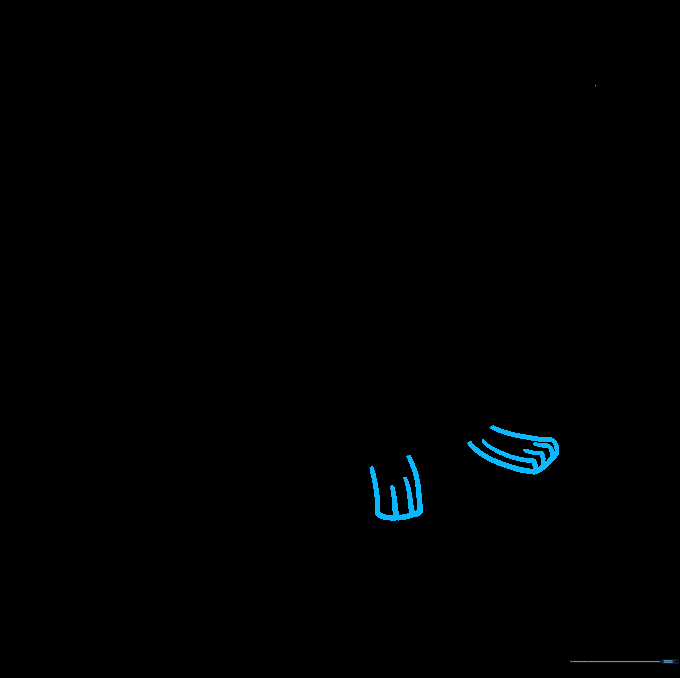
Add a small rectangle at the end of each forearm. Use short, quick strokes to indicate the fingers. Teacher's Tip: Keep these small—they shouldn't be longer than the forearm itself.
Step 7: Refining the Legs
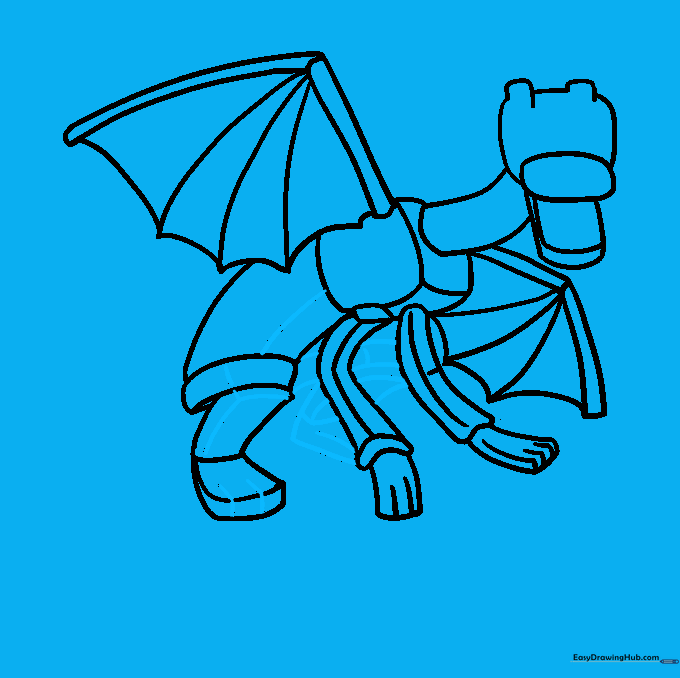
Add detail to the legs and torso. Ensure the back leg peeks out from behind the front ones to create depth. Teacher's Tip: Use a slightly darker pencil stroke here to define the final outline of the body.
Step 8: Drawing the Tail
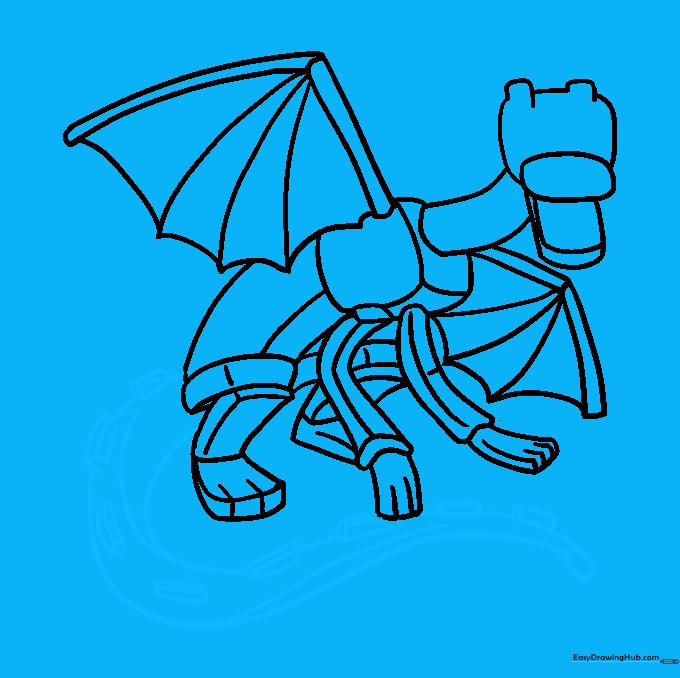
Draw the long, sweeping tail using two curved lines that taper to a point. Add small rectangular 'spikes' along the top. Teacher's Tip: The tail is a great place to practice your line consistency—try to keep the distance between the two lines even as they curve.
Step 9: Final Details
Add the final spikes to the back and neck. Draw the eyes as narrow, glowing-style shapes and add small circles for nostrils. Teacher's Tip: These small details really bring the character to life—take your time with the eyes to get that 'Ender' look just right.
Step 10: Coloring Your Dragon
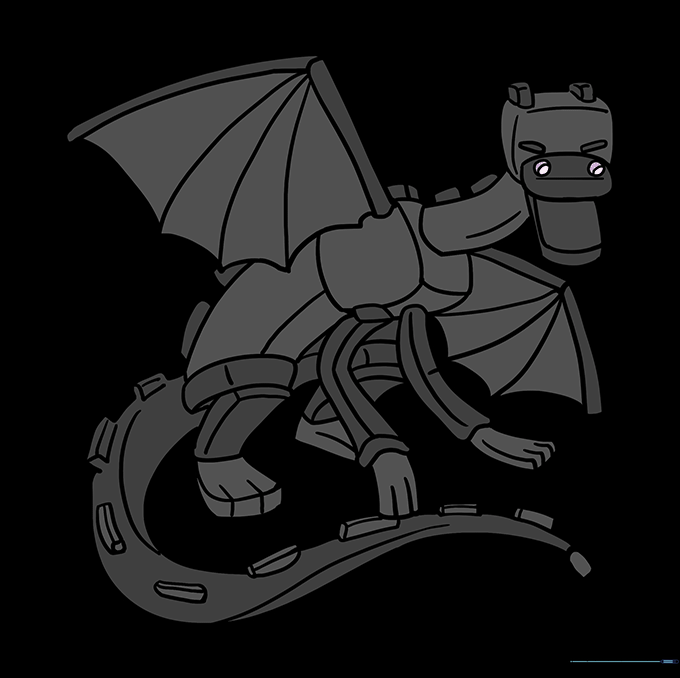
Time to color! Use deep black for the body, grey for the wing veins, and a vibrant purple for the eyes. Teacher's Tip: If you're using markers, color in one direction to keep the texture looking smooth and blocky.
More Tutorials


