How to Draw Elsa: Easy 10-Step Guide for Kids
Bring the Snow Queen to life with this easy-to-follow drawing guide, perfect for young artists ages 6 and up. You will only need a pencil, an eraser, and a piece of paper to get started. Follow these steps to build confidence in your character sketching and capture Elsa's iconic look.
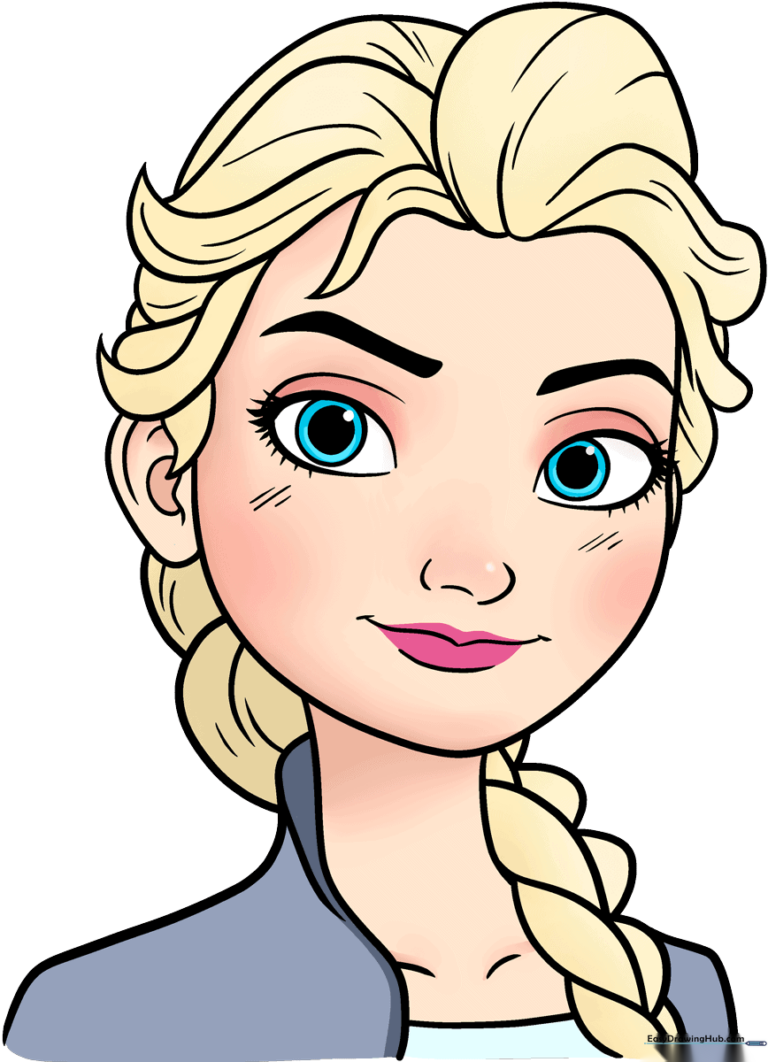
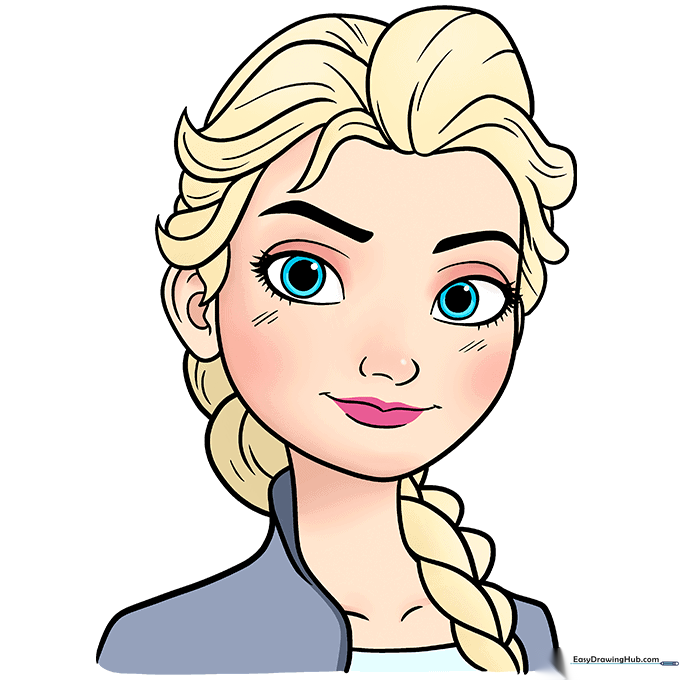
🎯 Final Result
Step-by-Step Instructions
Step 1: Sketching the Eyes
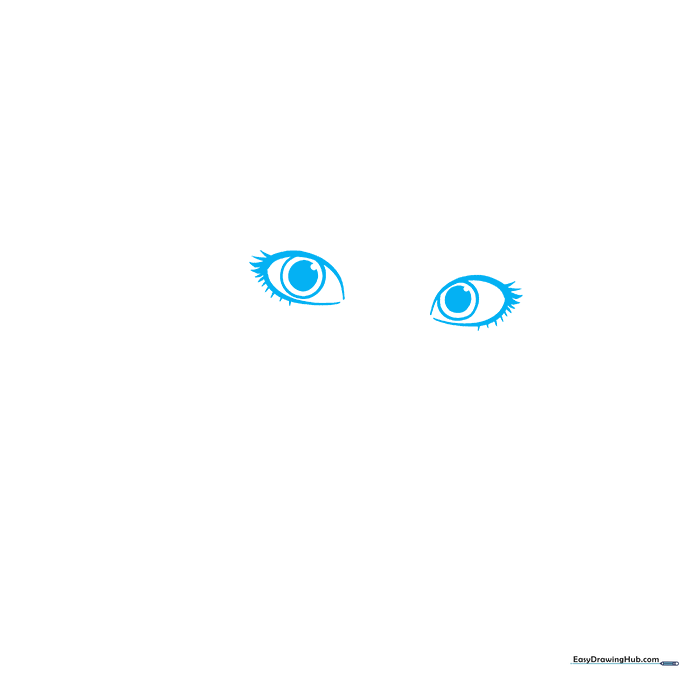
Draw two almond-shaped outlines for the eyes. Inside each, add three circles, shading the smallest one to create a pupil. Teacher's Tip: Keep your pencil pressure light so you can easily adjust the symmetry later.
Step 2: Defining Features
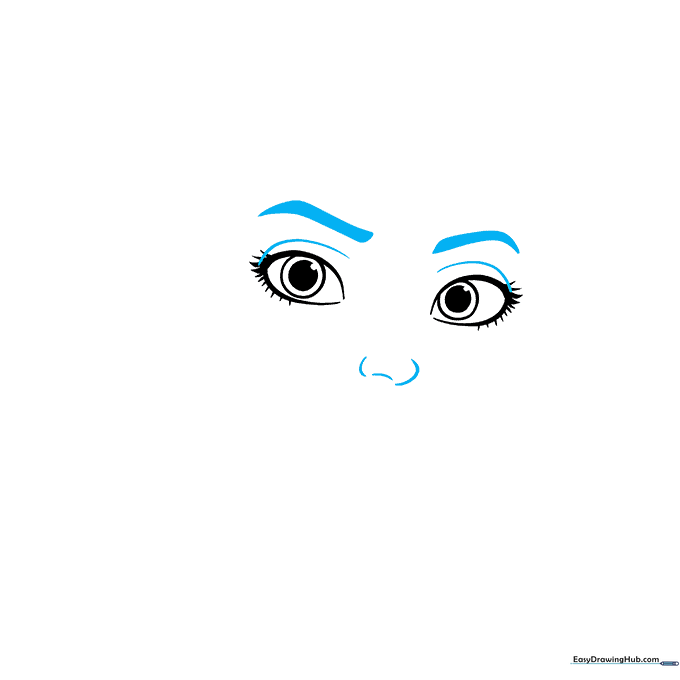
Add curved lines above the eyes for eyelids and a small, delicate curve for the nose. Sketch the pointed eyebrows and shade them lightly. Teacher's Tip: Use short, flicking motions with your pencil to make the eyebrows look natural rather than blocky.
Step 3: Shaping the Face

Draw a smooth, long curve to define the jawline and chin. Add a gentle curve for the mouth with small lines at the corners. Teacher's Tip: Think of the face shape as a soft 'U'—don't make the chin too sharp!
Step 4: Starting the Hair
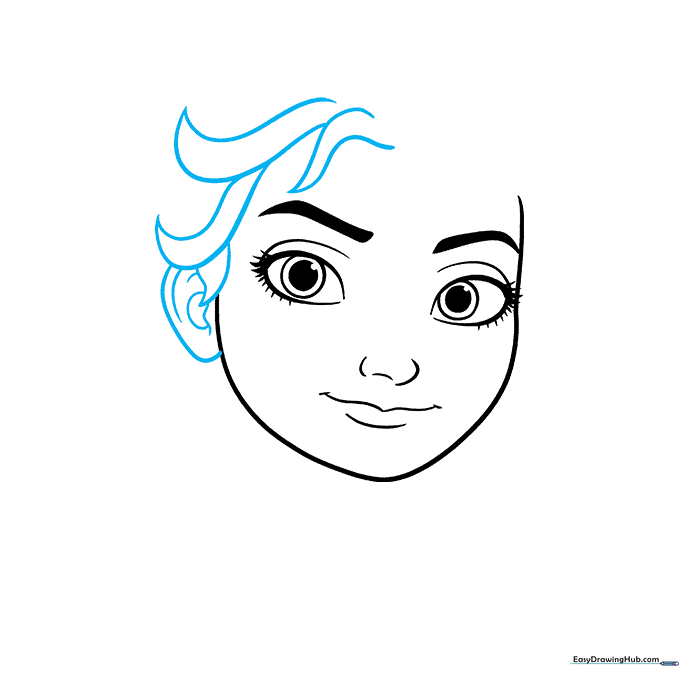
Begin sketching the hairline using pairs of curved lines that meet at sharp points to represent strands. Add the ear on the side. Teacher's Tip: Vary the length of your hair strands to give the drawing more movement.
Step 5: Adding Hair Volume
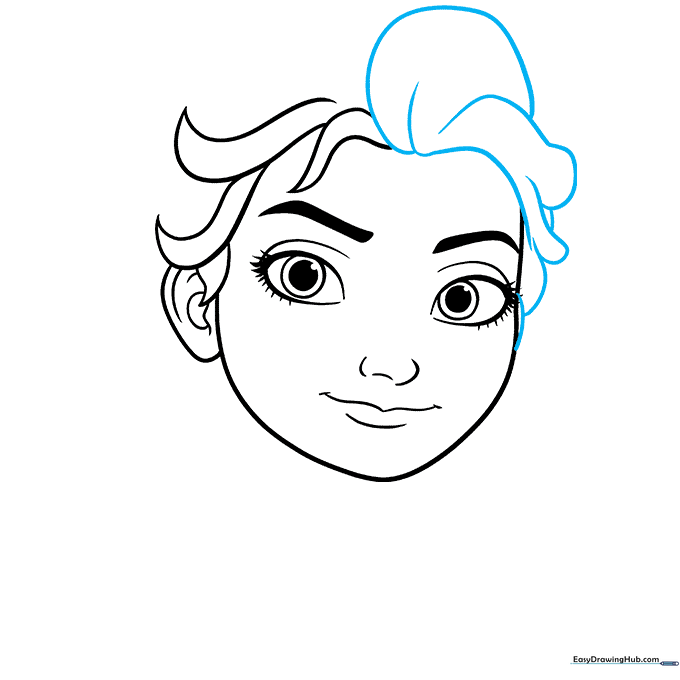
Continue drawing the hair, letting the strands end in rounded, blunt points. Teacher's Tip: Elsa's hair is voluminous, so don't be afraid to draw the lines slightly away from the head shape.
Step 6: Neck and Collar
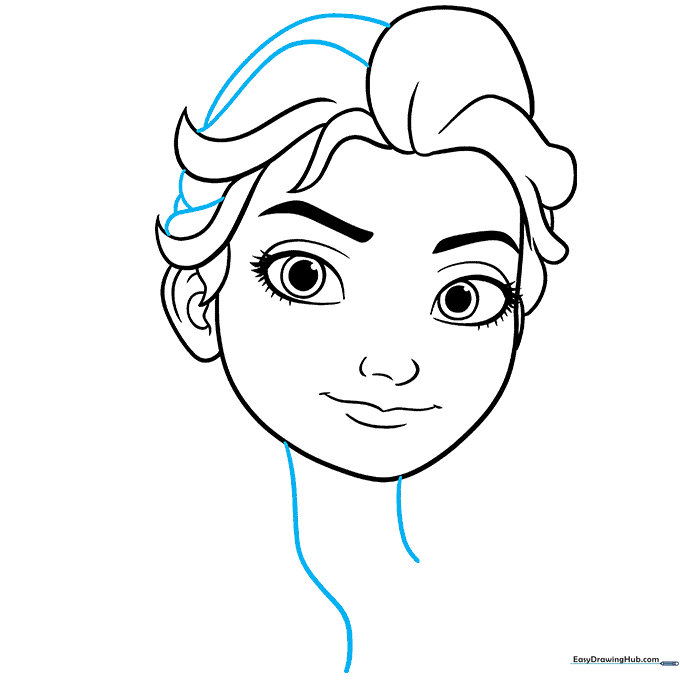
Connect the hair strands to finish the head shape. Draw two curved lines for the neck, which also serve as the collar of her jacket. Teacher's Tip: Keep the neck lines parallel to ensure the head looks centered.
Step 7: Sketching the Braid
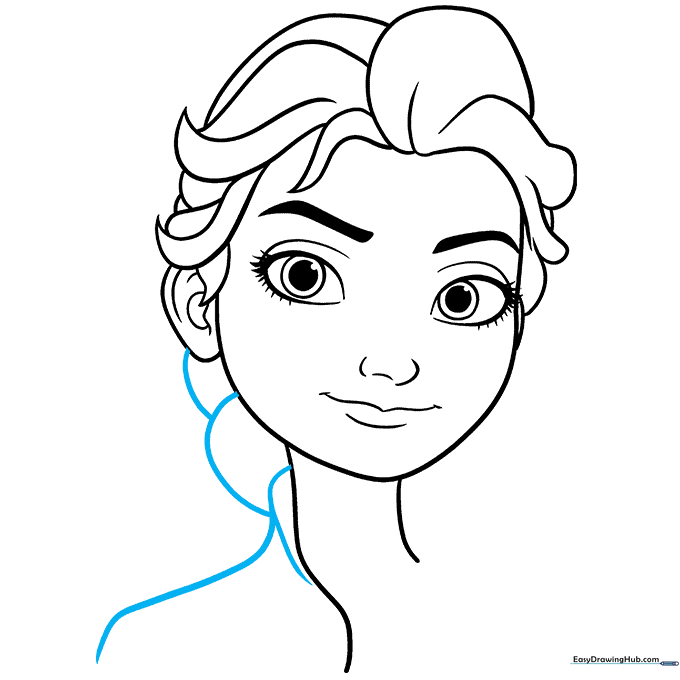
Start the braid by drawing overlapping curved lines between the ear and the neck. Outline the shoulder of the jacket. Teacher's Tip: Think of the braid as a series of connected 'U' shapes.
Step 8: Completing the Braid
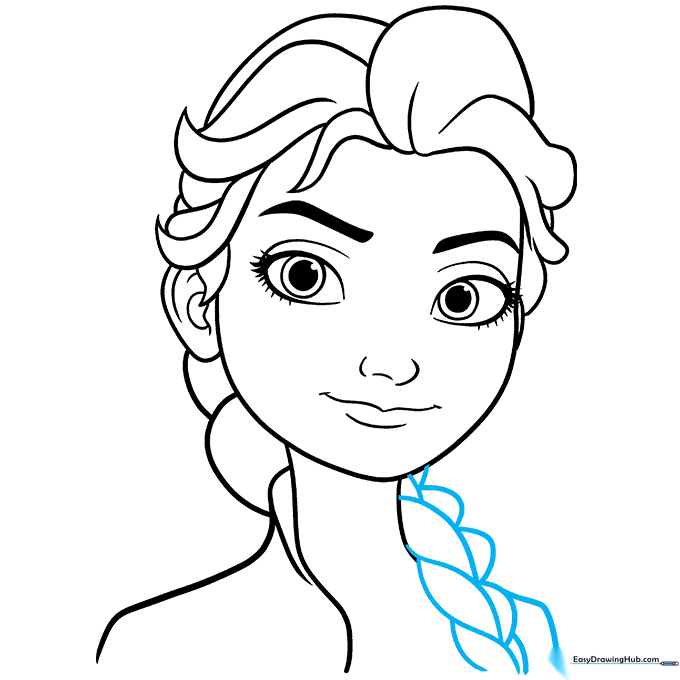
Finish the braid with double-pointed segments and add the 'L' shape for the remaining shoulder. Teacher's Tip: Make sure the braid looks like it is resting over her shoulder for a natural pose.
Step 9: Final Details

Add texture to the hair with light lines, contour the collarbones, and add a soft blush to the cheeks. Teacher's Tip: Use a very sharp pencil for the hair texture to keep it looking delicate.
Step 10: Coloring Your Masterpiece
Bring Elsa to life with color! Use icy blues for her outfit and soft blonde for her hair. Teacher's Tip: Try using light blue colored pencils to add 'frost' highlights to her dress.
More Tutorials


