How to Draw Eleven: Easy 9-Step Stranger Things Guide
Ready to bring Eleven to life? This tutorial is designed for young artists and fans who want to capture El’s iconic look. You’ll only need a pencil, an eraser, and some paper to master her proportions and signature style.
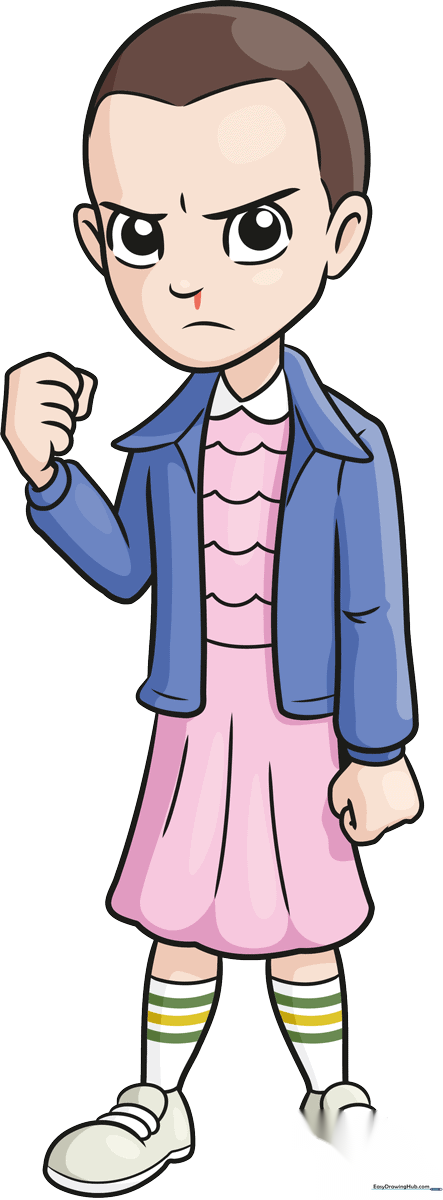
🎯 Final Result
Step-by-Step Instructions
Step 1: Sketching the Facial Features

Start by drawing two curved lines for the furrowed brows. Below these, sketch the round eyes and add dark pupils. Draw the nose and mouth using small, delicate curves. Teacher's Tip: Add a tiny, double-backed line under the nose to represent El's iconic nosebleed—keep your pencil pressure light here so you don't smudge the paper.
Step 2: Defining the Head and Ears
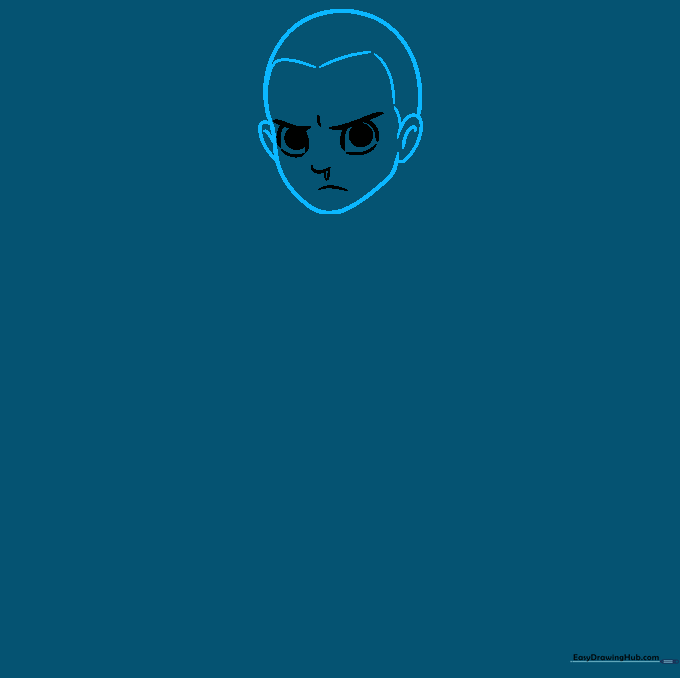
Outline the head using smooth, curved lines. Add the ears on the sides with small internal details, and sketch a simple hairline. Teacher's Tip: Since Eleven has a shaved head, keep the hairline very close to the scalp to maintain her laboratory-escape look.
Step 3: Adding the Neck and Collar
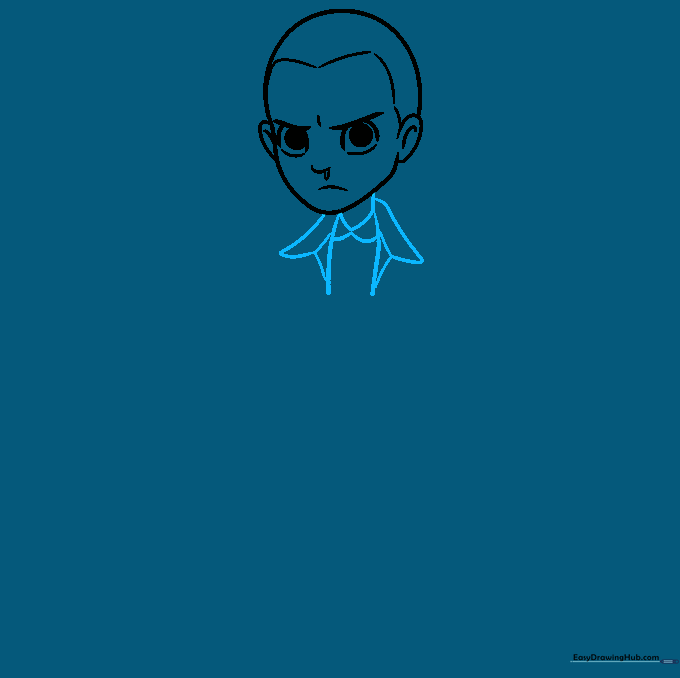
Extend two lines downward for the neck. Add arrow-shaped lines for the jacket collar and a wide, rounded 'W' shape for the dress underneath. Teacher's Tip: Ensure the collar sits slightly away from the neck to give your drawing a sense of depth and dimension.
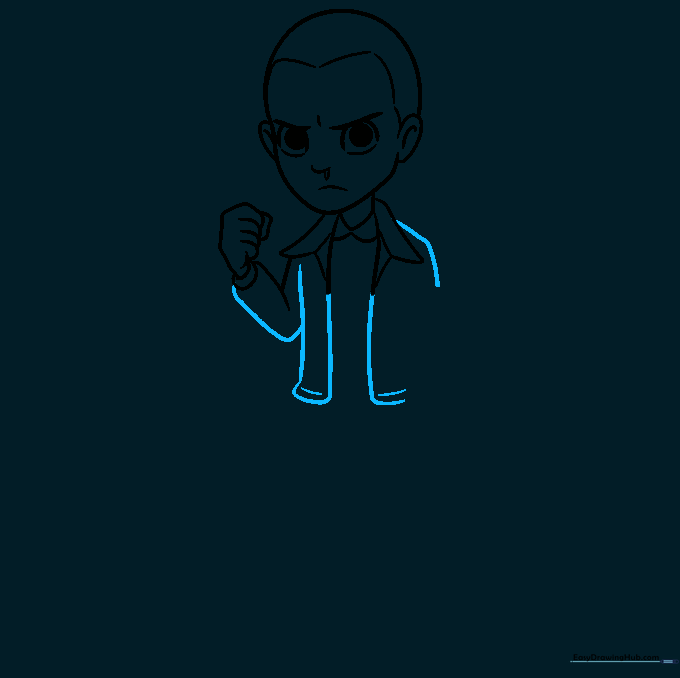
Step 4: Sketching the First Arm
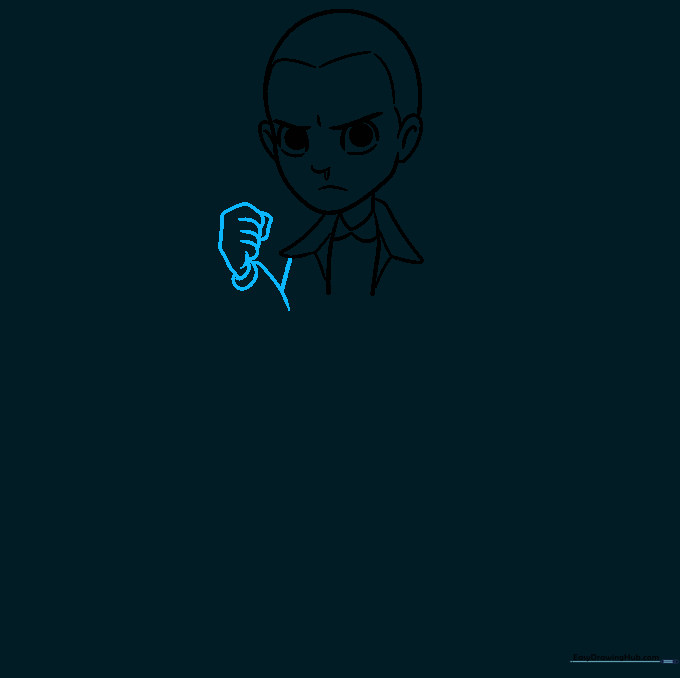
Draw the top of the arm using curved lines, ending with a 'C' shaped cuff. Sketch the fist at the end. Teacher's Tip: Hands are tricky! Focus on the overlapping lines to create the shape of a closed fist rather than worrying about individual fingers.
Step 5: Defining the Jacket
Outline the shoulder and the open front of the jacket. Add curved lines at the bottom for the hem. Teacher's Tip: Keep these lines fluid to show the fabric of the jacket hanging naturally.
Step 6: Adding the Second Arm
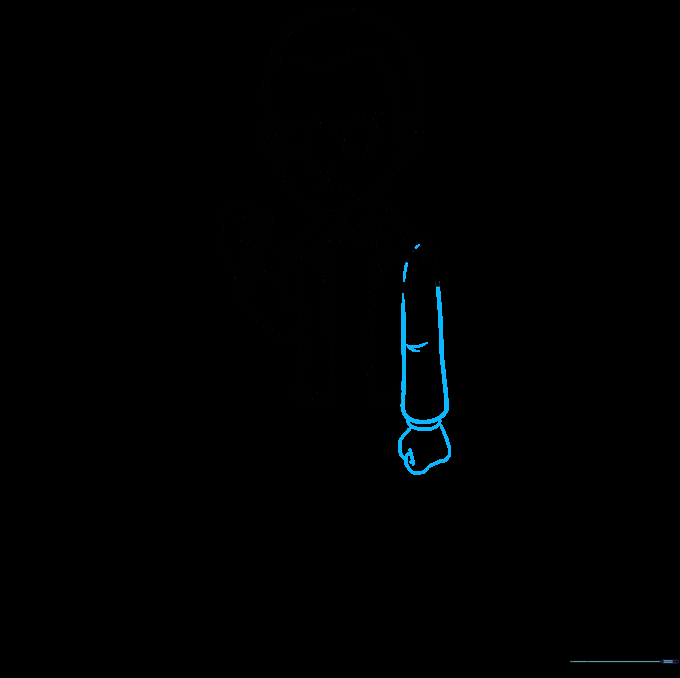
Draw the remaining sleeve, cuff, and hand. Add a small 'V' shape at the elbow to suggest fabric folds. Teacher's Tip: Adding these small creases makes your character look less like a flat drawing and more like a real person.
Step 7: Sketching the Skirt

Use a long, sweeping curved line to outline the skirt. Add scalloped lines between the jacket openings to show the dress underneath. Teacher's Tip: Use long, confident strokes for the skirt to give it a nice, flowy appearance.
Step 8: Drawing the Legs and Sneakers
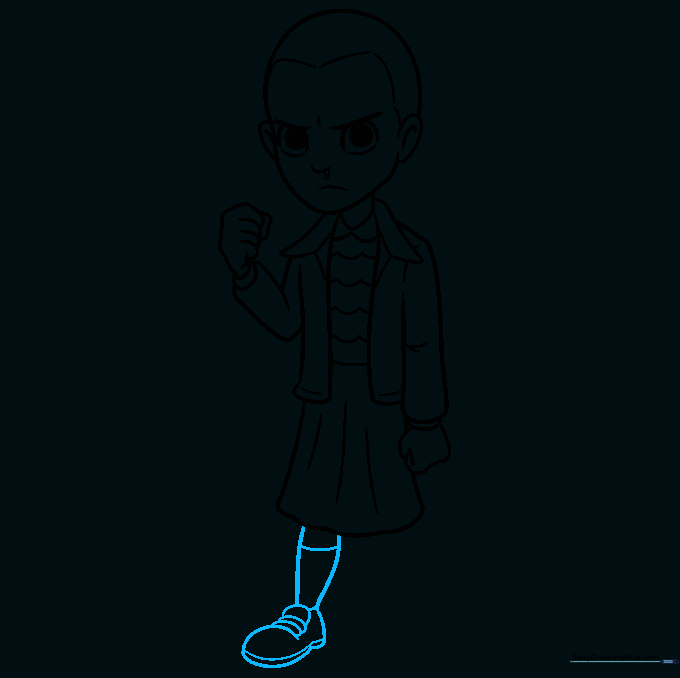
Outline the leg, adding a band for the sock. Draw the sneaker with parallel lines for the sole and laces. Teacher's Tip: Focus on the 'tongue' of the shoe to make it look realistic.
Step 9: Finalizing the Outline
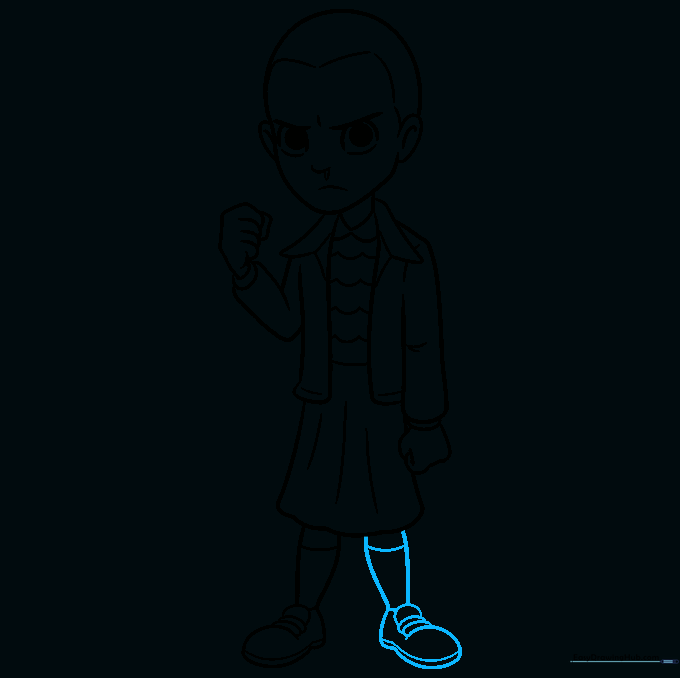
Draw the second leg and shoe as a mirror image of the first. Once you're happy with the proportions, go over your lines with a darker pencil or pen. Teacher's Tip: Erase any stray guidelines inside the body to make your drawing look clean and professional.
Step 10: Adding Color

Bring your Eleven to life with color! Use soft pinks for the dress and muted tones for the jacket. Teacher's Tip: Try using colored pencils to gently shade the folds of the clothing to add extra volume.
More Tutorials


