How to Draw a Fried Egg: Easy 10-Step Guide for Kids
Looking for a fun, screen-free activity? This tutorial is perfect for young artists ages 5+ to practice organic shapes and shading. All you need is a pencil, an eraser, and your favorite markers or crayons to bring this breakfast classic to life.
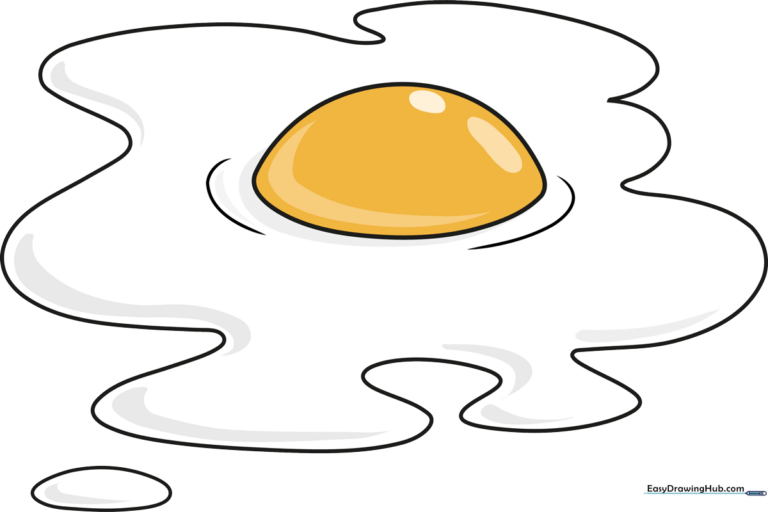
🎯 Final Result
Step-by-Step Instructions
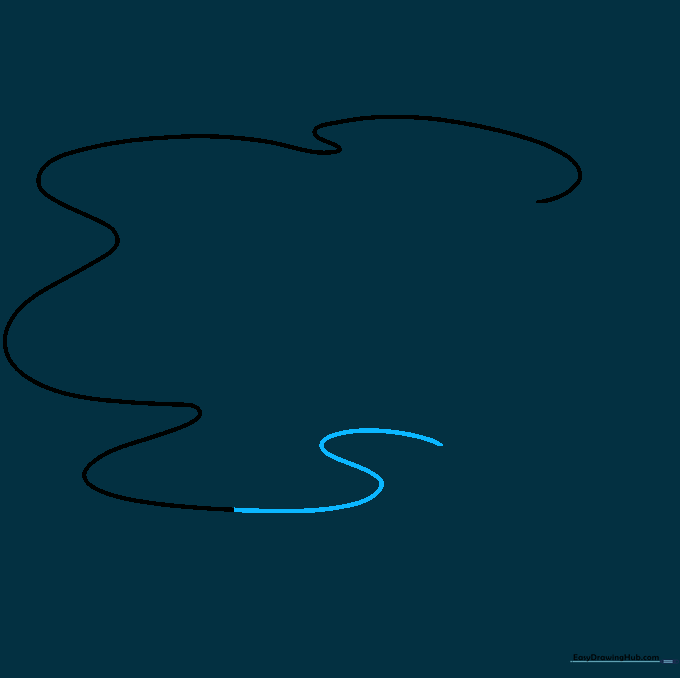
Step 1: Sketching the Outer Edge
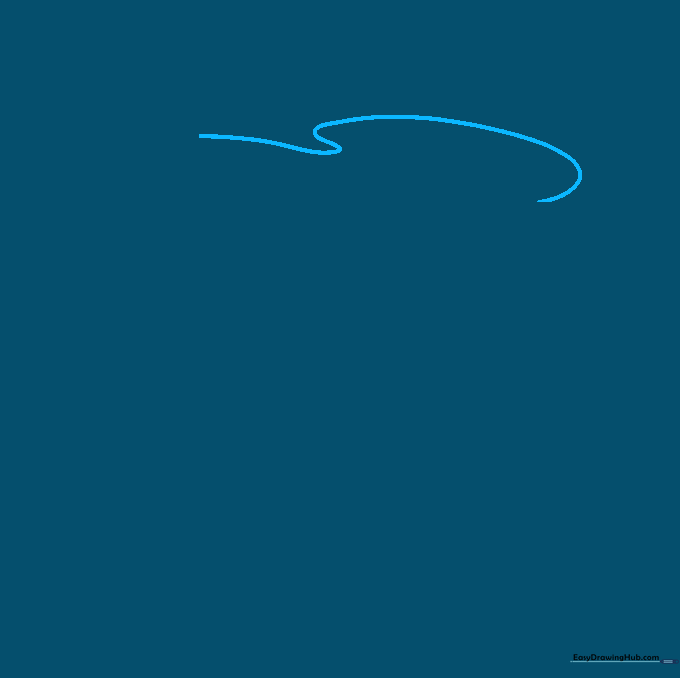
Start by drawing a long, wavy, curved line that loops back on itself. Tip: Don't worry about making it perfect; egg whites are naturally irregular, so embrace the wiggles!
Step 2: Extending the Egg White
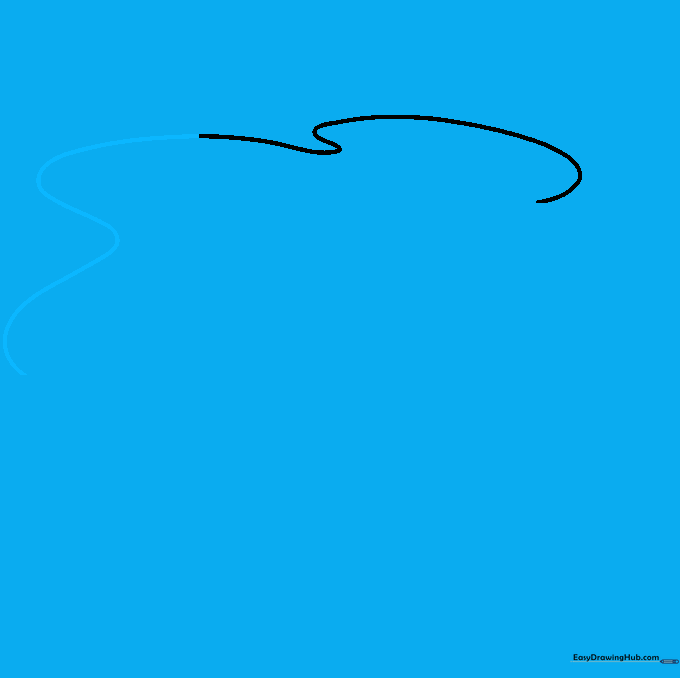
Continue your wavy line to expand the shape of the egg white. Tip: Imagine you are drawing the edge of a puddle—keep the curves soft and flowing.
Step 3: Adding More Curves
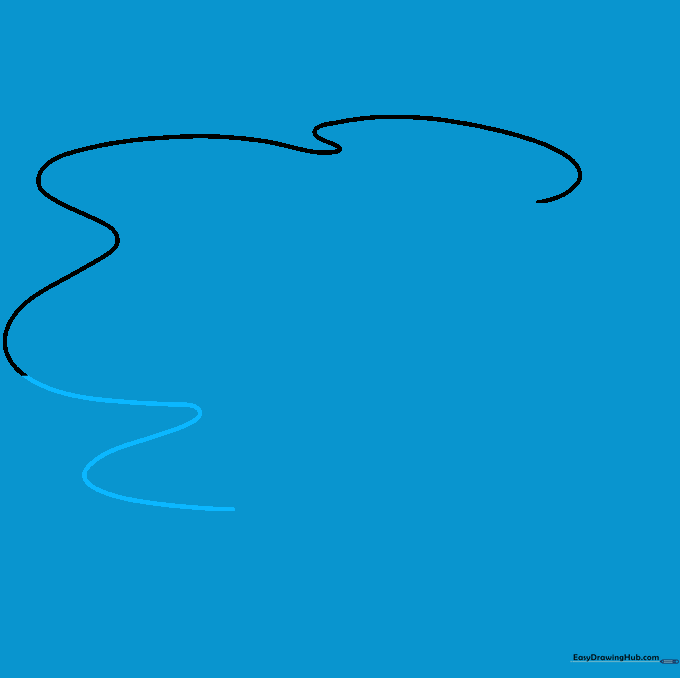
Keep the line moving by adding a few more zig-zags. Tip: Vary the size of your curves to make the egg look more realistic and less like a perfect circle.
Step 4: Creating the 'S' Shape
Extend the line further, incorporating an 'S' curve. Tip: This helps create the appearance of the egg white folding over itself.
Step 5: Refining the Outline
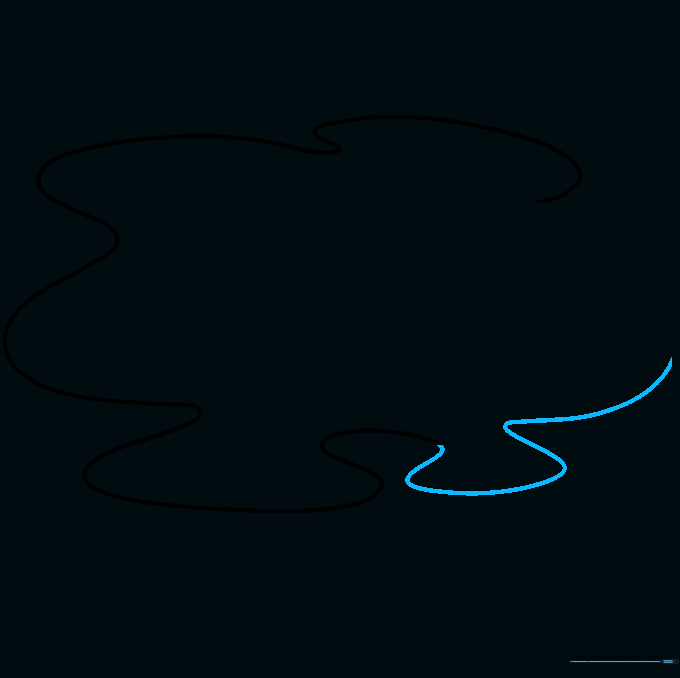
Continue the long, curved line, doubling back to form an irregular shape. Tip: If you make a mistake, don't worry—just erase and try again!
Step 6: Closing the Shape
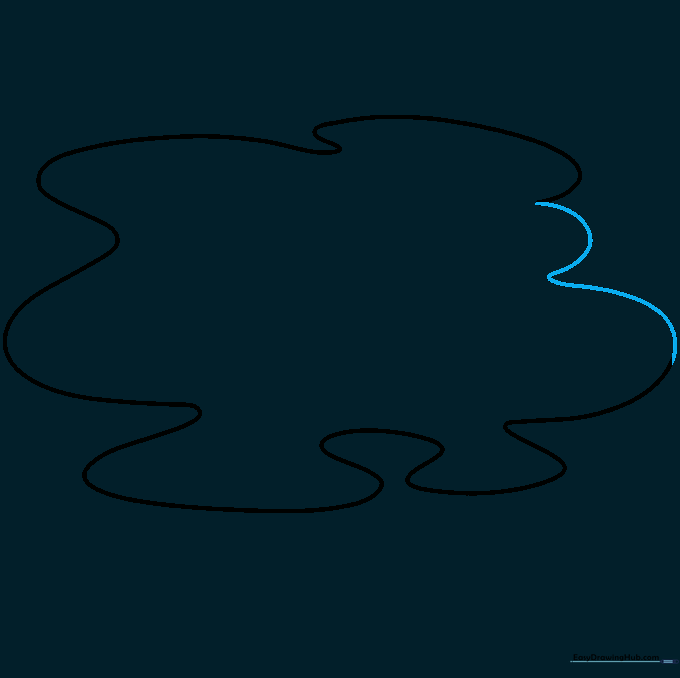
Connect your lines to complete the full outline of the egg white. Tip: Ensure the ends meet smoothly to create a closed shape.
Step 7: Drawing the Yolk
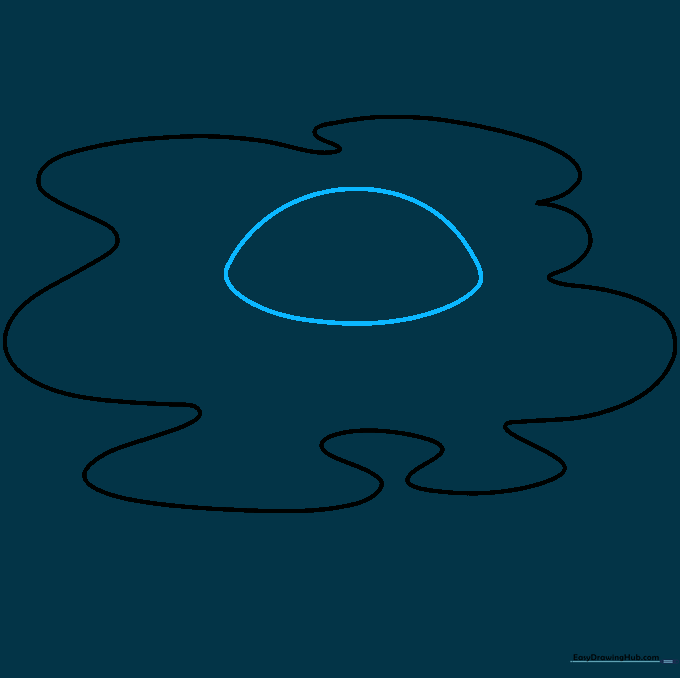
Draw a half-circle in the center for the yolk. Tip: Keep this shape rounded and smooth to contrast with the wobbly white.
Step 8: Adding Depth
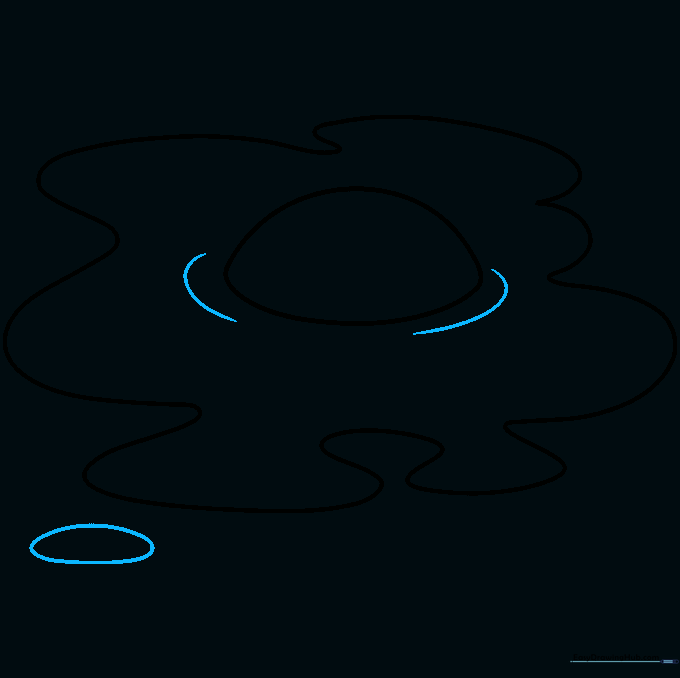
Add small curved lines around the base of the yolk to show volume. Tip: This shading trick makes your drawing look 3D instead of flat.
Step 9: Adding Highlights
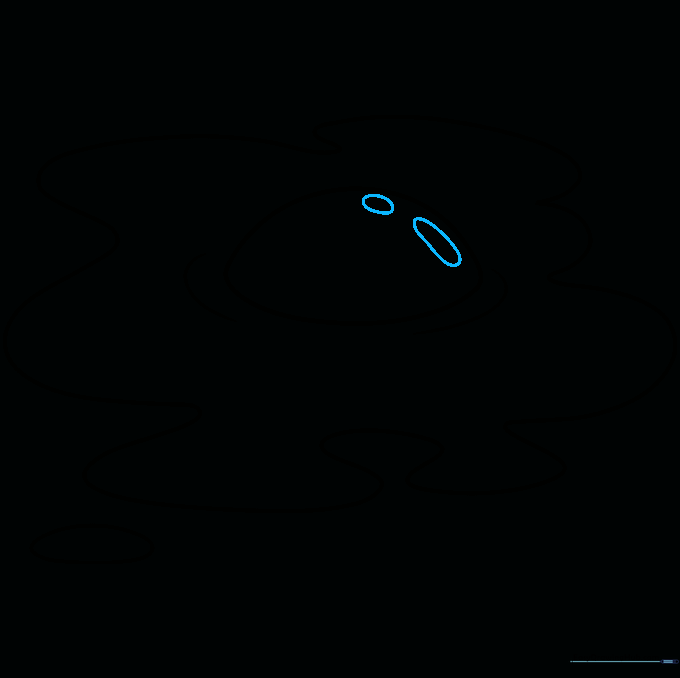
Draw two small ovals inside the yolk. Tip: Leave these white when coloring to represent the 'shine' or reflection on the surface.
Step 10: Coloring Your Masterpiece
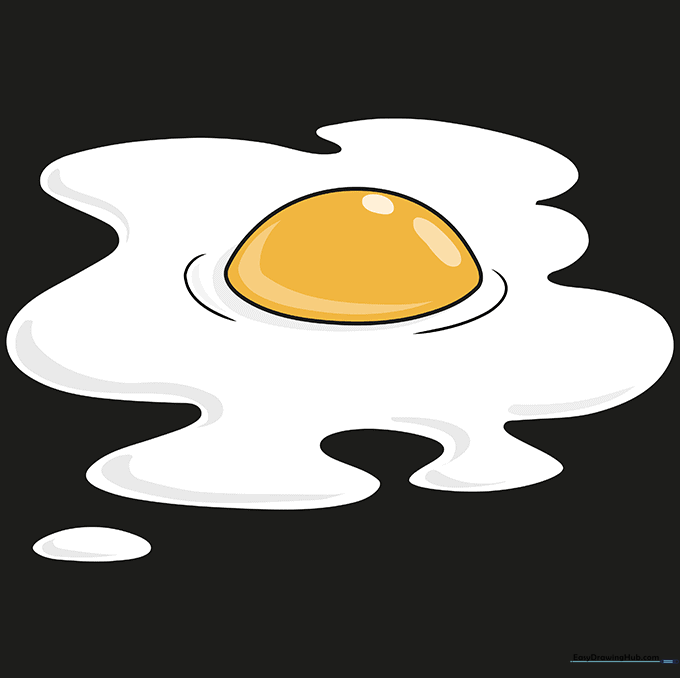
Color the yolk bright yellow or orange and leave the white area mostly clear with a touch of light brown on the edges for a 'cooked' look. Tip: Use light, circular motions with your pencil to get smooth coverage.
More Tutorials


