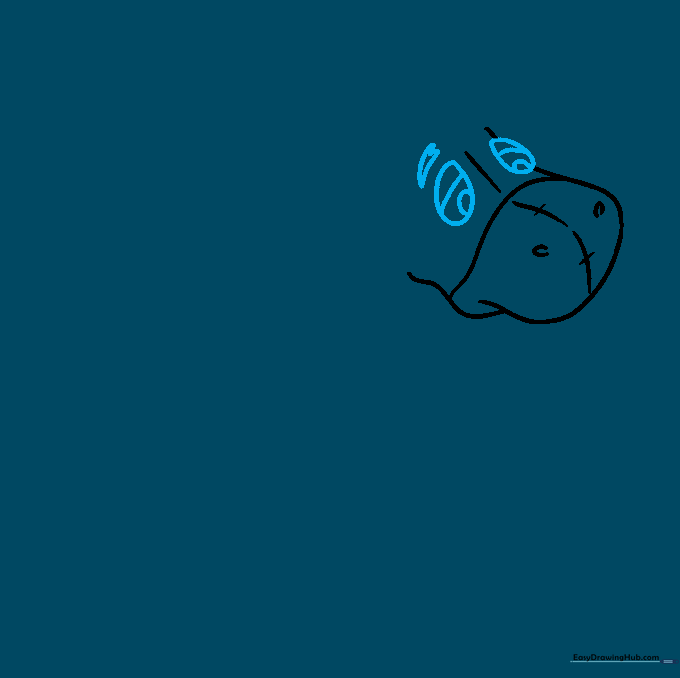
How to Draw Eeyore: Easy 10-Step Guide for Kids
Bring everyone's favorite gloomy donkey to life with this easy-to-follow drawing tutorial. Designed for young artists ages 7+, this project requires only a pencil, eraser, and paper. You will learn how to capture Eeyore's gentle expression and iconic floppy ears through simple geometric shapes.
🎯 Final Result
Step-by-Step Instructions
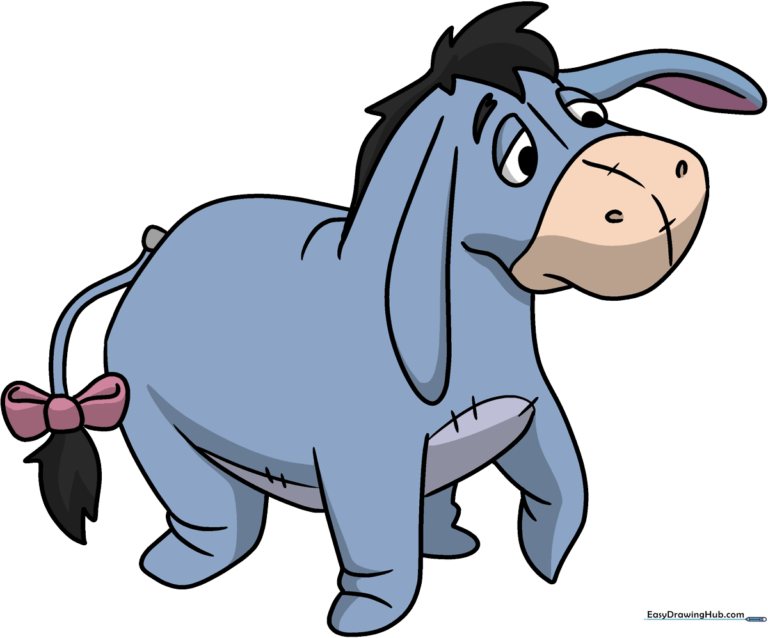
Step 1: Sketching the Muzzle
Start by lightly sketching the snout area using two overlapping curved lines. Teacher's Tip: Keep these lines soft and rounded to give Eeyore his signature gentle, friendly look.
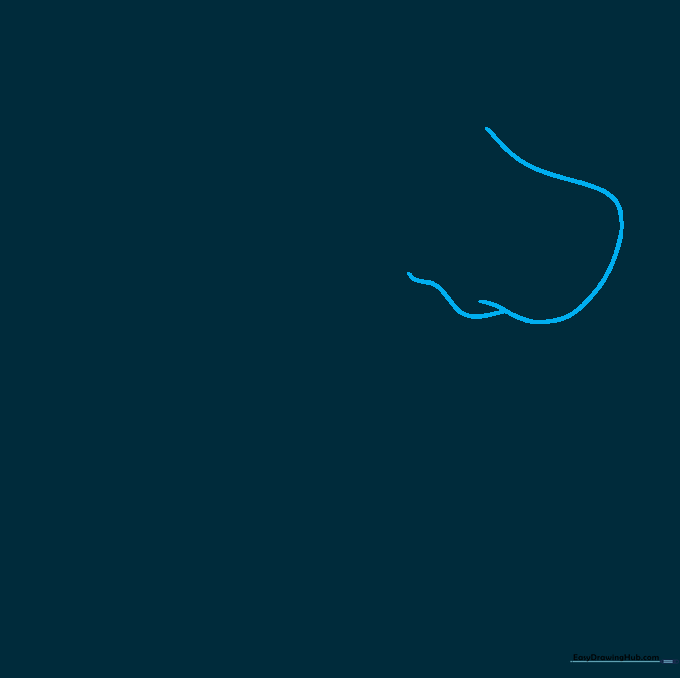
Step 2: Defining the Snout
Add a horizontal curve across the snout and a vertical line down the center. Add two small 'C' shapes for nostrils. Teacher's Tip: Use light pressure for the nostrils so they don't look too harsh.
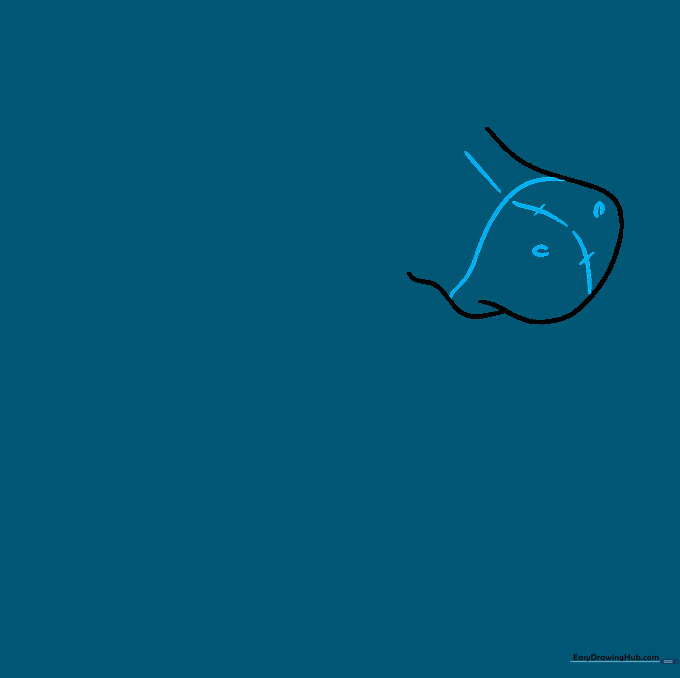
Step 3: Drawing the Eyes
Draw two egg-shaped ovals for the eyes, adding curved lines for eyelids and small circles for pupils. Sketch the eyebrows above. Teacher's Tip: Eeyore is a sad character, so angle the eyebrows slightly downward to capture his mood.
Step 4: Adding the Mane
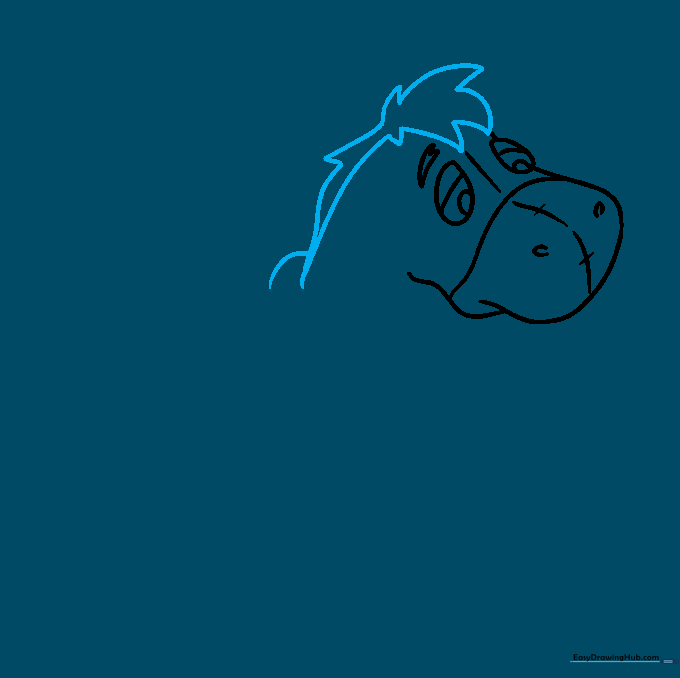
Use short, jagged lines to create the hair of the mane along the back of the neck. Teacher's Tip: Vary the length of your strokes to make the hair look natural and slightly messy.
Step 5: Floppy Ears
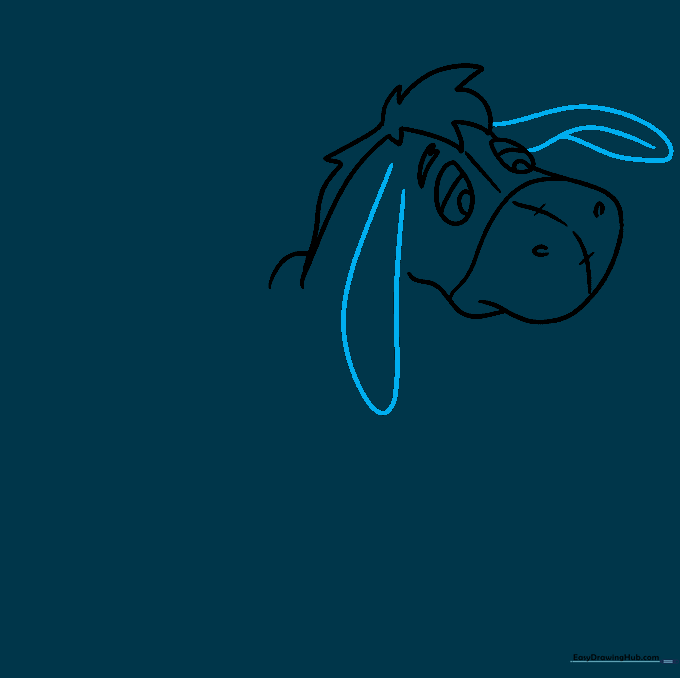
Draw two long, curved shapes for the ears, doubling the lines back to show thickness. Teacher's Tip: Make them look heavy and floppy to match Eeyore's personality.
Step 6: The Chest and Foreleg
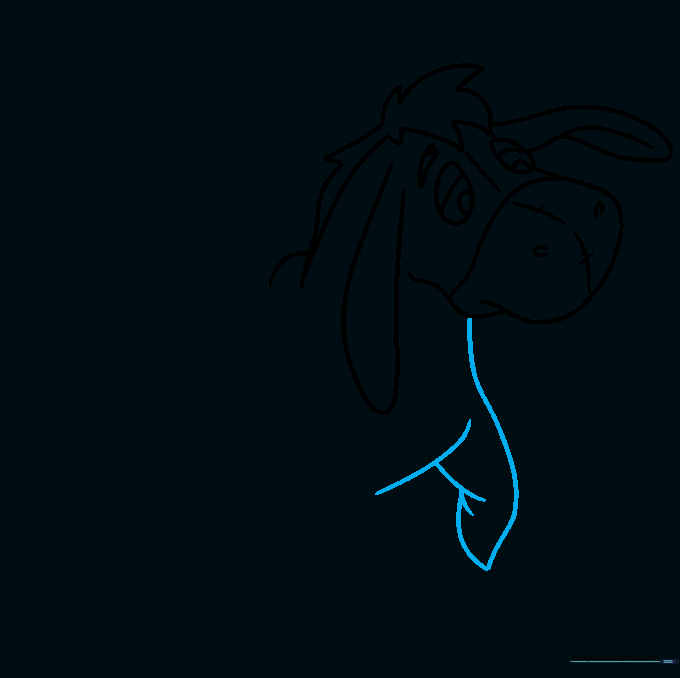
Outline the chest and front leg using overlapping curves. Add small lines at the knee for detail. Teacher's Tip: Overlapping lines help create the illusion of depth in a stuffed toy.
Step 7: Second Leg and Stitches
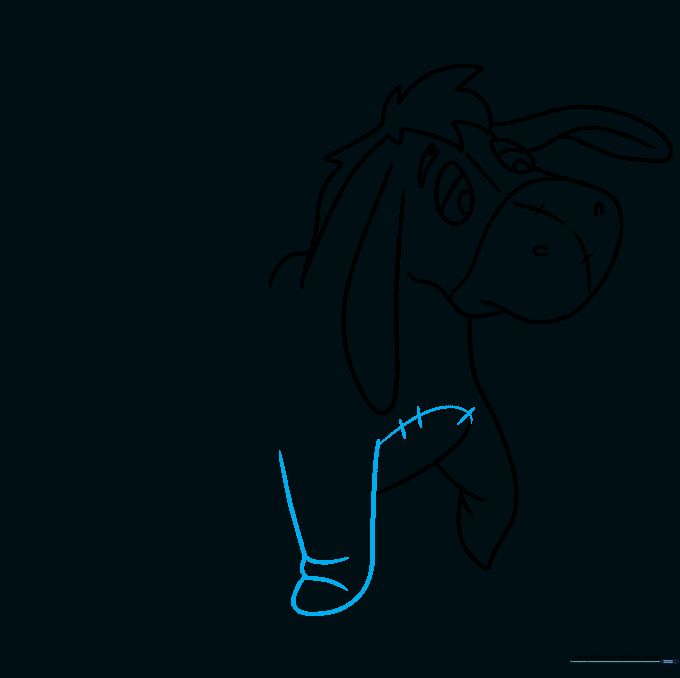
Draw the second foreleg and connect the two with a line featuring small 'x' marks for stitches. Teacher's Tip: Stitches are a key detail that makes him look like a plush toy!
Step 8: Back and Belly
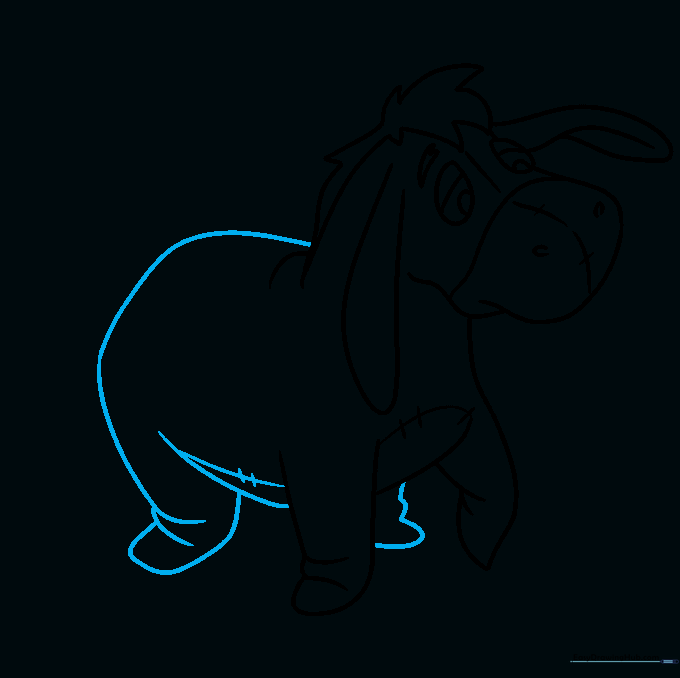
Sketch the back, rump, and belly using smooth, rounded lines. Teacher's Tip: Keep the belly slightly rounded to give him that 'stuffed' appearance.
Step 9: The Iconic Tail
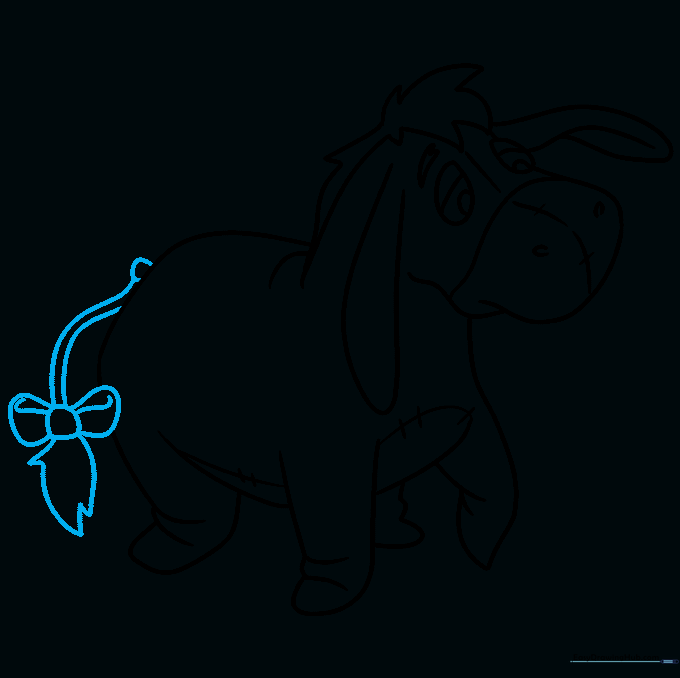
Draw the tail with a bow and a tuft of hair at the end. Teacher's Tip: Don't forget the little pin that attaches the tail—it's a classic Eeyore detail.
Step 10: Adding Color

Color your drawing using soft greys for the body, black for the mane and tail, and a pop of pink for the bow. Teacher's Tip: Use light, circular motions with your pencil to get an even, soft color fill.
More Tutorials


