How to Draw Cute Cartoon Mushrooms: Easy 10-Step Guide
Bring a whimsical forest scene to life with this step-by-step mushroom drawing guide. Designed for ages 5 and up, this activity requires only a pencil, paper, and an eraser. You will learn to construct character-based fungi, perfect for adding personality to your nature-themed artwork.
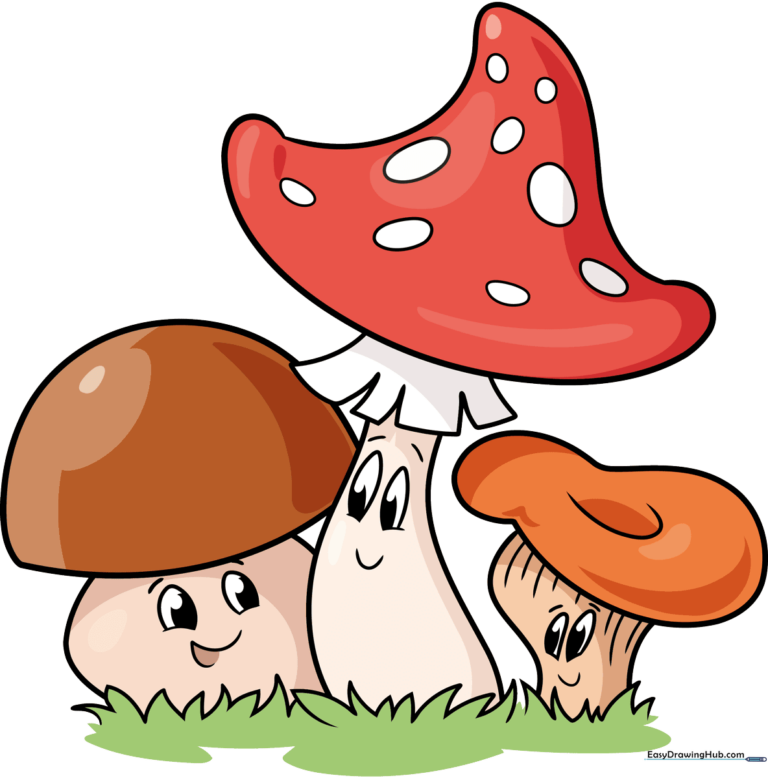
🎯 Final Result
Step-by-Step Instructions
Step 1: Establishing the Base

Start by drawing the stalk of your first mushroom. Use short, zig-zagging lines at the bottom to create a patch of grass. Teacher's Tip: Keep the grass lines sharp and pointy to make the ground look realistic!
Step 2: Adding the Cap and Ring

Draw a large 'C' shape above the stalk for the cap. Between the cap and stalk, add a series of small, connected rectangles to create the mushroom's 'skirt' or ring. Tip: Don't worry if the rectangles aren't perfect; nature is full of unique shapes!
Step 3: Defining the Cap and Eyes
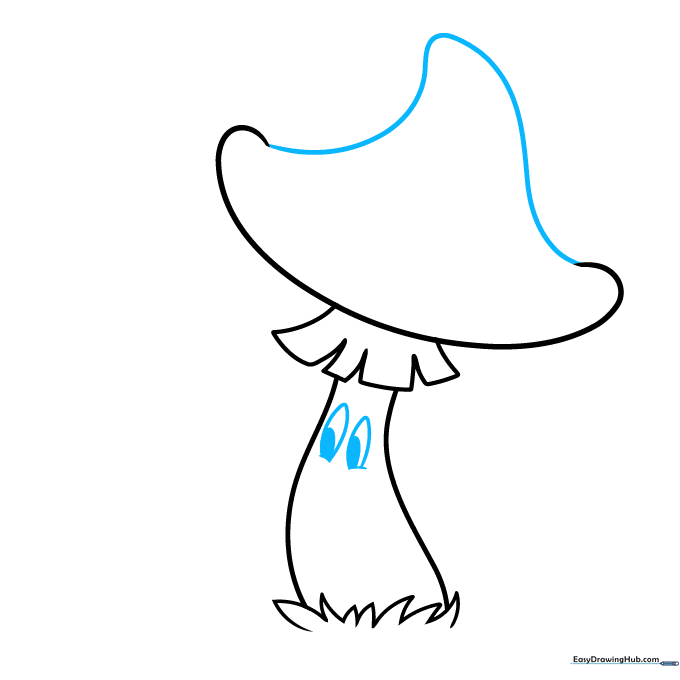
Close the cap with a long, sweeping curved line. Add two large, expressive cartoon eyes on the stalk by drawing two ovals with smaller shaded circles inside. Tip: Placing the eyes closer together makes the mushroom look extra cute.
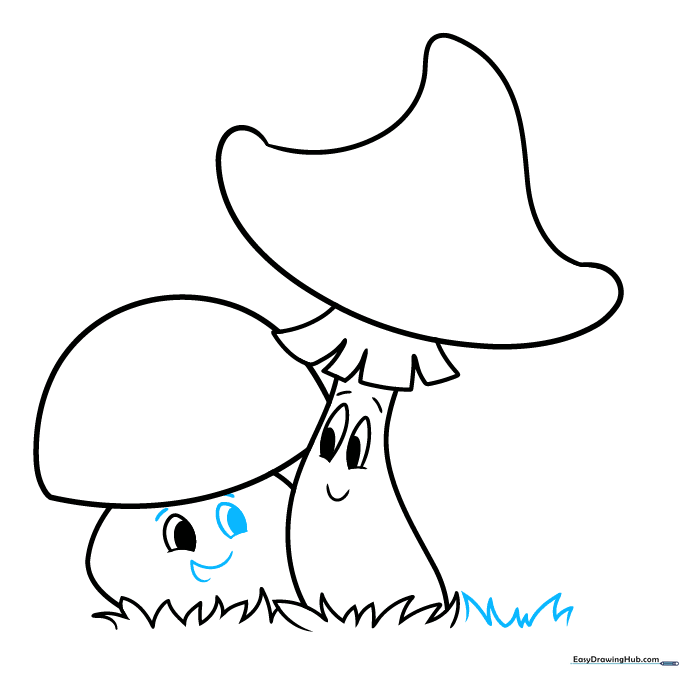
Step 4: Adding Personality
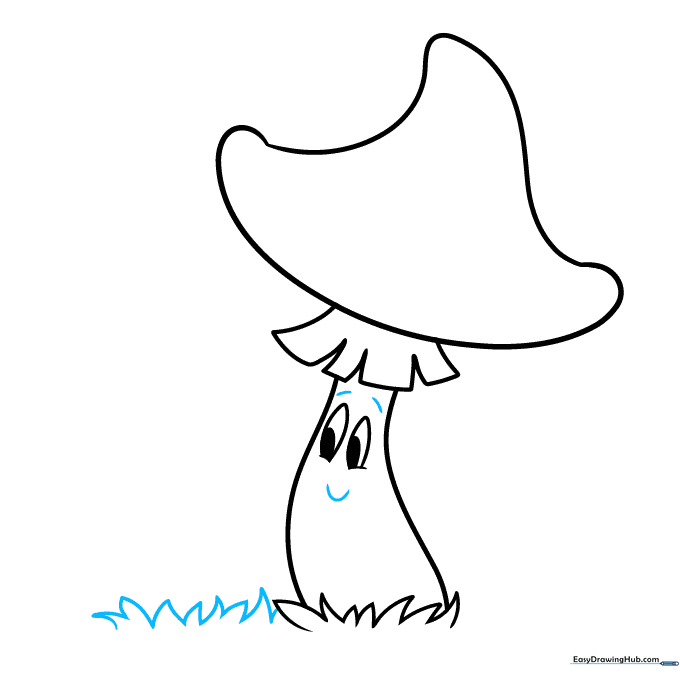
Give your mushroom a friendly face by drawing two small curved lines for eyebrows and a wide, happy smile. Add a few more blades of grass nearby to ground the character. Tip: A slightly tilted mouth gives the mushroom a playful expression.
Step 5: Drawing a Second Mushroom
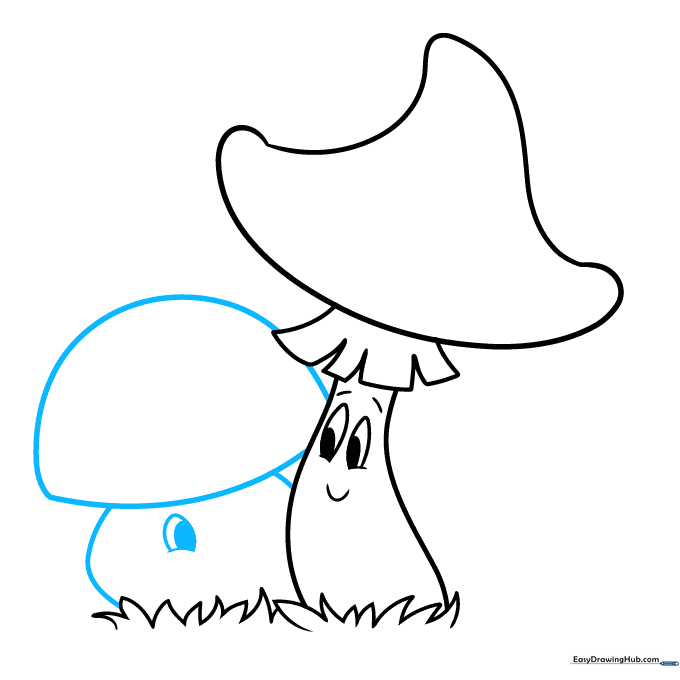
Sketch a second, smaller mushroom next to the first. Use curved lines for the stalk and cap, and repeat the eye-drawing process. Tip: Varying the sizes of your mushrooms creates a more dynamic and natural-looking composition.
Step 6: Finishing the Second Mushroom
Complete the face of your second mushroom with eyebrows and a smile. Add more grass around its base to connect it to the scene. Tip: Make the second mushroom look like it's looking at the first one to create a 'story' between them.
Step 7: Adding the Third Mushroom
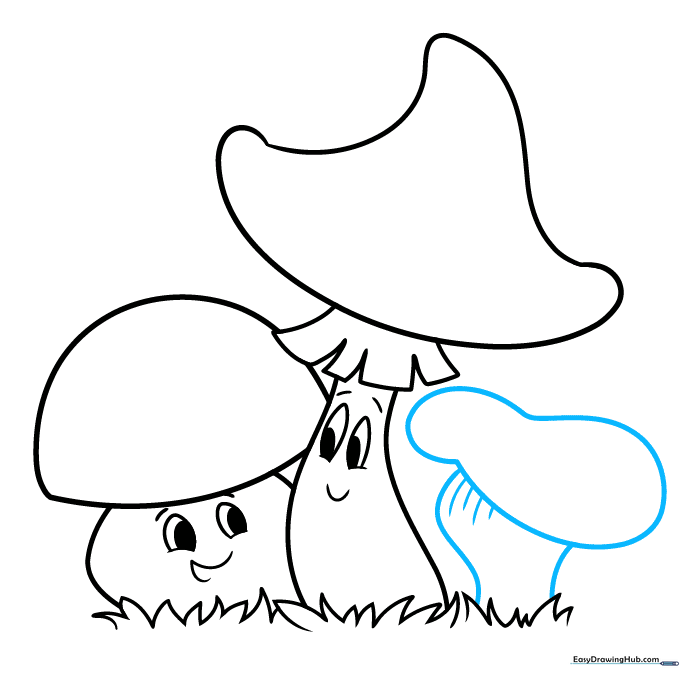
Draw a peanut-shaped cap for the third mushroom and connect it to the ground. Add a few short, vertical lines under the cap to suggest texture. Tip: This texture helps distinguish the gills of the mushroom.
Step 8: Finalizing the Third Mushroom
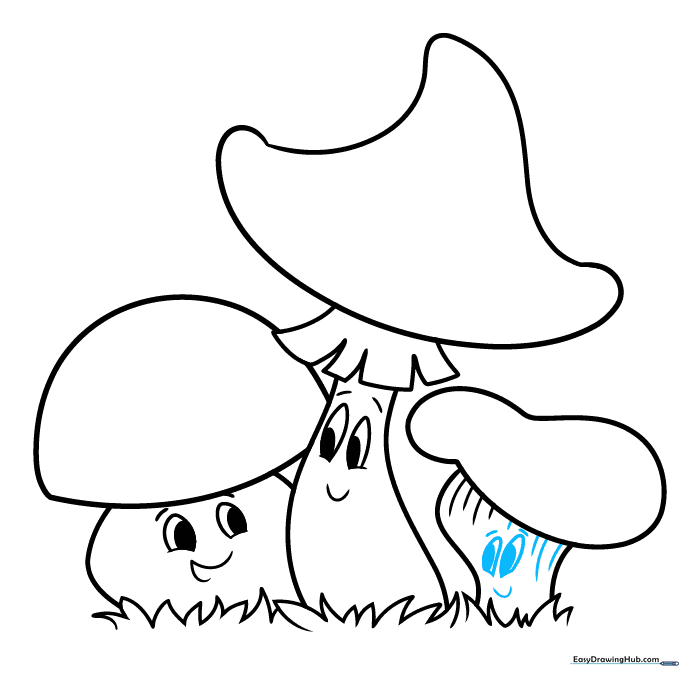
Give the third mushroom its own face. Use the same technique as before: two ovals for eyes, shaded circles for pupils, and a happy smile. Tip: Ensure the eyes are consistent in size with the other mushrooms to maintain a cohesive style.
Step 9: Adding Toadstool Details

Add character to your toadstool by drawing various ovals on its cap. These represent the iconic spots. Contour the cap of the third mushroom with a curved line to give it an oyster-mushroom shape. Tip: Vary the size of the spots for a more natural look.
Step 10: Bringing Color to Life
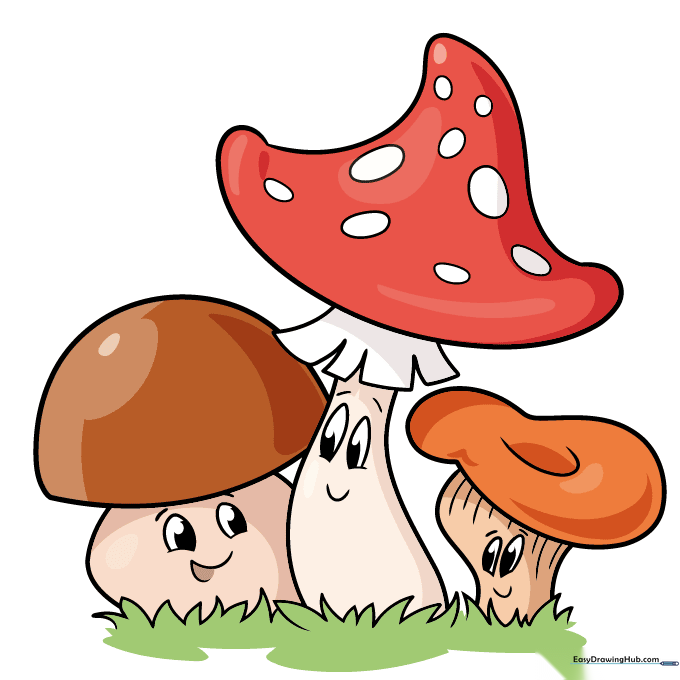
Your outline is complete! Now, add color. We used classic red for the toadstool, but feel free to experiment with yellow, brown, or even blue for your oyster mushrooms. Tip: Use a lighter shade of your main color to fill in the spots for a softer look.
More Tutorials


