How to Draw 3D Buildings: Easy Step-by-Step Guide
Ready to build your own cartoon skyline? This tutorial is perfect for young artists ages 6+ looking to master basic perspective. You'll only need a pencil, an eraser, and a piece of paper to bring these 3D structures to life.
🎯 Final Result
Step-by-Step Instructions
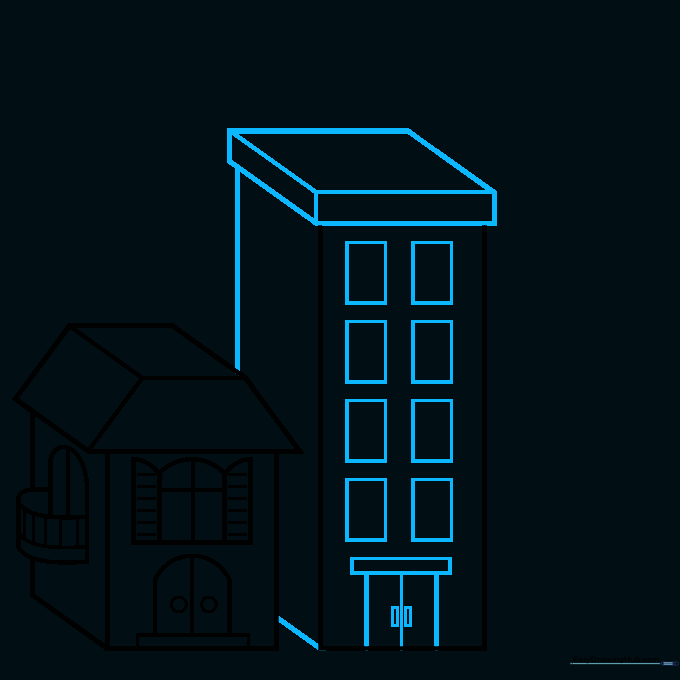
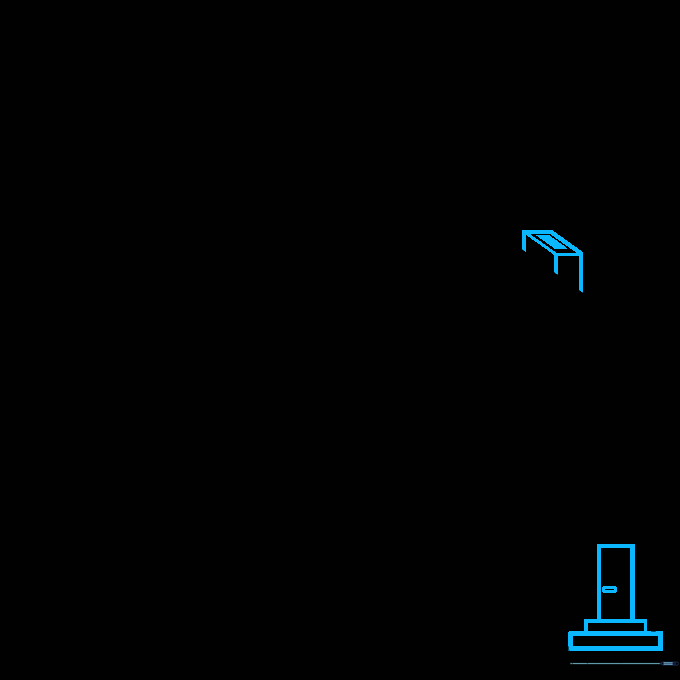
Step 1: Sketching the First Roof
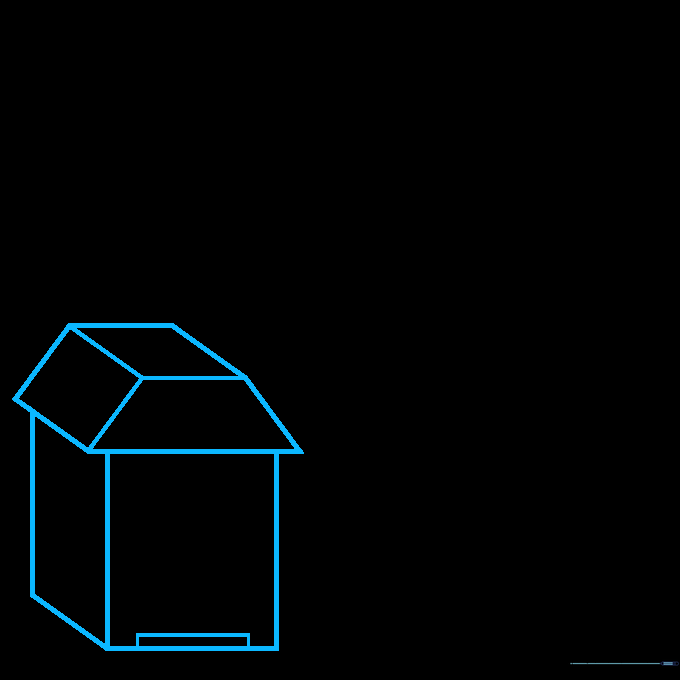
Start by drawing the roof of your first building using two parallelograms and a trapezoid. Teacher's Tip: Keep your pencil lines light and loose; since we are building a 3D structure, you might need to adjust your angles as you go.
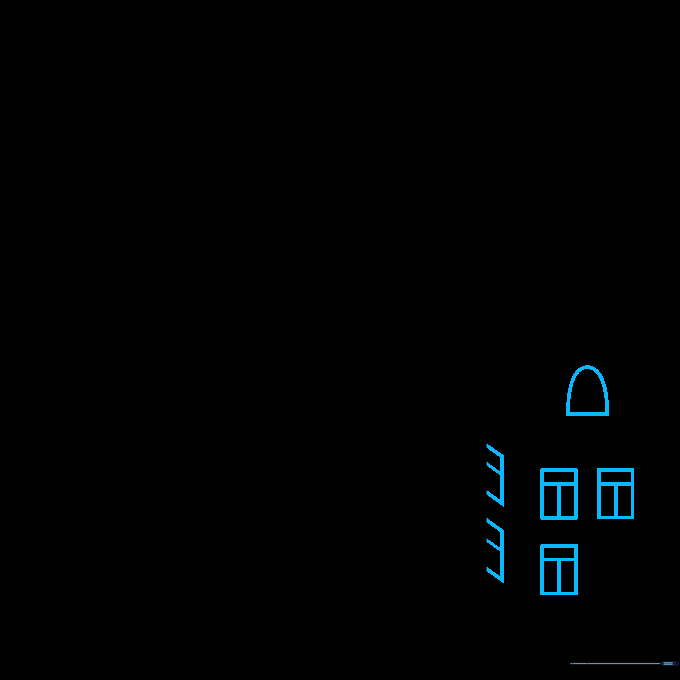
Step 2: Adding Architectural Details
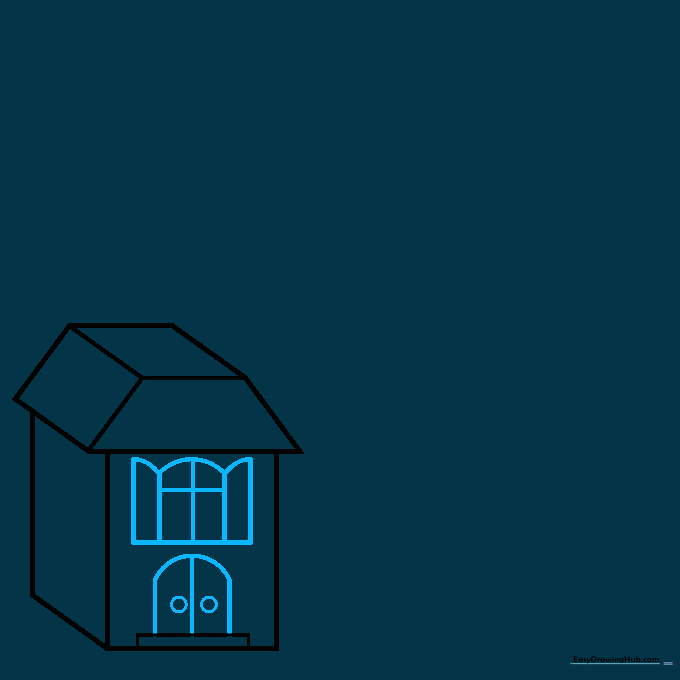
Draw arch-shaped windows and a door on the front of your building. Tip: Use a steady hand for the curves, and remember that door knobs are just tiny circles near the center of the door frame.
Step 3: Building the Balcony
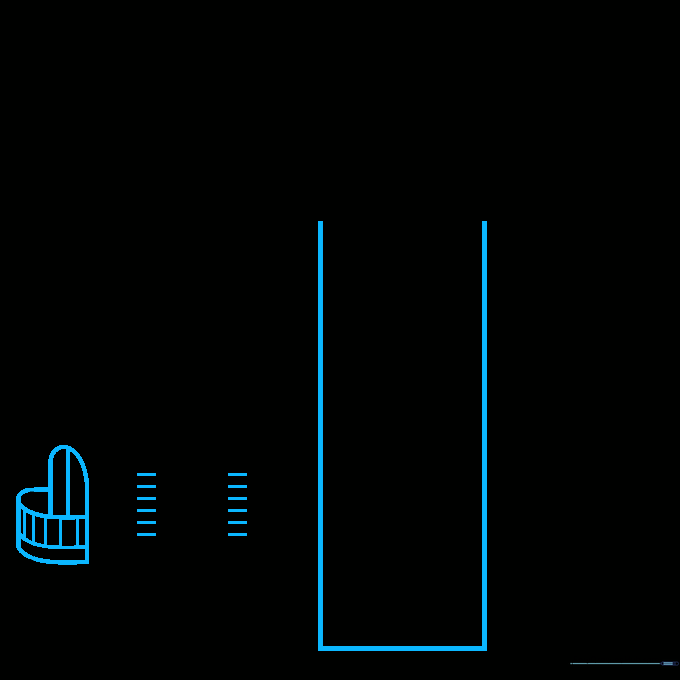
Add a balcony to the side using curved lines for the railing. Tip: If your lines overlap, don't worry! Use your eraser to clean up the intersection so the balcony looks like it's sitting in front of the wall.
Step 4: Constructing the Second Building
Draw a flat-topped cube next to your first building to create a second structure. Tip: Make this building a different height to add variety to your city skyline.
Step 5: Adding Window Panes
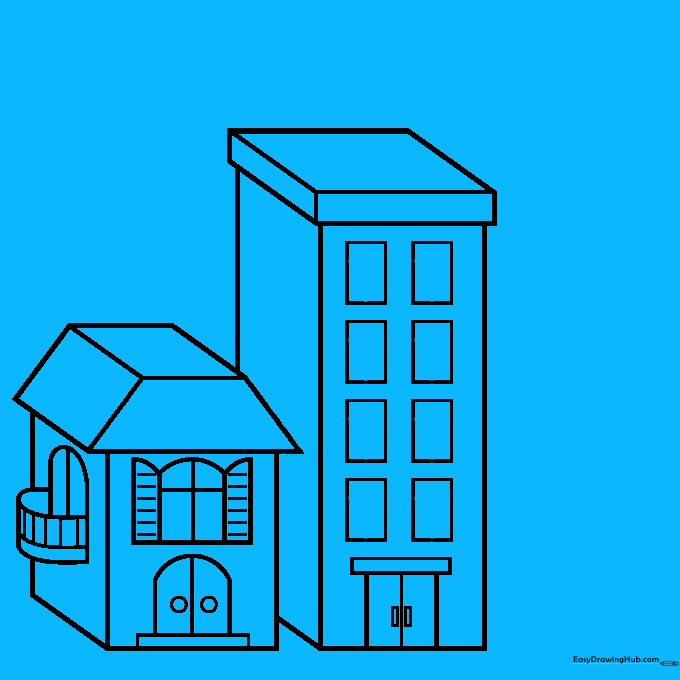
Fill the side of your second building with rectangular windows. Tip: Draw your vertical and horizontal lines carefully to create a grid effect, which makes the windows look realistic.
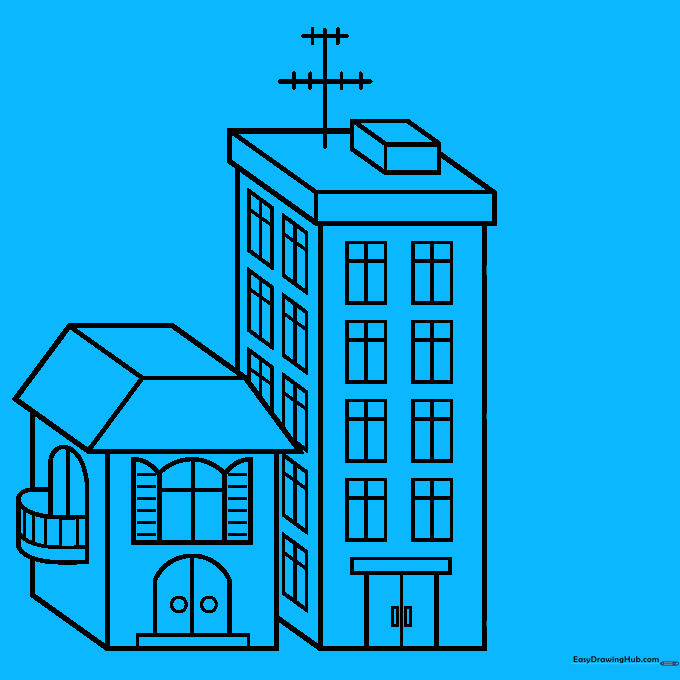
Step 6: Adding the Antenna
Draw a small cube on the roof and add an antenna using a vertical line with small cross-bars. Tip: Keep the antenna thin so it stands out against the larger building shape.
Step 7: Drawing the Third Building
Create a third building with a triangular roof. Tip: Start with a simple triangle and then extend the sides down to give it that 3D depth.
Step 8: Adding a Chimney
Add a small chimney to the roof and some steps leading to the door. Tip: Use small rectangles to create the steps; this adds a nice sense of scale to your drawing.
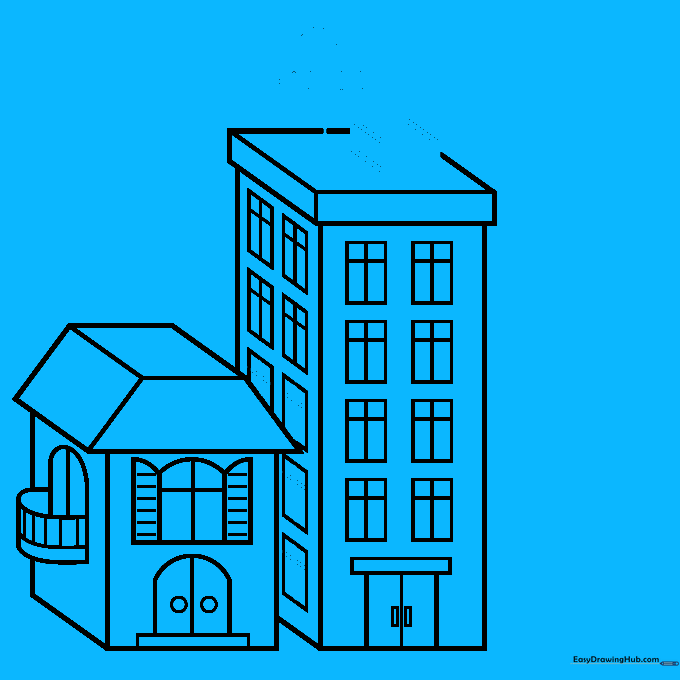
Step 9: Final Details
Finish your city by adding final windows to the last building. Tip: Use 'T' shapes for the window panes to make them look like classic glass frames.
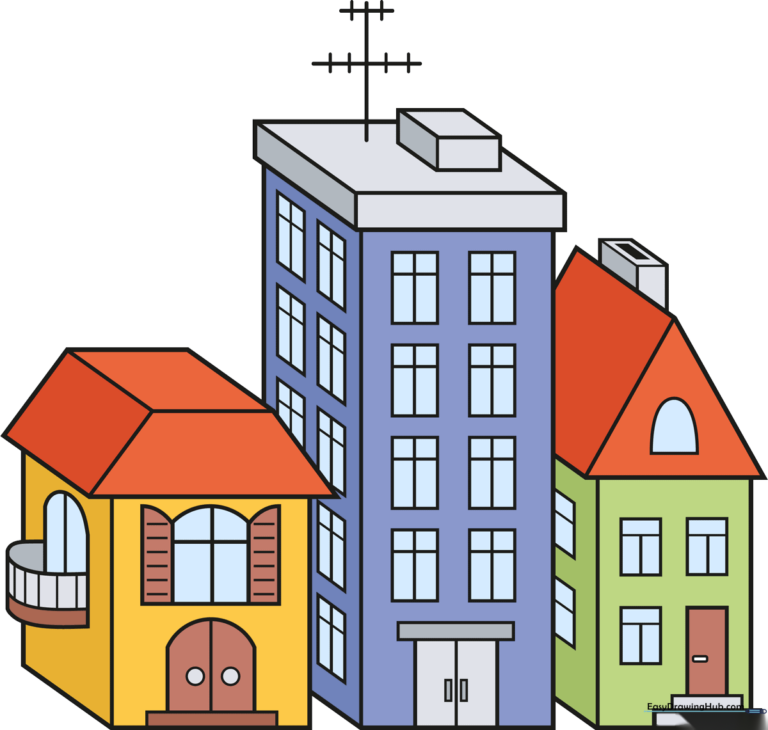
Step 10: Bring Your City to Life with Color

Now for the fun part! Use your favorite colors to fill in your buildings. Tip: Try using different shades for the roofs and walls to make the 3D effect really pop.
More Tutorials


