How to Draw Easter Eggs: Easy 10-Step Guide for Kids
Bring the joy of spring to your sketchbook with this beginner-friendly Easter egg tutorial. Designed for ages 5 and up, this activity requires only a pencil, eraser, and paper to help children practice symmetry and pattern design. Follow along to create a festive scene that is perfect for holiday cards or classroom decorations.
🎯 Final Result

Step-by-Step Instructions
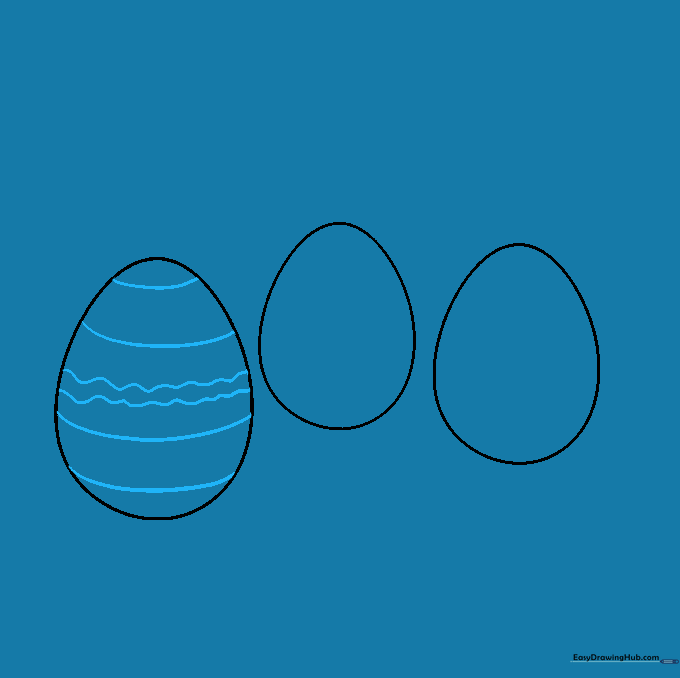
Step 1: Sketching the First Egg

Draw a tall, rounded oval that is slightly narrower at the top. Teacher's Tip: Keep your pencil pressure light so you can easily erase any stray marks later!
Step 2: Adding the Second Egg

Draw a second oval shape next to the first one. Teacher's Tip: Try overlapping them slightly to make your drawing look more natural and three-dimensional.
Step 3: Placing the Third Egg

Add a third oval to complete your group of eggs. Teacher's Tip: Vary the height of the eggs slightly so they don't look like they are standing in a perfectly straight line.
Step 4: Patterning the First Egg
Add horizontal stripes and a wavy line across the first egg. Teacher's Tip: Use a steady hand to keep your lines parallel, which helps the egg look rounder.
Step 5: Zigzag Details

On the second egg, draw parallel curved lines with a zigzag pattern on either side. Teacher's Tip: Zigzags are great for practicing control over sharp, angular pencil movements.
Step 6: Diagonal Stripes
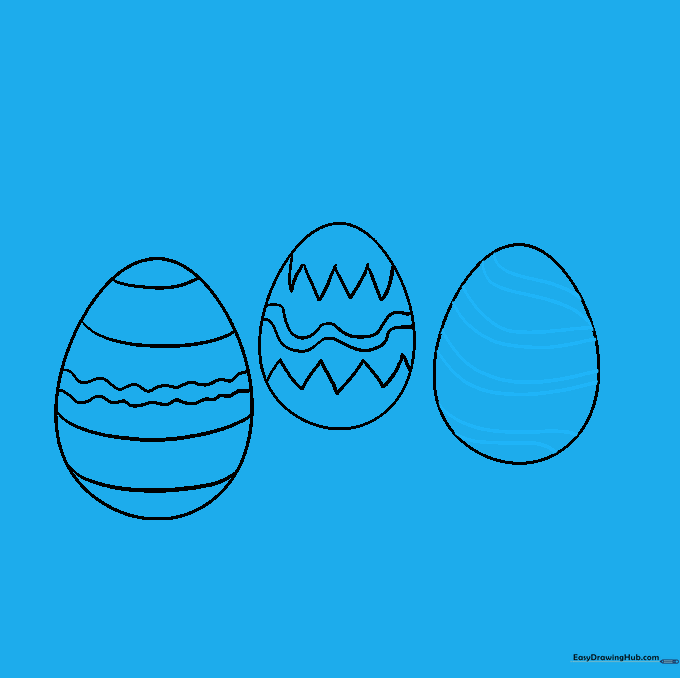
Add a mix of horizontal and diagonal stripes to the third egg. Teacher's Tip: Don't worry if they aren't perfect; Easter eggs are meant to be fun and unique!
Step 7: Adding Floral Motifs
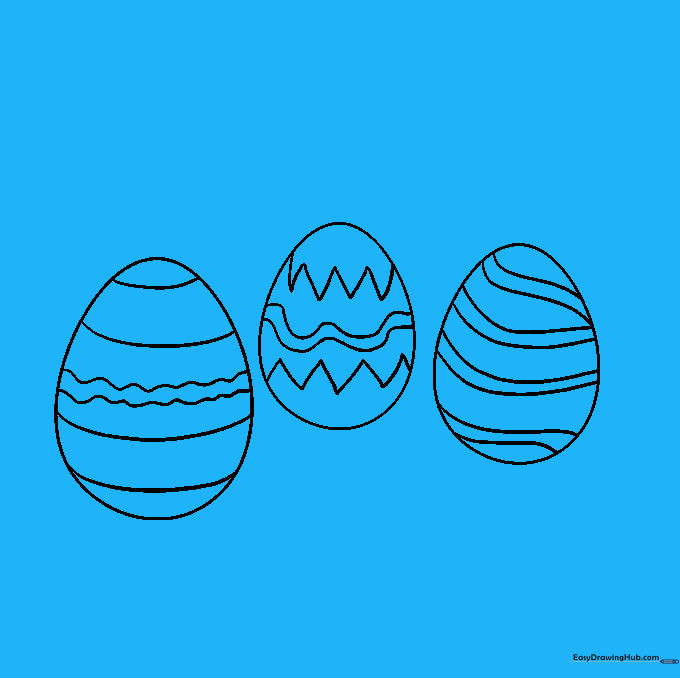
Draw small flowers using 'U' shapes for petals on the first egg, and add polka dots to the second. Teacher's Tip: Keep your circles small to make the eggs look more detailed.
Step 8: Final Decorative Touches

Add stars and wavy lines to the third egg to fill the empty spaces. Teacher's Tip: Stars can be tricky, so try drawing a small 'X' first and then connecting the points.
Step 9: Drawing the Grass

Use short, upward-curving lines at the base of the eggs to create grass. Teacher's Tip: Vary the length of your grass strokes to make it look like a natural meadow.
Step 10: Adding Color

Bring your drawing to life with bright, spring-inspired colors! Teacher's Tip: Use colored pencils or markers to fill in your patterns, and try using contrasting colors for the stripes to make them pop.
More Tutorials


