How to Draw Earrings: Easy 9-Step Guide for Beginners
Ready to design your own jewelry? This tutorial is perfect for ages 6+ and requires only a pencil, eraser, and paper. You will learn how to balance shapes and create symmetrical designs, building the foundation for more complex fashion illustrations.
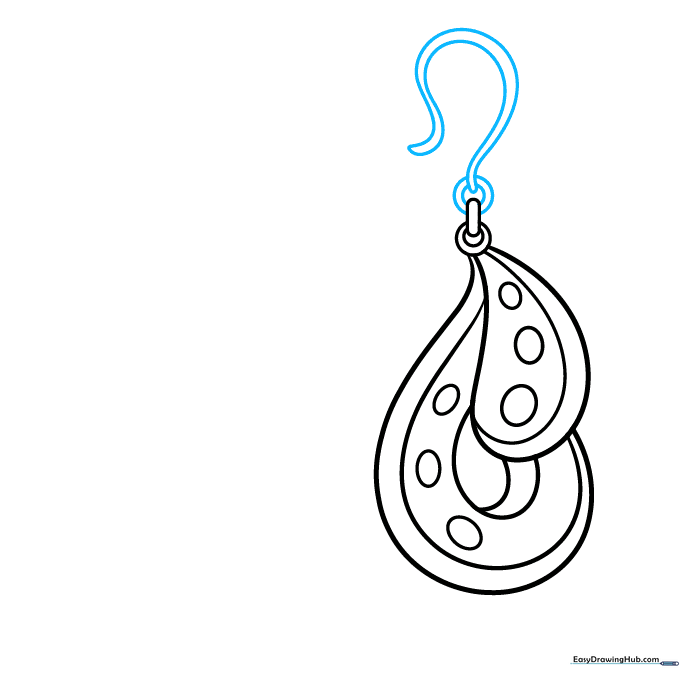
🎯 Final Result

Step-by-Step Instructions
Step 1: Sketching the Base Pendants
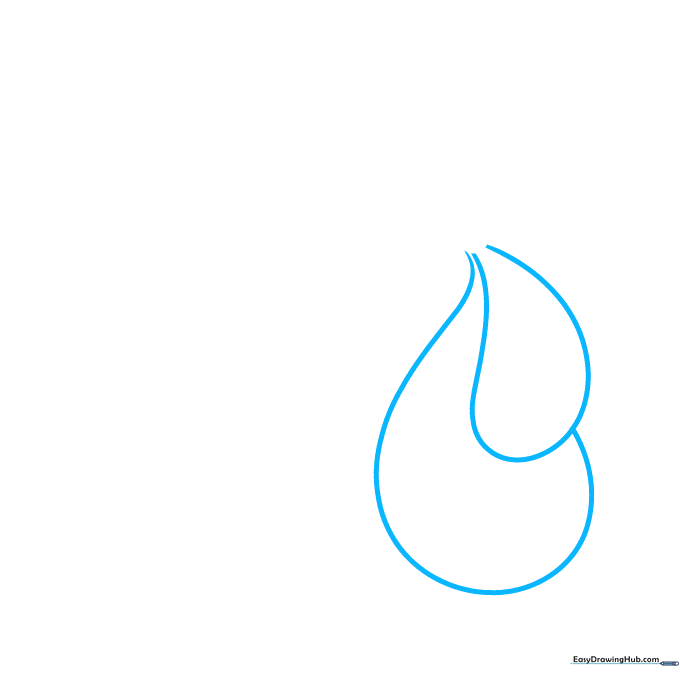
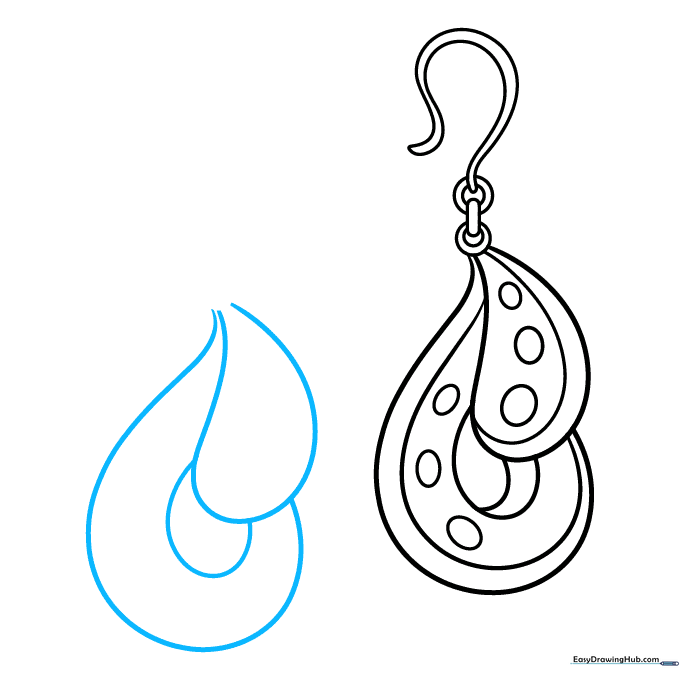
Start by drawing two overlapping teardrop shapes, one slightly larger than the other. Teacher's Tip: Keep your pencil pressure very light here so you can easily adjust the size later.
Step 2: Adding Depth Lines
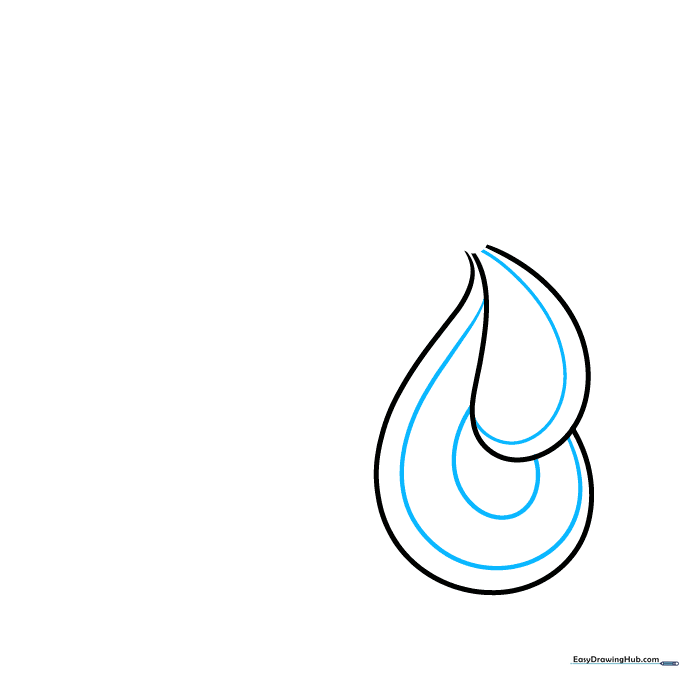
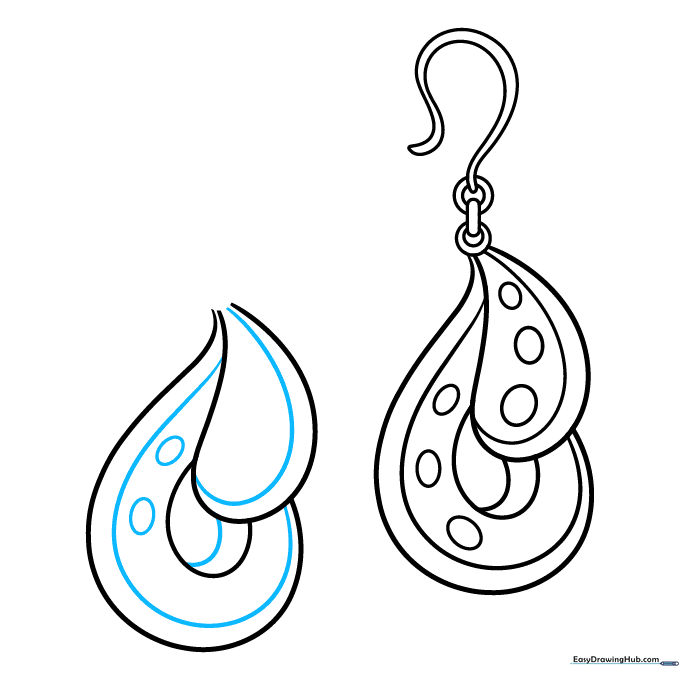
Draw a curved line parallel to the edge of the smaller pendant, and two parallel curves through the larger one. This creates the illusion of a curved, 3D surface.
Step 3: Creating Cut-outs and Gems
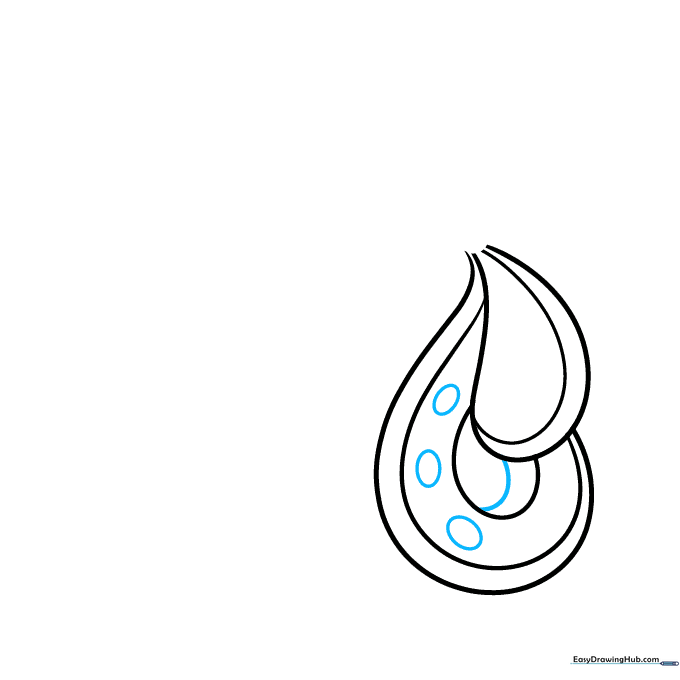
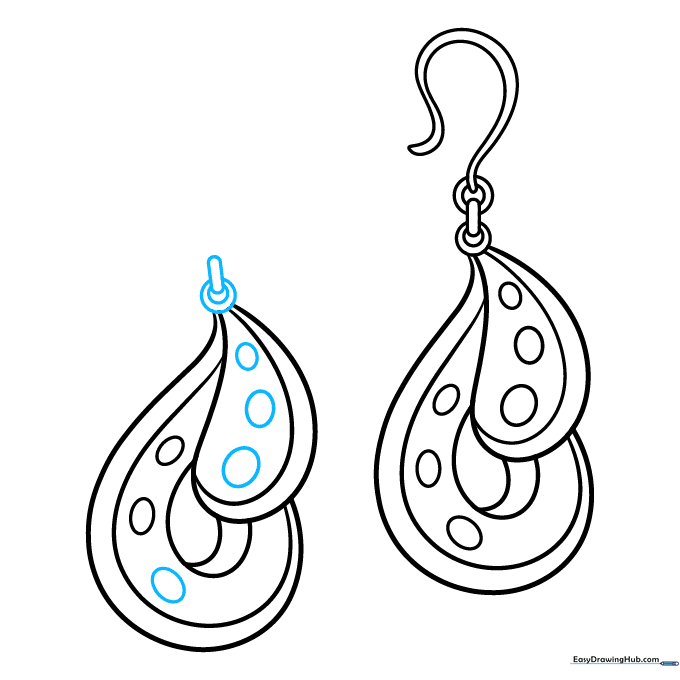
Draw a curved triangle inside the larger pendant to represent a cut-out. Then, add three small ovals to act as decorative stones. Tip: Try to space the ovals evenly for a professional look.
Step 4: Designing the Hardware
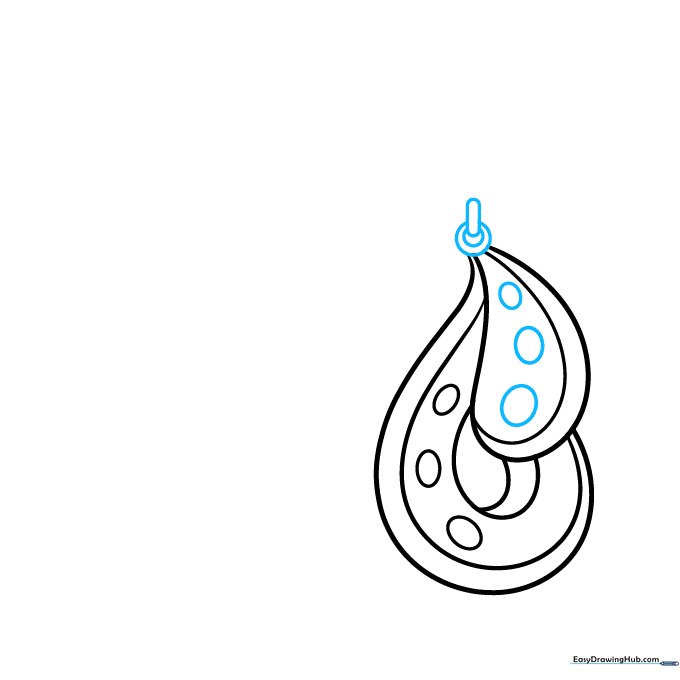
Add three smaller ovals to the top pendant. Above this, draw a rounded rectangle with two circles passing through it to represent the earring findings.
Step 5: Drawing the Ear Hook
Draw a 'U' shaped wire hook at the top. Connect it to the earring with a small circle. Tip: Make sure the hook looks wide enough to fit through an earlobe!
Step 6: Mirroring the Second Earring
Now, repeat the process to draw the second earring. Symmetry is key in jewelry design, so try to match the size and shape of the first one as closely as possible.
Step 7: Detailing the Pair
Add the same curved lines and oval details to the second earring that you added to the first. Consistency makes your drawing look professional.
Step 8: Finalizing the Details
Complete the second earring by adding the remaining ovals and the hardware at the top. Double-check that all your lines are connected.
Step 9: The Final Hook
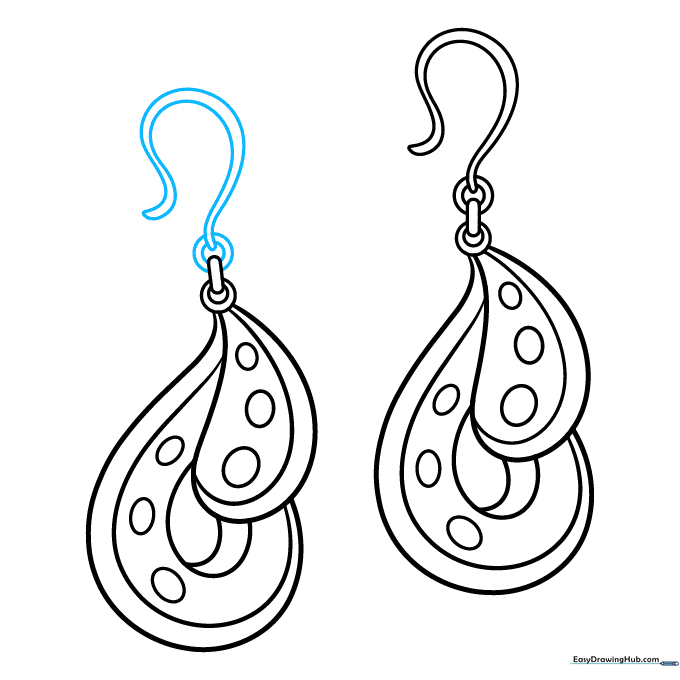
Finish the second earring by drawing the final hook. Now, go over your lines with a darker pencil or pen to make your design pop!
Step 10: Add Color
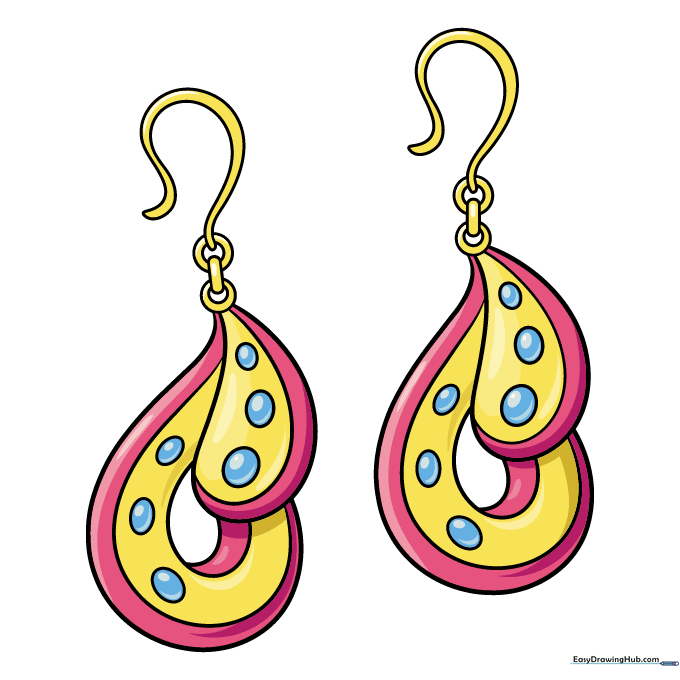
Time to shine! Use bright colors for the gems and metallic shades like gold or silver for the hardware. Tip: Use a lighter color on one side of the gems to make them look like they are reflecting light.
More Tutorials


