How to Draw Drips: Easy 10-Step Cartoon Guide
Master the art of drawing liquid drips with this beginner-friendly tutorial, perfect for artists ages 5 and up. All you need is a pencil, an eraser, and a piece of paper to bring your cartoons to life. Follow these steps to learn how to create convincing, three-dimensional liquid effects.
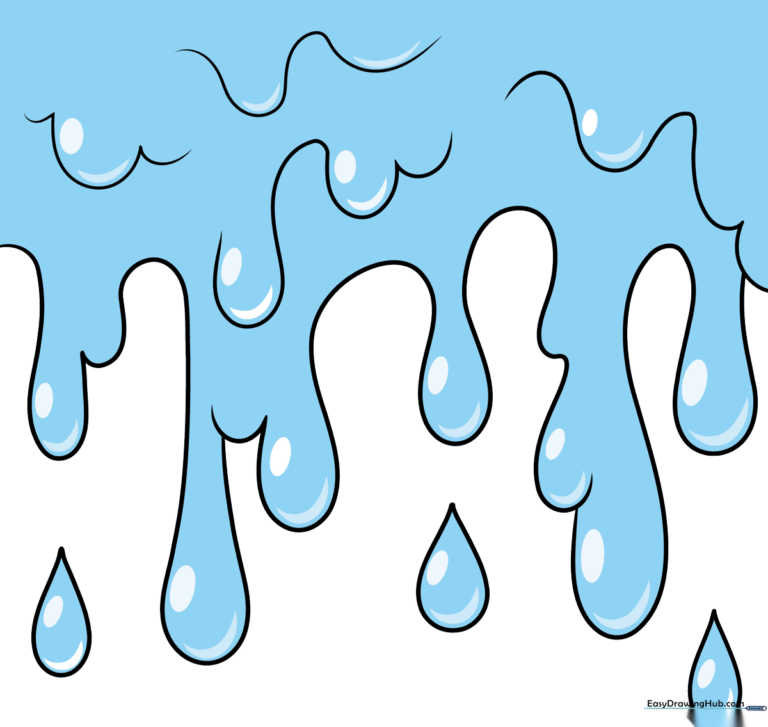
🎯 Final Result
Step-by-Step Instructions
Step 1: Sketching the Initial Drip
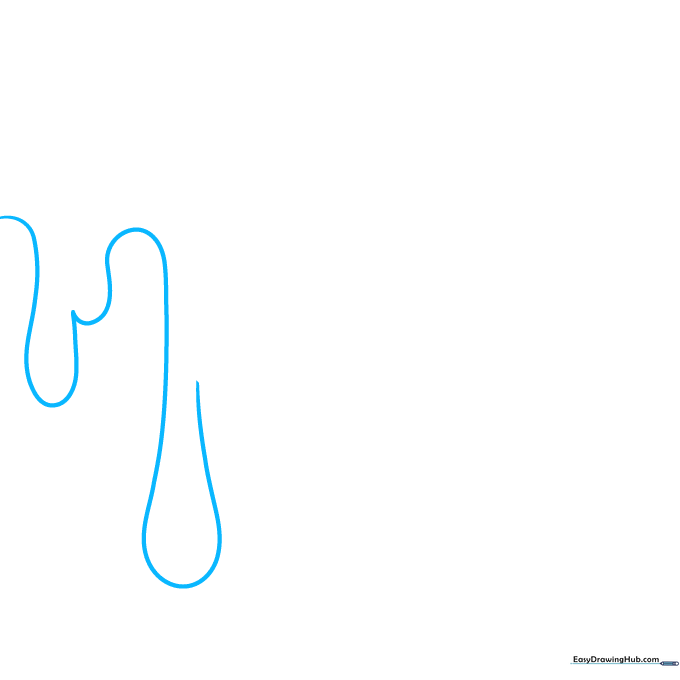
Begin by drawing a series of long, curved lines that loop back on themselves to form teardrop shapes. Teacher's Tip: Keep your pencil pressure light so you can easily adjust the shapes if they look a bit lopsided.
Step 2: Adding Overlapping Drips
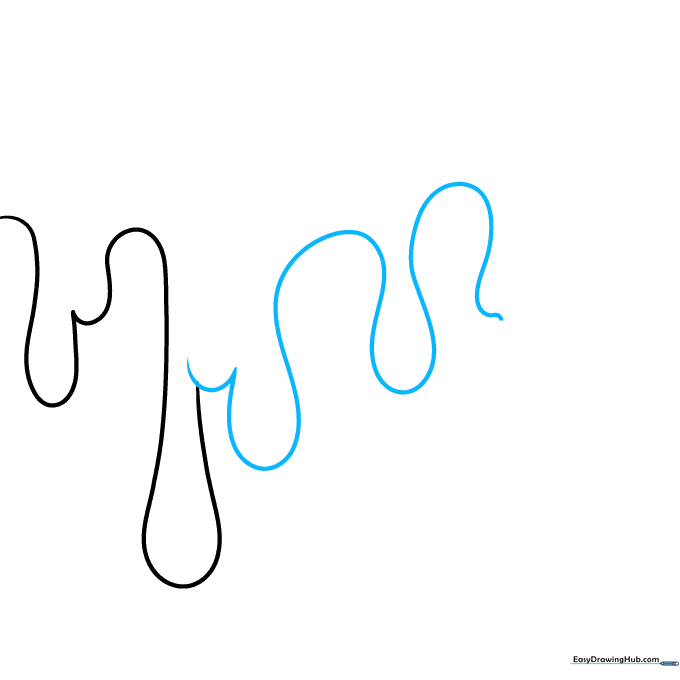
Draw a short curved line overlapping the top of your first drip. Continue adding more long, looping lines to create a cluster of drips. Teacher's Tip: Varying the length of these lines makes the liquid look more natural and organic.
Step 3: Expanding the Drip Pattern
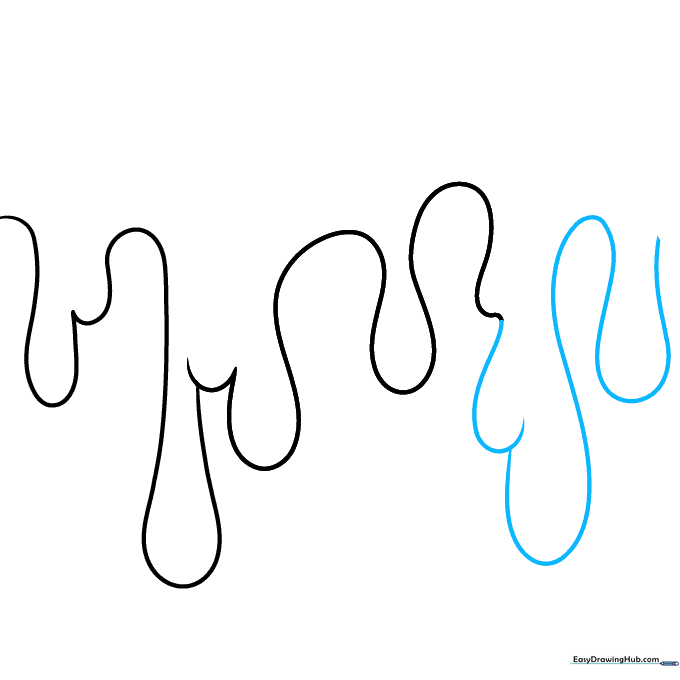
Continue drawing curved lines across your page, letting them overlap to build a larger drip pattern. Teacher's Tip: Don't worry about perfection; liquid is fluid, so irregular shapes actually look more realistic.
Step 4: Creating the Top Edge
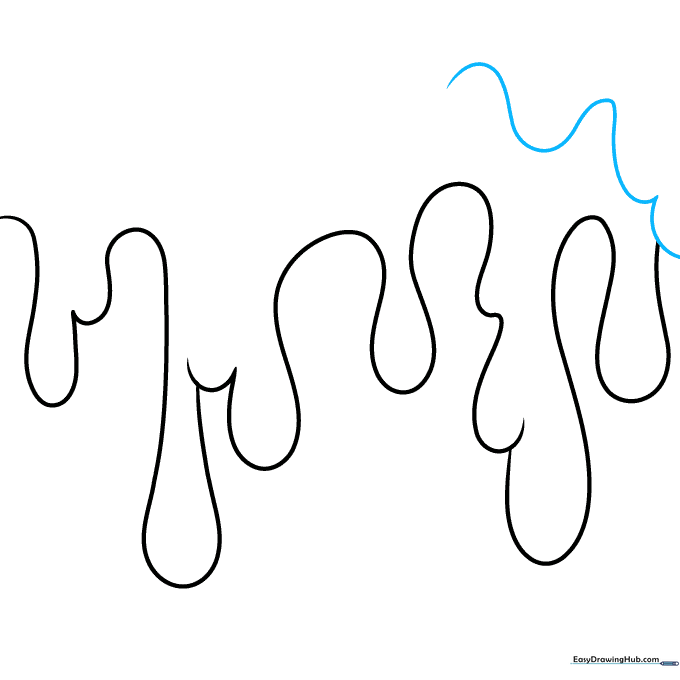
Draw a wavy line above your drips, connecting it to the open ends of your shapes. Teacher's Tip: Imagine this is the surface of the liquid before it spills over the edge.
Step 5: Adding Depth to the Surface
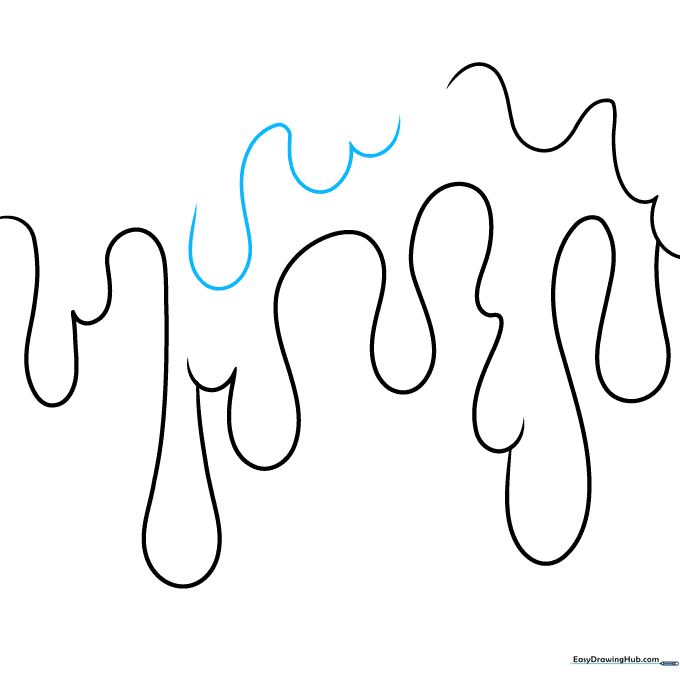
Draw another long, wavy line above the first one, doubling back on itself to create a sense of volume. Teacher's Tip: This line represents the thickness of the liquid layer.
Step 6: Refining the Texture
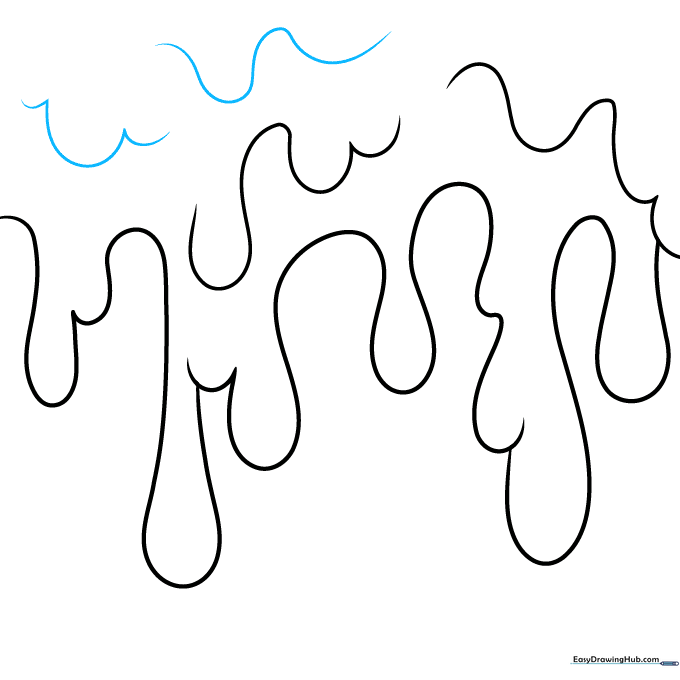
Add more wavy lines and 'U' shapes above your drips to add texture and detail. Teacher's Tip: Use these extra lines to make the liquid look like it's bubbling or moving.
Step 7: Drawing Detached Droplets
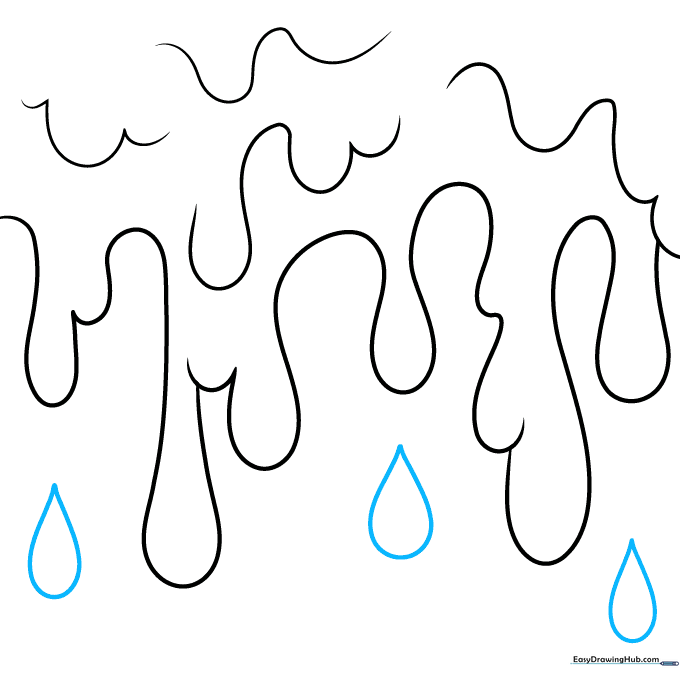
Draw small, separate teardrop shapes below your main drips. Teacher's Tip: These represent droplets that have splashed away, adding dynamic energy to your drawing.
Step 8: Adding Highlights for 3D Effect
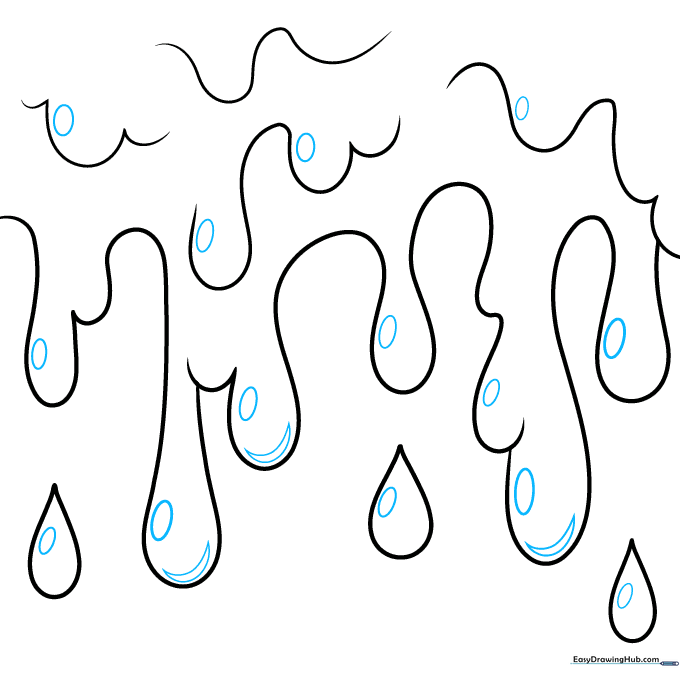
Draw small ovals near the top of each drip to show light reflection. Add crescent shapes at the bottom of the larger drips. Teacher's Tip: These highlights are the secret to making your drawing look shiny and wet!
Step 9: Finalizing the Highlights
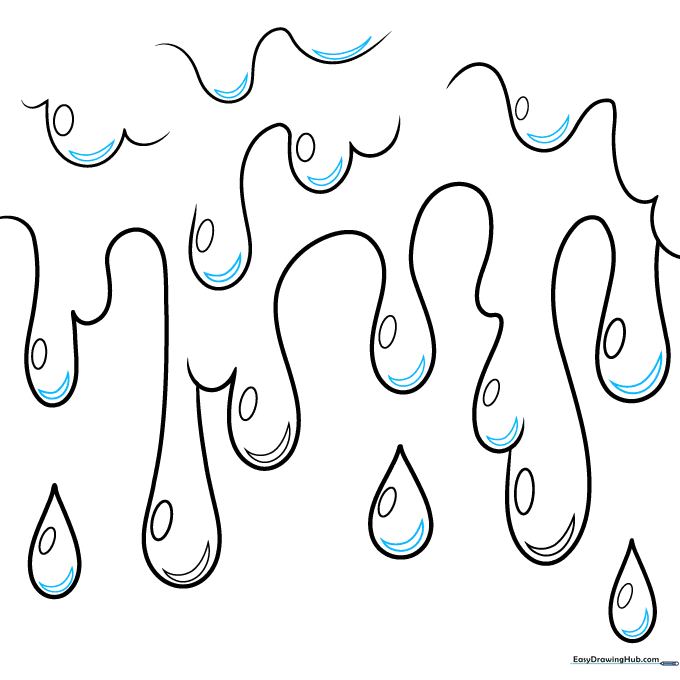
Draw crescent shapes parallel to the bottom of the remaining drips using two curved lines that meet at sharp points. Teacher's Tip: Ensure your lines are smooth to maintain the 'liquid' look.
Step 10: Coloring Your Drips

Your outline is complete! Now, add color. Use blue for water, green for slime, or brown for chocolate. Teacher's Tip: Use a slightly darker shade of your chosen color near the edges to give it even more depth.
More Tutorials


