How to Draw Drift from Fortnite: Easy 10-Step Guide
Ready to bring the iconic Drift character to life? This tutorial is designed for young artists and fans looking to master character proportions using basic shapes. Grab your pencil, eraser, and paper to start sketching this legendary Fortnite hero today.
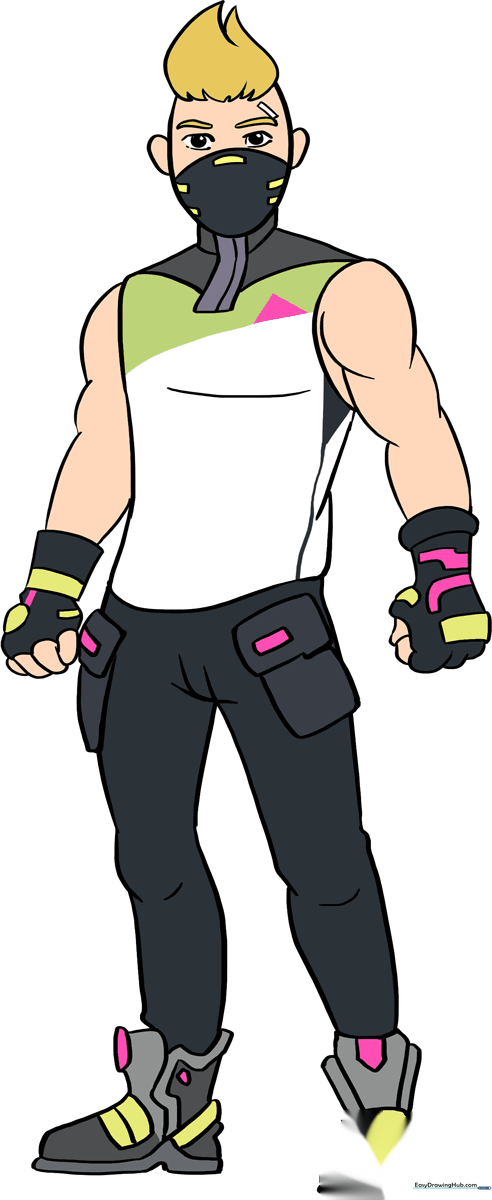
🎯 Final Result
Step-by-Step Instructions
Step 1: Sketching the Head

Start by drawing a light oval to serve as the base for Drift’s head. Teacher's Tip: Keep your pencil strokes very faint so you can easily erase the guidelines later once we add the mask details.
Step 2: Defining the Neck and Torso
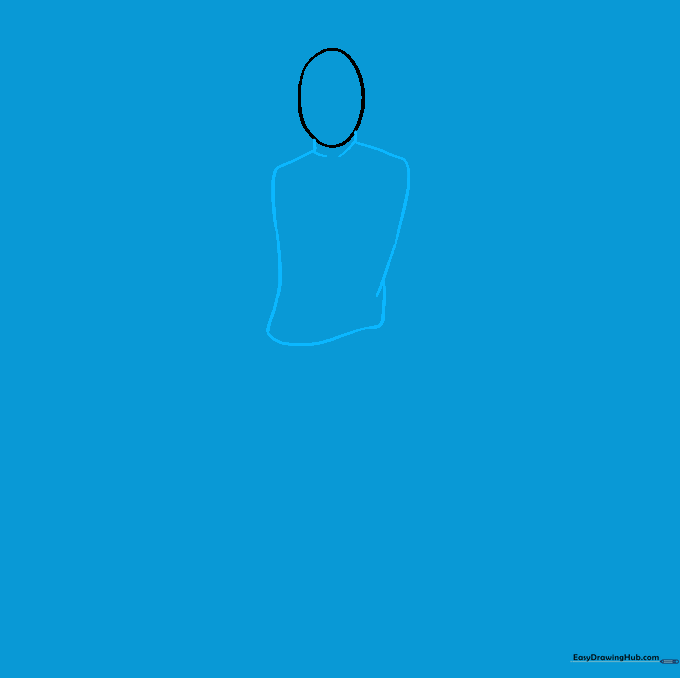
Add two short curved lines at the base of the head for the neck, then sketch a loose rectangle beneath it for the torso. Tip: Think of this as a simple box that will hold the character's posture.
Step 3: Sketching the Legs
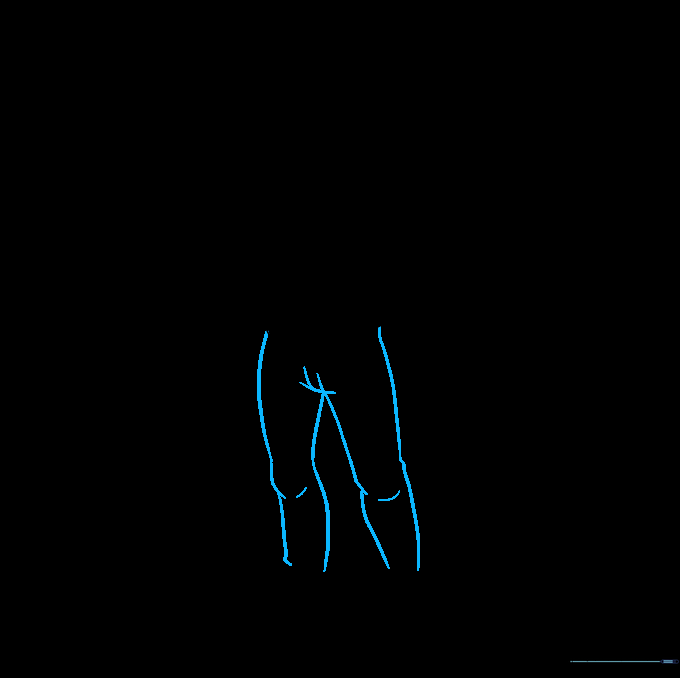
Use long, sweeping curved lines to outline the legs. Make sure to include a slight inward curve at the knee to give the character a natural, standing stance.
Step 4: Drawing the Shoes
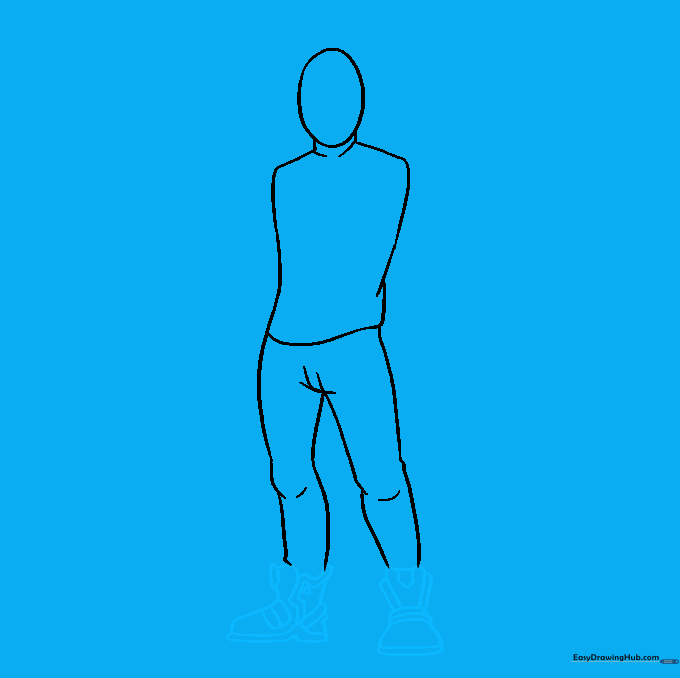
Draw the shoes using a combination of triangles for the tongues and half-circles for the main body. Tip: Focus on the geometric shapes first; it makes drawing complex footwear much easier for beginners.
Step 5: Adding Pockets
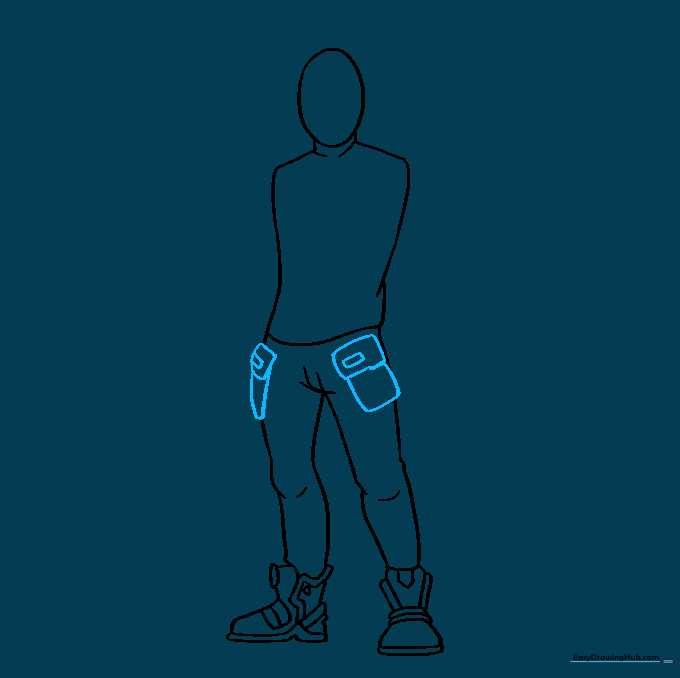
Sketch rounded rectangles on the legs to represent pockets. Erase any overlapping guide lines inside the pockets to keep your drawing clean and professional.
Step 6: Detailing the Mask and Hair
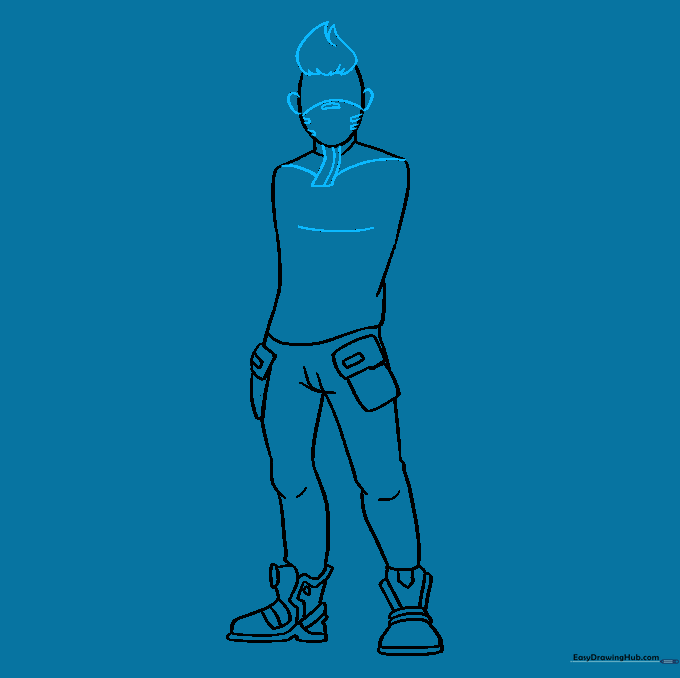
Draw flame-like spikes for the hair and a curved line across the face for the mask. Add small 'C' shapes for the ears. Tip: Use quick, confident strokes for the hair to give it that energetic, spiky look.
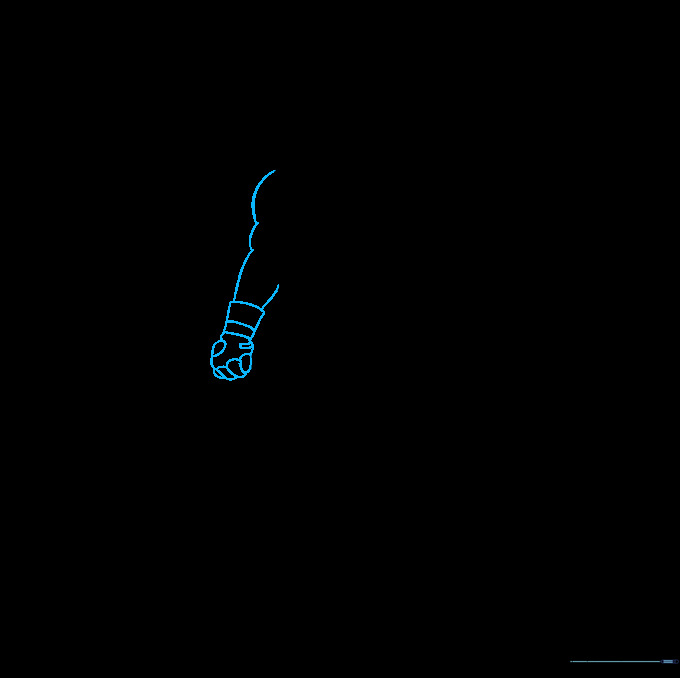
Step 7: Drawing the First Arm
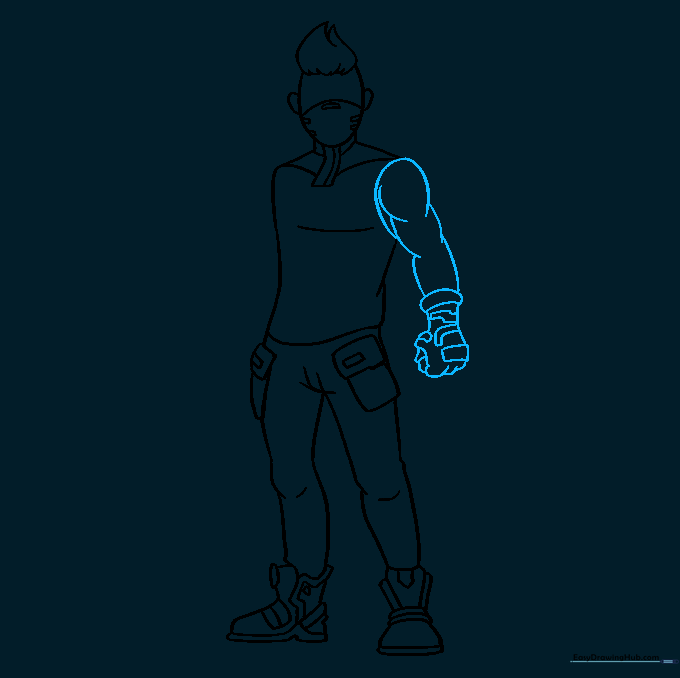
Use overlapping curved lines to define the arm muscles and the glove. Tip: Keep the lines rounded to make the character look more muscular and dynamic.
Step 8: Drawing the Second Arm
Repeat the process for the second arm, ensuring the glove matches the style of the first. Consistency is key here—try to keep the arm length similar to maintain balance.
Step 9: Final Facial Details
Add the eyes using shaded circles and draw the eyebrows. Don't forget the small scar detail above the eye to give Drift his signature look. Tip: Use a sharp pencil for these small details to keep them clean.
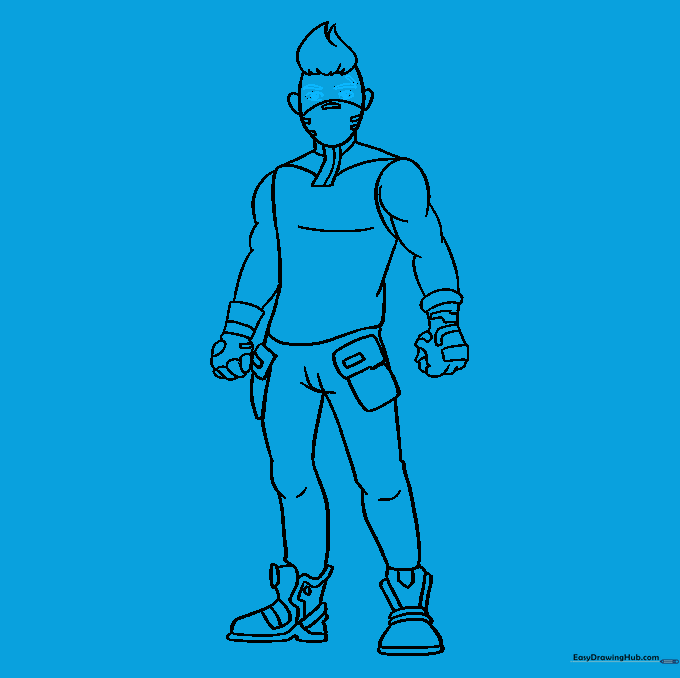
Step 10: Bringing Drift to Life with Color
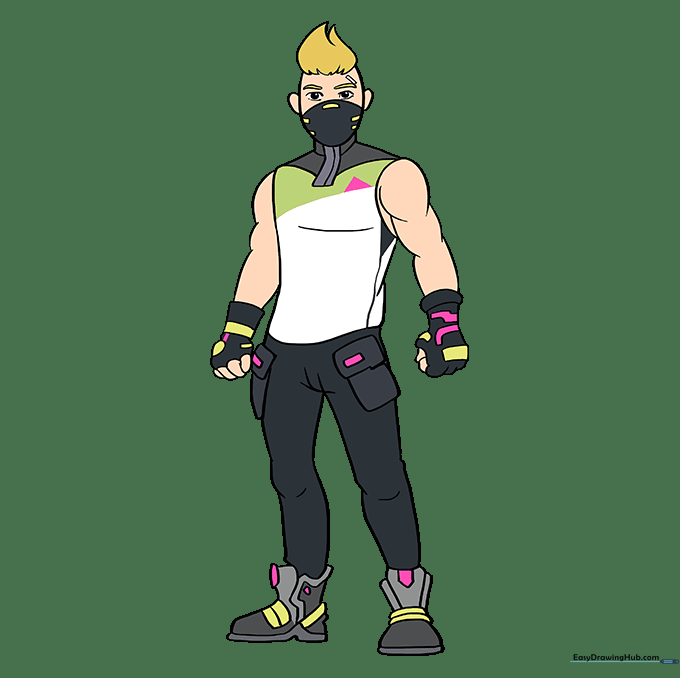
Time to color! Use black, white, gold, and pink to match Drift’s iconic outfit. Tip: Use light pressure with your colored pencils to build up the color gradually for a smooth finish.
More Tutorials


