How to Draw Dreadlocks: Simple Step-by-Step Guide
Ready to add some style to your character designs? This tutorial is perfect for artists ages 7+ looking to master drawing textured hair. All you need is a pencil, an eraser, and a piece of paper to get started on this fun, skill-building activity.
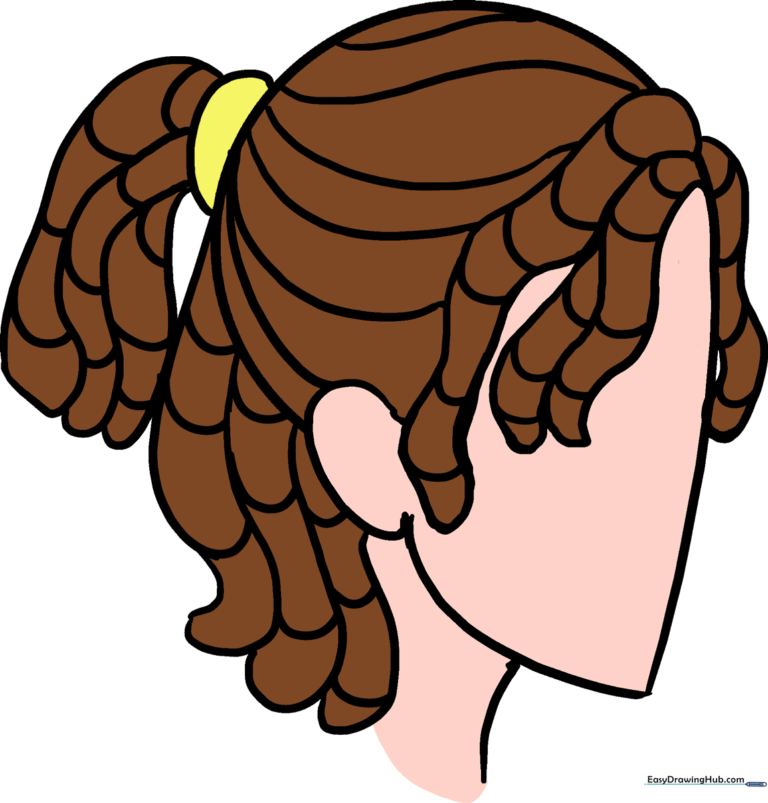
🎯 Final Result
Step-by-Step Instructions
Step 1: Sketching the Head Base

Draw a light circle to serve as the skull. Teacher's Tip: Keep your pencil strokes very faint here; this is just a guide, and you'll want to erase it later once the hair is in place.
Step 2: Defining the Jawline
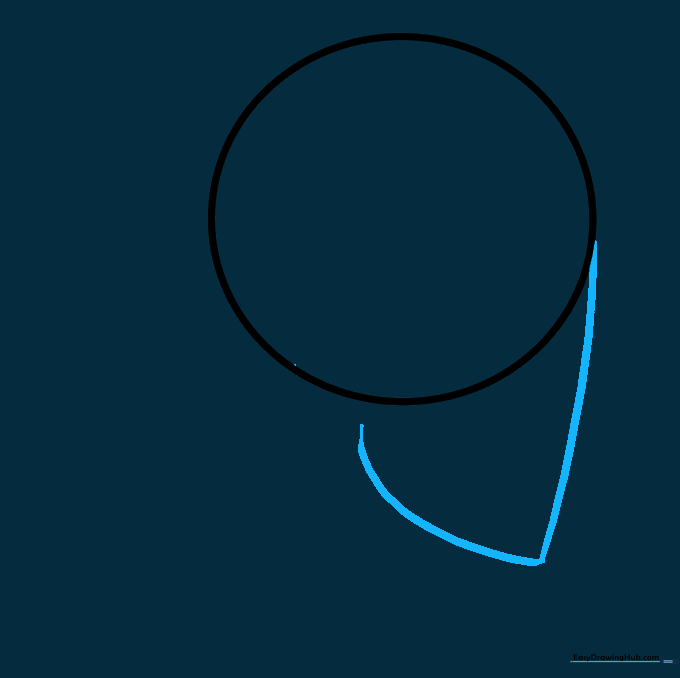
Extend a long, slightly curved line down from the circle, then curve it back up to create the chin. Teacher's Tip: Think of this as drawing a soft 'U' shape to give your character a natural, rounded jaw.
Step 3: Establishing the Hairline and Ear
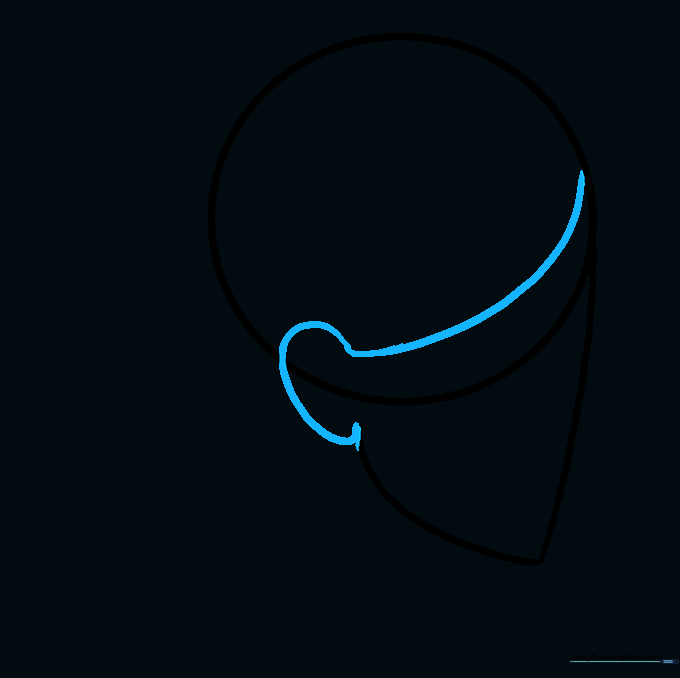
Draw a curved line across the lower part of the circle to mark where the hair begins, then add a small ear shape on the side. Teacher's Tip: Keep the ear simple—a small 'C' shape is all you need at this stage.
Step 4: Cleaning the Canvas

Carefully erase the internal guide lines from the circle. Teacher's Tip: Use a kneaded eraser if you have one; it’s gentler on the paper and won't leave messy crumbs behind.
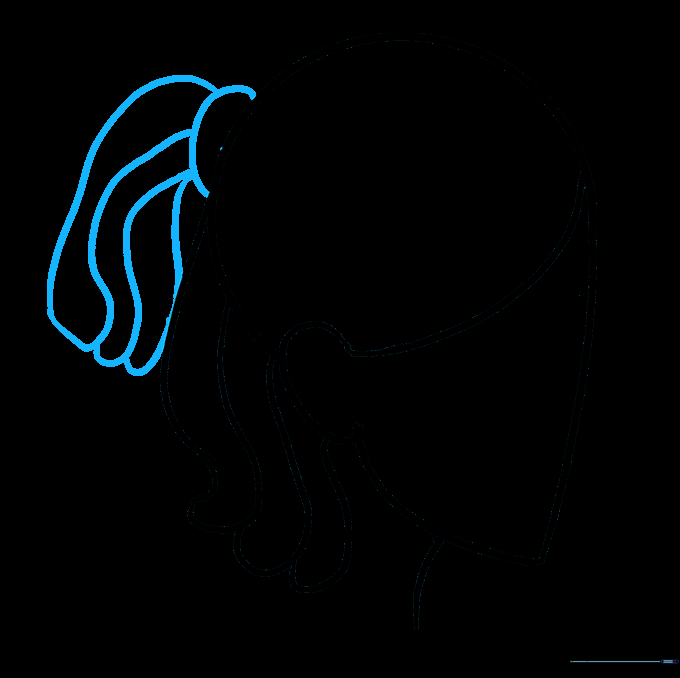
Step 5: Sketching the First Dreads
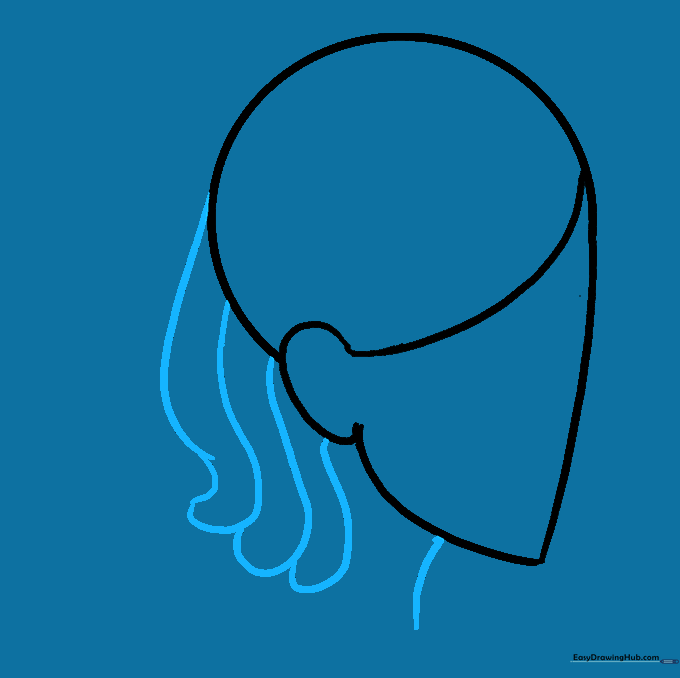
Draw several parallel 'S' shaped lines behind the ear, connecting them at the bottom with small curves. Teacher's Tip: Vary the length of these lines to make the hair look more natural and flowy.
Step 6: Adding the Hair Tie
Draw a small semicircle at the top of the head for a hair tie, then add more dreads flowing from it. Teacher's Tip: Imagine the hair is gathered at a single point; this helps keep your lines organized.
Step 7: Framing the Forehead
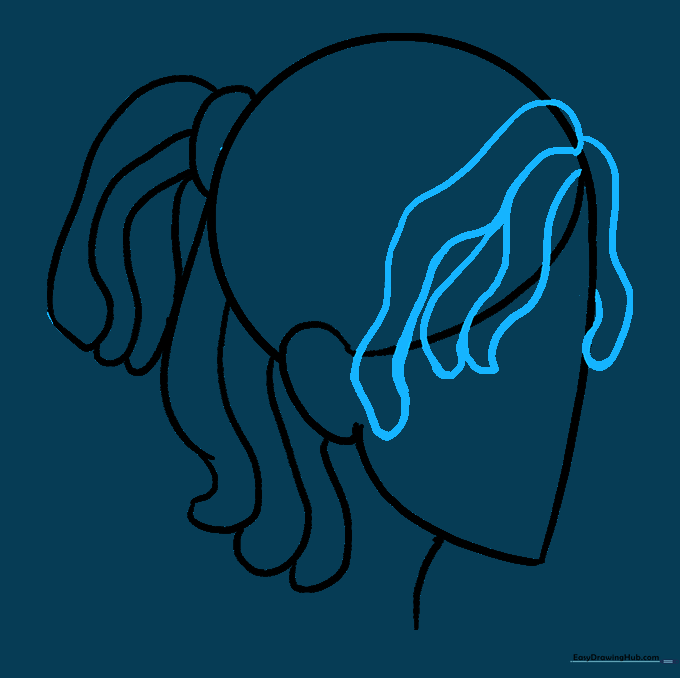
Add a few shorter dreads falling over the forehead. Teacher's Tip: Use shorter, tighter curves here to show the hair is framing the face rather than hanging down the back.
Step 8: Final Cleanup
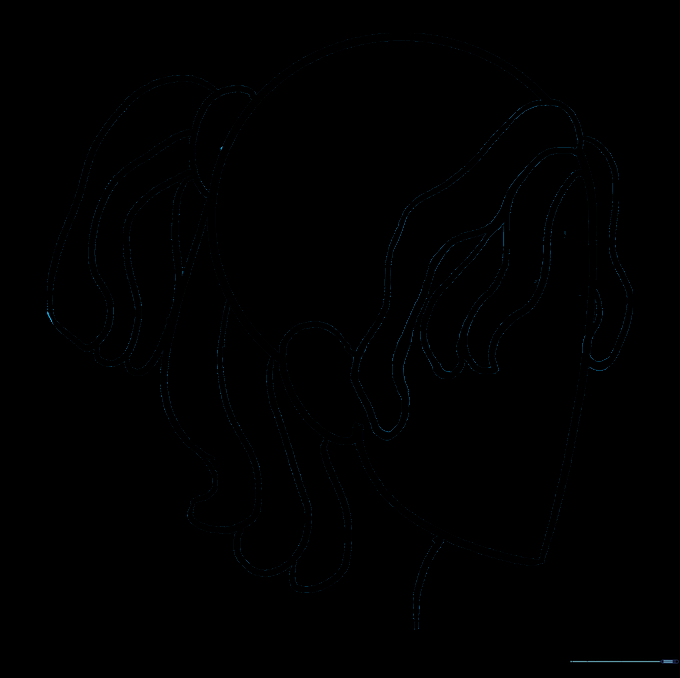
Erase any remaining construction lines to reveal your clean character outline. Teacher's Tip: Take a moment to check your lines—if any look too dark, soften them with your eraser.
Step 9: Adding Texture and Detail
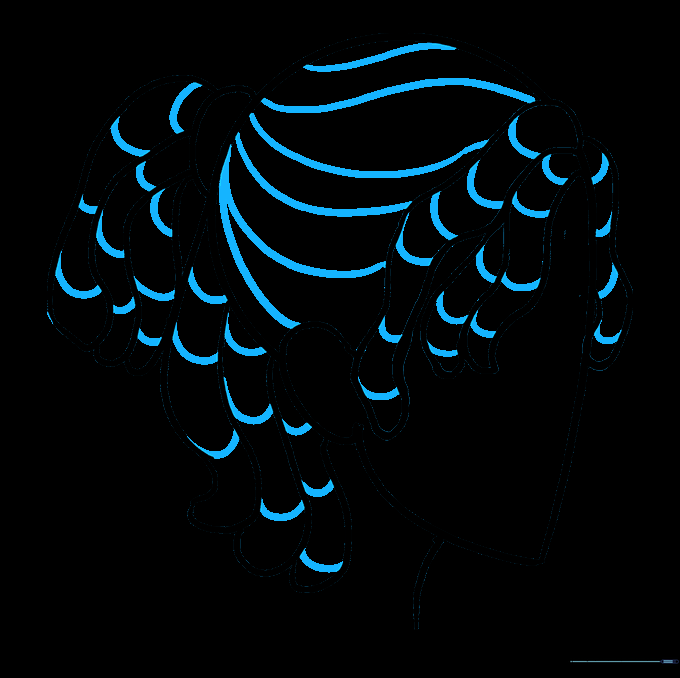
Draw wavy lines across the scalp and small horizontal curves on each dreadlock to show texture. Teacher's Tip: These small details make the hair look cylindrical and realistic rather than flat.
Step 10: Bring Your Drawing to Life with Color
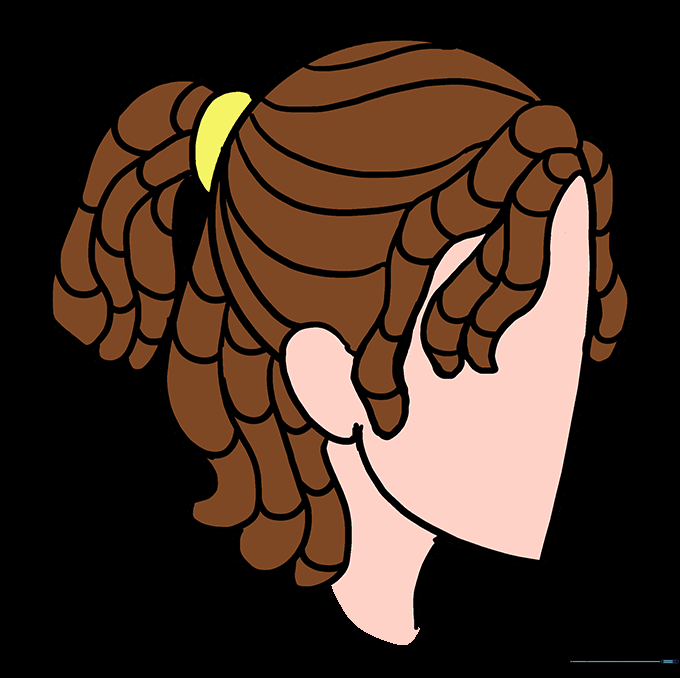
Color your character! Use different shades to add depth to the hair. Teacher's Tip: Try using a darker color for the shadows between the dreads to make them pop off the page.
More Tutorials


