How to Draw a Dragon Eye: Easy 10-Step Fantasy Art Guide
Unlock your inner fantasy artist with this step-by-step dragon eye tutorial, perfect for ages 7 and up. You only need a pencil, an eraser, and a piece of paper to bring this mythical creature to life. Follow along to learn how to layer scales and create a piercing, reptilian gaze.
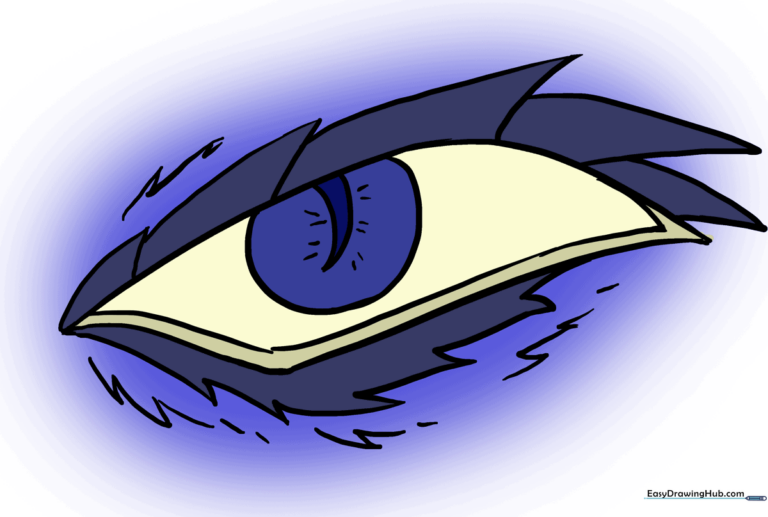
🎯 Final Result
Step-by-Step Instructions
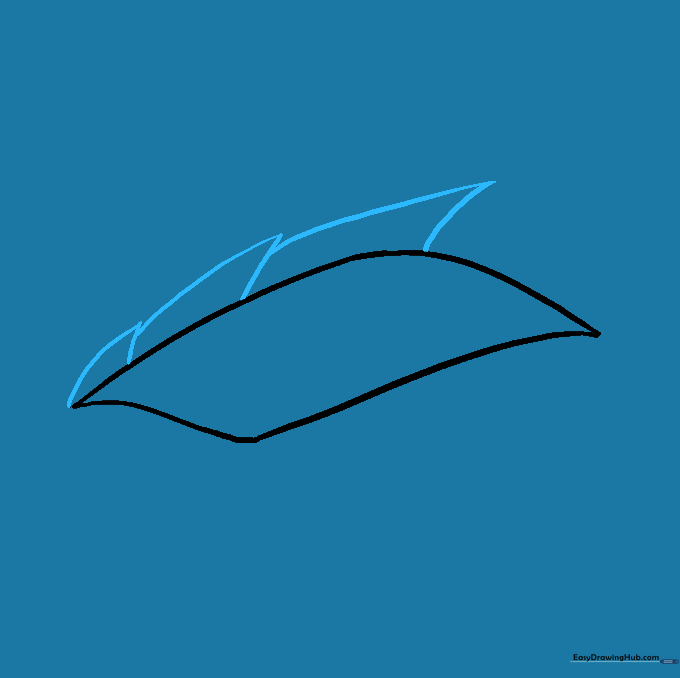
Step 1: Sketching the Upper Lid

Begin by drawing a long, gentle curve to outline the top of the eye. Teacher's Tip: Keep your pencil pressure light so you can easily adjust the shape later if it looks too flat.
Step 2: Defining the Eye Shape

Draw a second curved line below the first, meeting at the corners to create a pointed, almond-like shape. Tip: Aim for a slightly rectangular, angular look to give the dragon a more intimidating, non-human appearance.
Step 3: Adding the Brow Ridge Scales
Draw three overlapping curved shapes above the eye to form the brow ridge. Tip: Think of these as small, protective shields; keep the lines sharp where they meet to emphasize the texture of dragon scales.
Step 4: Drawing the Lower Scales
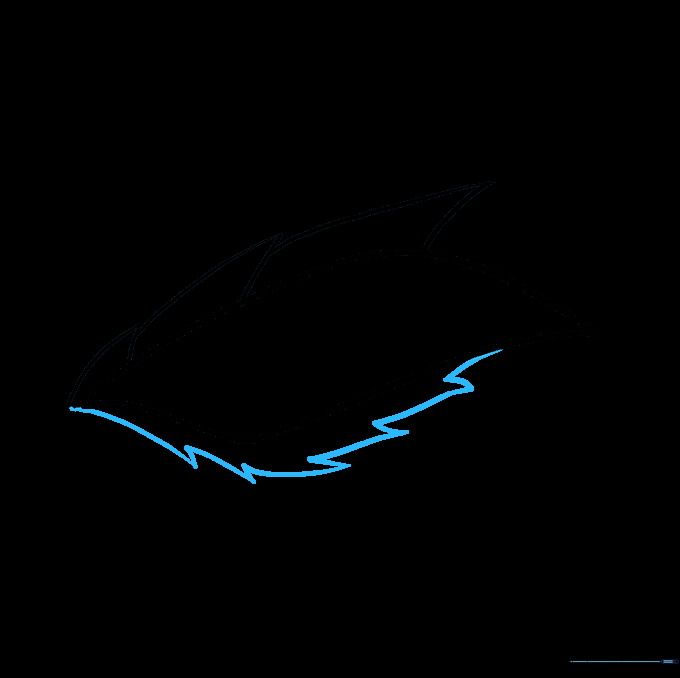
Create a series of jagged, connected lines beneath the eye to represent the lower scales. Tip: Vary the size of your 'v' shapes to make the skin look organic and tough rather than perfectly uniform.
Step 5: Adding Side Scales

Add two overlapping curved triangles near the back corner of the eye. Tip: These scales help transition the eye into the rest of the dragon's face, so don't worry if they look slightly asymmetrical.
Step 6: Sketching the Pupil
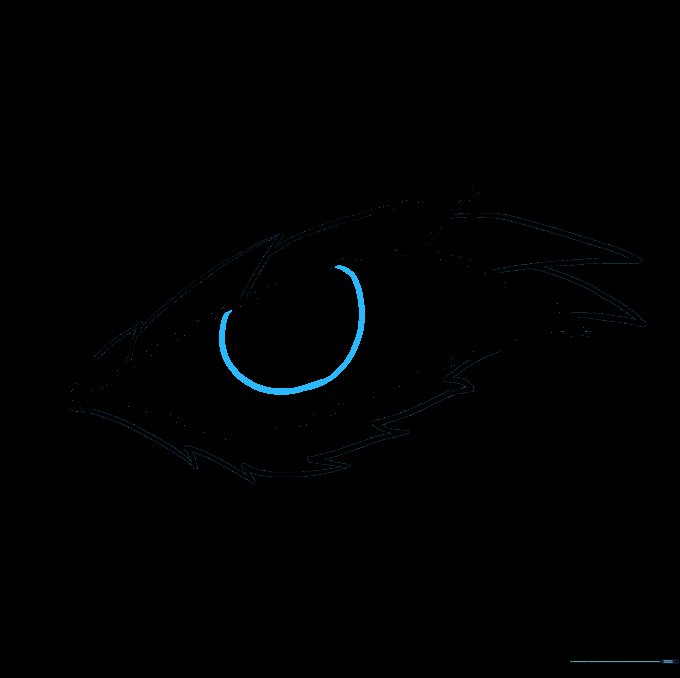
Draw a large circle inside the eye to serve as the base for the pupil. Tip: Position it slightly off-center to give the dragon a more alert, watchful expression.
Step 7: Refining the Slit Pupil
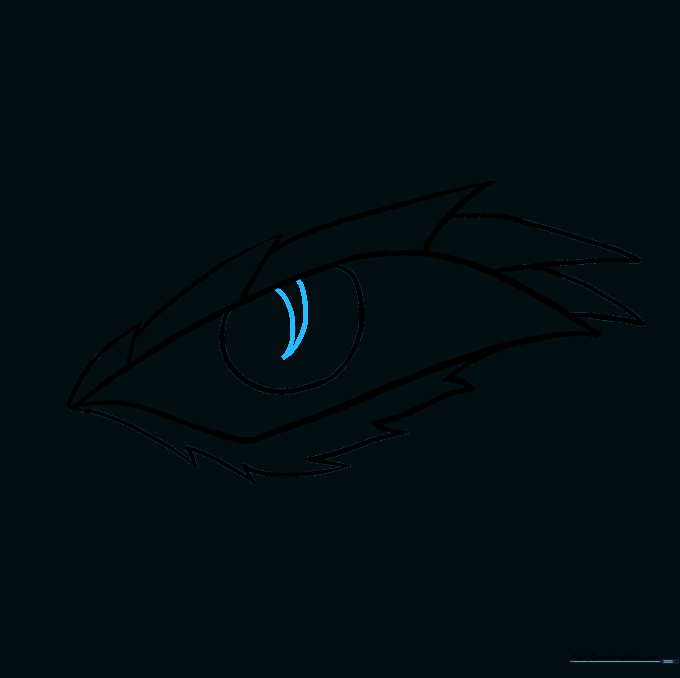
Draw two curved lines inside the circle to create a narrow, vertical slit. Tip: This 'cat-eye' shape is what makes the dragon look truly magical and predatory.
Step 8: Adding Texture Details
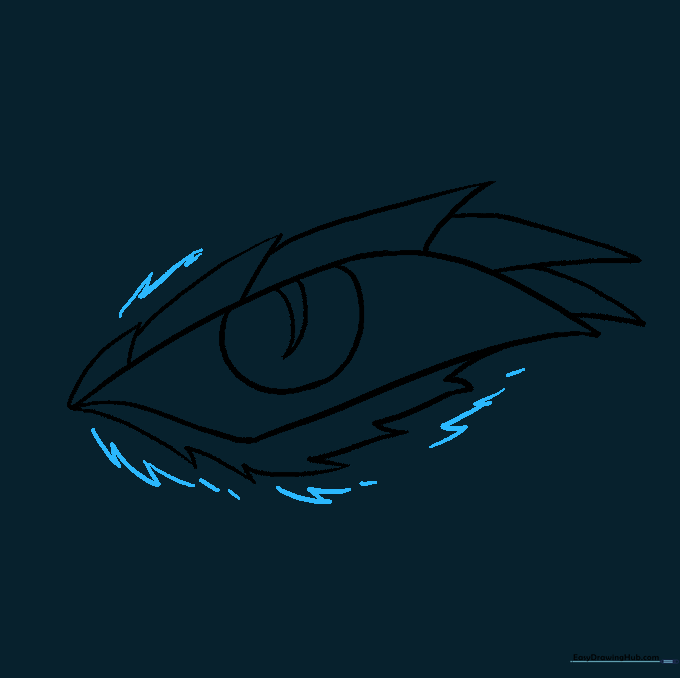
Add short, jagged lines around the eye to suggest rough skin texture. Tip: Use quick, flicking motions with your pencil to make the scales look naturally weathered.
Step 9: Finalizing the Details
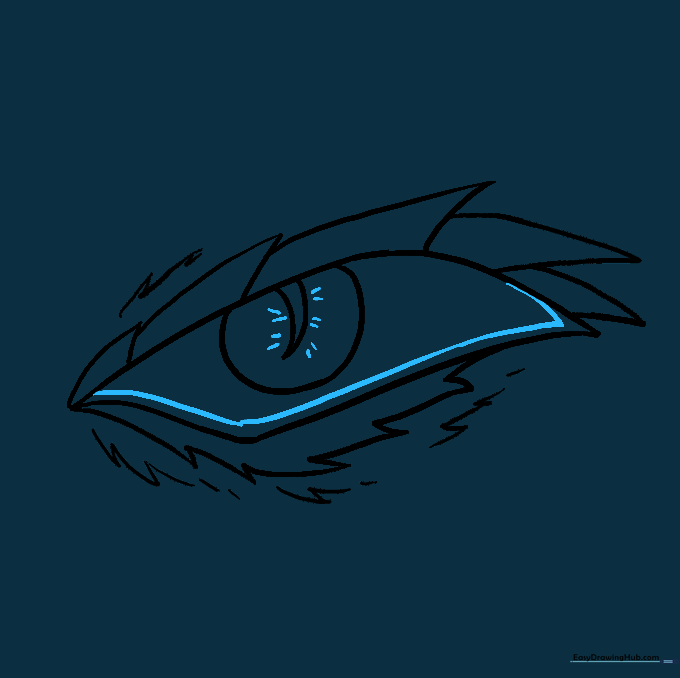
Draw a parallel line along the bottom to create a waterline, and add small radiating lines inside the pupil. Tip: These tiny details add depth and make the eye look like it's glowing or reflecting light.
Step 10: Bringing It to Life with Color
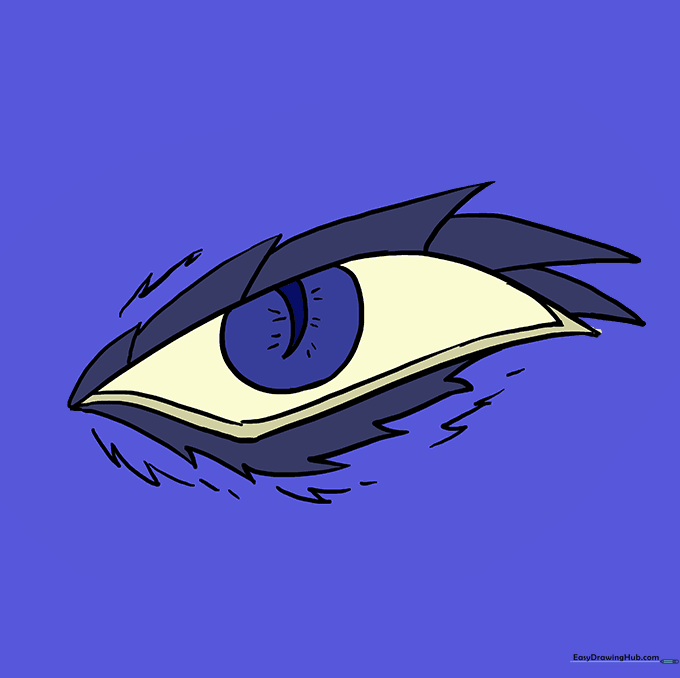
Fill in your drawing with vibrant colors! Tip: Use a gradient of greens or golds for the iris, and leave a small white spot uncolored to act as a 'glint' of light for a professional finish.
More Tutorials


