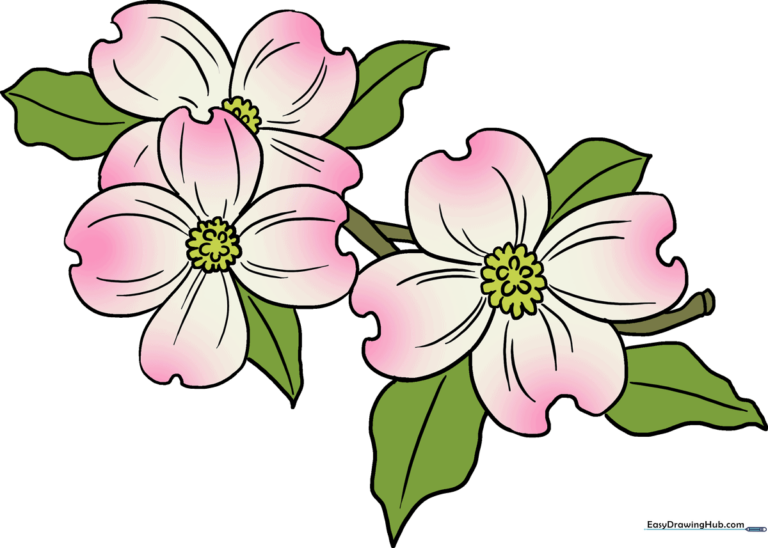
How to Draw Dogwood Flowers: Easy 10-Step Guide
Capture the delicate beauty of spring with this dogwood flower drawing tutorial, perfect for artists ages 5 and up. You will need a pencil, eraser, and your favorite coloring supplies to bring these iconic blossoms to life. Follow along to master the signature notched petal shape and create a stunning botanical sketch.
🎯 Final Result
Step-by-Step Instructions
Step 1: Forming the Flower Center

Start by drawing a small, circular cluster using connected 'U' shaped lines. Teacher's Tip: Keep these 'U' shapes tight and consistent to create a realistic, textured look for the flower's center.
Step 2: Sketching the Petals

Draw four rounded petals around the center. Each petal should have a distinct 'C' shaped notch at the tip. Teacher's Tip: If your petals look too symmetrical, don't worry—nature is rarely perfect, and slight variations make your flower look more organic.
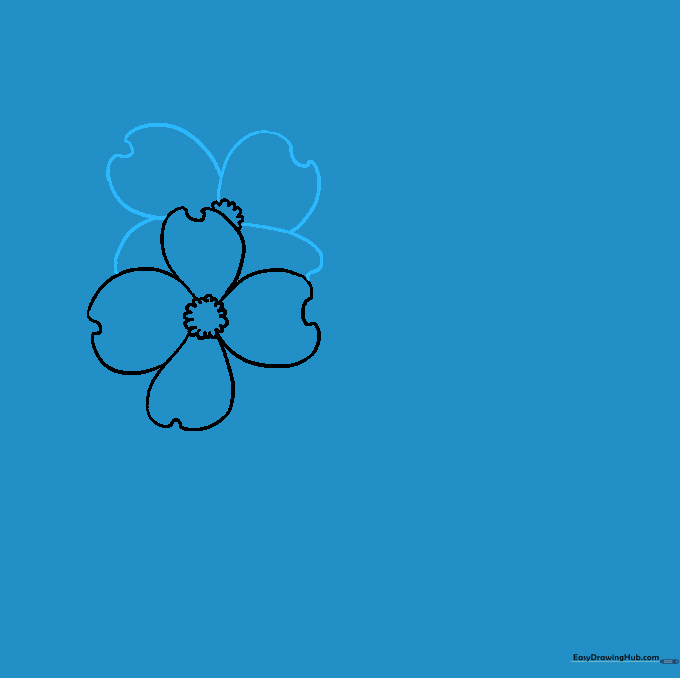
Step 3: Adding a Second Bloom

Draw a partial circle of 'U' shaped lines peeking out from behind the first flower. Teacher's Tip: This overlapping technique creates depth, making your drawing look more professional and three-dimensional.
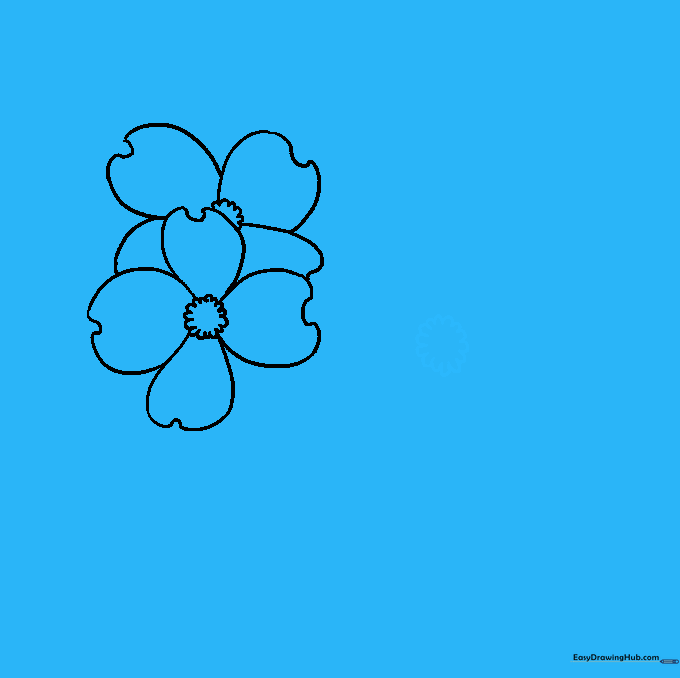
Step 4: Outlining the Second Flower
Sketch the petals for your second flower using the same curved lines and notched tips. Teacher's Tip: Ensure the petals appear to emerge from behind the first flower to maintain the sense of perspective.
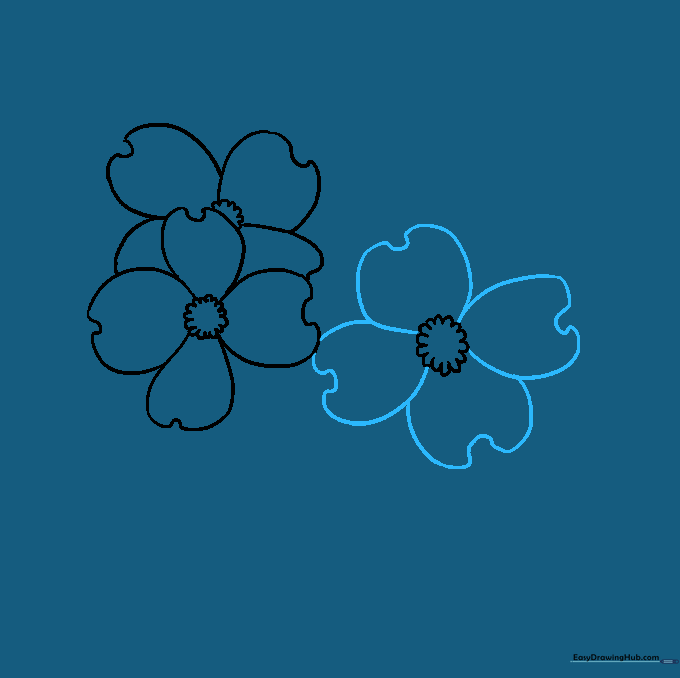
Step 5: Creating the Third Flower
Place a third flower center nearby using the same 'U' shaped line technique. Teacher's Tip: Varying the placement of the flowers creates a more natural, balanced composition on your page.
Step 6: Completing the Third Bloom
Sketch the petals for the third flower, keeping the notched tips consistent. Teacher's Tip: If you find the notches tricky, try drawing the petal shape first, then carefully erasing a small 'C' shape from the center of the tip.
Step 7: Adding Stems and Leaves
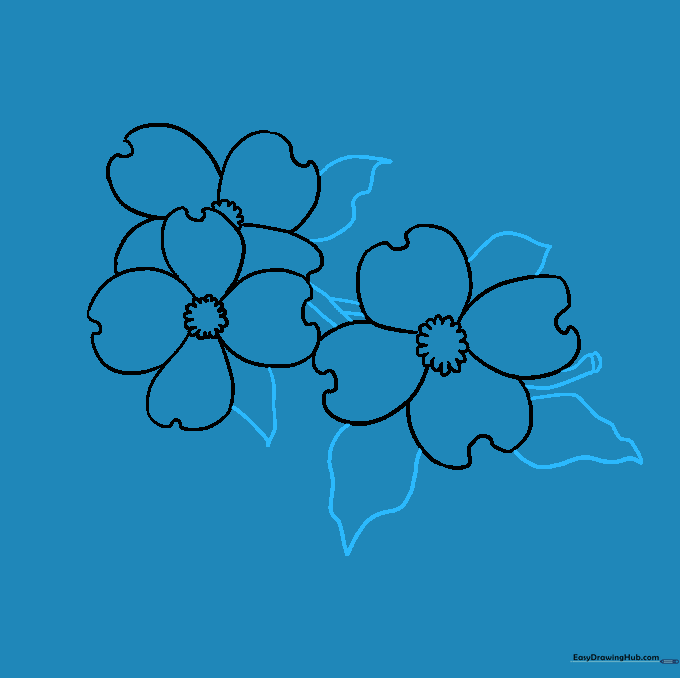
Draw forked stems using parallel lines and add crinkled, pointed leaves. Teacher's Tip: Use wavy lines for the leaf edges to give them that realistic, slightly textured look found in nature.
Step 8: Refining Details
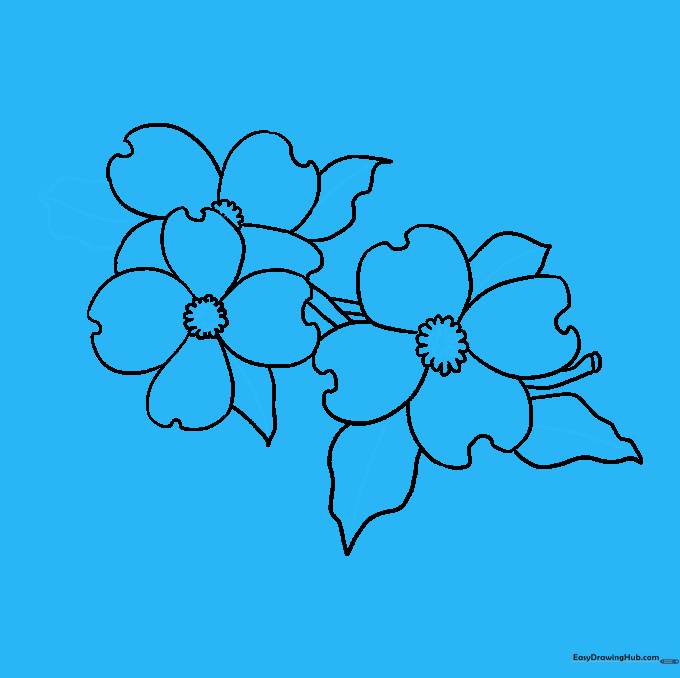
Add a smaller circle of 'U' shapes inside the flower centers and draw a central vein line down each leaf. Teacher's Tip: A single curved line for the leaf vein adds immediate structure and realism to your drawing.
Step 9: Adding Petal Texture
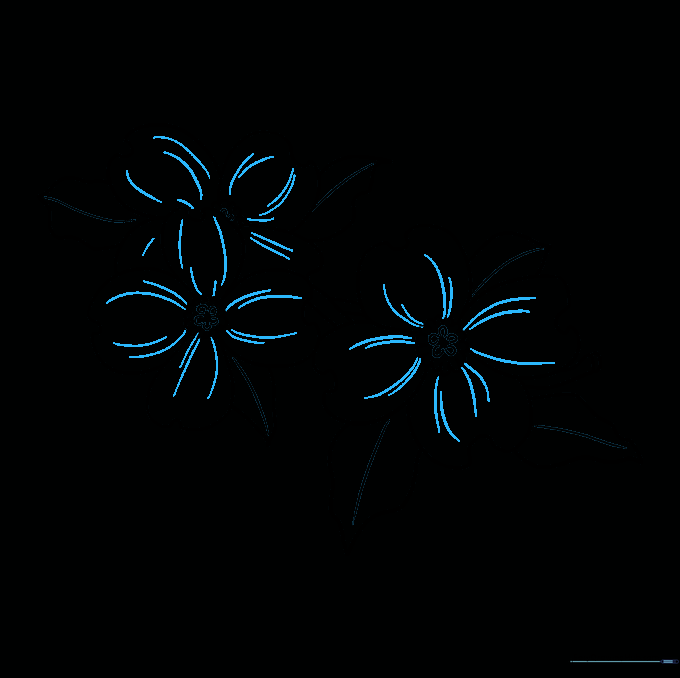
Add subtle curved lines radiating from the center of each petal. Teacher's Tip: Keep these lines very light; they are meant to suggest the natural veins of the petal, not to look like heavy outlines.
Step 10: Bringing It to Life with Color
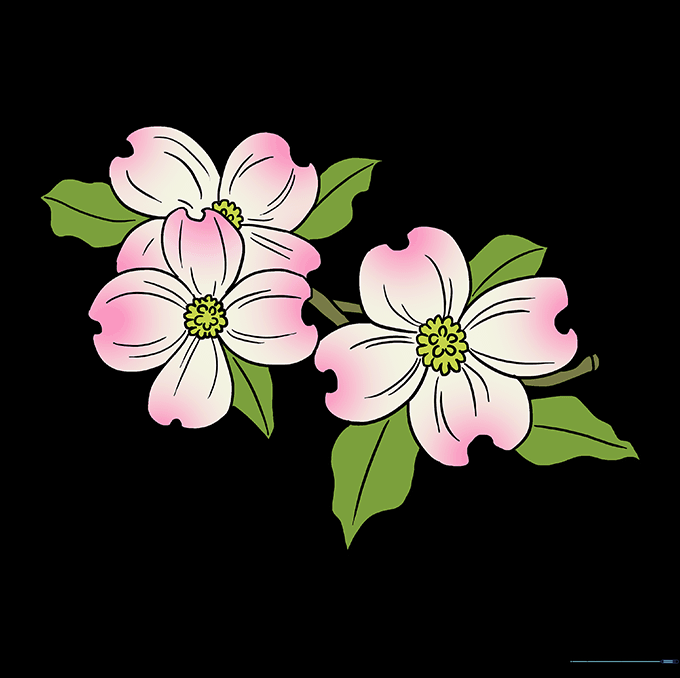
Color your flowers! Try a gradient effect by using pink at the petal tips and fading to white toward the center. Teacher's Tip: Use light, circular motions with your colored pencils to blend the colors smoothly.
More Tutorials


